You want to hang something on your wall, but the idea of drilling holes or using the wrong tools feels overwhelming. What if you could learn a simple way to put hooks in your wall quickly and securely, without damage or frustration?
Imagine having the confidence to hang pictures, shelves, or decorations perfectly every time. In this guide, you’ll discover easy steps and insider tips that make the whole process smooth and stress-free. Keep reading, and you’ll be ready to transform your space with hooks that hold strong and look great.
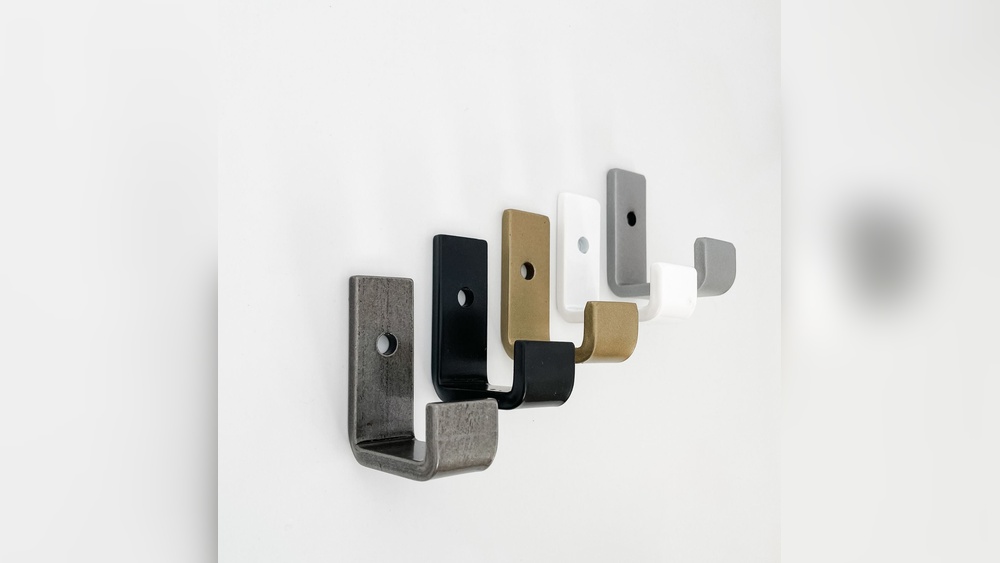
Choosing The Right Hook
Choosing the right hook is important for hanging items safely and securely. The wrong hook can damage your wall or fail to hold your belongings. Understanding the different types of hooks and their uses helps you make a smart choice. Consider the weight of the item and the wall material before selecting a hook.
Types Of Hooks
There are many types of hooks for walls. Adhesive hooks stick without nails and suit light items. Screw-in hooks hold heavier objects and need a drill or screwdriver. Picture hooks have a small nail and work well for frames. Specialty hooks fit certain needs, like ceiling hooks for hanging plants.
Weight Capacity Considerations
Every hook has a weight limit. Light hooks hold small items like keys or hats. Medium hooks support pictures or small shelves. Heavy-duty hooks can carry large items like mirrors or tools. Check the package or product details for weight limits. Always choose a hook that holds more than your item’s weight.
Material Compatibility
Hooks work differently on various wall types. Drywall needs anchors for heavier hooks. Wood walls allow easy screwing of hooks. Concrete or brick requires special masonry hooks and drills. Adhesive hooks work best on smooth surfaces like tiles or glass. Match your hook to the wall material for best results.
Preparing The Wall
Preparing the wall is an important first step before putting hooks on it. Proper preparation helps the hook stay strong and hold weight safely. It also prevents damage to your wall. Spend some time getting the wall ready.
Locating Studs
Find the studs behind the wall for better support. Studs are wooden beams inside the wall. Hooks placed on studs hold more weight. Use a stud finder or tap the wall and listen for a solid sound. Mark the stud locations lightly with a pencil.
Marking The Spot
Choose the exact spot to place your hook. Measure the height and distance carefully. Use a pencil to mark the spot clearly. Double-check the marks before drilling or hammering. Correct placement prevents crooked hooks and wall damage.
Cleaning The Surface
Clean the wall surface where the hook will go. Remove dust, dirt, and grease with a damp cloth. Let the wall dry completely before installing the hook. A clean surface helps the hook stay secure and prevents slipping.
Gathering Tools And Materials
Gathering the right tools and materials is the first step to put hooks in the wall. Having everything ready makes the job easier and faster. It also helps avoid mistakes and damage to the wall. Preparation saves time and keeps the work safe.
Essential Tools
Start with basic tools like a drill and screwdriver. A tape measure helps mark exact spots on the wall. A pencil is useful for light marking. A level ensures hooks are straight. A stud finder locates strong wall areas for heavy items. A hammer may be needed for some hooks. Keep these tools handy before starting.
Safety Gear
Protect your eyes with safety glasses. Gloves protect your hands from sharp edges and dust. Wear a mask if drilling creates dust. Use ear protection if the drill is loud. Safety gear prevents injuries and makes work safer. Never skip safety equipment during the job.
Hook And Fastener Selection
Choose hooks based on what you want to hang. Small hooks are good for light items like keys. Heavy hooks support coats or bags. Use wall anchors for drywall to hold more weight. Screws work best in studs or solid walls. Pick fasteners that fit your hook type and wall material. Proper selection keeps hooks secure and walls undamaged.

Credit: www.wikihow.com
Installing Hooks On Drywall
Installing hooks on drywall lets you hang items safely and neatly. Drywall is fragile, so using the right method is key. Proper installation keeps hooks secure and walls undamaged.
Using Anchors
Anchors support hooks on drywall. They spread the weight and stop holes from tearing. Choose anchors that match your hook size and the weight you want to hold. Plastic anchors work well for light items. Metal anchors are best for heavier things.
Drilling Pilot Holes
Drill a small pilot hole before placing an anchor. This guides the anchor and prevents drywall from cracking. Use a drill bit slightly smaller than the anchor. Drill straight and steady for best results. Clean out dust from the hole before inserting the anchor.
Securing The Hook
Push or screw the anchor into the pilot hole. Then, attach the hook by screwing it into the anchor. Tighten until firm, but do not over-tighten. Check the hook’s stability by gently pulling it. Adjust if it feels loose to ensure safety.
Installing Hooks On Studs
Installing hooks on studs is the best way to secure items on your wall. Studs are the wooden beams behind the drywall. They provide strong support for heavy objects. Finding the studs ensures your hooks hold well and do not damage the wall.
This method is useful for hanging shelves, pictures, or tools. It keeps your wall safe from holes and cracks. Learning to install hooks on studs is simple and useful for many home projects.
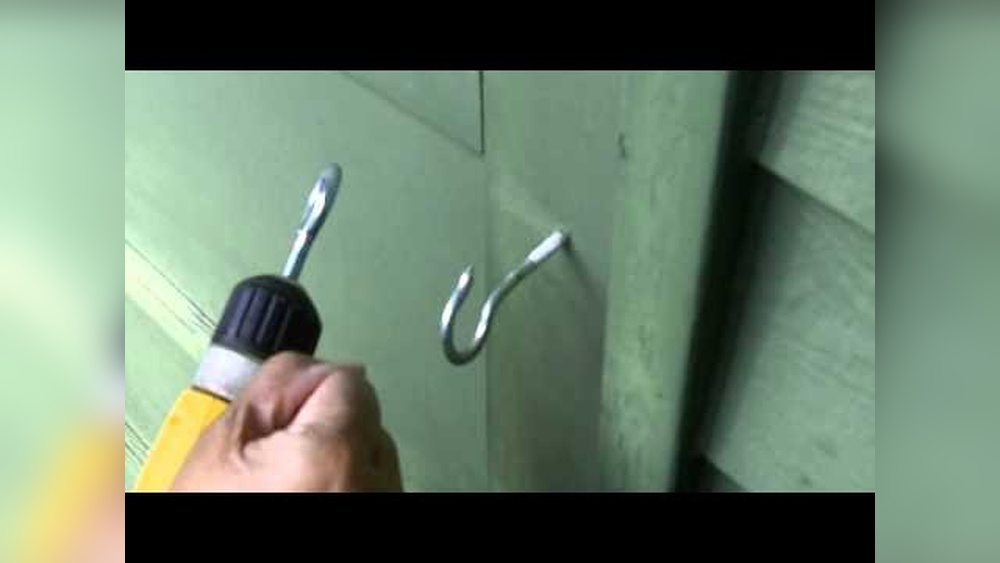
Direct Screw Method
Start by locating the stud with a stud finder or tapping the wall. Mark the spot clearly. Choose the right hook and screws for your project. Position the hook on the stud mark. Screw it directly into the wood using a drill or screwdriver. This method holds the hook firmly without extra anchors.
Ensuring Stability
Make sure the hook is tight and does not move. Tighten the screws until the hook feels solid. Avoid over-tightening to prevent wood damage. Check the hook’s alignment to keep it straight. Proper installation prevents wobbling and increases load capacity.
Load Testing
Test the hook by gently pulling on it. Start with light weight and increase gradually. Watch for any signs of loosening or bending. A well-installed hook on a stud should hold heavy weight safely. If the hook moves, tighten screws or try a different spot on the stud.
Alternative Wall Surfaces
Not all walls are the same. Some surfaces need special care to hold hooks well. This section covers three common wall types that require different tools and methods. Follow these tips to hang hooks safely and securely on brick, plaster, and tile walls.
Brick And Masonry Walls
Brick and masonry walls are strong but hard to drill. Use a hammer drill with a masonry bit for best results. Mark the spot and drill slowly to avoid cracks. Insert plastic anchors to hold screws tightly. This method keeps hooks firmly in place on rough surfaces.
Plaster Walls
Plaster walls can be fragile and prone to cracking. Avoid heavy hooks without proper support. Use anchors made for plaster or toggle bolts for heavier items. Drill small pilot holes first. This reduces damage and ensures hooks stay secure without breaking the wall.
Tile Surfaces
Tile surfaces look smooth but are easy to crack. Use a carbide-tipped drill bit to make a hole. Drill slowly and apply light pressure. Place masking tape over the drill spot to prevent slipping. Use wall anchors designed for tiles to keep hooks stable without damaging the surface.
Tips For Strong, Secure Hanging
Strong and secure hanging keeps your items safe on the wall. Proper methods stop hooks from pulling out or bending. Follow simple tips to make sure your hooks hold well every time. These tips help spread weight, use the right number of hooks, and keep hooks in good shape.
Distributing Weight Evenly
Place the hook where the item’s weight spreads out. Heavy items need hooks on strong parts of the wall. Balance the load to stop stress on one spot. This prevents damage to the wall and the hook.
Using Multiple Hooks
Use more than one hook for large or heavy items. Multiple hooks share the weight evenly. This lowers the risk of hooks pulling out. It also keeps the item steady and straight on the wall.
Regular Maintenance
Check your hooks often for looseness or damage. Tighten screws if they start to feel loose. Replace hooks that bend or crack. Regular care helps hooks stay strong and safe.

Credit: diy.stackexchange.com

Credit: www.wikihow.com
Frequently Asked Questions
How Do I Choose The Right Hook For My Wall?
Select a hook based on wall type and weight capacity. Use adhesive hooks for light items and screw-in hooks for heavy objects. Always check the hook’s weight limit to avoid damage or accidents.
What Tools Do I Need To Put Hooks In A Wall?
You need a drill, screws, wall anchors, a screwdriver, and a level. For drywall, use anchors for better support. A stud finder helps locate studs for secure mounting.
How Do I Avoid Damaging My Wall When Installing Hooks?
Use wall anchors for drywall to prevent holes from enlarging. Drill pilot holes to avoid cracking. Choose the correct hook size and weight rating to protect your wall.
Can I Put Hooks On Plaster Walls Safely?
Yes, use anchors designed for plaster walls. Drill slowly to avoid cracking plaster. Use lightweight hooks for less risk and avoid heavy loads that can damage plaster.
Conclusion
Putting hooks in the wall is simple and useful. Choose the right hook for your wall type. Use the right tools and measure carefully. Mark the spot before drilling or hammering. Secure the hook tightly to hold weight safely. Double-check the hook’s strength for heavy items.
This small task helps keep your space neat. Try it yourself for easy wall organization. Your walls can hold many things with hooks. Small effort, big help.