Looking for a simple way to organize your space and keep things within easy reach? Hanging a wall hook might be the perfect solution.
But if you’ve never done it before, the idea can feel a bit tricky. What tools do you need? Where exactly should you place the hook? And how do you make sure it stays secure? Don’t worry—you’re about to discover easy, step-by-step tips that will help you hang a wall hook like a pro.
Keep reading, and you’ll be surprised at how quickly you can transform your walls into practical, stylish storage.
Choosing The Right Wall Hook
Choosing the right wall hook is important for a strong and lasting hold. The wrong hook can cause damage or fall off easily. Understanding the types, materials, and weight limits helps pick the best one. This makes hanging items safer and more reliable.
Types Of Wall Hooks
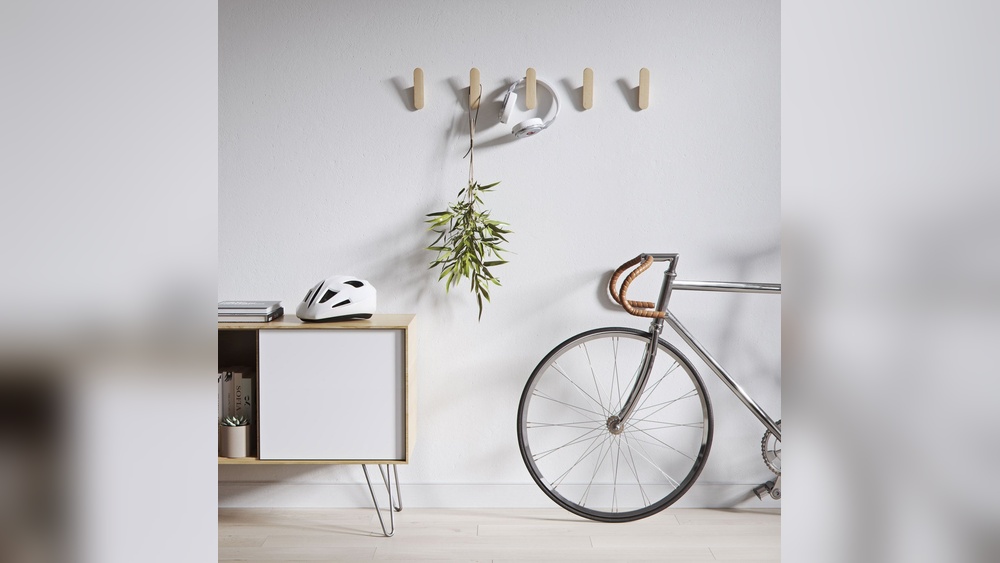
Wall hooks come in many styles. Some have adhesive backs for light items. Others need screws for heavier things. There are single hooks, double hooks, and decorative hooks. Each type fits different needs and spaces.
Materials And Durability
Hooks are made from metal, plastic, or wood. Metal hooks are strong and last long. Plastic hooks are light but less durable. Wood hooks look nice but may not hold heavy weight. Choose a material that fits your use and style.
Weight Capacity Considerations
Every hook has a weight limit. Check the label for the maximum load. Use stronger hooks for coats, bags, or tools. Light hooks work for keys or small decorations. Picking the right capacity prevents damage to walls and items.

Credit: lelloliving.com
Gathering Necessary Tools
Before hanging a wall hook, gather all necessary tools. Preparation saves time and avoids mistakes. Having the right tools ensures a strong and secure hook installation. It also helps the process go smoothly and safely.
Essential Tools List
Start with a drill or screwdriver to fix the hook to the wall. Use a pencil to mark the spots. A level is important to keep the hook straight. A tape measure helps place the hook at the right height. Wall anchors are needed if you hang the hook on drywall. A hammer can help with anchors or nails. These tools cover most wall hook installations.
Optional Tools For Precision
A stud finder locates wooden beams behind the wall for stronger support. A small flashlight helps to see dark corners or holes. A utility knife can open packages or clean wall spots. A magnetic level adds extra accuracy for perfect alignment. These tools are not required but improve precision and ease.
Selecting The Perfect Spot
Selecting the perfect spot for your wall hook is key to its success. The right placement makes your hook both useful and attractive. Poor placement can cause damage or make the hook hard to use. Careful planning helps avoid these problems. Focus on measuring, spotting obstacles, and understanding your wall.
Measuring For Placement
Start by measuring the area where you want the hook. Use a tape measure to find the best height for your needs. Think about what you will hang on the hook. Ensure it is easy to reach and fits well on the wall. Mark the spot lightly with a pencil for accuracy.
Avoiding Wall Obstacles
Check the wall for obstacles like electrical wires or pipes. These can be hidden behind the wall surface. Use a stud finder to locate studs and avoid hazards. Avoid areas with cracks or weak spots. Choose a clear, strong space to keep your hook safe and steady.
Considering Wall Material
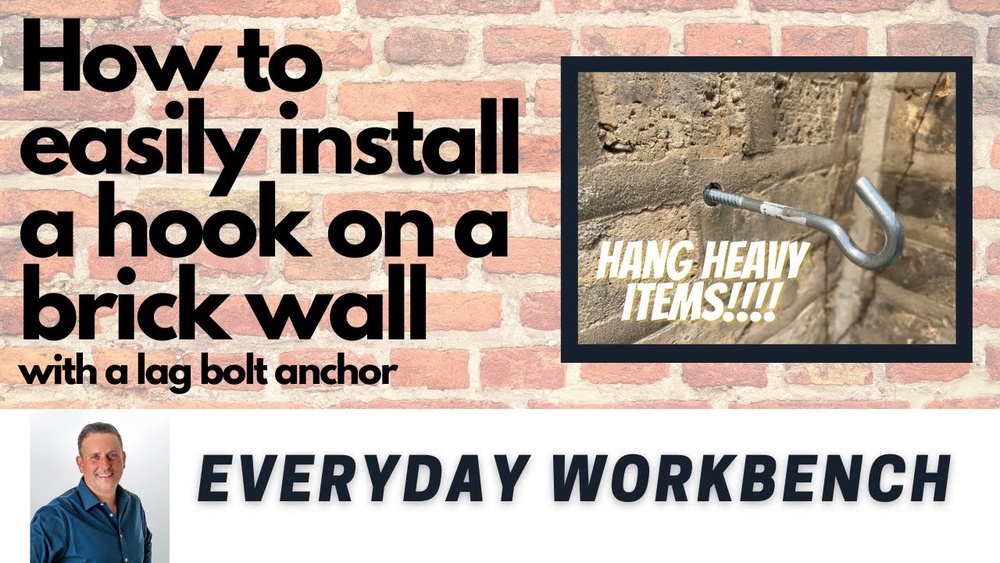
Know the type of wall before drilling or nailing. Drywall, plaster, brick, or wood require different tools and anchors. Drywall needs anchors for a secure hold. Brick walls need masonry screws. Wood walls allow nails or screws directly. Match your hook and tools to the wall type.
Marking The Installation Point
Marking the installation point is a key step before hanging a wall hook. It helps place the hook exactly where you want it. This step avoids mistakes and saves time during installation.
Careful marking ensures the hook is straight and level. It also helps avoid damage to the wall by drilling in the wrong spot. Take your time to get this step right.
Using A Pencil And Level
Use a pencil to mark the spot gently. A light mark is easy to erase if needed. Hold the level against the wall to check if the mark is straight.
Place the level horizontally or vertically, depending on the hook position. Adjust the mark until the bubble in the level is centered. This shows the mark is even and straight.
Double-checking Measurements
Measure the distance from the floor or ceiling to the mark. Use a tape measure for accuracy. Check the distance twice to avoid errors.
Compare the mark with nearby objects like doors or shelves. Make sure the hook will not block or clash with them. Confirm the spot feels right before drilling.
Preparing The Wall Surface
Preparing the wall surface is a key step before hanging a wall hook. A clean and smooth wall helps the hook stick better. It also prevents damage and ensures the hook stays in place.
Cleaning The Wall
Start by wiping the wall with a damp cloth. Remove dust, dirt, and grease spots. Use mild soap and water for tough stains. Let the wall dry completely before moving on. A clean surface makes the hook hold strong.
Drilling Pilot Holes
Mark the spot where you want the hook. Use a pencil for a clear mark. Choose a drill bit smaller than your screw. Drill a pilot hole gently into the wall. This helps guide the screw and avoids cracks. Pilot holes make hanging easier and safer.

Credit: www.wikihow.com
Installing The Wall Hook
Installing a wall hook is simple and useful. It helps keep your space neat and organized. The right method ensures the hook stays strong and holds weight safely. Follow clear steps for a secure fit.
Using Screws And Anchors
Start by marking the spot for your hook. Use a pencil to mark where the screws will go. Choose the right anchors for your wall type. Drywall needs plastic anchors. Concrete or brick needs metal anchors.
Drill holes where you marked. Insert the anchors carefully. Screws go into the anchors. This gives the hook extra support and prevents it from falling.
Securing The Hook Firmly
Place the hook over the screws. Tighten the screws with a screwdriver. Make sure the hook does not wobble. Check if it feels strong by gently pulling it. A firm hook will hold your items safely.
Testing The Hook’s Stability
Maintaining wall hooks keeps them strong and useful for a long time. Proper care helps avoid damage to walls and hooks. Simple steps can protect your hooks and the items they hold.
Regular Inspection
Check your wall hooks often for any signs of wear. Look for loose screws or cracks in the hook. Tighten screws to keep the hook stable. Replace hooks that show damage to prevent accidents. Regular checks stop small problems from growing.
Avoiding Overloading
Do not hang heavy items beyond the hook’s limit. Overloading can bend or break hooks quickly. Use hooks designed for the weight of your items. Spread heavy loads across several hooks when needed. Proper weight limits keep hooks firm on the wall.

Credit: www.wikihow.com
Frequently Asked Questions
What Tools Do I Need To Hang A Wall Hook?
You need a drill, screws, anchors, a screwdriver, a pencil, and a level. These tools ensure secure and straight installation of your wall hook.
How Do I Choose The Right Wall Hook For My Wall?
Select hooks based on wall type and weight capacity. For drywall, use anchors; for wood, screws alone work well.
Can I Hang A Wall Hook Without Drilling Holes?
Yes, use adhesive hooks for light items. However, avoid heavy objects as they require drilled anchors for support.
How High Should I Install A Wall Hook?
Install hooks at a comfortable height, usually between 5 to 6 feet. Adjust based on the item’s use and user height.
Conclusion
Hanging a wall hook is simple and useful. Choose the right spot on your wall. Use the correct tools to make the job easier. Mark the place before drilling or nailing. Secure the hook tightly to hold weight well. Check that the hook stays firm after installation.
Now, you can hang your items neatly and save space. Try these steps for a quick and neat wall hook setup. You will enjoy an organized and tidy room in no time.