Are you noticing a damaged Trex board on your deck and wondering how to fix it without leaving ugly screw holes? Replacing a Trex board with hidden fasteners might seem tricky, but it’s easier than you think.
In this guide, you’ll learn step-by-step how to swap out that worn or cracked board while keeping your deck looking smooth and flawless. By the end, you’ll have the confidence to tackle this repair yourself and enjoy a deck that looks like new again.
Let’s get started!
Tools And Materials Needed
Replacing a Trex board with hidden fasteners needs the right tools and materials. Having everything ready makes the job smooth and safe. This section covers what you need to prepare before starting.
Essential Tools
- Cordless drill for removing and installing screws
- Impact driver for tight fasteners
- Flat pry bar to lift old boards carefully
- Measuring tape for accurate cuts and placement
- Speed square to mark straight lines
- Rubber mallet to tap boards without damage
- Safety glasses to protect your eyes
- Work gloves to protect your hands
Required Materials
- Replacement Trex board matching your deck
- Hidden fastener clips designed for Trex boards
- Stainless steel screws for durability
- Exterior wood adhesive for extra hold (optional)
- Deck cleaner to prep the area before installation
Safety Gear
- Protective eyewear to shield from debris
- Heavy-duty gloves to avoid splinters and cuts
- Dust mask to prevent inhaling dust particles
- Knee pads for comfort during long work sessions
- Ear protection if using loud power tools
Preparing The Work Area
Preparing the work area is the first step in replacing a Trex board with hidden fasteners. A clean and safe space makes the job easier. It helps you work faster and avoid mistakes. Taking time to prepare also protects the other parts of your deck.
Clearing The Deck
Remove all furniture, plants, and decorations from the deck. Clear away dirt, leaves, and debris. This gives you space to move freely. It also stops dirt from getting under the boards. Use a broom or blower to clean the surface well. A clean deck helps you see the boards clearly.
Inspecting Surrounding Boards
Check the boards next to the one you will replace. Look for cracks, warping, or loose fasteners. Damaged boards may need fixing to keep the deck strong. Make sure hidden fasteners are not broken or stuck. This prevents problems when you install the new board. Inspect carefully for any signs of wear or damage.
Removing The Damaged Board
Removing a damaged Trex board with hidden fasteners requires care. This step keeps the deck strong and safe. Follow simple steps to take out the old board without harm.
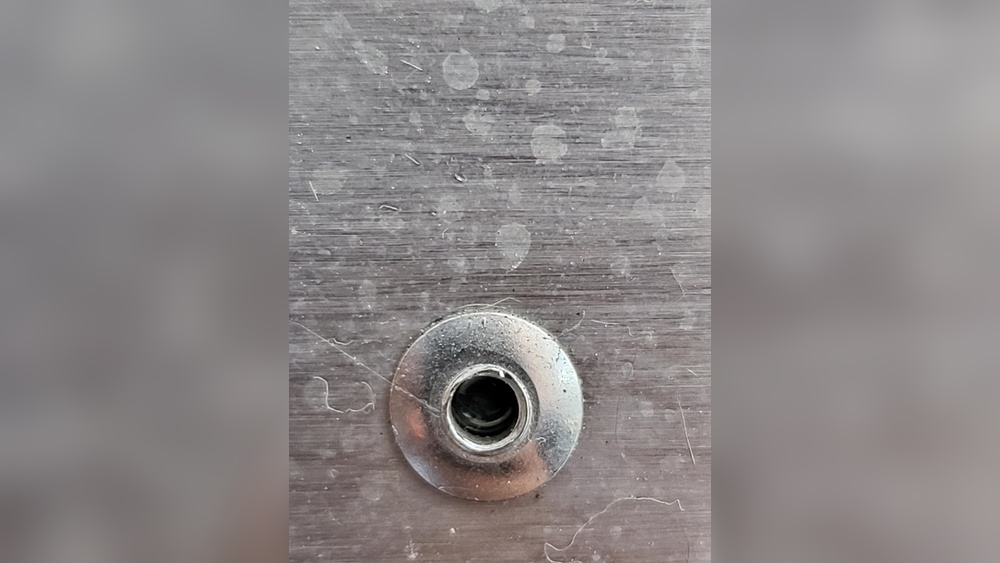
Locating Hidden Fasteners
Hidden fasteners sit between the deck boards. They hold the boards tightly in place. Use a flashlight to see into the gaps. Look closely along the edges for small clips or screws.
Check for signs of the fasteners’ location. Sometimes, small holes or marks show where they attach. Knowing their spots helps avoid damage to other boards.
Releasing Fasteners Safely
Use the right tool to release hidden fasteners. A special fastener remover or a flat screwdriver works well. Insert the tool gently to avoid breaking the clips.
Work slowly along the board’s length. Push or pull the fasteners as needed to free the board. Keep steady pressure to stop any cracking or bending.
Extracting The Board
Once fasteners are loose, lift the board carefully. Start at one end and move along the board. Avoid twisting or forcing it out quickly.
Pull the board straight up to prevent damage. If stuck, check for any remaining fasteners. Removing the board cleanly makes space for the new one.
Credit: www.trex.com
Installing The New Trex Board
Installing the new Trex board is a key step in your deck repair project. It requires care to ensure the board fits well and stays secure. Follow these steps to place the board correctly using hidden fasteners. This method keeps your deck surface smooth and free of visible screws. Let’s start with positioning the board.
Positioning The Board
Place the new Trex board over the joists where the old one was removed. Align the board’s edge close to the adjacent boards. Leave a small gap for expansion, about 1/8 inch. This gap helps the board expand and contract with weather changes. Make sure the board lies flat and straight before fastening.
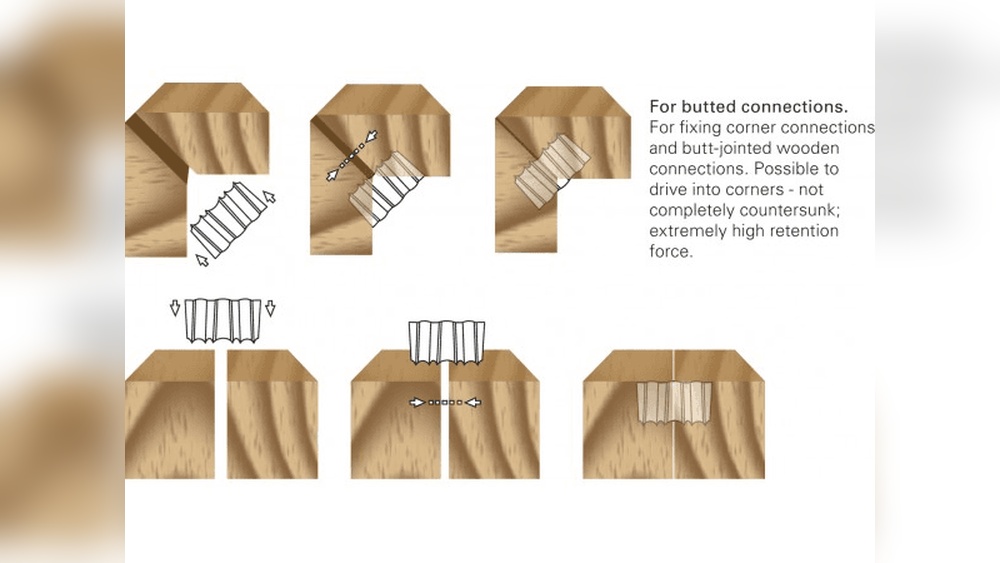
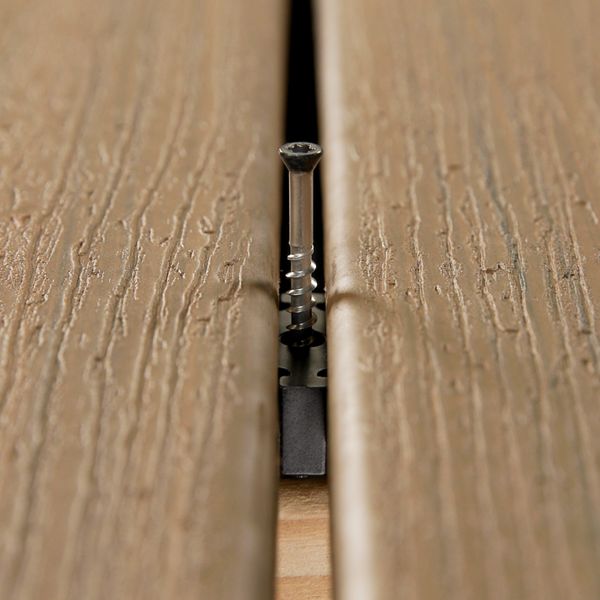
Securing With Hidden Fasteners
Use Trex-approved hidden fasteners designed for composite decking. Insert the fasteners into the grooves along the board edges. Screw the fasteners into the joists firmly but avoid over-tightening. Over-tightening can damage the board or fastener. Check that each fastener holds the board tightly against the joist. Repeat this for every joist under the board.
Checking For Proper Alignment
After securing, inspect the board’s position carefully. The board should be even with neighboring boards. The gaps between boards must be consistent and even. Adjust the board slightly if needed before the fasteners fully tighten. Walk on the board gently to ensure it feels stable and secure. Correct alignment improves the deck’s look and safety.
Finishing Touches
Finishing touches are important after replacing a Trex board with hidden fasteners. They ensure the deck looks good and lasts longer. Taking time to clean, check, and maintain your deck keeps it safe and attractive. Follow these simple steps to complete your project perfectly.
Cleaning The Area
Start by removing dust and debris from the replaced board and surrounding area. Use a soft brush or broom to sweep away dirt gently. Clean hidden fasteners carefully to avoid damage. Wipe the surface with a damp cloth to remove stubborn stains. A clean deck helps prevent mold and keeps the boards looking fresh.
Inspecting The Replacement
Check the new board for any gaps or misalignment. Make sure the hidden fasteners are secure and flush with the board. Look for any cracks or chips on the board’s surface. Press the board lightly to confirm it feels stable and firm. Correcting small issues early prevents bigger problems later.
Maintaining Trex Decking
Regular maintenance extends the life of your Trex decking. Sweep the deck weekly to keep dirt from building up. Wash the surface with mild soap and water every few months. Avoid harsh chemicals that can harm the boards. Trim nearby plants to reduce moisture and prevent staining. Proper care keeps your deck strong and beautiful for years.

Credit: www.fastenmaster.com

Credit: www.trex.com
Frequently Asked Questions
How Do You Remove A Trex Board With Hidden Fasteners?
Start by unscrewing the hidden fasteners with a compatible tool. Gently pry the board up without damaging adjacent boards. Remove all fasteners before lifting the board completely.
What Tools Are Needed To Replace Trex Boards?
You will need a hidden fastener tool or a pry bar, drill, replacement Trex board, and new hidden fasteners. A rubber mallet may help to set boards in place.
Can I Replace A Trex Board Without Removing The Deck?
No, you must carefully lift the surrounding boards to access and remove hidden fasteners. This allows safe removal and replacement without deck damage.
How Do Hidden Fasteners Work On Trex Decking?
Hidden fasteners clip into grooves on the board edges and screw into the joists. They secure boards without visible screws on the surface.
Conclusion
Replacing a Trex board with hidden fasteners is simple with the right steps. Take your time and follow the guide carefully. Use the proper tools to avoid damage. Check each fastener to keep the deck stable. A well-done repair keeps your deck safe and looking good.
Regular care helps your deck last longer. Now, you can confidently fix your Trex boards yourself. Enjoy your sturdy, clean-looking deck once again.