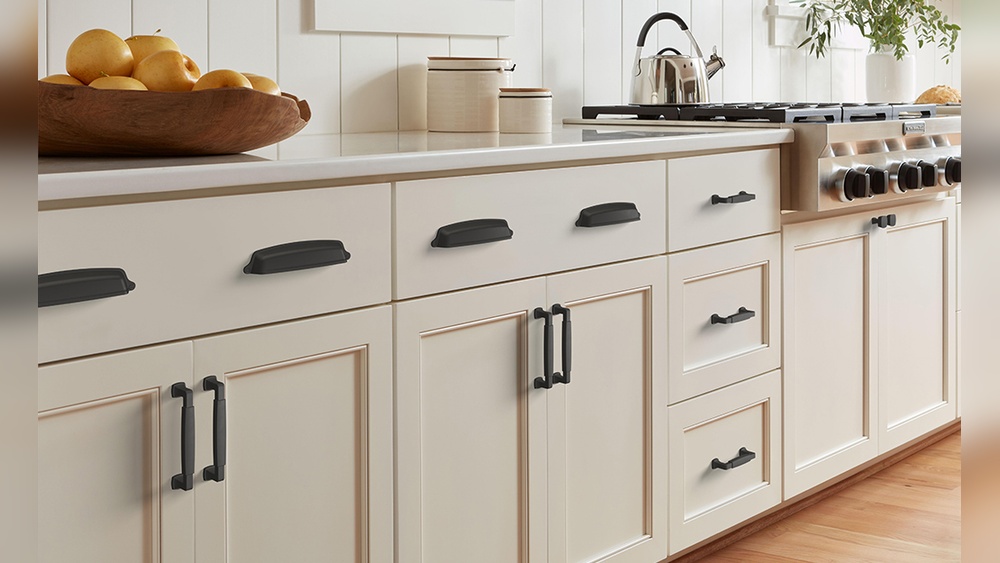
Are you ready to give your kitchen a fresh, stylish look without a full renovation? Changing or attaching cabinet hardware is one of the easiest and most affordable ways to do just that.
But if you’ve never done it before, the idea of drilling holes or aligning handles might feel overwhelming. Don’t worry—you’re in the right place. This guide will walk you through every step, making the process simple and even enjoyable. By the end, you’ll have the confidence to upgrade your kitchen cabinets quickly and perfectly.
Keep reading to discover the tips and tricks that will make your hardware installation smooth and hassle-free.
Gather Necessary Tools
Gathering the right tools is the first step to attach kitchen cabinet hardware smoothly. The correct tools make the job easier and faster. Without them, you risk damaging your cabinets or hardware. Prepare everything before you start. This saves time and avoids frustration.
List Of Essential Tools
Start with a drill. It helps to make holes quickly and cleanly. Use drill bits that fit your hardware screws. A screwdriver is necessary to tighten screws firmly. A tape measure ensures precise placement of handles or knobs. Marking tools like a pencil help you mark drill spots accurately. A level keeps your hardware straight. A clamp holds the cabinet door steady while working. Have a small ruler or square handy for exact measurements.
Choosing The Right Hardware
Pick hardware that matches your cabinet style and size. Handles and knobs come in various shapes and finishes. Choose something comfortable to grip and easy to clean. Consider the cabinet material to avoid damage. Check if the hardware screws fit your cabinets. Measure the distance between screw holes for proper alignment. Quality hardware lasts longer and looks better. Choose hardware that fits your kitchen’s overall look.
Prepare The Cabinets
Preparing your kitchen cabinets before attaching hardware is important. It helps the hardware stick well and look neat. Taking time now makes the final result strong and clean. Follow simple steps to get your cabinets ready.
Clean The Surface
Start by cleaning the cabinet doors and drawers. Use a soft cloth and mild cleaner. Remove dust, grease, and dirt. A clean surface helps the hardware stick better. Avoid harsh chemicals that can damage the finish. Let the surface dry completely before moving on.
Mark Hardware Placement
Measure carefully to find the right spot for handles or knobs. Use a pencil to make small marks. Check alignment by holding the hardware in place. Mark all cabinets before drilling or screwing. This step ensures even and straight placement. Double-check measurements to avoid mistakes.
Drill Pilot Holes
Drilling pilot holes is a key step when attaching kitchen cabinet hardware. These small holes guide screws and prevent wood from splitting. Taking time to drill pilot holes ensures a clean, professional finish on your cabinets.
Select Drill Bit Size
Choose a drill bit slightly smaller than the screw diameter. This size allows the screw to grip the wood firmly. Too large a hole makes the screw loose. Too small, and the wood may crack. Match the bit size to the screws provided with your hardware.
Tips For Accurate Drilling
Mark the hole position with a pencil or tape. Use a ruler or template for consistent placement. Hold the drill steady and perpendicular to the surface. Drill slowly to control depth and avoid damage. Double-check measurements before drilling to avoid mistakes.
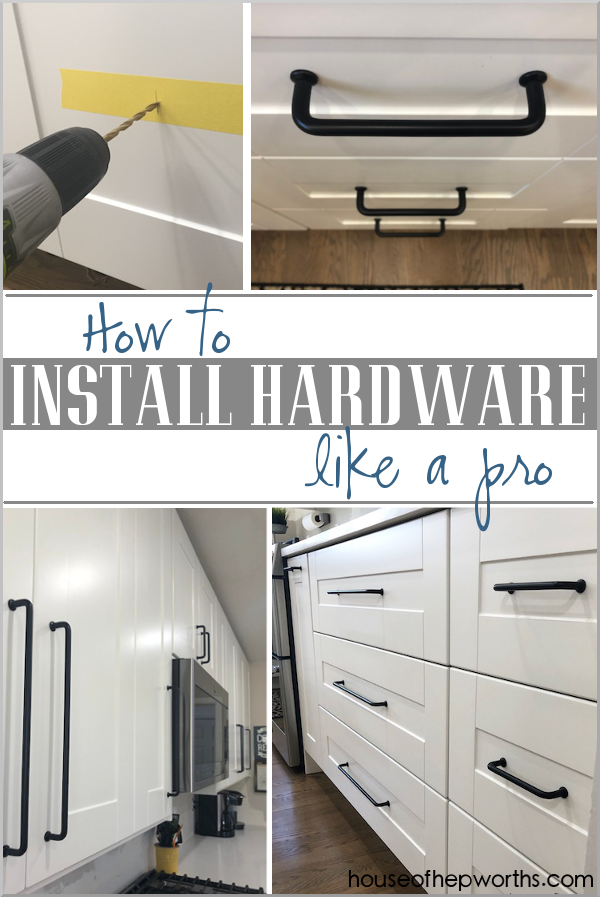
Credit: www.houseofhepworths.com
Attach The Hardware
Attaching hardware to your kitchen cabinets is a simple task that can change the look of your kitchen. This step involves placing handles and knobs on the cabinet doors and drawers. Proper attachment ensures they stay secure and look good. Follow these steps to attach your hardware easily and correctly.
Aligning Handles And Knobs
Start by placing the handles or knobs on the cabinet surface. Make sure they line up straight. Use a ruler or a tape measure to check the position. Mark the screw holes with a pencil. This helps to avoid mistakes and uneven placement. Consistent alignment gives your cabinets a neat look.
Securing With Screws
Next, take the screws that came with your hardware. Insert them through the cabinet from the inside. Tighten the screws carefully with a screwdriver. Do not force them too hard to avoid damage. Check that the handle or knob feels tight and stable. Loose hardware can fall off or cause trouble later.
Check Alignment And Fit
Checking the alignment and fit of your kitchen cabinet hardware is a key step. It ensures the handles or knobs look good and work well. Poor alignment can make your cabinets look messy. A proper fit helps the hardware last longer and function smoothly.
Adjusting Hardware Position
Start by loosely attaching the hardware. This lets you move it slightly. Check if the handle or knob lines up with the cabinet edges. Use a ruler or tape measure to get even spacing.
Make small shifts until the hardware sits straight. Double-check the height on each door or drawer. Consistent placement gives a neat, professional look.
Ensuring Stability
Once aligned, tighten the screws slowly. Avoid over-tightening as it can damage the cabinet surface. Hardware should feel firm but not forced.
Test the handle or knob by pulling gently. It should not wobble or come loose. If it moves, loosen screws and adjust position. Repeat until the hardware stays steady and secure.
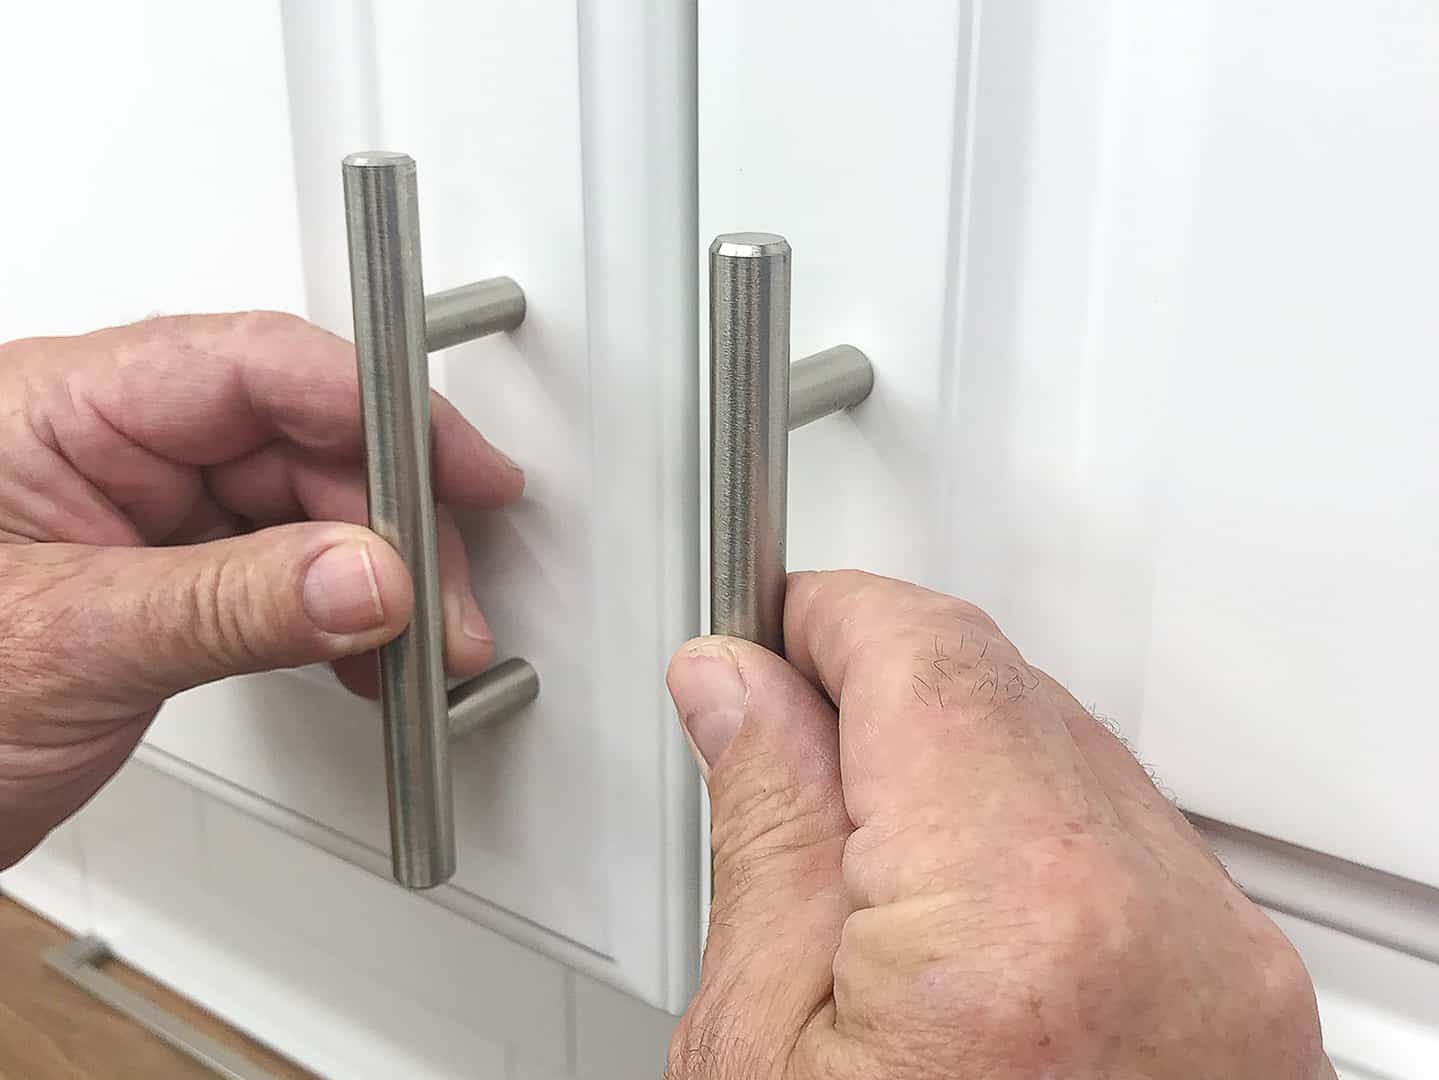
Credit: truepositiontools.com
Finishing Touches
After attaching your kitchen cabinet hardware, the final steps ensure a clean and smooth finish. These finishing touches make your cabinets look professional and polished. Taking time here improves both appearance and function.
Clean Up Residue
Remove any dust or dirt from drilling and installing. Use a soft cloth or brush to wipe the surfaces. Check for glue or fingerprints and clean them gently. This keeps your hardware shiny and your cabinets neat.
Test Functionality
Open and close each cabinet door and drawer. Make sure the hardware is secure and works well. Check for any loose screws or misalignment. Tighten screws if needed to avoid future problems. Smooth operation means your job is done right.
Common Mistakes To Avoid
Attaching kitchen cabinet hardware seems easy but has common pitfalls. Avoiding these mistakes saves time and keeps your kitchen looking neat. Small errors can cause big problems, like crooked handles or damaged cabinets.
Misaligned Hardware
Misalignment is a frequent issue. Hardware that is not straight looks sloppy and may not work well. Measure carefully before drilling any holes. Use a template or ruler to keep handles even. Check alignment by stepping back and viewing from different angles.
Overtightening Screws
Many overtighten screws, thinking it secures hardware better. This can strip the screw hole or crack the cabinet surface. Tighten screws until snug, then stop. Use a screwdriver with good grip and control. Loose screws can be fixed, but stripped holes need more work.

Credit: www.homedepot.com
Frequently Asked Questions
How Do I Choose The Right Cabinet Hardware Size?
Measure your cabinet doors and drawers first. Choose hardware that fits proportionally. Standard sizes range from 3 to 5 inches. Consider the style and function for the best fit and look.
What Tools Are Needed To Attach Cabinet Hardware?
You will need a drill, screwdriver, measuring tape, pencil, and level. These tools help ensure precise placement and secure attachment of the hardware.
How Do I Align Cabinet Handles Perfectly?
Measure and mark holes carefully on each cabinet. Use a template or jig for consistency. Double-check measurements before drilling to avoid misalignment.
Can I Attach Cabinet Hardware Without Drilling?
Yes, adhesive hardware options are available. However, they may not be as durable as drilled-in hardware. Ideal for light use or rental spaces.
Conclusion
Attaching kitchen cabinet hardware is simple with the right steps. Measure carefully and mark where screws go. Use a drill to make holes for easy fitting. Tighten screws just enough to hold hardware firmly. Take your time to avoid mistakes or damage.
Changing cabinet hardware can refresh your kitchen’s look fast. Enjoy your new handles or knobs every day. A small project, but it makes a big difference. Keep tools handy for future updates or repairs. You can do this yourself with confidence and care.

