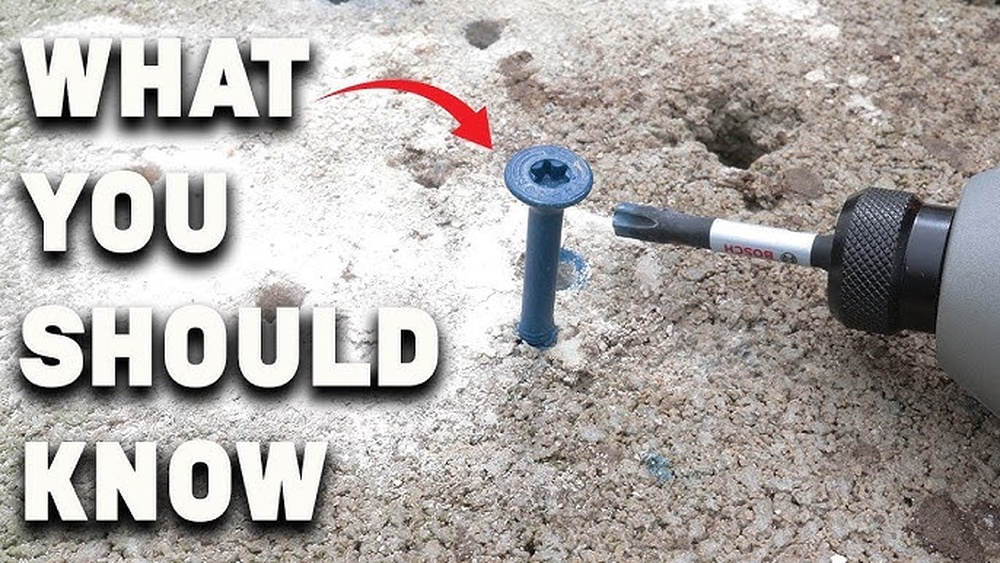
Are you struggling to secure heavy materials to concrete or masonry? Tapcon fasteners could be the simple solution you need.
These powerful screws are designed to hold strong, but only if you use them the right way. You’ll learn easy, step-by-step instructions to get the best results every time. By the end, you’ll feel confident tackling your project with tools and tips that make the job faster and more secure.
Ready to make your work last? Let’s dive in.
Tapcon Fasteners Basics
Understanding the basics of Tapcon fasteners is essential for any DIY project or construction work. These fasteners are designed to secure materials firmly into concrete, brick, or block surfaces. Knowing their types, sizes, and material compatibility helps you choose the right fastener for your task.
What Are Tapcon Fasteners
Tapcon fasteners are screws made to hold objects to hard surfaces. They have a unique thread that cuts into concrete or masonry. This thread creates a strong grip without needing anchors. You can use them for mounting shelves, fixtures, or signs on walls.
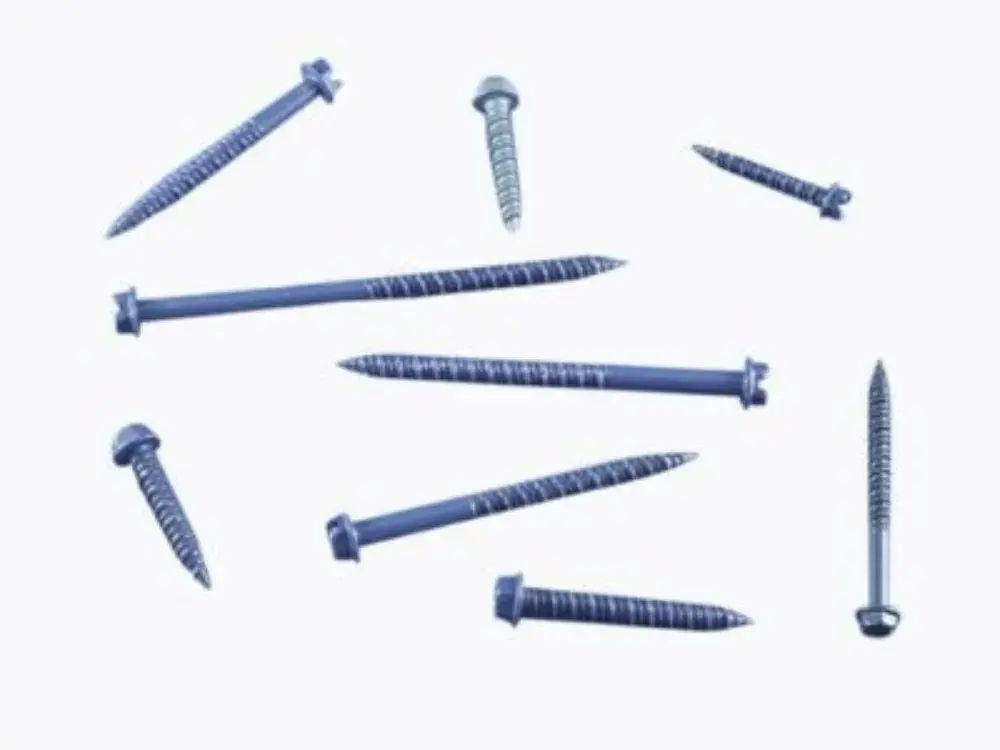
Types And Sizes
Tapcon fasteners come in various lengths and diameters. Common sizes range from 1/4 inch to 3/8 inch in diameter. Lengths vary between 1 inch and 4 inches. Choose the size based on material thickness and load requirements. There are also specialty types for different applications, such as hex head or Phillips head screws.
Material Compatibility
These fasteners work best with concrete, brick, and block materials. Steel or wood surfaces are not ideal for Tapcon screws. The fastener’s blue corrosion-resistant coating protects it from rust. This makes Tapcons suitable for indoor and outdoor use. Always check the surface type before selecting a Tapcon fastener.
Credit: www.fastenersystems.com
Choosing The Right Tapcon
Choosing the right Tapcon fastener is key for a strong hold. The right choice depends on the project needs and materials. Picking the correct fastener length, diameter, and strength helps avoid problems. Knowing the surface and load demands guides your selection. This ensures safety and durability in every job.
Selecting Length And Diameter
Length must be enough to go through the material and embed in concrete. Choose a longer screw for thicker materials. Diameter affects holding power. Thicker screws hold better but need bigger holes. Match diameter to the load and drill bit size. Avoid screws that are too short or thin.
Surface And Substrate Considerations
Tapcon fasteners work best in concrete, brick, and block. Check the surface for cracks or damage. Smooth or hard surfaces may need different fasteners or pilot holes. Soft or crumbly materials require lighter screws. Always clean the surface before installation for better grip.
Load Capacity Factors
Think about the weight the fastener must hold. Heavy loads need thicker, longer screws. Check manufacturer load ratings for safety. Use multiple fasteners for very heavy objects. Proper load capacity prevents fastener failure and accidents.
Tools Needed
Using Tapcon fasteners requires the right tools to ensure a strong and secure hold. Having the proper equipment makes the job easier and faster. Below are the essential tools needed for a successful installation.
Drill And Drill Bits
A drill is necessary to make holes in concrete or masonry. Use a hammer drill for best results. Choose the correct drill bit size. It should match the diameter of the Tapcon fastener. A carbide-tipped masonry bit works well for drilling into hard surfaces.
Screwdrivers And Drivers
A screwdriver or a power driver helps to drive the Tapcon screws into the drilled holes. Use a screwdriver bit that fits the screw head. A Phillips head is common for Tapcons. Using the right driver prevents damage to the screw and ensures tight fastening.
Safety Gear
Safety is important during installation. Wear safety goggles to protect your eyes from dust and debris. Use ear protection if the drill is loud. Gloves protect your hands from rough surfaces and sharp edges. Always work in a well-ventilated area.
Credit: www.youtube.com
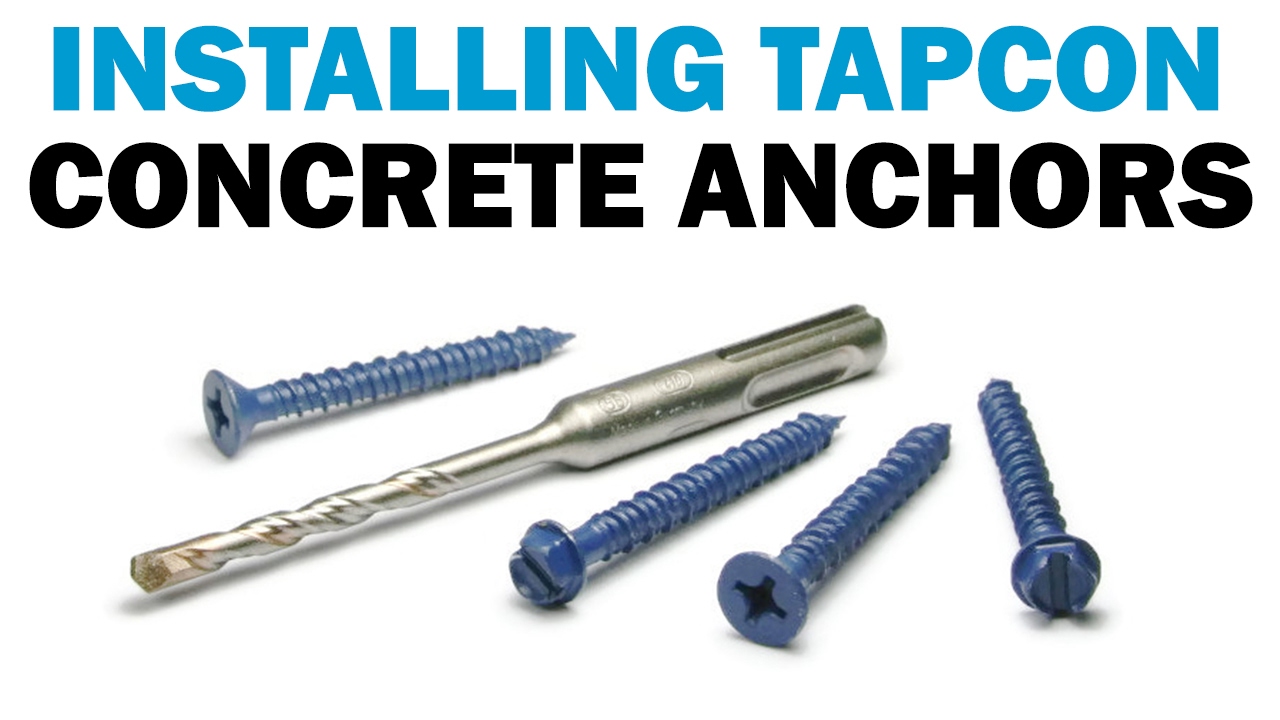
Step-by-step Installation
Installing Tapcon fasteners is simple if you follow each step carefully. These fasteners are perfect for securing objects to concrete or masonry. The key is to prepare the surface and use the right tools. Below is a step-by-step guide to help you install Tapcon fasteners effectively.
Marking And Measuring
Start by marking the spots where you want to install the fasteners. Use a pencil or marker for clear, visible marks. Measure the distance between each spot to keep everything even. Double-check your marks to avoid mistakes during drilling.
Drilling Pilot Holes
Choose a drill bit that matches the size of the Tapcon fastener. Use a hammer drill for best results in concrete or masonry. Drill straight into the marked spots to create pilot holes. Drill to the depth recommended on the Tapcon package.
Cleaning The Hole
Remove dust and debris from the drilled holes. Use a wire brush or compressed air to clean inside the holes. This step helps the fastener grip tightly and hold better. Clean holes prevent weak or loose installations.
Inserting The Tapcon
Place the Tapcon fastener into the cleaned hole. Push it in by hand until it sits flush with the surface. Make sure the fastener aligns correctly with the hole for secure fit. Avoid forcing it in with too much pressure.
Securing The Fastener
Use a power screwdriver with the right bit to tighten the Tapcon. Turn the fastener clockwise until it is firmly set. Do not overtighten, or the fastener might break. Check that the fastener holds the object tightly in place.
Tips For Stronger Anchoring
Strong anchoring is key for Tapcon fasteners to hold well. Follow these tips to make your anchors last longer and stay secure. Small changes can improve the strength and safety of your projects.
Proper Drill Speed
Use the right drill speed to avoid damaging the fastener. Too fast can overheat the bit and weaken the hole. Too slow makes drilling harder and less clean. Moderate speed works best for clean holes and strong hold.
Avoiding Over-tightening
Stop tightening once the fastener feels snug. Over-tightening can strip the threads or crack the material. Tighten just enough to hold parts firmly. This keeps the anchor secure without damage.
Using Washers For Load Distribution
Place washers under fastener heads to spread the load. Washers help avoid crushing softer materials. They increase the contact area and improve hold strength. Use washers for better results on drywall and wood.
Common Mistakes To Avoid
Using Tapcon fasteners correctly ensures strong and lasting holds. Avoiding common mistakes saves time and effort. These errors can weaken the connection or damage materials. Focus on these key points to get the best results.
Wrong Drill Bit Size
Choosing the wrong drill bit size causes poor fit. If the hole is too small, the fastener won’t fit. A hole too large weakens the hold. Use the exact size recommended by the manufacturer. This ensures the Tapcon grips the material tightly.
Insufficient Hole Depth
Drilling too shallow stops the fastener from seating fully. This reduces the strength of the connection. Always drill to the proper depth for the fastener length. Check the instructions to know the right hole depth.
Ignoring Material Type
Different materials require specific drill bits and fasteners. Concrete, brick, and block vary in hardness. Using the wrong bit or fastener can cause cracks or poor grip. Identify your material before starting the job. Match your tools and fasteners accordingly.
Maintenance And Removal
Maintaining and removing Tapcon fasteners is key to long-lasting results. Proper care keeps your projects strong and safe. It also makes future repairs easier.
Check fasteners regularly for signs of wear or damage. Remove them carefully to avoid harming the surface. Replace any damaged parts to ensure stability.
Inspecting Fastener Integrity
Look closely at each Tapcon for cracks or rust. Tapcons that are loose or bent need attention. Tighten screws if possible. Replace any fastener that looks weak or worn.
Removing Tapcons Safely
Use the right drill bit or screwdriver to avoid damage. Turn the fastener slowly and steadily. Avoid forcing it out, which can break the anchor or wall. Keep the area clean to prevent slipping or injury.
Replacing Damaged Fasteners
Choose a Tapcon that matches the original size and type. Drill a new hole if the old one is damaged. Insert the new fastener firmly but carefully. Test the hold before finishing the job.
Applications And Use Cases
Tapcon fasteners are strong and reliable anchors for many building tasks. They work best with hard materials like concrete and brick. Their unique design helps them grip tightly, making them useful in many projects.
These fasteners fit well in both small and large jobs. They are easy to use and save time. Understanding where to use them helps you get the best results.
Concrete And Masonry Projects
Tapcon fasteners are perfect for concrete and masonry. They hold items firmly on walls, floors, and ceilings made of these materials. Use them to fix shelves, frames, or pipes. Their strong grip keeps everything safe and steady.
Outdoor Installations
These fasteners work well outside. They resist rust and weather damage. Ideal for mounting signs, fences, or lighting fixtures. They stay strong even in rain or snow. Outdoor projects get a lasting hold with Tapcon fasteners.
Diy And Professional Uses
Both home users and builders trust Tapcon fasteners. They are simple enough for DIY projects. Professionals rely on them for heavy-duty tasks. Their versatility makes them a popular choice for many jobs. Anyone can use them with confidence.
Credit: www.homedepot.com
Frequently Asked Questions
What Are Tapcon Fasteners Used For?
Tapcon fasteners are used to secure materials to concrete, brick, or block surfaces. They provide strong, reliable anchoring for construction and DIY projects.
How Do You Install Tapcon Fasteners Correctly?
To install, drill a pilot hole, insert the Tapcon, and drive it in with a screwdriver or drill. Ensure the hole depth matches fastener length.
Can Tapcon Fasteners Be Removed And Reused?
Tapcon fasteners can be removed but are not recommended for reuse. Removal may damage the threads or reduce holding strength.
What Tools Are Needed For Tapcon Fastener Installation?
You need a hammer drill with a masonry bit, a screwdriver or drill with a compatible bit, and safety gear like goggles and gloves.
Conclusion
Using Tapcon fasteners makes securing materials easier and stronger. Choose the right size and drill a proper hole. Drive the fastener firmly for a tight hold. These steps help avoid common mistakes and ensure success. Tapcon fasteners work well on concrete, brick, and block surfaces.
With practice, your fastening skills will improve quickly. Keep safety in mind and use the right tools. Simple tips like these make any project smoother and safer. Try Tapcon fasteners for durable, reliable results every time.


