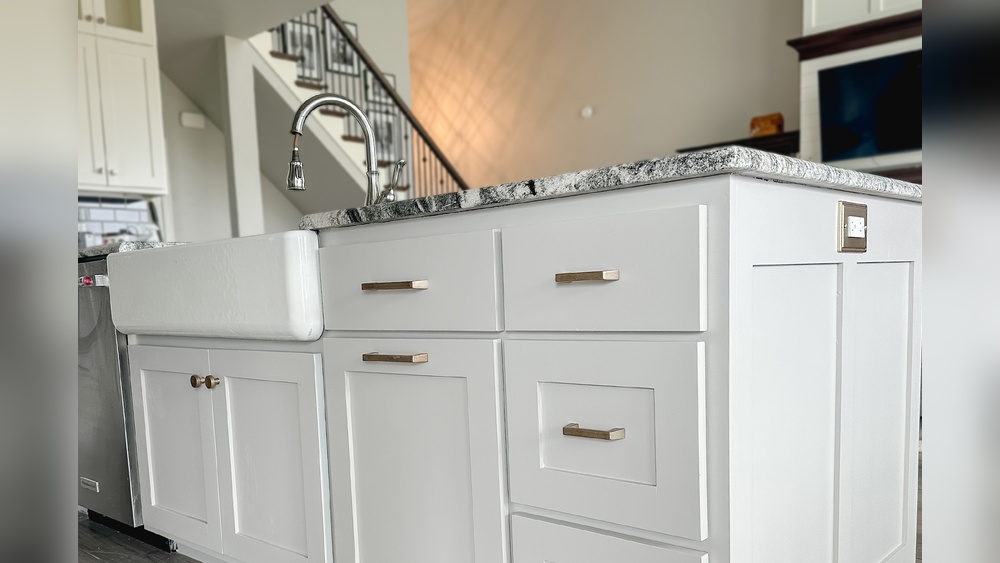
Are your kitchen cabinets looking tired, but you’re not ready for a full renovation? Changing the hardware can make a big difference, and spray painting is a quick, budget-friendly way to give them a fresh new look.
But can you really spray paint kitchen cabinet hardware without ruining it? If you’ve ever wondered whether this DIY project is worth your time, you’re in the right place. Keep reading to discover how spray painting can transform your hardware, what you need to know before you start, and tips to get a smooth, lasting finish you’ll love.
Your kitchen makeover could be easier than you think!
Benefits Of Spray Painting Hardware
Spray painting kitchen cabinet hardware offers many benefits. It changes the look of your kitchen without major work. This method refreshes old handles and knobs quickly. It lets you customize hardware to match your style and colors. Spray painting also saves money compared to buying new hardware. The process is simple and fast, making it great for DIY projects.
Cost-effective Upgrade
Spray painting hardware costs much less than new pieces. You only need paint and some basic supplies. This method avoids expensive trips to the store. It helps stretch your budget and still get a fresh look. Small changes make a big impact on your kitchen’s feel.
Wide Range Of Color Options
Spray paint comes in many colors and finishes. Choose matte, glossy, or metallic looks easily. You can match your kitchen decor or try bold new colors. This flexibility lets you express your style clearly. Hardware can become a focal point or blend in softly.
Quick And Easy Process
Spray painting hardware takes little time and effort. You only need to clean, tape, and spray. Drying times are short, so projects finish fast. No special skills are required, perfect for beginners. This quick update can transform your kitchen in one day.
Choosing The Right Spray Paint
Spray painting kitchen cabinet hardware is a smart way to refresh your space. Picking the right spray paint is key. The paint must stick well and last long on metal surfaces. It should also look good and match your style. This guide helps you find the best spray paint for your hardware.
Types Of Spray Paint For Metal
Not all spray paints work on metal. Choose spray paint made for metal surfaces. Look for paints labeled as “metal spray paint” or “all-purpose.” Some paints include rust protection. These prevent the hardware from corroding over time. Acrylic and enamel spray paints are popular choices. They dry fast and cover well.
Durability Considerations
Kitchen hardware faces daily use and moisture. Durable spray paint keeps the finish from chipping or peeling. Look for spray paints with strong adhesion and weather resistance. Some paints include a clear protective layer. This extra layer improves durability. Good durability means your hardware stays fresh longer.
Finish Options
Spray paints come in different finishes. Glossy finishes shine and reflect light. Matte finishes look smooth and do not shine. Satin finishes have a soft shine, between gloss and matte. Choose a finish that matches your kitchen style. Keep in mind, gloss hides dirt better. Matte shows fingerprints more easily.
Preparing Cabinet Hardware For Painting
Preparing cabinet hardware for painting is a key step for a smooth finish. Proper preparation helps the paint stick better and last longer. It also prevents peeling or chipping later on. Taking time to prepare each piece carefully ensures a professional look.
Removing Hardware Safely
Start by removing all hardware from your cabinets. Use the right screwdriver to avoid damage. Keep screws and small parts in a container. This stops them from getting lost. Handle hardware gently to prevent scratches or dents. Removing hardware makes painting easier and cleaner.
Cleaning And Sanding Tips
Clean each piece with warm soapy water. Remove grease and dirt well. Let the hardware dry completely before sanding. Lightly sand the surface with fine-grit sandpaper. This roughens smooth surfaces for better paint grip. Wipe off sanding dust with a soft cloth. Clean, smooth hardware helps paint stick better.
Using Primer For Best Results
Apply a primer made for metal or plastic hardware. Primer creates a strong base for spray paint. Use thin, even coats for the best coverage. Let primer dry fully before painting. Primer improves paint adhesion and durability. Skipping primer may cause paint to peel fast.

Credit: www.youtube.com
Spray Painting Techniques
Spray painting kitchen cabinet hardware is a great way to give them a fresh look. Using the right techniques makes the job easier and the finish smoother. This section covers key spray painting methods to help you get the best results.
Setting Up A Painting Area
Choose a well-ventilated space for spray painting. Outdoors or a garage with open doors works well. Lay down a drop cloth or old newspaper to catch overspray. Use painter’s tape to protect surfaces you don’t want painted. Good lighting helps you see the paint coverage clearly.
Applying Even Coats
Hold the spray can about 8 to 12 inches from the hardware. Spray in smooth, side-to-side motions. Start moving the can before you press the nozzle. Apply thin coats instead of one thick coat. Let each coat dry for a few minutes before the next. This prevents drips and uneven color.
Drying And Curing Time
Allow painted hardware to dry in a dust-free area. Drying takes about 30 minutes to an hour between coats. Full curing can take up to 24 hours. Avoid handling the pieces too soon to prevent fingerprints. Patience ensures a strong, lasting finish.
Avoiding Common Mistakes
Spray painting kitchen cabinet hardware can transform your space. Yet, mistakes can ruin the final look. Avoiding common errors ensures a smooth, lasting finish. Follow simple steps for a professional result.
Preventing Drips And Runs
Apply paint in thin, even coats. Thick layers cause drips and runs. Hold the spray can about 8-12 inches from the hardware. Move the can steadily side to side. Let each coat dry before adding another. Avoid spraying too close or too fast.
Ensuring Proper Adhesion
Clean hardware thoroughly before painting. Remove dirt, grease, and old paint. Sand the surface lightly to create grip. Use a primer made for metal surfaces. This helps paint stick and last longer. Skip primer, and paint may peel or chip.
Handling Weather Conditions
Spray paint works best in dry, mild weather. Avoid painting on humid or windy days. Moisture can cause paint to bubble or dry unevenly. Cold temperatures slow drying time. Choose a warm day with little wind for best results.

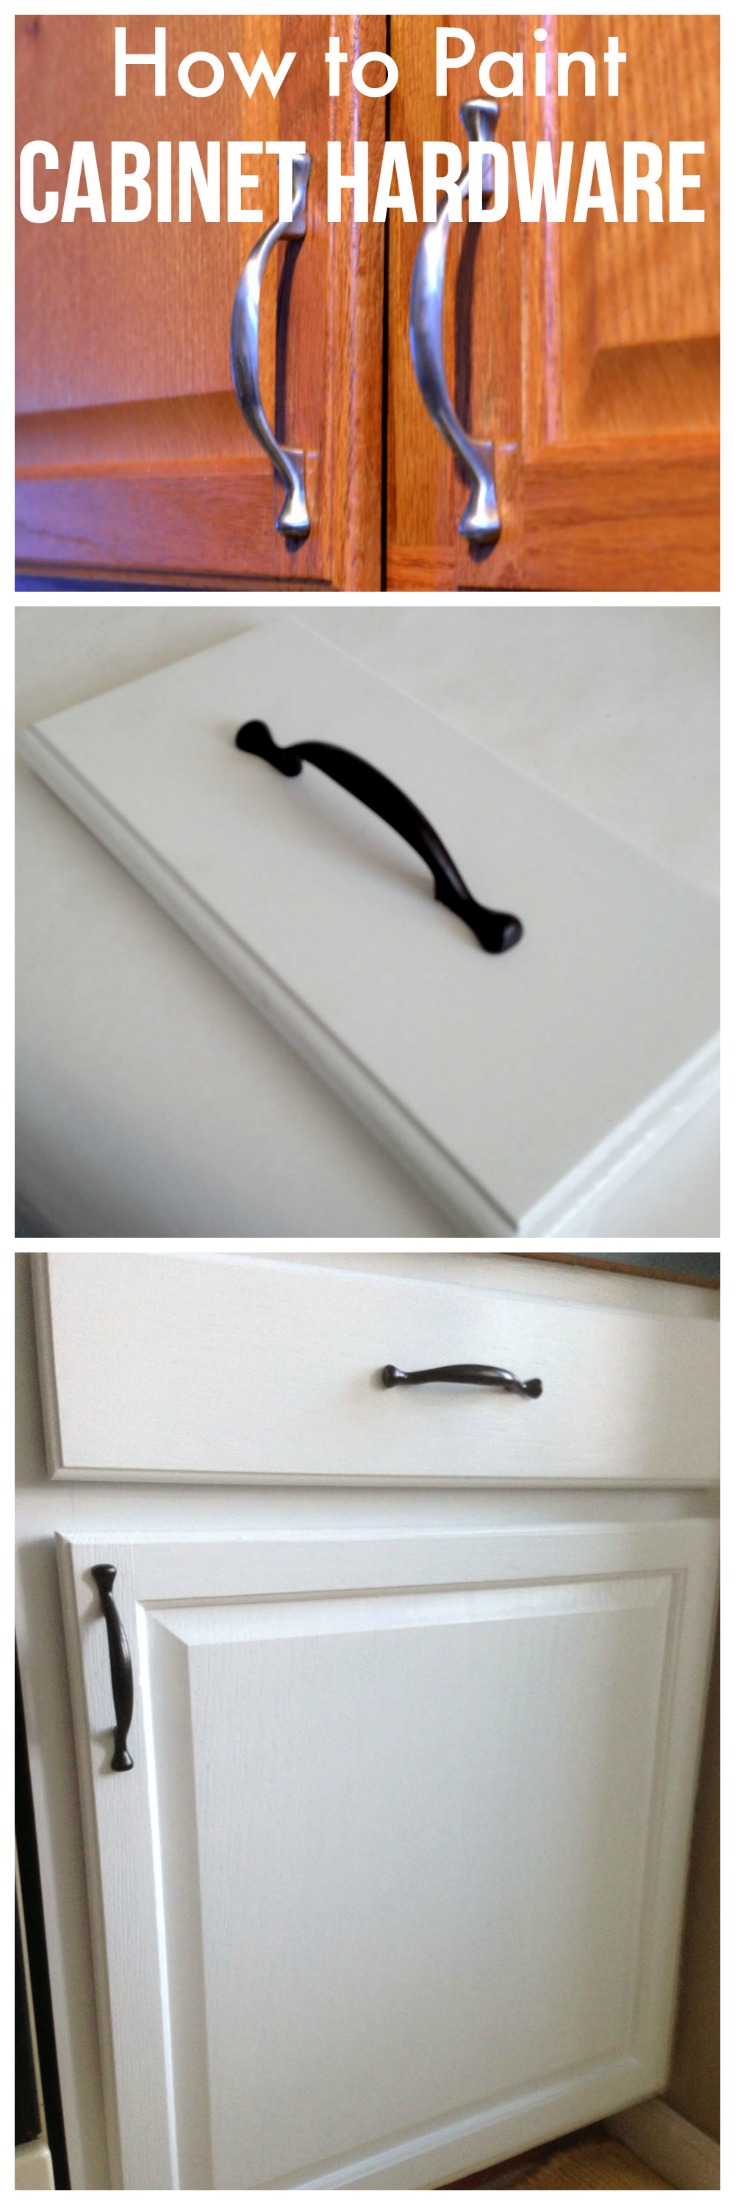
Credit: www.thriftydecorchick.com
Maintaining Painted Hardware
Maintaining painted kitchen cabinet hardware keeps your cabinets looking fresh. Painted hardware can chip or fade over time. Proper care helps extend the life of the paint. Simple steps can protect your hardware from damage and wear. Follow easy tips to keep the paint smooth and bright.
Cleaning Tips
Use a soft cloth to clean painted hardware. Avoid abrasive scrubbers that can scratch the paint. Mild soap and water work well for dirt and grease. Dry the hardware with a clean towel after washing. Regular gentle cleaning prevents paint from peeling.
Touch-up Methods
Small chips can be fixed with matching spray paint. Lightly sand the damaged area before painting. Use thin layers of paint to avoid drips. Let each layer dry fully before adding another. Touch-ups blend in better if done carefully and slowly.
When To Repaint
Repaint hardware if the paint peels or fades badly. Also repaint if the color no longer fits your kitchen style. Remove old paint with light sanding before repainting. Use a primer for better paint adhesion. Fresh paint gives your hardware a new look fast.
Alternatives To Spray Painting
Spray painting kitchen cabinet hardware is popular but not the only choice. Some alternatives offer easy, effective ways to change your hardware’s look. These options suit different skill levels and budgets. Explore other methods to refresh your kitchen style without spray paint.
Using Brush-on Paint
Brush-on paint is a simple option for small hardware pieces. Use a fine brush to apply paint carefully. It gives control and reduces mess. Choose paint made for metal or plastic for best results. Let each coat dry before adding another. This method works well for detailed or textured hardware.
Professional Refinishing Services
Experts can refinish your hardware with a smooth, durable finish. They use special tools and coatings that last longer. This option saves time and effort. Professionals also fix scratches or dents. It costs more but offers high-quality results that look like new.
Replacing Hardware
Changing your cabinet hardware is the easiest way to update your kitchen. New handles or knobs come in many styles and finishes. Choose ones that match your kitchen’s theme. This method requires no painting or cleaning. Just unscrew the old pieces and install new ones quickly.
Credit: createandbabble.com
Frequently Asked Questions
Can You Spray Paint Kitchen Cabinet Hardware Safely?
Yes, you can safely spray paint kitchen cabinet hardware. Proper cleaning, sanding, and using the right primer ensure durable results. Always work in a well-ventilated area and follow spray paint instructions for the best finish.
What Type Of Spray Paint Is Best For Cabinet Hardware?
Use spray paint designed for metal surfaces, such as enamel or oil-based paints. These provide better adhesion and durability on hardware, resisting wear and moisture in kitchens.
Should Kitchen Cabinet Hardware Be Removed Before Spray Painting?
Yes, always remove hardware from cabinets before spray painting. This prevents paint from damaging cabinets and ensures even coverage on all hardware surfaces.
How Long Does Spray Paint Take To Dry On Hardware?
Spray paint typically dries within 20-30 minutes to the touch. Full curing can take up to 24 hours, depending on paint type and environmental conditions.
Conclusion
Spray painting kitchen cabinet hardware can refresh your space quickly. It saves money compared to buying new pieces. Choose the right paint and prepare the surface well. Use thin, even coats for best results. Let each layer dry completely before the next.
This simple project can change the look of your kitchen. Small updates make a big difference over time. Try it yourself and enjoy a fresh, new feel.