Are your cabinet hardware pieces looking dull or covered with old, cracked varnish? Stripping varnish can seem tricky, but with the right approach, you can bring back that fresh, clean look in no time.
In this guide, you’ll discover simple, effective steps to remove varnish safely and easily. Whether you’re updating your kitchen or restoring vintage pieces, this article will give you the confidence to tackle the job yourself. Ready to transform your cabinet hardware?
Let’s get started!
Tools And Materials Needed
Stripping varnish from cabinet hardware requires the right tools and materials. Having everything ready makes the task easier and safer. This section lists what you need to start your project confidently.
Essential Supplies
Gather these supplies before you begin. A chemical varnish stripper is key to removing old finish. Choose one that works well on metal and wood. Use a plastic or metal scraper to lift the varnish gently. Steel wool or fine sandpaper smooths surfaces afterward. Have clean rags or cloths to wipe away residue. A container for soaking small parts helps if hardware can be submerged. Prepare a brush to apply the stripper evenly on surfaces.
Safety Gear
Protect yourself during the varnish removal process. Wear rubber gloves to keep chemicals off your skin. Use safety goggles to guard your eyes from splashes. A mask or respirator blocks harmful fumes. Work in a well-ventilated area or outside for fresh air. Wear old clothes or a protective apron to avoid stains. Keep a first aid kit nearby for minor accidents. Safety is important for a smooth, worry-free job.
Credit: www.kilz.com
Preparing The Workspace
Preparing the workspace is the first step in stripping varnish from cabinet hardware. A well-organized area helps you work safely and efficiently. It also protects your home from damage. Take time to set up a space that keeps everything clean and controlled.
Setting Up A Safe Area
Choose a spot with good ventilation. Open windows or use a fan to keep fresh air flowing. Wear gloves and safety glasses to protect your skin and eyes. Keep children and pets away from the workspace. Use a sturdy table or workbench to hold the hardware. Make sure the area is well-lit to see every detail clearly.
Protecting Surrounding Surfaces
Cover nearby surfaces with old newspapers or plastic sheets. This stops chemicals and varnish from causing stains or damage. Tape down the covers so they do not move. Remove any items that could get in the way or be harmed. Keep cleaning supplies handy in case of spills. Protecting surfaces saves time and effort in cleanup.
Removing Hardware From Cabinets
Start by removing the hardware gently from the cabinet doors. Use a safe varnish stripper to soak and clean the old finish. Scrape carefully to avoid damage and reveal the metal underneath.
Removing hardware from cabinets is the first step in stripping varnish effectively. It makes the cleaning process easier and prevents damage to your cabinets. Carefully taking off knobs, handles, and hinges helps protect them for later use or replacement. Proper removal also keeps the cabinet surface safe from scratches and stains.
Use the right tools and methods to avoid stripping screws or breaking parts. Organize the removed hardware so you can put everything back without trouble. Taking time now saves effort during reassembly and refinishing.
Unscrewing Techniques
Start by choosing the correct screwdriver. Match the screwdriver size to the screw head for a tight fit. Turn screws slowly to avoid slipping and damaging the cabinet surface. If screws feel stuck, apply a small amount of lubricant and wait a few minutes. Use gentle pressure and avoid forcing the screw out. Keep screws and hardware pieces in a small container to prevent loss.
Labeling For Reassembly
Label each piece of hardware after removal. Use small sticky notes or masking tape to mark screws and handles. Write the cabinet section or door number on each label. This method saves time and confusion later. Keep labels attached firmly to avoid mixing parts. Proper labeling helps you restore cabinets quickly and correctly after stripping varnish.
Choosing The Right Varnish Stripper
Choosing the right varnish stripper is key to a smooth project. The right product makes varnish removal easier and protects your cabinet hardware. Many strippers work well, but some suit certain materials better than others. Picking the right one saves time and effort. It also keeps your hardware safe from damage.
Chemical Vs. Natural Strippers
Chemical strippers use strong solvents to break down varnish fast. They work quickly and remove tough finishes well. These strippers need careful handling. Gloves and good ventilation are important to stay safe. Some chemicals can harm metal parts if left too long.
Natural strippers use plant-based ingredients. They are less harsh and safer to use indoors. These strippers take more time to work but are gentle on delicate hardware. Natural options often have less odor and fewer fumes. They are good for small jobs or sensitive materials.
Factors To Consider
Check the type of hardware before choosing a stripper. Brass and chrome may react differently to chemicals. Think about the size of the job. Large areas might need stronger or faster strippers. Consider your workspace—good ventilation helps with chemical fumes.
Look for a product that fits your comfort level with handling chemicals. Read the instructions carefully. Some strippers need rinsing, others wipe off easily. Price matters too, but don’t buy the cheapest option without checking reviews. Safety and effectiveness should come first.
Applying The Varnish Stripper
Applying the varnish stripper is a key step in removing old finish from cabinet hardware. This process softens the varnish, making it easier to scrape or wipe away. Proper application ensures the stripper works quickly and evenly. Careful technique helps protect the hardware and saves time.
Step-by-step Application
Start by wearing gloves and working in a well-ventilated area. Use a brush or cloth to apply a thick layer of varnish stripper. Cover all surfaces evenly. Let the stripper sit for the time recommended on the product label. Check the varnish for softening by gently scraping a small area. Repeat application if the varnish remains hard. Once softened, use a plastic scraper or steel wool to remove the varnish. Clean the hardware with water or a neutralizer after stripping.
Tips For Effective Coverage
Apply stripper in thin, even coats to avoid drips or pooling. Avoid brushing too hard to prevent damage to details. Work in small sections for better control. Use a natural bristle brush for smooth application. Keep tools clean to maintain smooth coverage. Remove excess stripper quickly to prevent sticky residue. Follow safety instructions and avoid inhaling fumes.
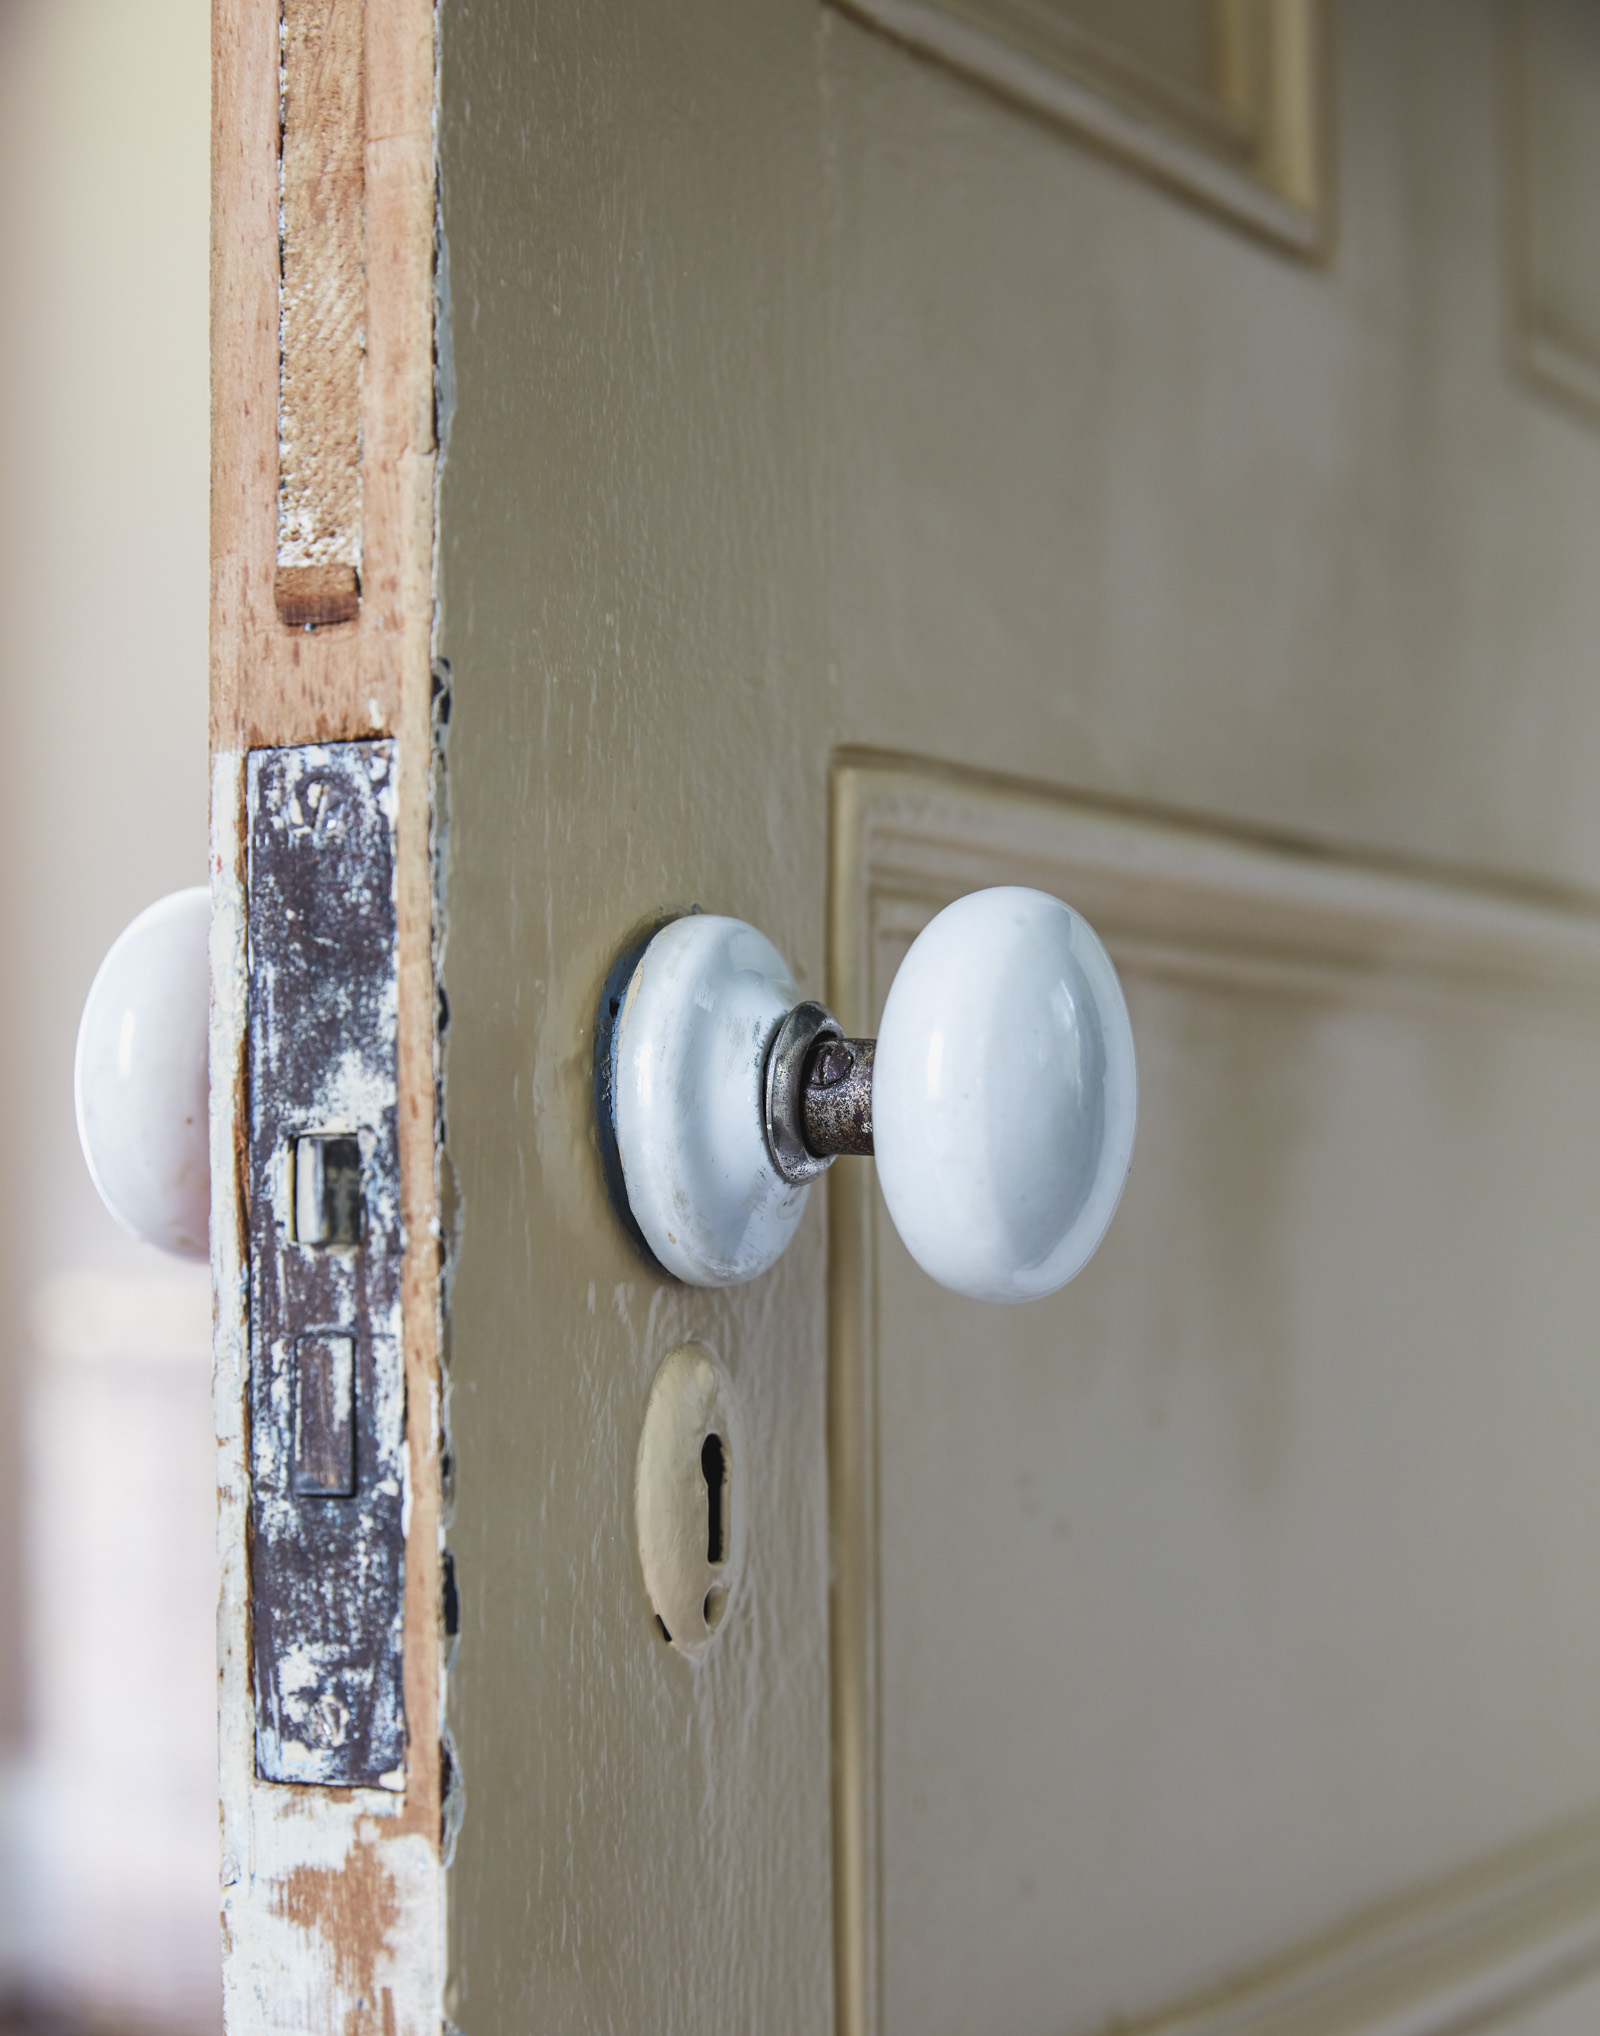
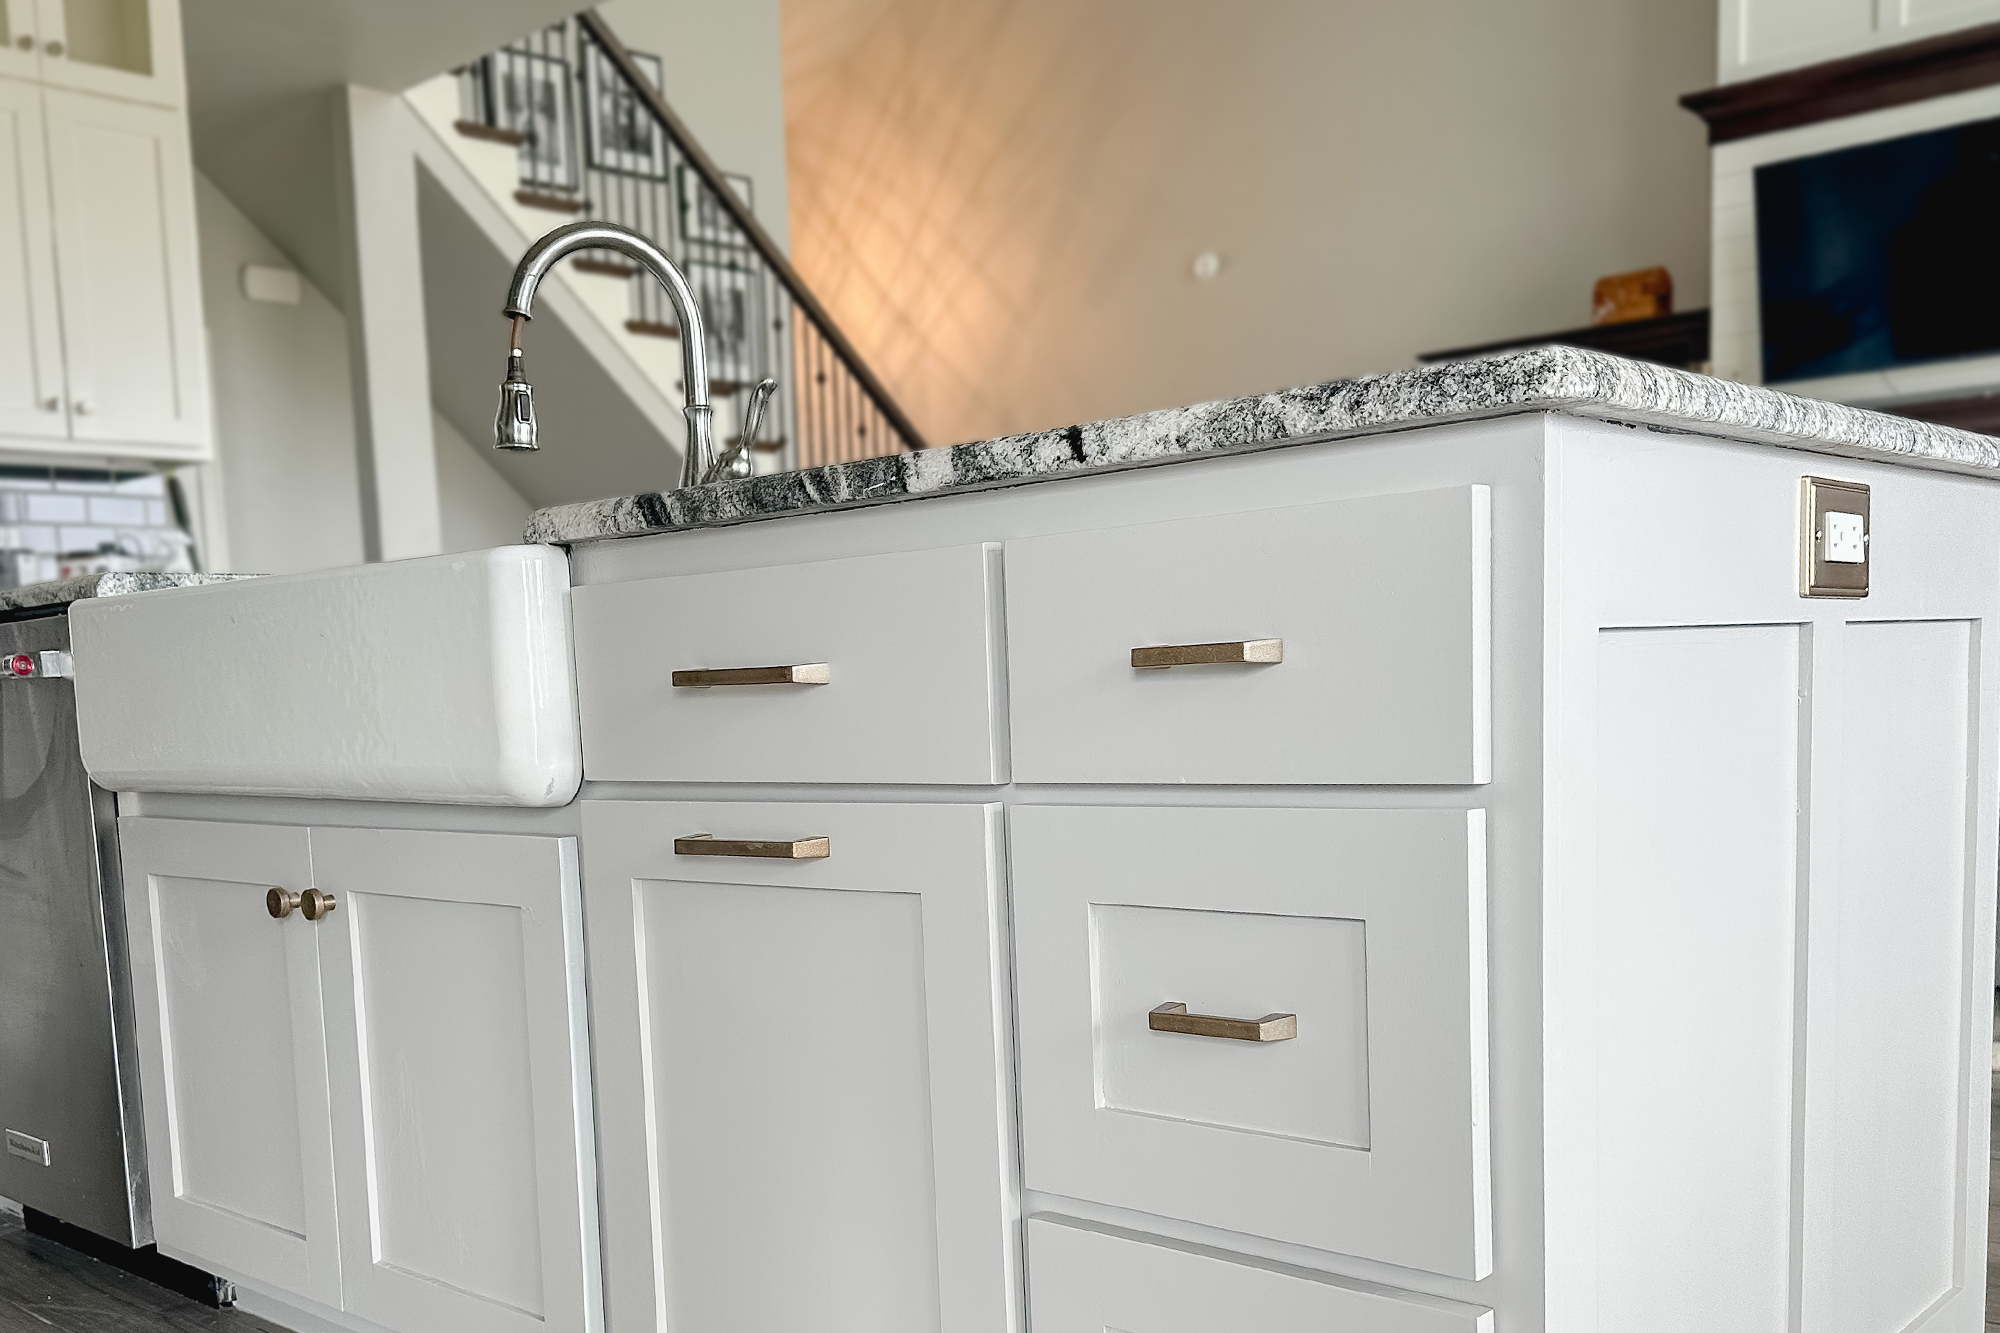
Credit: houseofbrinson.com
Removing The Softened Varnish
Removing the softened varnish is an important step in restoring cabinet hardware. After applying a varnish remover, the finish becomes soft and easy to take off. You must handle this step carefully to avoid damaging the hardware underneath. The goal is to clear away the old varnish completely before cleaning the pieces.
Using Scrapers And Brushes
Start by using a plastic scraper to lift the softened varnish. Gently push the scraper along the surface without pressing too hard. Metal scrapers can scratch the hardware, so avoid them. Small brushes help reach tight corners and detailed areas. Use a stiff nylon brush to scrub off varnish bits. Work slowly and check your progress often.
Cleaning Residue
After removing the bulk of the varnish, residue may remain. Use a clean cloth to wipe away leftover bits and remover. For stubborn spots, apply a little mineral spirits on a cloth. This helps dissolve varnish traces without harming the metal. Finally, let the hardware dry fully before any further work. Clean pieces look better and take new finishes well.
Finishing Touches
Finishing touches are key to making your cabinet hardware look perfect. After stripping varnish, the hardware needs extra care. This step helps create a smooth surface. It also prepares the piece for a new finish or paint. Small details here affect the final look and feel.
Sanding The Hardware
Use fine-grit sandpaper to smooth the hardware. Sand gently to remove leftover varnish or rough spots. Avoid sanding too hard to prevent damage. Focus on edges and crevices carefully. Clean the dust off with a soft cloth after sanding. This step makes the surface ready for the next process.
Preparing For Refinish Or Paint
Ensure the hardware is clean and dry. Wipe it with a cloth to remove oils and dirt. Use a metal primer if painting metal pieces. Primer helps paint stick better and last longer. For refinishing, apply a suitable base coat. Let each layer dry fully before adding the next. Proper prep work leads to a smooth, lasting finish.
Safety Precautions
Stripping varnish from cabinet hardware involves strong chemicals. Taking safety steps protects your health and home. Always prepare before starting the project. Small mistakes can cause big problems.
Handling Chemicals Safely
Wear gloves to protect your skin from burns. Use goggles to shield your eyes from splashes. Work in a well-ventilated area to avoid breathing fumes. Keep chemicals away from children and pets. Follow the instructions on the product label carefully. Avoid mixing chemicals, as it can create toxic gases. Store chemicals in their original containers with clear labels.
Disposal Of Waste Materials
Do not pour leftover chemicals down the drain. Use a sealed container for disposing of rags and brushes. Take waste materials to a local hazardous waste facility. Check community rules for chemical disposal. Clean tools outside or in a space that can handle spills. Proper disposal prevents pollution and health risks.
Troubleshooting Common Issues
Troubleshooting common issues helps make varnish removal easier. Problems can slow your progress or cause damage. Knowing how to fix them saves time and protects your hardware.
Stubborn Varnish Spots
Some varnish spots refuse to come off with the first try. Use a small brush to scrub these areas gently. Apply a second coat of varnish remover if needed. Let it sit longer to soften the varnish. Avoid scraping hard to prevent scratches.
Damage Prevention
Cabinet hardware can get damaged during varnish removal. Use soft cloths and gentle tools only. Test the remover on a small spot first. Wear gloves to protect your skin. Work in a well-ventilated area to avoid fumes. Patience avoids mistakes and keeps hardware safe.
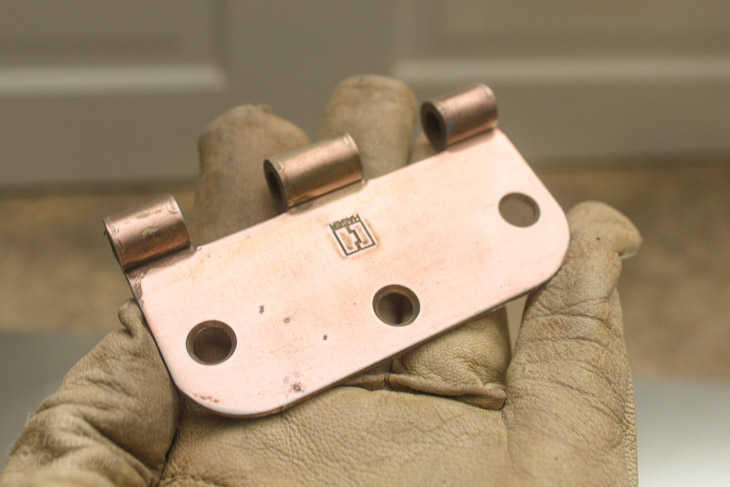
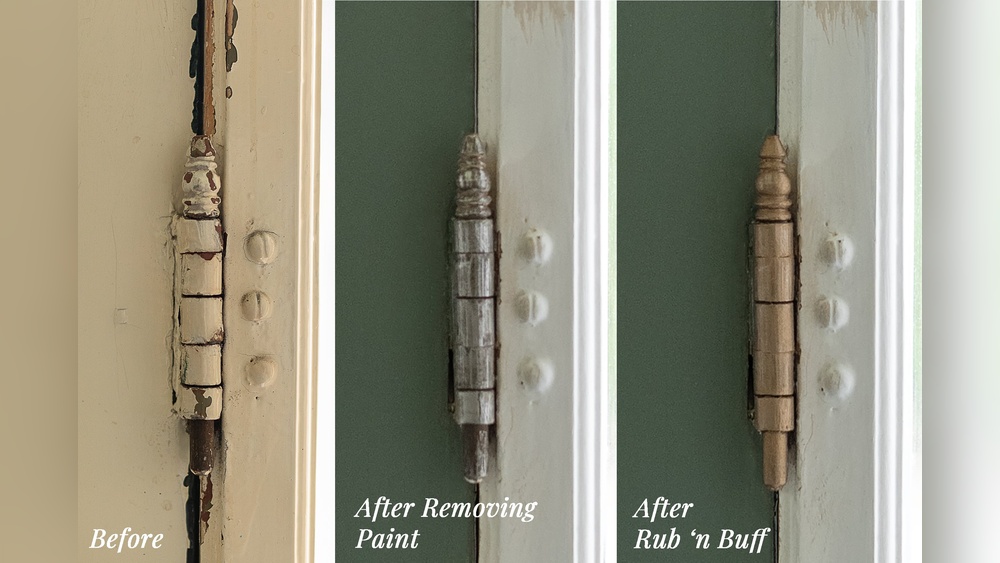
Credit: prettyhandygirl.com
Frequently Asked Questions
How Do I Safely Strip Varnish From Cabinet Hardware?
Use a chemical varnish stripper or soak hardware in a vinegar and baking soda solution. Always wear gloves and work in a well-ventilated area to avoid fumes and skin irritation.
Can I Strip Varnish Without Damaging The Hardware?
Yes, choose a gentle stripper suitable for the hardware material. Avoid abrasive tools and test the stripper on a small area first to prevent damage.
What Tools Are Needed To Strip Cabinet Hardware Varnish?
You’ll need a varnish stripper, a soft brush, gloves, a plastic scraper, and clean rags. These tools help remove varnish efficiently without scratching the hardware.
How Long Does Varnish Stripping Usually Take?
Stripping varnish typically takes 15 to 30 minutes depending on the varnish thickness and stripper used. Multiple applications may be necessary for heavy finishes.
Conclusion
Stripping varnish from cabinet hardware takes patience and care. Use the right tools and products for the best results. Work in a well-ventilated area to stay safe. Take your time and follow each step closely. Clean hardware looks fresh and ready for new finishes.
Enjoy the satisfaction of restoring your cabinets yourself. Small efforts bring big changes in your home’s look. Keep these tips handy for future projects too.