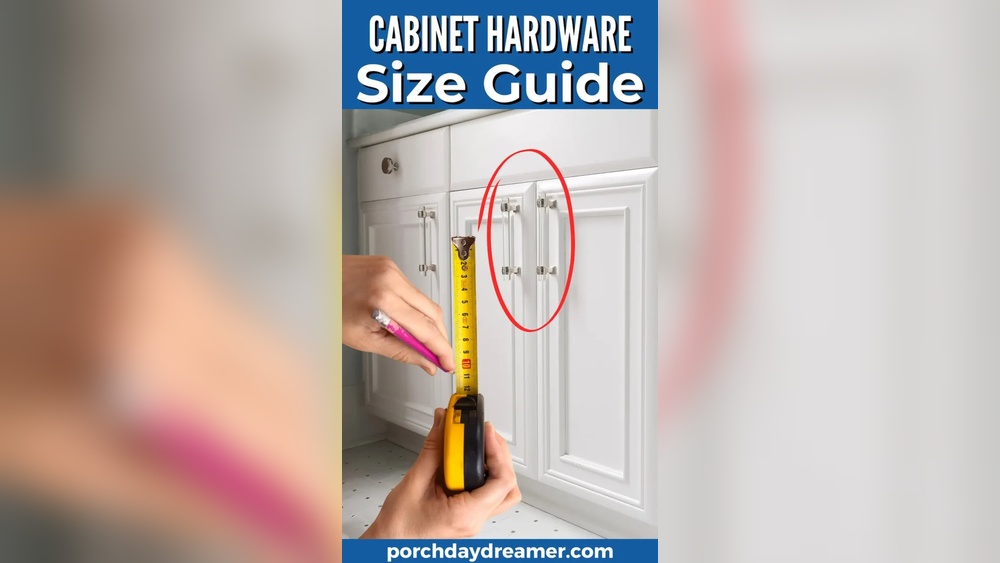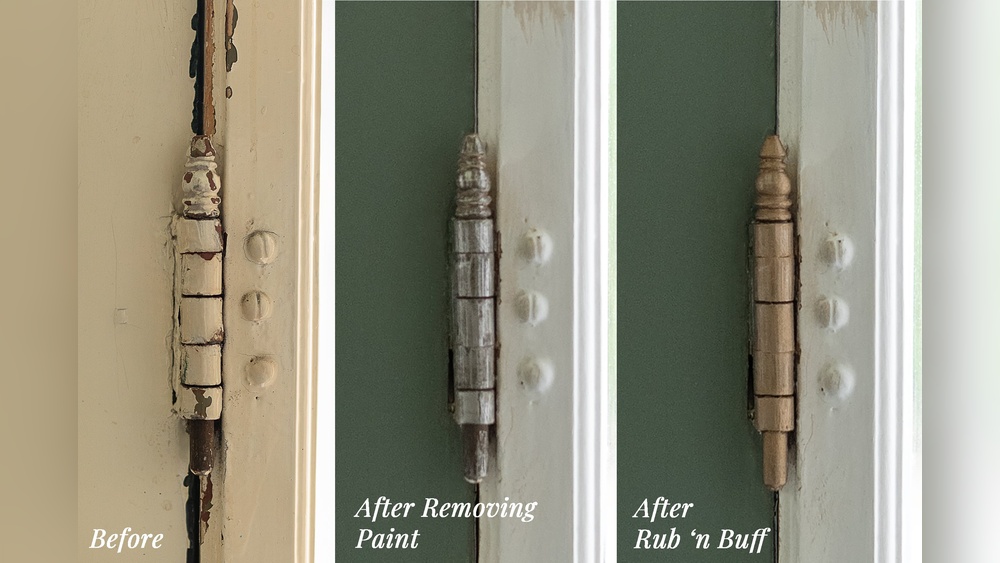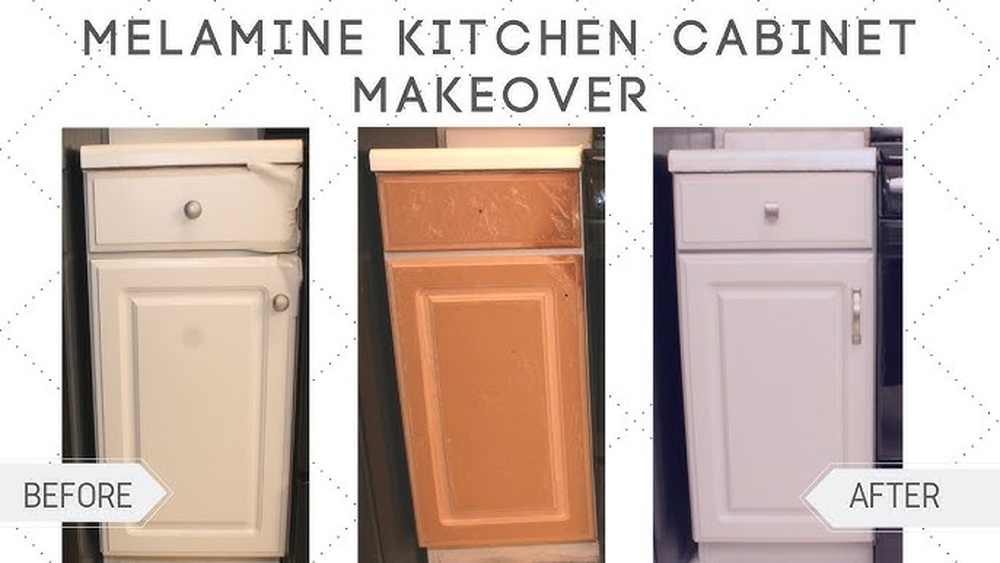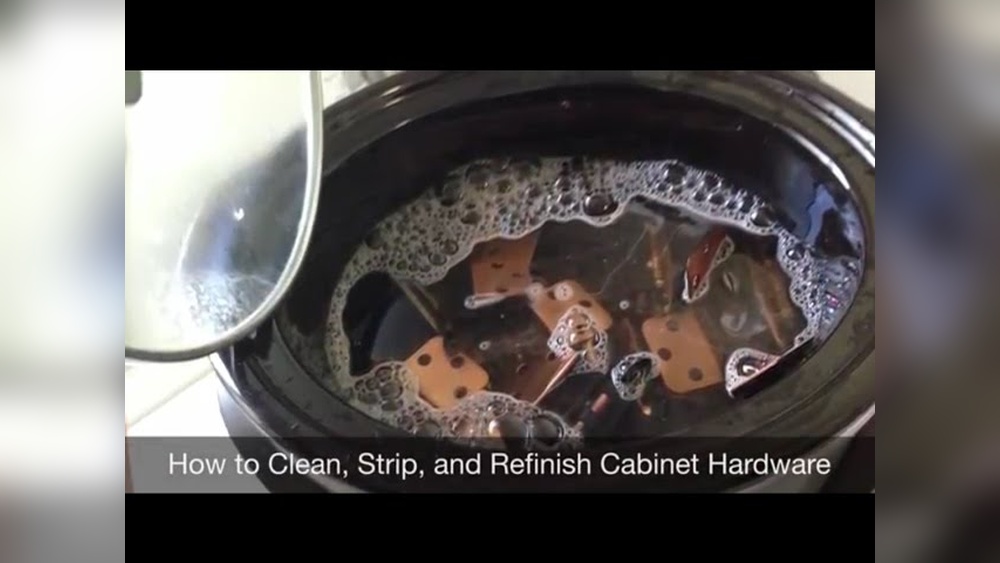
Are your kitchen cabinets looking tired because of dull, old hardware? You don’t have to replace everything to bring back that shine.
Polishing your cabinet hardware is a simple, cost-effective way to refresh your kitchen’s look instantly. Imagine opening your cabinets and seeing gleaming handles and knobs that catch the light just right. In this guide, you’ll discover easy steps to make your old hardware sparkle like new.
Ready to transform your kitchen without spending a fortune? Keep reading, and let’s get started!
Tools And Materials Needed
Polishing old kitchen cabinet hardware requires specific tools and materials. These help clean and restore the shine. Preparing everything before you start makes the task easier. It also helps protect your cabinets and hardware from damage.
Gathering Cleaning Supplies
Collect soft cloths to avoid scratches. Use old toothbrushes to reach small areas. Mild soap helps remove dirt and grease. Warm water loosens grime without harming metal. Have a bowl ready for soaking hardware pieces.
Selecting The Right Polish
Choose polish based on the hardware material. Brass needs a brass polish. Chrome requires a chrome cleaner. Avoid harsh chemicals that can dull the finish. Test polish on a small area first to ensure safety.
Protective Gear
Wear gloves to protect your hands from chemicals. Use eye protection if splashing is possible. Work in a well-ventilated area for safety. Keep a towel nearby to wipe spills quickly.
Credit: www.amazon.com
Preparing The Hardware
Preparing the hardware is the first step in polishing old kitchen cabinet pieces. This step makes sure you clean and restore the hardware properly. It helps remove dirt, rust, and old polish. Doing this right makes the final shine last longer and look better.
Removing Cabinet Hardware
Start by taking the hardware off the cabinets. Use a screwdriver to remove screws carefully. Keep screws and hardware together in a small container. This prevents losing any parts. Removing hardware makes cleaning easier and protects cabinets from damage.
Cleaning Off Dirt And Grime
Wipe the hardware with a soft cloth to remove loose dirt. Use warm water mixed with mild dish soap. Dip a cloth or sponge in the soapy water. Gently scrub the hardware to remove grease and grime. Rinse with clean water and dry with a soft towel.
Soaking For Tough Stains
For stubborn stains, soak the hardware in a cleaning solution. Use a mix of warm water and vinegar or baking soda. Let the hardware sit for 15 to 30 minutes. This softens tough grime and rust spots. After soaking, scrub gently with a toothbrush or soft brush. Rinse and dry thoroughly to prevent rust.
Polishing Techniques
Polishing old kitchen cabinet hardware brings back its original shine and charm. Using the right polishing techniques can make a big difference. It helps remove dirt, rust, and dullness that build up over time. This section explains easy ways to polish your cabinet hardware and make it look new again.
Using Metal Polish
Metal polish is a quick way to clean and shine cabinet hardware. Choose a polish made for the metal type of your hardware, like brass or chrome. Apply a small amount on a soft cloth. Rub gently in small circles. This removes tarnish and restores brightness. Wipe off any leftover polish with a clean cloth. Repeat if needed for extra shine.
Natural Alternatives
Natural products work well for polishing and are safe to use. Lemon juice and baking soda make a simple paste. Use this paste to scrub your hardware softly. It removes stains and dullness without harsh chemicals. Vinegar also works to clean metal surfaces. Soak a cloth in vinegar and wipe the hardware. Rinse with water and dry thoroughly to avoid spots.
Buffing For Shine
Buffing helps bring out a smooth, glossy finish on hardware. Use a soft, dry cloth or a buffing pad. Rub the hardware quickly but gently. This action polishes the surface and enhances the shine. For best results, buff after using polish or natural cleaners. Keep buffing until the hardware looks bright and smooth.
Handling Different Materials
Old kitchen cabinet hardware can come in many materials. Each type needs a special way to clean and polish. Using the right method keeps the hardware shiny and safe. It also helps the kitchen look fresh and neat. The following tips cover how to handle brass, chrome, stainless steel, and antique finishes.
Brass Hardware
Brass hardware often looks warm and bright. To clean it, use a soft cloth and mild soap. Avoid harsh chemicals that can damage the finish. For extra shine, a mix of lemon juice and baking soda works well. Rub gently and rinse with water. Dry the hardware completely to stop water spots.
Chrome And Stainless Steel
Chrome and stainless steel pieces have a cool, smooth look. Use a soft cloth with warm water and mild dish soap. Wipe gently to remove dirt and fingerprints. For tough spots, apply a small amount of vinegar. Rinse and dry fully. Avoid steel wool or rough pads that can scratch the surface.
Antique Finishes
Antique hardware needs careful handling to keep its character. Use a soft brush to dust off dirt. Avoid strong cleaners that can remove the patina. A mix of mild soap and water is best for cleaning. Dab gently with a cloth and dry immediately. Preserve the worn look without polishing too hard.
Reinstalling And Maintenance
After polishing your old kitchen cabinet hardware, the next step is to reinstall and maintain it properly. This ensures your cabinets look great and the hardware lasts longer. Careful handling during reinstallation keeps the finish intact. Regular maintenance prevents dullness and damage over time.
Drying And Inspecting Hardware
Make sure the hardware is completely dry before reinstalling. Moisture can cause rust or damage the finish. Check each piece carefully for any cracks or loose parts. Fix any issues before putting them back. Clean hardware looks better and works smoothly.
Reattaching To Cabinets
Use the original screws or new ones if needed. Tighten screws firmly but do not over-tighten to avoid stripping. Align the hardware properly for a neat look. Test each handle or knob to ensure it is secure. Take your time to avoid scratches on cabinets.
Regular Care Tips
Wipe hardware regularly with a soft cloth to remove dust. Avoid harsh chemicals that can damage the finish. Use mild soap and water for deeper cleaning. Dry hardware right after cleaning to prevent water spots. Check screws periodically and tighten if loose.
Credit: stofferhome.com

Credit: www.forgehardwarestudio.com
Frequently Asked Questions
How Do I Clean Old Kitchen Cabinet Hardware?
Remove the hardware and soak it in warm, soapy water for 10 minutes. Use a soft brush to scrub off grime. Rinse and dry thoroughly before polishing. This method helps remove dirt without damaging the metal surface.
What Materials Are Best For Polishing Cabinet Hardware?
Use metal polish suitable for brass, nickel, or chrome finishes. Homemade options include vinegar and baking soda paste or lemon juice with salt. Always test on a small area first to avoid damage.
Can I Polish Hardware Without Removing It?
Yes, you can polish hardware in place using a soft cloth and polish. Be careful to protect surrounding wood with painter’s tape. This method is quicker but less thorough than removal.
How Often Should I Polish Kitchen Cabinet Hardware?
Polish hardware every 6 to 12 months to maintain shine and prevent tarnish. Frequent cleaning with a soft cloth helps extend polish life. Avoid harsh chemicals that can damage the finish.
Conclusion
Polishing old kitchen cabinet hardware brings new life to your space. It saves money and avoids buying replacements. Simple steps like cleaning, sanding, and applying polish work well. Patience and care make the hardware shine bright again. Small changes can make your kitchen look fresh and neat.
Try this easy project to enjoy a cleaner, brighter kitchen. Your cabinets will thank you with their new glow. Give your kitchen a quick update without much effort.