Have you ever struggled with a stubborn snap fastener that just won’t come off? Whether it’s on your favorite jacket, a bag, or a piece of baby clothing, a damaged or unwanted snap can be frustrating.
But don’t worry—you don’t have to ruin your item or call a professional to fix it. In this guide, you’ll learn simple, effective steps to remove a snap fastener quickly and safely. By the end, you’ll feel confident handling snaps like a pro and saving your clothes or accessories from unnecessary damage.
Keep reading to discover the easy tricks that make removing snap fasteners hassle-free!
Credit: www.burieddiamond.com
Tools Needed
Removing a snap fastener requires the right tools to avoid damage. Choosing the right equipment makes the process smooth and safe. Tools can be simple household items or specialized instruments. Both types help loosen and remove snaps efficiently. Prepare these tools before starting your project.
Common Household Items
Many household items work well for removing snap fasteners. A small flathead screwdriver can pry the snap gently. A pair of tweezers helps pull out the snap once loosened. A seam ripper can cut threads or fabric around the snap. Use a butter knife carefully if no screwdriver is available. These items are easy to find and safe to use with care.
Specialized Snap Removal Tools
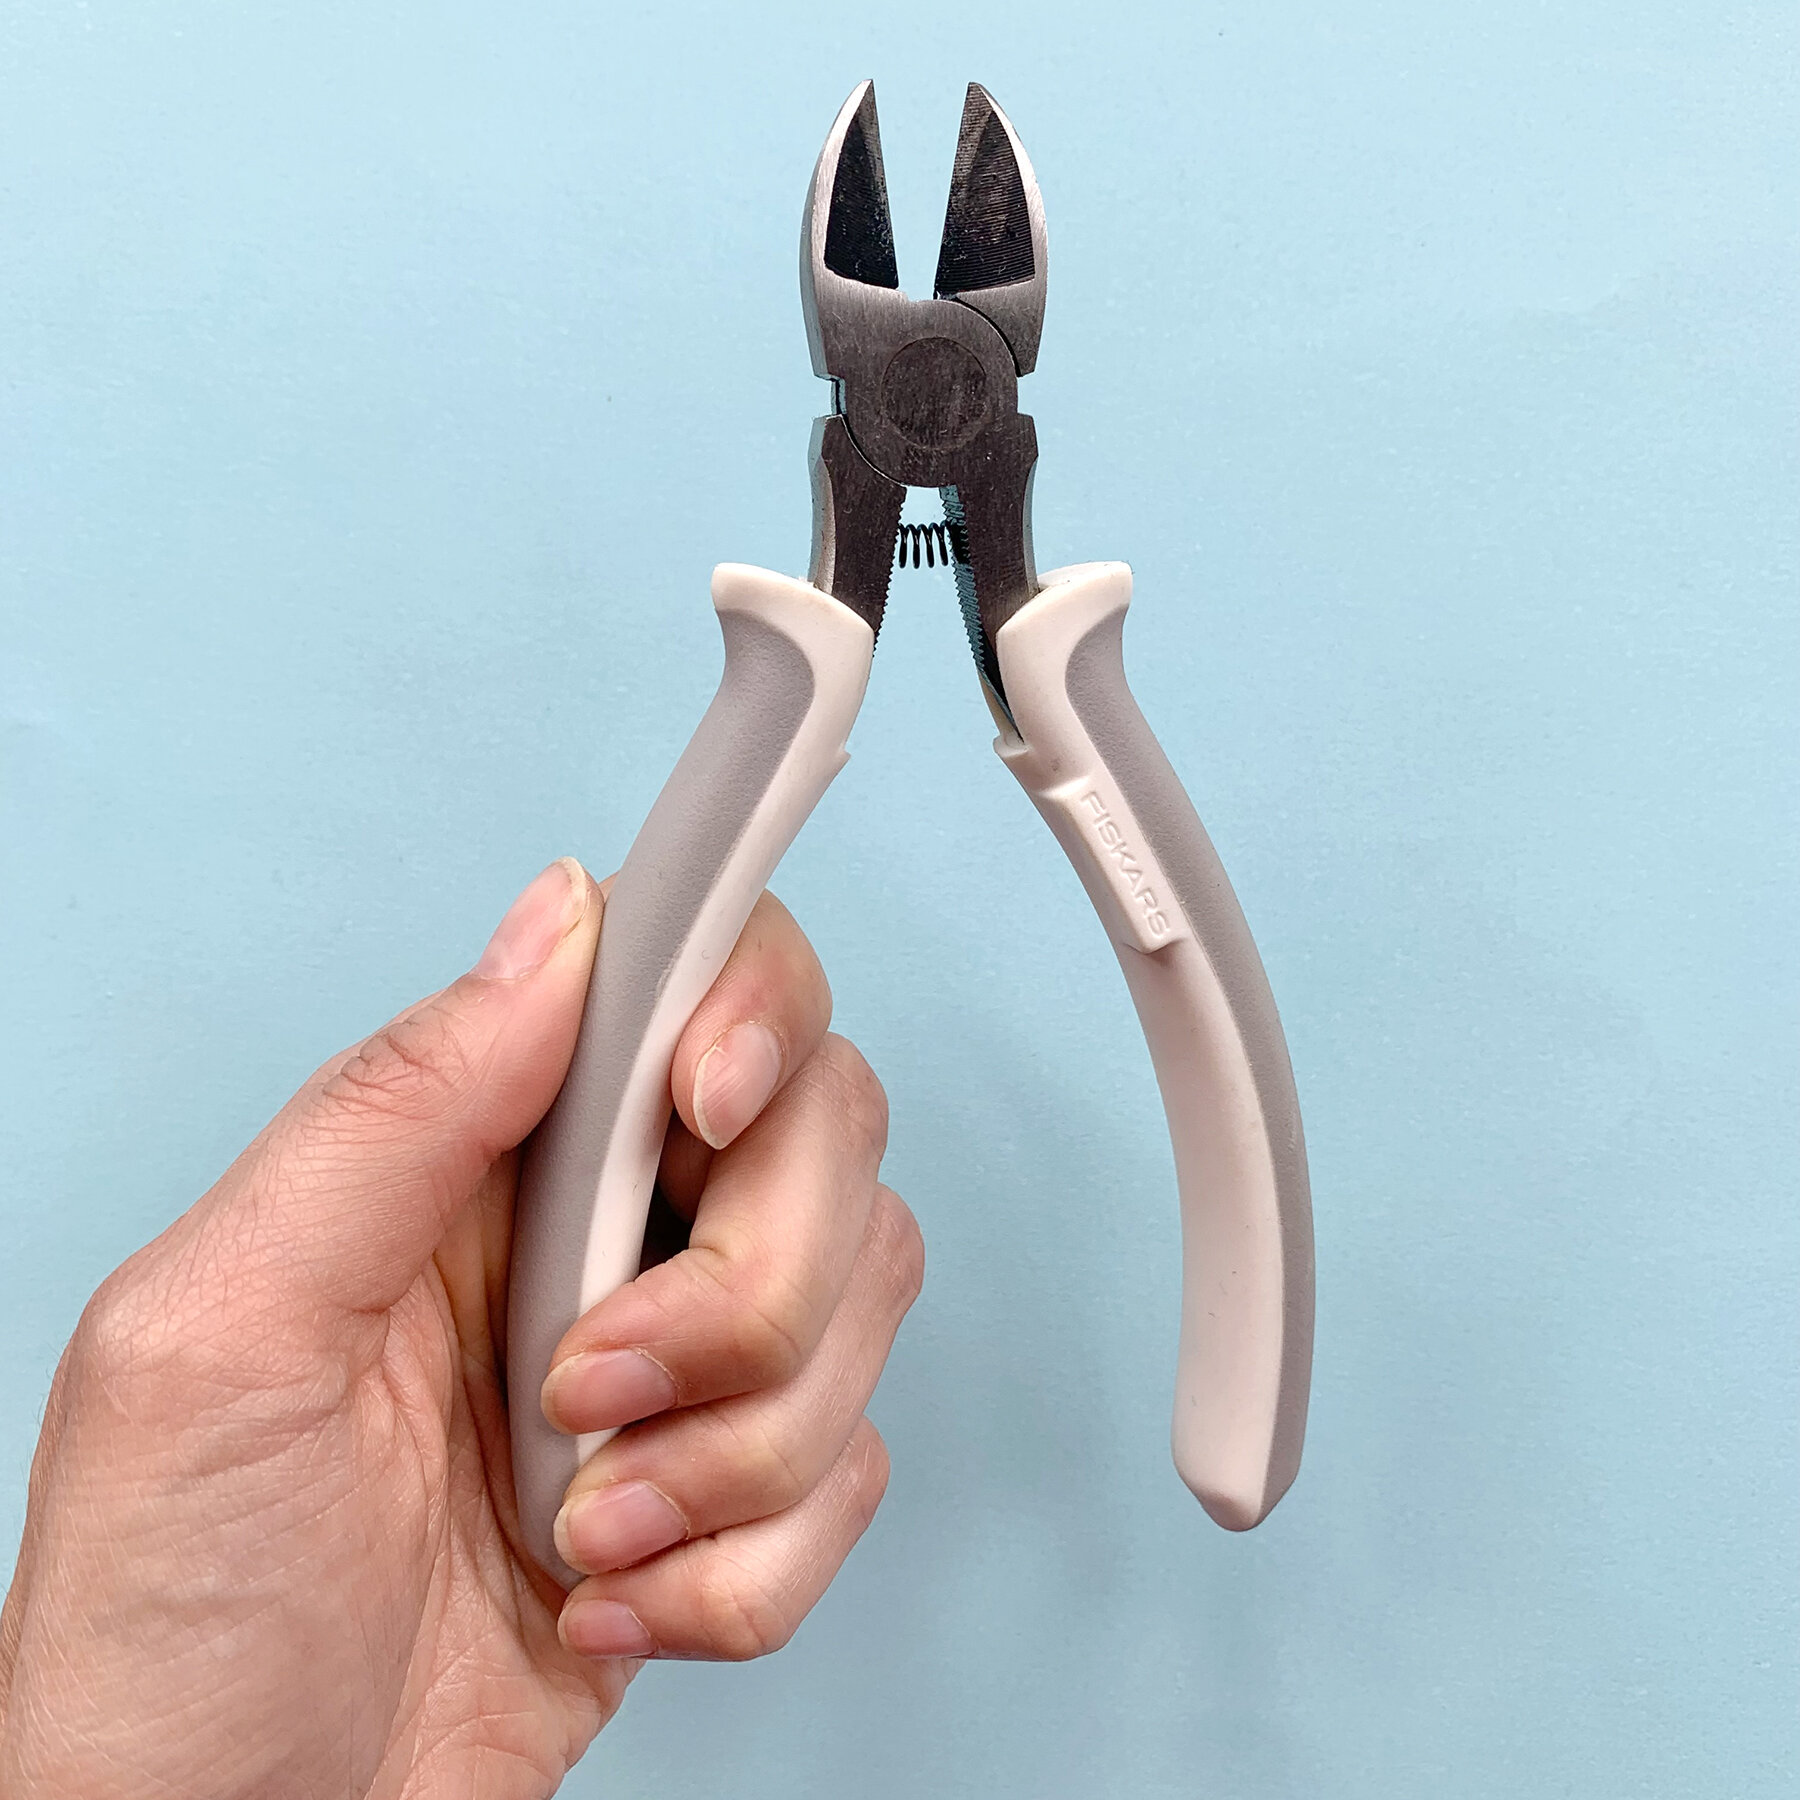
Specialized tools make snap removal quicker and cleaner. Snap pliers designed for removal grip the snap firmly. These pliers apply pressure to release the snap without damage. A snap remover tool has a forked end to lift snaps gently. These tools are affordable and useful for frequent use. They protect fabric and save time during removal.
Safety Precautions
Removing snap fasteners can be tricky and needs care. Following safety steps protects you and your fabric. This section covers key safety tips for a smooth process.
Protecting Fabric
Use a small tool like a seam ripper or flathead screwdriver. Gently work under the snap without cutting the fabric. Place a thin cloth between the tool and fabric. This stops accidental tears or holes. Take your time to avoid damage. Check fabric strength before starting. Some materials need extra care or a different method.
Avoiding Injury
Hold the fabric firmly but gently. Keep fingers away from sharp tools. Work in a well-lit area to see clearly. Use tools with handles for better grip. Cut slowly to prevent slips. Wear protective gloves if needed. Stop if you feel pain or discomfort. Safety first always.
Preparing The Snap Fastener
Preparing the snap fastener is the first step before removal. This step ensures a smooth and safe process. Proper preparation reduces damage to fabric and snap parts. Follow simple actions to get ready.
Locating The Snap Parts
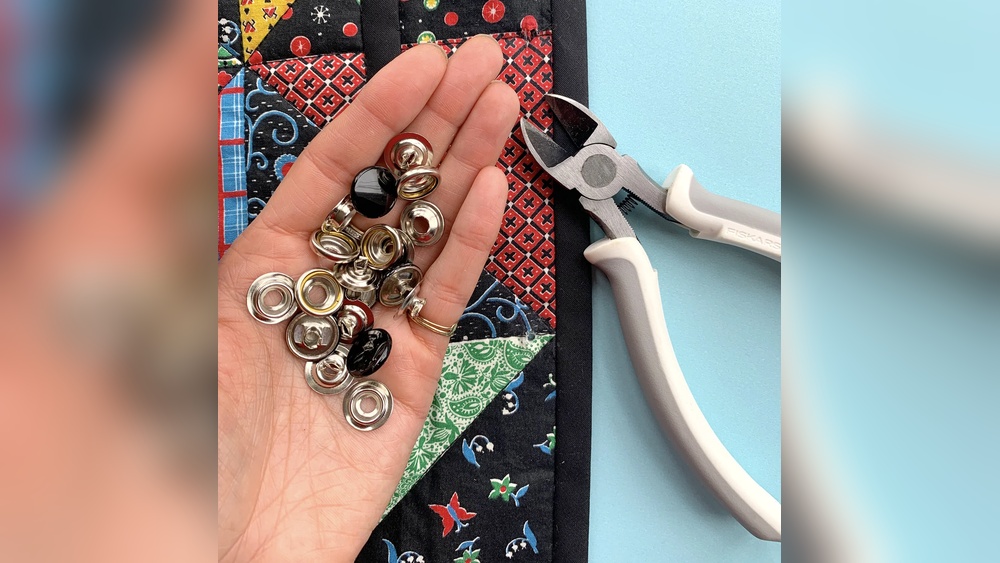
Identify both parts of the snap fastener. One part is the cap, the other is the socket. They usually sit on opposite sides of the fabric. Knowing their exact position helps in careful removal.
Look closely at the fabric surface. The cap often has a smooth, rounded look. The socket side may look like a small ring or hole. Mark or remember their spots to avoid confusion.
Cleaning The Area
Clean the area around the snap fastener gently. Use a soft cloth or brush to remove dirt and dust. Avoid harsh chemicals that may damage the fabric.
Cleaning improves grip and visibility. This step helps tools work better and prevents slipping. A clean area also protects the fabric during removal.
Step-by-step Removal Process
Removing a snap fastener is easier than it looks. You only need a few tools and careful steps. Follow this simple guide to take out snap fasteners cleanly.
Loosening The Snap
Start by loosening the snap fastener. Use a small flathead screwdriver or a butter knife. Gently insert it under the edge of the snap. Twist the tool slightly to lift the snap. Be careful not to damage the fabric.
Prying The Snap Open
Next, pry the snap open slowly. Work around the snap’s edge with your tool. Apply gentle pressure to avoid tearing. The snap will start to come apart. Keep prying until it separates completely.
Removing Snap Components
After opening, remove all snap parts. Use tweezers to pull out tiny pieces. Check both sides of the fabric. Clean the area to remove any leftover debris. Your fabric is now ready for a new snap or repair.
Handling Stubborn Snaps
Sometimes snap fasteners get stuck and refuse to come off easily. This can happen if the snap has been used for a long time or if dirt and rust build up around it. Handling stubborn snaps requires patience and the right techniques. Using heat or lubricants can make the task easier and prevent damage to your fabric or material.
Using Heat
Heat can help loosen a tight snap fastener. Use a hairdryer to warm the snap for a few minutes. The heat softens any hardened material or adhesive around the snap. Test the snap by gently trying to pull it apart. Do not use too much heat. Avoid direct flame or very hot objects. This protects the fabric from burns or melting.
Applying Lubricants
Lubricants reduce friction and help the snap slide apart smoothly. Apply a small amount of oil or silicone spray near the snap’s edges. Let it sit for a few minutes to soak in. Use a soft cloth or cotton swab to avoid making a mess. Try opening the snap gently after lubrication. Repeat if necessary, but clean the area afterward to avoid stains.

Credit: www.youtube.com
Repairing Fabric After Removal
Removing a snap fastener can leave small holes or weak spots on your fabric. Repairing these areas helps keep the fabric strong and looking good. Fixing the damage early prevents bigger tears later. A few simple steps can restore your fabric’s strength and appearance.
Patch Small Holes
Small holes appear where the snap was attached. Use a fabric patch to cover the hole. Cut a piece slightly larger than the hole. Place it under the damaged area. Sew around the edges with a needle and thread. Choose thread that matches your fabric color. This stops the hole from getting bigger. The patch also blends in with the fabric.
Reinforcing Weak Areas
Fabric around the snap can weaken from pressure. Strengthen these areas with extra stitches. Use a zigzag stitch or small straight stitches. Sew over the thin spots gently but firmly. This adds support and prevents new holes. Use matching thread to keep the repair neat. Reinforced fabric lasts longer and holds snaps better.
Replacing Snap Fasteners
Replacing snap fasteners can restore your garment or project quickly. Choose the right snap and install it carefully. This ensures durability and a neat look. Follow simple steps for a smooth process.
Choosing The Right Snap
Select snaps that match your fabric type and thickness. Metal snaps suit heavy materials like denim. Plastic snaps work well on lighter fabrics. Choose a size that fits the garment’s use. Consider color and style for a good match. Quality snaps last longer and hold better.
Proper Installation Tips
Use the right tools, such as snap pliers or a hammer kit. Mark the spot clearly before attaching the snap. Align both parts carefully to avoid misplacement. Press or hammer gently but firmly for a secure fit. Check the snap’s function by opening and closing it. Replace any snaps that do not hold properly.

Credit: www.youtube.com
Frequently Asked Questions
How Do You Safely Remove A Snap Fastener?
Use a flathead screwdriver or seam ripper to gently pry the snap apart. Work slowly to avoid fabric damage. Apply minimal force and stop if you meet resistance to prevent tearing.
What Tools Are Needed To Remove Snap Fasteners?
You need a flathead screwdriver, seam ripper, or small pliers. These tools help loosen and remove the snap without harming the fabric or garment.
Can Snap Fasteners Be Reused After Removal?
Yes, snap fasteners can be reused if undamaged. Remove carefully and clean any fabric residue. Check the snap’s integrity before reattaching.
How Do You Avoid Fabric Damage When Removing Snaps?
Work slowly and use the right tools. Protect fabric by placing a thin cloth underneath. Avoid pulling or twisting the snap excessively.
Conclusion
Removing a snap fastener does not have to be hard. With the right tools and care, you can do it easily. Take your time and work gently to avoid damage. Practice makes the process quicker and cleaner. Now you can fix or change your clothes with confidence.
Simple steps lead to great results. Keep these tips in mind for your next project. You are ready to handle snap fasteners like a pro.