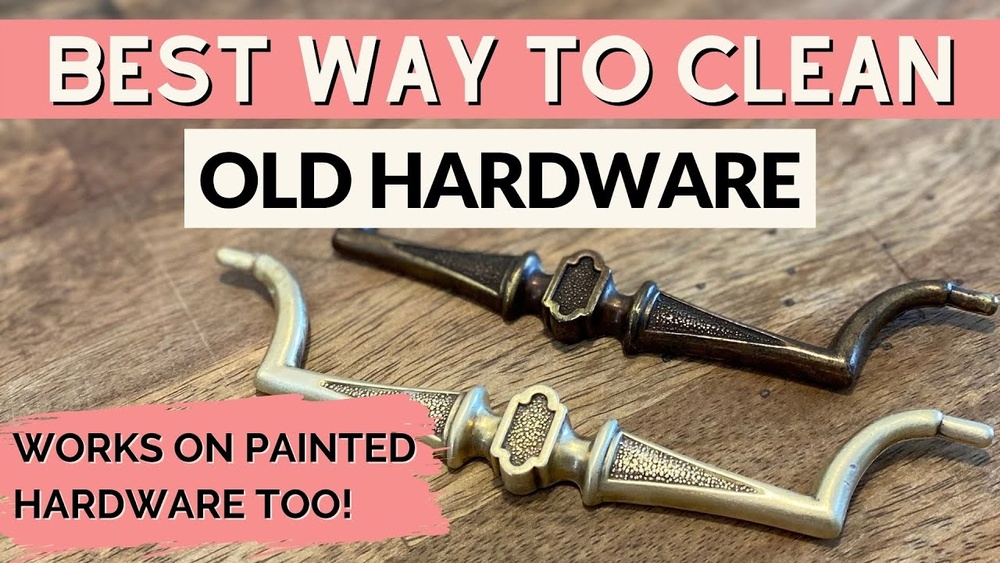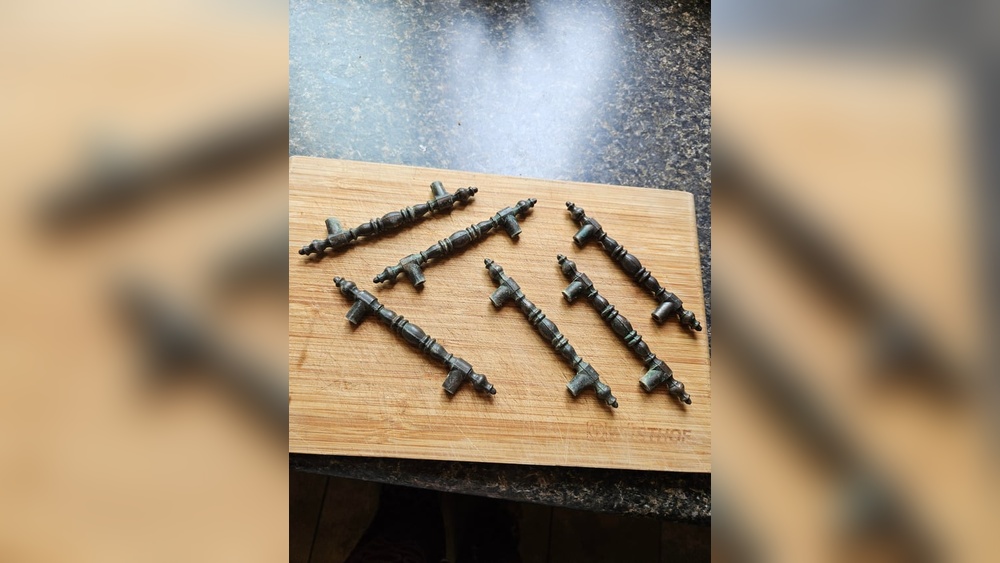
Are your cabinet handles and knobs looking dull and tarnished? It can be frustrating when your beautiful cabinets lose their shine because of worn-out hardware.
But don’t worry—you don’t have to replace them or spend a fortune on professional cleaning. You can bring back that bright, polished look with simple, easy steps you can do yourself. Keep reading to discover how you can clean tarnished cabinet hardware and make your kitchen or bathroom feel fresh and inviting again.
Your cabinets deserve to shine, and you’re just moments away from making that happen!

Credit: www.reddit.com
Causes Of Tarnish
Tarnish forms on cabinet hardware over time. It happens because of chemical changes on the metal surface. Understanding the causes helps prevent and clean tarnish effectively. Several factors lead to this dull, discolored layer on your hardware.
Common Metals In Cabinet Hardware
Cabinet hardware often uses metals like brass, copper, and nickel. These metals react with air and moisture. Brass and copper develop a greenish or brownish layer. Nickel and silver turn dark or black. Each metal shows tarnish differently.
Environmental Factors
Humidity and air pollution speed up tarnish. Moist air makes metals react faster. Kitchen heat and steam add to the problem. Exposure to cleaning chemicals can also cause tarnish. Dust and dirt on hardware trap moisture.
Impact Of Tarnish On Appearance
Tarnish makes cabinet hardware look old and dirty. It hides the metal’s shiny and smooth surface. Tarnished hardware lowers the overall look of cabinets. It can make a kitchen or bathroom feel less clean. Removing tarnish restores beauty and brightness.
Tools And Materials Needed
Cleaning tarnished cabinet hardware requires the right tools and materials. These help remove dirt and restore shine without damage. Choosing simple, effective supplies makes the task easier and safer. Here is what you need to get started.
Household Items For Cleaning
Common items can clean mild tarnish well. Use white vinegar or lemon juice for natural acid power. Baking soda works as a gentle abrasive when mixed with water. Soft cloths and old toothbrushes help scrub without scratching. Dish soap removes grease and dirt quickly. These items are easy to find and safe for most finishes.
Specialized Cleaning Products
For tougher tarnish, use products made for metal cleaning. Brass or silver polish targets specific metals. Look for non-abrasive formulas to protect hardware surfaces. Apply with a soft cloth and follow the instructions carefully. These products often give a deeper clean than household items alone.
Safety Precautions
Wear gloves to protect your skin from acids and chemicals. Work in a well-ventilated area to avoid fumes. Test any cleaner on a small, hidden spot first. Avoid mixing cleaners, as this can cause harmful reactions. Keep children and pets away during cleaning. Safety ensures a smooth, trouble-free process.
Preparation Steps
Cleaning tarnished cabinet hardware needs careful preparation. Good preparation helps protect your cabinets and hardware. It makes the cleaning process easier and more effective.
Removing Hardware Safely
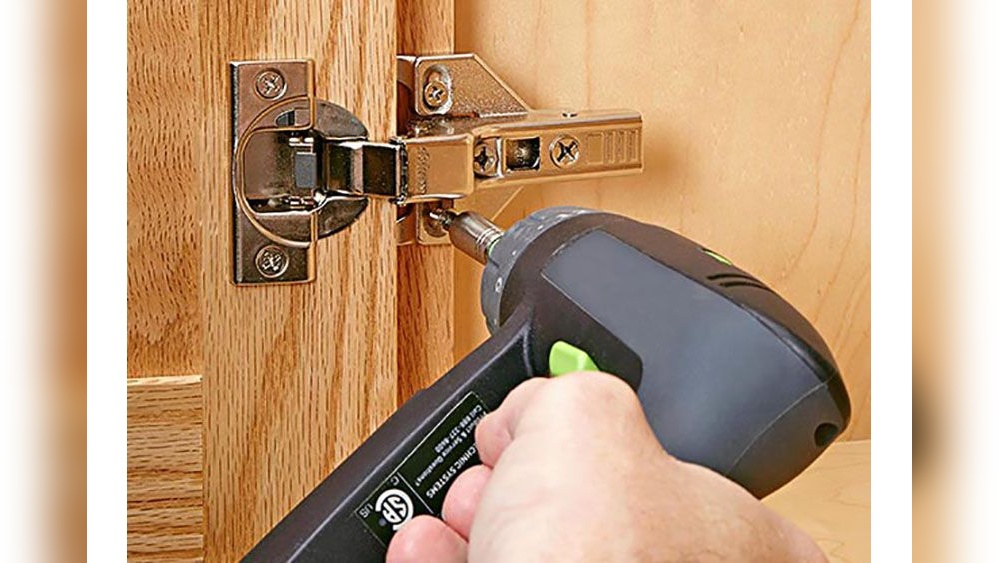
Start by removing the cabinet hardware carefully. Use a screwdriver that fits the screws well. Turn screws slowly to avoid stripping them. Keep all screws and parts in a small container. This prevents losing them during cleaning. Handle hardware gently to avoid bending or breaking.
Cleaning The Surface
Before cleaning the hardware, clean the cabinet surface around it. Use a soft cloth and mild soap solution. Wipe gently to remove dust and dirt. Dry the area well with a dry cloth. This prevents water damage during hardware cleaning.
Testing Cleaning Solutions
Test your cleaning solution on a small, hidden area first. This helps check for any damage or discoloration. Use a cotton swab to apply the cleaner. Wait a few minutes and look for changes. If safe, you can clean the entire hardware. If not, try a milder solution.

Credit: www.reddit.com
Diy Cleaning Methods
Cleaning tarnished cabinet hardware is easy with simple household items. These DIY methods use safe ingredients to restore shine. No need for harsh chemicals or expensive products. Just follow these steps for great results.
Using Baking Soda And Vinegar
Make a paste by mixing baking soda and water. Apply the paste to the tarnished hardware. Let it sit for 10 minutes. Pour a small amount of vinegar over the paste. The fizz helps remove tarnish. Gently scrub with a soft brush or cloth. Rinse with warm water and dry completely.
Lemon And Salt Technique
Cut a lemon in half and sprinkle salt on the cut side. Rub the lemon over the tarnished areas. The salt acts as a mild abrasive. The lemon’s acid breaks down tarnish. Let it sit for 5 minutes. Wipe clean with a damp cloth. Dry the hardware well to avoid water spots.
Toothpaste For Light Tarnish
Use regular white toothpaste, not gel. Apply a small amount on a soft cloth. Rub the toothpaste gently over the tarnished surface. Toothpaste polishes and cleans without damage. Rinse with water and dry with a soft towel. This method is best for minor tarnish and quick touch-ups.
Commercial Cleaners
Commercial cleaners offer a quick way to clean tarnished cabinet hardware. They contain chemicals designed to remove tarnish and restore shine. These products work well on metals like brass, bronze, and chrome. Using the right cleaner can save time and effort compared to home remedies.
Choosing The Right Product
Pick a cleaner made for your hardware’s metal type. Some cleaners work only on brass or copper. Others suit multiple metals. Check labels carefully. Avoid harsh chemicals on delicate finishes. A mild, non-abrasive cleaner often works best.
Application Tips
Apply cleaner with a soft cloth or sponge. Use small amounts to avoid waste. Rub gently in circular motions. Let the cleaner sit for a few minutes. Rinse with water and dry thoroughly. Repeat if needed but avoid over-cleaning.
Avoiding Damage
Test the cleaner on a hidden spot first. Watch for color changes or dulling. Do not use steel wool or rough brushes. These can scratch the surface. Avoid cleaners with bleach or ammonia. Always wear gloves to protect your skin.
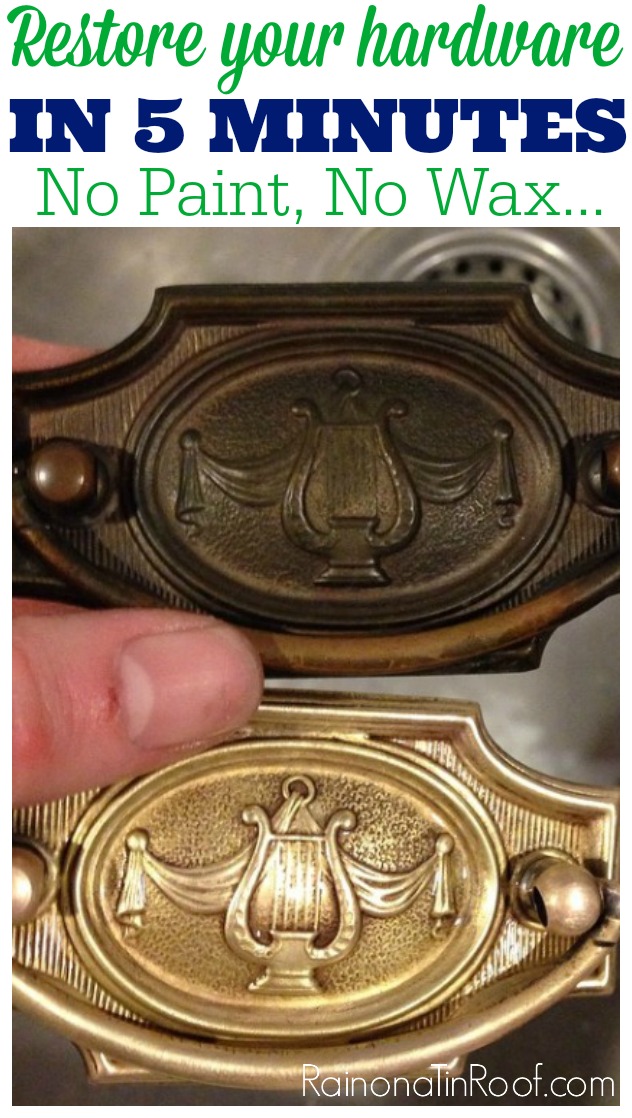
Credit: rainonatinroof.com
Polishing And Finishing
Polishing and finishing are key steps to restore cabinet hardware’s shine. These steps enhance the look and protect the metal from future damage. Proper polishing brings out the original brightness and smoothness of the hardware. Finishing adds a layer to keep the shine longer. Both steps make the hardware look fresh and new again.
Buffing Techniques
Buffing removes small scratches and dullness from tarnished hardware. Use a soft cloth or a buffing wheel for this task. Move the cloth in small circles to polish evenly. Avoid pressing too hard to prevent damage. Use a metal polish suited for your hardware type. Buff until the surface looks smooth and shiny.
Protective Coatings
Applying a protective coating keeps cabinet hardware bright longer. Clear lacquer or wax works well as a shield against moisture and dirt. Use a small brush to apply thin, even layers. Let each layer dry fully before adding another. Protective coatings reduce the need for frequent polishing. They also help prevent tarnish from returning quickly.
Maintaining Shine Over Time
Keep hardware clean by wiping it regularly with a soft cloth. Avoid harsh cleaners that can strip the finish. Use mild soap and water for routine cleaning. Reapply protective coatings every few months for lasting shine. Quick touch-ups with a polishing cloth help maintain brightness. Consistent care ensures hardware stays attractive for years.
Preventing Future Tarnish
Preventing future tarnish on cabinet hardware is essential to keep it looking new. Tarnish forms when metal reacts with air, moisture, or chemicals. Taking simple steps can slow this process and keep your hardware shiny longer.
Small habits and protective measures make a big difference. These methods help maintain the beauty of your cabinets and reduce the need for frequent cleaning.
Regular Cleaning Habits
Clean your cabinet hardware often with a soft cloth. Use mild soap and water to remove dirt and oils. Avoid harsh cleaners that can damage the finish. Dry the hardware completely after cleaning to stop moisture build-up. Regular wiping stops tarnish before it starts.
Environmental Controls
Keep your kitchen or bathroom dry and well-ventilated. Use a dehumidifier if the room feels damp. Avoid exposing hardware to chemicals like bleach or strong cleaners. Protect cabinets from steam and heat to reduce metal reaction. Control the environment to slow down tarnish formation.
Using Protective Covers
Apply clear lacquer or wax coatings to shield metal surfaces. Use thin plastic covers or wraps during messy projects. These layers prevent air and moisture from touching the hardware. Change protective covers regularly to keep hardware safe. Protective barriers extend the life of your cabinet hardware.
When To Replace Hardware
Knowing when to replace cabinet hardware saves time and effort. Tarnished hardware can sometimes be cleaned well. Other times, damage goes beyond cleaning. Replacing hardware refreshes your cabinets’ look. It can also improve function and style. Watch for signs that say it’s time to change.
Signs Of Irreversible Damage
Rust that eats deep into metal is hard to fix. Scratches and dents that show through the finish spoil the look. Loose parts or broken pieces affect use and safety. Fading or discoloration that won’t improve with cleaning means replace. If hardware sticks or won’t turn, it may be broken inside. These signs mean cleaning won’t help anymore.
Choosing New Hardware Styles
Pick hardware that fits your cabinet’s style and color. Modern styles suit sleek, simple cabinets. Classic designs match traditional wood finishes well. Consider size and shape to fit cabinet doors and drawers. Think about the feel and grip for daily use. Choose finishes that resist tarnish and stains. New hardware can change the whole room’s look.
Installation Tips
Measure old hardware before buying new pieces. Use the same screw holes if possible to avoid drilling. Clean around the holes before installing new hardware. Tighten screws firmly but avoid over-tightening. Test each handle or knob for smooth use. Work slowly to keep cabinets scratch-free. New hardware should fit well and feel sturdy.
Frequently Asked Questions
How Do I Remove Tarnish From Brass Cabinet Hardware?
Use a mixture of lemon juice and baking soda to create a paste. Apply it gently on brass, wait 5 minutes, then wipe clean with a soft cloth. Rinse with warm water and dry thoroughly to restore shine.
Can Vinegar Clean Tarnished Metal Cabinet Hardware?
Yes, vinegar is effective for cleaning tarnished metal. Soak hardware in a solution of equal parts vinegar and water for 10-15 minutes. Scrub gently with a soft brush, rinse, and dry completely to prevent further tarnishing.
What Household Items Clean Tarnished Cabinet Handles Safely?
Common items like baking soda, lemon juice, and vinegar work well. They are mild and non-abrasive, making them safe for most hardware finishes. Always test on a small area first to avoid damage.
How Often Should I Clean Tarnished Cabinet Hardware?
Clean tarnished hardware every 3 to 6 months to maintain its shine. Frequent cleaning prevents buildup and extends the life of the finish. Regular dusting also helps reduce tarnishing over time.
Conclusion
Cleaning tarnished cabinet hardware is easier than it seems. Use simple ingredients found at home. A little effort brings back the shine quickly. Regular care helps keep hardware looking new. Avoid harsh chemicals that can cause damage. Try these easy steps to refresh your cabinets today.
Your kitchen or bathroom will feel brighter and cleaner. Small changes make a big difference in your space. Give your cabinets the attention they deserve. You will enjoy the fresh, polished look every day.