Are you ready to give your file cabinet a fresh new look or replace worn-out hardware? Knowing how to take hardware off your file cabinet is the first step to making simple upgrades that can transform your workspace.
Whether you want to swap handles, fix broken parts, or clean every nook and cranny, this guide will walk you through the process with clear, easy steps. By the end, you’ll feel confident handling your cabinet like a pro—and that’s just the start of making your office truly yours.
Keep reading to discover how simple it can be!
Tools Needed
Removing hardware from a file cabinet needs the right tools. The right tools make the job easier and safer. You will work faster and avoid damage to the cabinet or hardware. Below are the tools you need to take off handles, knobs, and locks.
Essential Tools For Removal
A screwdriver is the main tool you need. Check if the screws are flathead or Phillips and choose the right screwdriver. Sometimes a wrench or pliers are required to hold nuts or bolts. A flashlight helps you see screws in dark or tight spaces. Gloves protect your hands from sharp edges or dirt. These tools are enough for most hardware removals.
Optional Tools For Efficiency
An electric screwdriver speeds up the process. A magnetic tray keeps screws safe and prevents loss. A putty knife can help pry off stuck or glued parts gently. A cloth or rag cleans dirt or dust before removal. Using these tools is not required but makes the work smoother and faster. They help if you plan to remove hardware often.
Preparation Steps
Preparation is key before removing hardware from a file cabinet. It makes the process easier and safer. Taking a few simple steps saves time and prevents damage.
Start by organizing your workspace and clearing any obstacles. Then, empty the cabinet to access the hardware easily. These steps create a smooth workflow.
Clear The Workspace
Find a clean, flat surface near the file cabinet. Remove any clutter or objects that block your work area. A tidy space helps you work faster and avoid mistakes. Good lighting also improves visibility. Keep tools and parts close by to stay organized.
Empty The File Cabinet
Take out all files and folders from each drawer. Removing contents lightens the cabinet and prevents spills. Check for hidden items like paper clips or staples. Clear drawers allow full access to screws and handles. Use a box or tray to keep small parts safe during removal.
Removing Drawer Handles
Removing drawer handles from a file cabinet is a simple task. It helps with repairs or upgrades. Knowing how to do it right saves time and protects your cabinet. Follow clear steps to remove handles without damage.
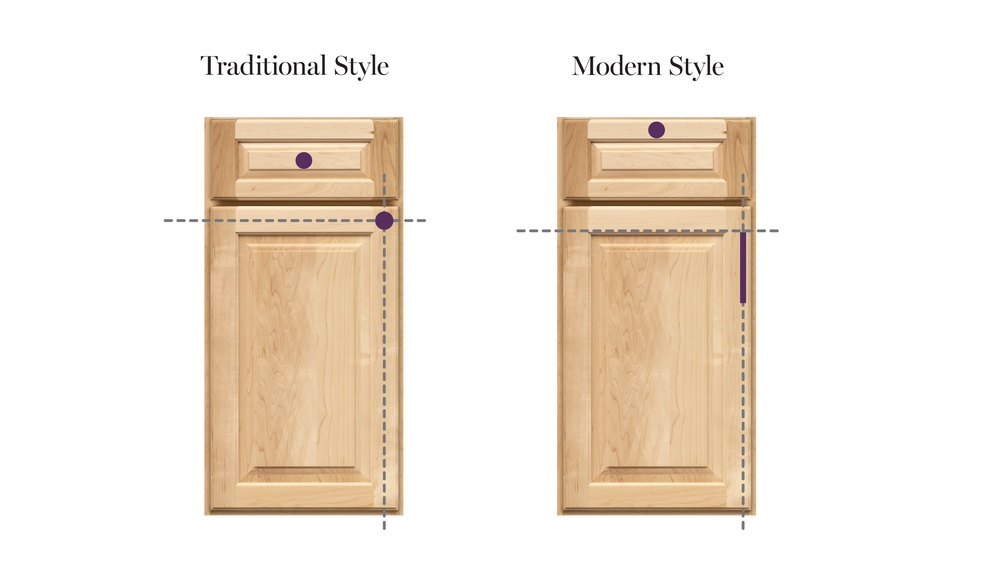
Locating Screws
Start by opening the drawer fully. Look inside the drawer front. Screws holding the handle are usually visible there. Some handles have screws on the back side. Others may have small covers hiding screws. Check carefully to find all screws.
Unscrewing Handles Safely
Use a screwdriver that fits the screws exactly. Turn screws gently to avoid stripping them. Hold the handle steady while unscrewing. Place screws in a safe spot to avoid losing them. Remove the handle slowly after all screws are loose.
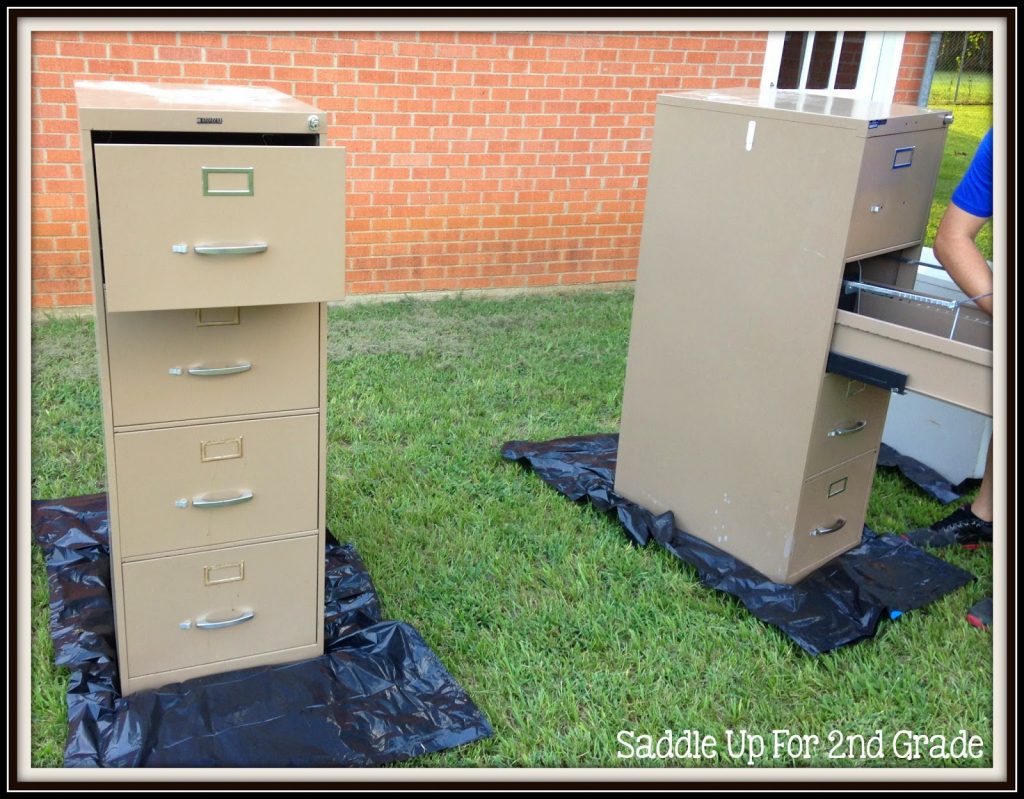
Credit: saddleupfor2ndgrade.com
Detaching Locks
Detaching locks from a file cabinet is a key step in hardware removal. Locks keep your files safe, but they can wear out or need replacement. Removing them carefully helps protect the cabinet and the lock itself. This process requires identifying the type of lock and knowing how to remove it properly.
Identifying Lock Types
File cabinets use different lock types. Cam locks are common. They have a small metal arm that turns to lock or unlock. Another type is tubular locks, which need a round key. Some cabinets use electronic locks with buttons or keypads. Recognizing the lock type helps choose the right tools and method for removal.
Unlocking And Removing Locks
Start by unlocking the lock using its key. If you don’t have the key, try a backup or a lock-picking tool. For cam locks, remove the screw or clip holding the lock in place. Gently pull the lock out once loose. Tubular locks may need a special tool or a screwdriver to release the locking mechanism. Electronic locks often require unscrewing the lock from inside the drawer. Handle all parts carefully to avoid damage.
Taking Off Drawer Slides
Taking off drawer slides is an important step when removing hardware from a file cabinet. Drawer slides help the drawer open and close smoothly. Removing them carefully prevents damage to both the cabinet and the slides. Knowing about different types of drawer slides helps with removal. Following clear steps makes the process easy and safe.
Types Of Drawer Slides
There are mainly three types of drawer slides. The first type is side-mount slides. These attach to the sides of the drawer and cabinet. The second type is under-mount slides. They are hidden under the drawer for a clean look. The third type is center-mount slides. They fix under the drawer, in the middle. Each type needs a slightly different removal method.
Step-by-step Slide Removal
Start by pulling the drawer fully out of the cabinet. Look for release levers or clips on the slides. Press or lift these to unlock the drawer from the slides. For side-mount slides, unscrew the slides from the cabinet sides. For under-mount slides, find and press the small tabs on each side. Then carefully pull the slides apart. For center-mount slides, unscrew the slide from the drawer bottom. Remove the slide from the cabinet. Keep screws in a safe place for reinstallation.

Credit: www.cymax.com
Handling Additional Hardware
Handling additional hardware on a file cabinet can be simple. These parts often need removal before painting or repair. Knowing how to remove label holders, casters, and feet saves time and avoids damage.
Label Holders
Label holders help identify drawer contents. Usually, they snap or slide into place. Gently pry them off with a flat tool. Avoid using too much force to prevent bending. Some holders have screws; use a screwdriver to remove them carefully.
Casters And Feet
Casters make moving the cabinet easy. Feet keep it stable. Both attach with screws or bolts. Use the right size wrench or screwdriver. Turn counterclockwise to loosen and remove. Keep parts safe for reinstallation or replacement.
Tips For Reassembly
Reassembling hardware on a file cabinet can be simple with the right approach. Careful planning helps avoid confusion and saves time. Small parts are easy to lose. Damage can happen if parts are forced or handled roughly. These tips will help keep everything organized and intact for smooth reassembly.
Organizing Removed Hardware
Keep screws, bolts, and washers in small containers or bags. Label each container with the part’s name or location. Arrange parts in the order you removed them. This method helps find each piece quickly. Use a tray or box with compartments to separate different hardware.
Avoiding Damage During Removal
Use the right tools for each screw or bolt. Turn screws slowly to avoid stripping heads. Support parts while loosening hardware to prevent falls. Place removed parts on a soft surface. Avoid dropping or forcing hardware to keep it in good condition.
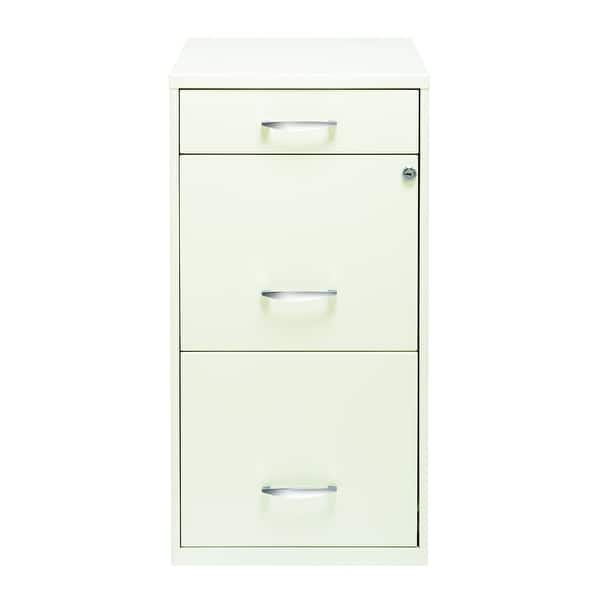
Credit: www.bedbathandbeyond.com
Frequently Asked Questions
How Do I Remove Handles From A File Cabinet?
To remove handles, first locate the screws on the inside of the drawer. Use a screwdriver to unscrew them carefully. Gently pull the handle away from the drawer once the screws are fully removed.
What Tools Are Needed To Take Off File Cabinet Hardware?
You typically need a screwdriver, either Phillips or flathead, depending on the screw type. Sometimes, an Allen wrench or pliers may be required for specialty hardware. Ensure you have the right tool for safe and easy removal.
Can I Remove Locks From A File Cabinet Easily?
Yes, most locks can be removed by unscrewing the mounting screws inside the drawer. Some locks may require a key or special tool to unlock before removal. Handle the lock carefully to avoid damage.
How To Avoid Damaging The Cabinet While Removing Hardware?
Use the correct screwdriver size to prevent stripping screws. Work slowly and apply gentle pressure. Protect the cabinet surface by placing a cloth underneath the hardware during removal.
Conclusion
Removing hardware from a file cabinet is simple with the right steps. Always use the correct tools to avoid damage. Take your time and work carefully. Keep screws and parts in a safe place for reuse. This process saves money and helps with cabinet repairs or upgrades.
Now you can handle this task confidently and easily.