Are you struggling with a stubborn drive fastener that just won’t come loose? Whether you’re fixing your car, working on electronics, or handling any project that involves these tricky little pieces, knowing how to remove a drive fastener properly can save you time and frustration.
In this guide, you’ll discover simple, effective methods that anyone can follow—even if you’re not an expert. Keep reading to learn the secrets that make removing drive fasteners quick and hassle-free, so you can get back to your project with confidence.
Types Of Drive Fasteners
Drive fasteners come in many types. Each type has a unique design and use. Knowing these types helps you remove them safely and easily. This section explains common fastener designs, materials used, and how to identify drive fasteners.
Common Fastener Designs
Drive fasteners have different head shapes. The most common are slotted, Phillips, and Torx. Slotted heads have a single straight line. Phillips heads look like a cross. Torx heads have a star shape with six points. Each design needs a matching tool to remove it.
Other designs include hex, square, and security fasteners. Hex heads fit a wrench or hex key. Square heads are less common but still used. Security fasteners have unusual shapes to stop tampering. Knowing the design helps pick the right tool.
Materials Used In Fasteners
Fasteners come in many materials. Steel is the most common. It is strong and affordable. Stainless steel resists rust and works well outdoors. Brass and aluminum are softer and used for light tasks. Plastic fasteners are rare but found in electronics.
The material affects how to remove the fastener. Rusty steel fasteners may need extra care. Soft metals can strip easily. Understanding materials helps avoid damage during removal.
Identifying Drive Fasteners
Look at the fastener head to identify it. Note the shape and size of the slot or pattern. Check if it has any security features like a pin in the center. Observe the color and material for clues.
Use a magnifying glass if needed. Comparing the fastener to tool sets can help. Correct identification is key to removing the fastener without damage.

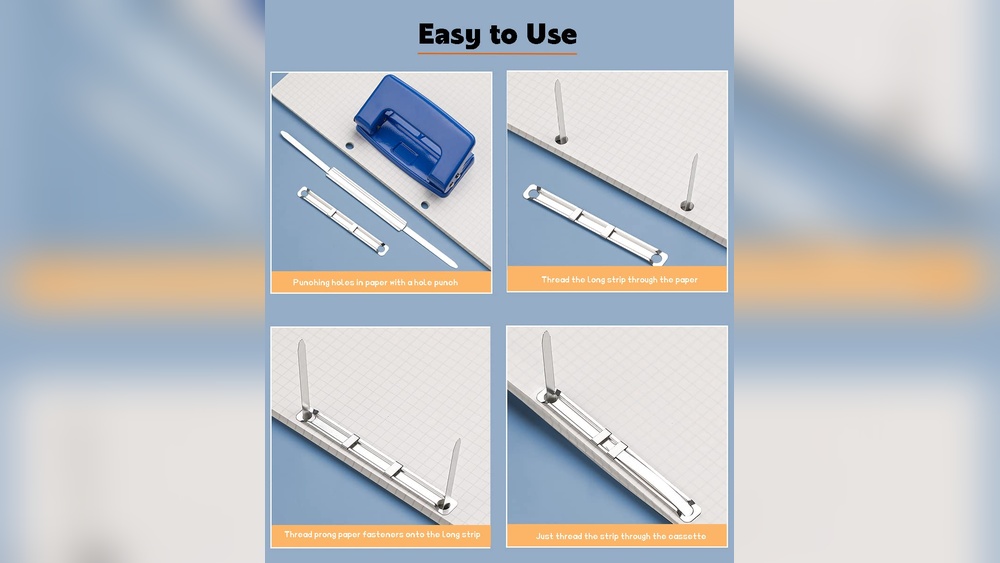
Credit: helpcenter.ameriwoodhome.com
Tools Needed For Removal
Removing a drive fastener needs the right tools. Using proper tools makes the job easier and safer. This section explains the tools needed for fastener removal. You will learn about basic hand tools, specialized fastener tools, and safety equipment.
Basic Hand Tools
Basic hand tools are essential for most fastener removals. A good set of screwdrivers is a must. Flathead and Phillips screwdrivers cover many types of screws.
Wrenches and pliers help with bolts and nuts. Adjustable wrenches fit different sizes. Needle-nose pliers reach tight spots easily. A hammer may help to loosen stuck fasteners.
Specialized Fastener Tools
Some fasteners need special tools to remove them. Torx drivers work on star-shaped screws. Hex keys or Allen wrenches fit hexagonal sockets.
Trim panel tools protect surfaces when removing clips. Fastener removal pliers grip plastic clips without damage. A fastener extractor set helps with stripped or damaged fasteners.
Safety Equipment
Safety equipment protects you during fastener removal. Safety glasses shield your eyes from debris. Work gloves protect your hands from cuts and scrapes.
Wear long sleeves to avoid skin contact with sharp edges. Use a dust mask if working in dusty areas. Good lighting helps avoid mistakes and accidents.
Quick Removal Techniques
Removing drive fasteners quickly saves time and effort. Simple tools and smart methods make the task easier. Here are effective ways to remove fasteners fast and safely.
Using Screwdrivers Effectively
Select the right screwdriver size and type for the fastener. Match the tip to avoid slipping or damage. Hold the screwdriver firmly and apply steady pressure. Turn slowly at first to loosen the fastener. Use short bursts if stuck, instead of forcing it.
Leveraging Pliers And Wrenches
Pliers and wrenches provide extra grip and torque. Use locking pliers for stubborn fasteners that won’t budge. Choose a wrench size that fits snugly without slipping. Pull or twist with steady force. Avoid sudden jerks to prevent damage.
Applying Impact Drivers
Impact drivers add force with a hammer strike. They work well on rusted or tight fasteners. Place the driver tip firmly into the fastener head. Strike the driver with a hammer to create turning force. This method breaks loose stuck fasteners quickly.

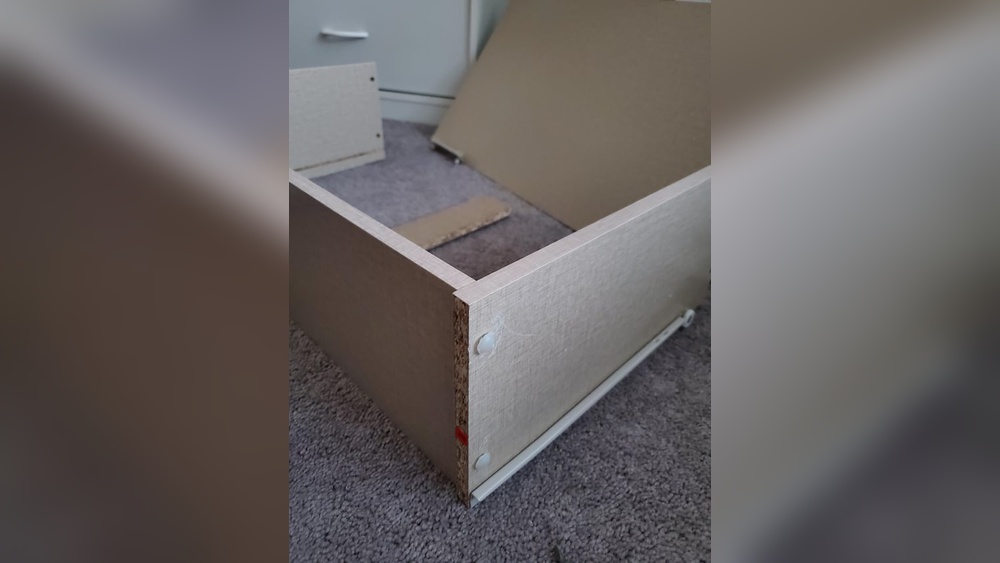
Credit: www.reddit.com
Handling Stuck Or Stripped Fasteners
Handling stuck or stripped fasteners can be tricky and frustrating. These fasteners often resist normal tools. They might not turn or the tool may slip. Using the right methods can save time and prevent damage.
Patience and care help avoid making the problem worse. Proper steps ensure you remove the fastener safely and efficiently. This section covers useful tips and techniques for these tough situations.
Methods To Loosen Stuck Fasteners
Try tapping the fastener gently with a hammer. This can break rust or dirt inside the threads. Use a wrench or socket with a longer handle. It gives more leverage for turning. Work the fastener back and forth slowly. Avoid forcing it in one direction only. Sometimes, tapping the tool with a hammer while turning helps. Always apply steady, even pressure to avoid stripping.
Tips For Dealing With Stripped Heads
Use a rubber band between the tool and fastener. This adds grip on rounded or damaged heads. Try pliers or locking pliers to grip the fastener tightly. Drill a small hole in the center and use a screw extractor. This tool bites into the metal for removal. Be careful not to drill too deep or damage surrounding parts.
Using Heat And Penetrating Oils
Apply penetrating oil to the fastener and let it soak. Oils like WD-40 loosen rust and corrosion. Heat the fastener with a heat gun or small torch. Heat expands the metal, breaking rust bonds. Avoid overheating, which can damage nearby parts. After heating, try loosening the fastener again. Repeat oil and heat steps if needed. This method often frees the toughest fasteners.
Preventing Damage During Removal
Removing drive fasteners without causing damage is crucial. Careless removal can break the fastener or harm the surface. This section explains how to avoid damage while taking out drive fasteners. Follow simple steps to protect both the fastener and the material around it.
Proper Tool Selection
Using the right tool matters a lot. Choose a tool that fits the fastener head perfectly. A wrong tool can slip and damage the fastener or surrounding area. Use a screwdriver, pliers, or a special fastener remover. Check the tool size before starting the job.
Applying Correct Force
Apply steady and even pressure when removing fasteners. Too much force can break the fastener or crack the surface. Too little force may cause slipping and damage. Use slow, controlled movements. Let the tool do the work rather than brute strength.
Avoiding Common Mistakes
Avoid prying with sharp objects. This can scratch or dent the surface. Do not rush the process. Fast removal can cause breakage. Clean the area before removing fasteners to prevent dirt from interfering. Always check the fastener type before removal to avoid wrong techniques.

Credit: www.reddit.com
Alternative Removal Methods
Sometimes drive fasteners get stuck or damaged. Removing them with normal tools becomes hard. Alternative methods help remove these tough fasteners safely. These methods use different tools and techniques. They work well when screws or bolts are stripped, rusted, or broken.
Drilling Out Fasteners
Drilling out fasteners means making a hole inside the stuck screw or bolt. Use a drill bit smaller than the fastener size. Drill slowly and straight to avoid damage. Once drilled, the fastener may break or loosen. This method works well for rusted or stripped fasteners.
Using Extractor Kits
Extractor kits have special tools to remove broken or stuck fasteners. These tools grip inside the drilled hole. Turn the extractor counterclockwise to pull out the fastener. Kits come with different sizes for various fasteners. They help remove fasteners without damaging the surrounding parts.
Cutting And Grinding Options
Cutting or grinding can remove fasteners stuck beyond other methods. Use a rotary tool or metal saw carefully. Cut through the fastener head or body. This allows removal with pliers or replacement. Wear safety gear and work slowly to avoid injury. This method suits fasteners that cannot be unscrewed.
Maintenance Tips After Removal
After removing a drive fastener, proper maintenance helps keep parts in good shape. This step ensures safety and performance. Taking time for care avoids future problems and saves effort later.
Cleaning Fastener Holes
Clear dirt and debris from the holes. Use a soft brush or compressed air. Clean holes allow fasteners to fit tightly and securely. Avoid using harsh chemicals that might damage metal or plastic surfaces.
Inspecting Components For Damage
Look closely at all parts around the fastener area. Check for cracks, bends, or wear signs. Damaged parts can cause failure during use. Replace any weak or broken components immediately to stay safe.
Preparing For Reinstallation
Make sure all surfaces are dry and clean before reinstalling. Align fasteners carefully to avoid cross-threading. Use the correct tool and torque setting for tightness. Proper installation extends the life of the fastener and parts.
Frequently Asked Questions
What Tools Are Needed To Remove A Drive Fastener?
You need a screwdriver, pliers, and a trim removal tool. These tools help safely pry and unscrew the fastener without damage. Using the right tools ensures efficient and damage-free removal of drive fasteners.
How To Avoid Damaging Clips When Removing Fasteners?
Use a plastic trim removal tool to gently pry clips. Avoid metal tools that can break or scratch surfaces. Apply slow, steady pressure to release the fastener without causing damage.
Can I Reuse Drive Fasteners After Removal?
Yes, some drive fasteners are reusable if undamaged. Inspect clips for cracks or deformation before reuse. Replace any fasteners that show wear to maintain secure fittings.
What Is The Common Cause Of Stuck Drive Fasteners?
Fasteners often get stuck due to dirt, rust, or corrosion buildup. Applying penetrating oil and letting it sit can loosen them. Clean the area before attempting removal to ease the process.
Conclusion
Removing drive fasteners can be simple with the right steps. Use the proper tools and work carefully. Take your time to avoid damage to parts. Clean the area before reinstallation for best results. Practice makes the process easier and faster.
Stay safe and follow instructions closely. Now, you can handle drive fasteners with confidence.