Are you struggling with Huck fasteners that just won’t come off? Removing these heavy-duty fasteners can feel like a tough job, especially if you don’t have the right tools or know-how.
But don’t worry—you’re in the right place. You’ll discover simple, effective methods to remove Huck fasteners quickly and safely. By the end, you’ll have the confidence to tackle the task without frustration or damage. Keep reading to learn the secrets that professionals use every day!
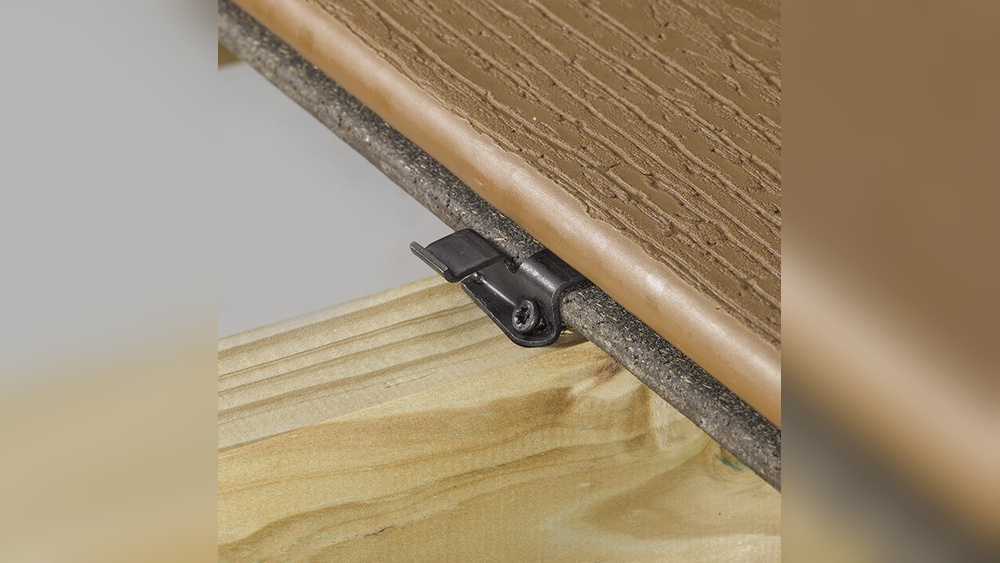
Credit: macrosfastening.com
Tools Needed
Removing Huck fasteners requires the right tools for safety and efficiency. Using proper tools makes the job easier and avoids damage. This section covers the essential hand tools, power tool options, and safety equipment needed for the task.
Essential Hand Tools
Start with basic hand tools for Huck fastener removal. A flathead screwdriver helps pry fastener heads gently. Needle-nose pliers are useful for gripping small parts. A hammer assists in loosening stuck fasteners by tapping gently. A center punch marks the fastener for accurate drilling. These tools provide control and precision during removal.
Power Tools Options
Power tools speed up the removal process. An electric drill with a metal drill bit removes the fastener body. An angle grinder can cut through stubborn fasteners. A rotary tool with a cutting disc offers precision in tight spaces. Choose power tools based on fastener size and accessibility. Use slower speeds to avoid overheating the metal.
Safety Equipment
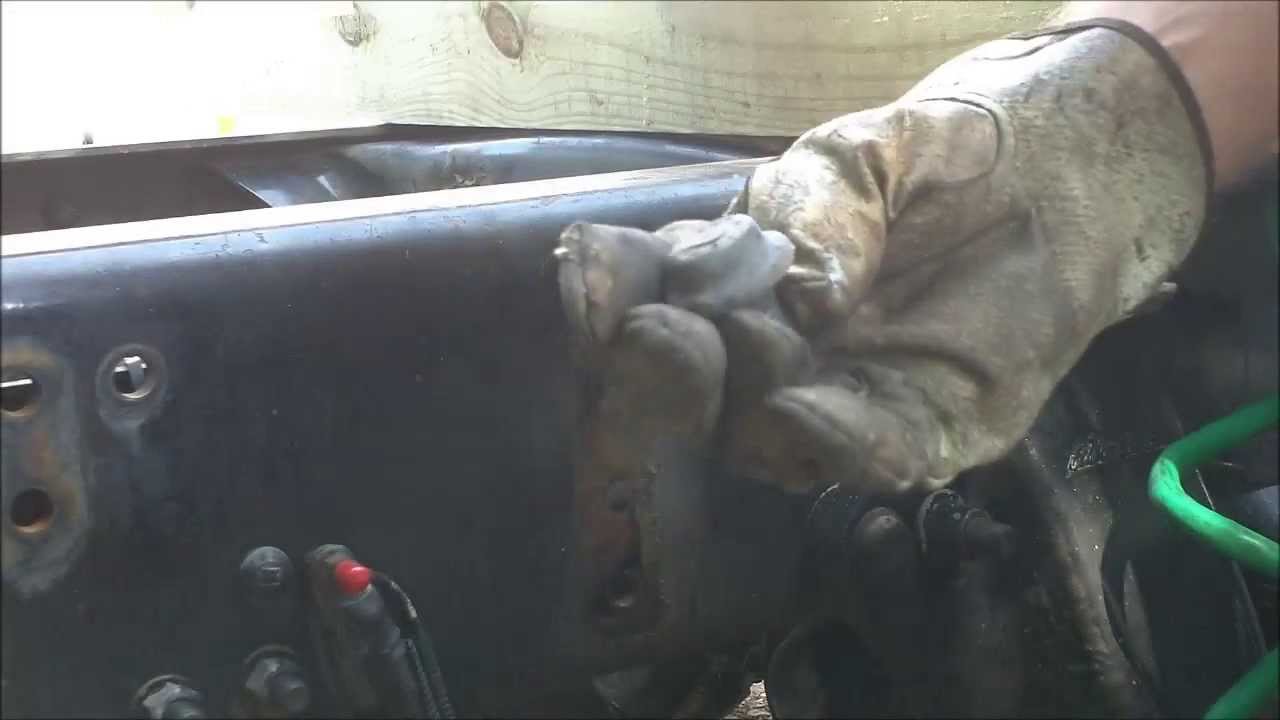
Protect yourself during fastener removal. Safety glasses shield eyes from flying metal shards. Work gloves protect hands from sharp edges. Ear protection reduces noise from power tools. Wear a dust mask to avoid inhaling metal dust. Proper safety gear prevents injuries and keeps the work area clean.
Preparing The Work Area
Preparing the work area is a crucial first step to remove Huck fasteners safely and efficiently. A clean and organized space helps you focus on the task. It reduces the risk of losing small parts or tools. Proper preparation also protects your work surface and materials from damage. Follow these simple steps to get your workspace ready.
Clearing The Workspace
Remove any clutter from your work area. Keep only the tools and materials needed for removing fasteners. This prevents distractions and accidents. Ensure the space is well-lit to see the fasteners clearly. Sweep away dust and debris that might interfere with the process. A clear workspace makes the job faster and safer.
Securing The Material
Hold the material firmly before starting. Use clamps or a vise to keep it steady. This stops the material from moving during removal. A stable surface helps you apply force accurately. It also protects your hands from slipping. Properly securing the material ensures a smooth and safe fastener removal.
Identifying Huck Fasteners
Identifying Huck fasteners is the first step in removing them safely. These fasteners are strong and designed for heavy-duty uses. They hold parts tightly together in construction, manufacturing, and vehicles. Knowing how to spot them helps you choose the right tools and methods for removal. This guide breaks down the common types and key features to watch for.
Common Types
Huck fasteners come in several types. The most common are Huck bolts, Huck lockbolts, and Huck pull-tabs. Huck bolts look like regular bolts but have a unique locking system. Lockbolts use a collar that tightens around the pin for extra strength. Pull-tabs are designed to break off cleanly after installation. Each type needs a specific removal process.
Recognizing Fastener Features
Look closely at the fastener’s head and body. Huck fasteners often have smooth, rounded heads or collars. The collar usually sits tightly around the pin. Some fasteners have a visible groove or knurling on the pin. The fastener won’t turn like a normal bolt. It stays fixed because of its locking mechanism. Spotting these features helps confirm it is a Huck fastener.
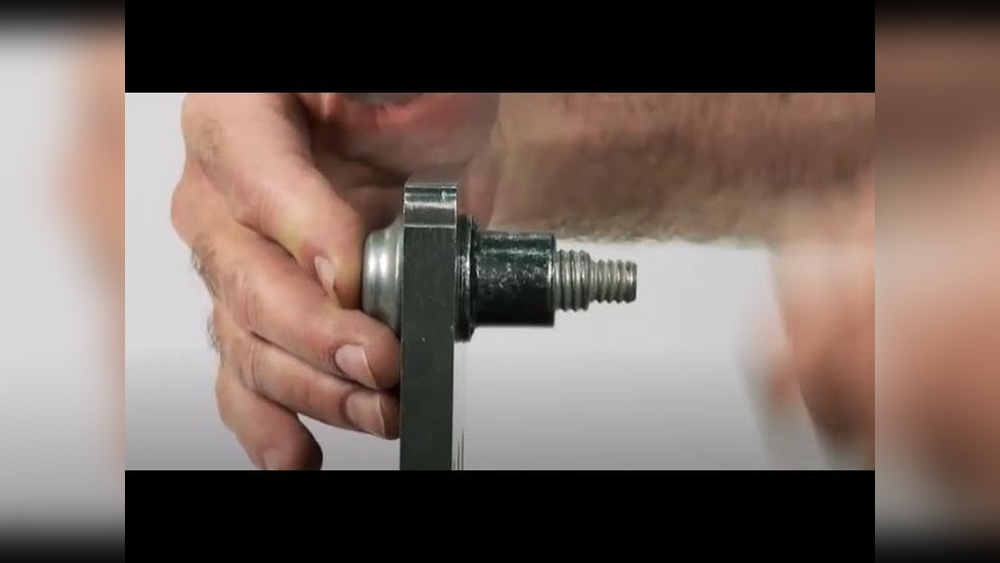
Credit: www.youtube.com
Removing Huck Fasteners Manually
Removing Huck fasteners manually requires patience and the right tools. These fasteners are strong and built to hold tight. You must use careful steps to avoid damage to the material or yourself. Manual removal works well when power tools are not available or when the fastener is in a small, hard-to-reach place.
This method is simple but needs attention. Choose the correct tool and apply steady force. Below are two common ways to remove Huck fasteners by hand.
Using A Cold Chisel And Hammer
Place the cold chisel at the edge of the Huck fastener’s head. Hold it firmly at a slight angle. Tap the chisel gently with the hammer. The goal is to cut through the fastener’s head or loosen it.
Strike carefully to avoid damaging the surrounding material. Repeat tapping around the head if needed. Once the head is removed, pull out the remaining part of the fastener.
Leveraging Pliers Or Wrenches
Grab the exposed part of the fastener with pliers or a wrench. Twist the tool back and forth slowly. The movement helps loosen the fastener’s grip.
Keep a firm hold to avoid slipping. If the fastener turns, continue until it comes free. Use steady pressure to prevent breaking the fastener or hurting yourself.
Using Power Tools For Removal
Removing Huck fasteners can be tough without the right tools. Power tools make the job faster and easier. These tools cut, drill, or grind the fastener for quick removal.
Using power tools requires care and the correct technique. Safety gear like gloves and goggles helps protect you. Choose the right tool depending on the fastener type and material.
Drill Method
Drilling out the fastener is a common removal method. Use a drill with a metal drill bit slightly smaller than the fastener’s center. Drill slowly to avoid damaging the surrounding material. The fastener will loosen and can be pushed out or pulled free. Keep the drill straight to prevent slipping.
Grinder Approach
A grinder can cut through the fastener’s head quickly. Use a cutoff wheel or grinding disc designed for metal. Hold the grinder steady and cut through the fastener head. Once cut, remove the remaining shank with pliers. This method works well for stubborn fasteners with exposed heads.
Cutting Tools
Cutting tools like metal snips or saws can remove small fasteners. Use a fine-toothed hacksaw blade to cut the fastener flush with the surface. Metal snips can trim thinner fasteners in tight spaces. These tools need more manual effort but offer precise control.
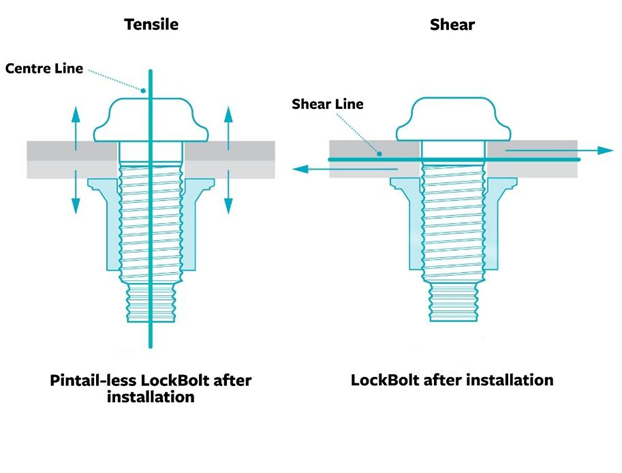
Credit: macrosfastening.com
Tips For Avoiding Damage
Removing Huck fasteners can be tricky. Damage to the surrounding material is common. Taking steps to avoid harm saves time and money. Careful work protects your project and tools. Use these tips to keep your work neat and safe.
Protecting Surrounding Material
Cover the area around the fastener with tape. Use painter’s tape or masking tape for easy removal. This prevents scratches and dents on the surface. Place a thin metal sheet or cardboard behind the fastener. It stops damage from tools or flying debris. Always inspect the surface before starting work.
Working Slowly And Carefully
Do not rush the removal process. Apply steady pressure with the proper tools. Small, slow movements reduce the risk of slips. Stop often to check your progress. If the fastener resists, adjust your method. Patience helps avoid costly mistakes and repairs.
Cleaning Up After Removal
Cleaning up after removing Huck fasteners is important for a smooth finish. It keeps the work area safe and ready for the next step. Proper cleanup helps avoid damage and prepares the surface for new parts or paint.
Removing Debris
Clear out all metal shavings and bits left from the fastener removal. Use a brush or vacuum to pick up small pieces. Removing debris prevents scratches and keeps the workspace tidy. Check the area carefully to catch hidden fragments.
Inspecting The Surface
Look closely at the surface where the fastener was. Find dents, scratches, or holes that need fixing. Clean the area with a cloth to see it clearly. A good inspection helps prepare for repairs or new installation. Spot any rust or dirt that could cause problems later.
Replacing Or Repairing Fastener Holes
Removing Huck fasteners leaves holes that need fixing or replacing. These holes affect the strength and look of your project. Proper repair keeps the surface smooth and ready for new fasteners. This section explains how to choose the right replacements and how to fill and refinish holes.
Choosing Replacement Fasteners
Pick fasteners that match the original size and type. Use high-quality materials for better hold and durability. Check the fastener’s grip range to fit the thickness of your parts. Choose corrosion-resistant fasteners for outdoor or harsh environments. Always confirm compatibility with the tools you have.
Filling And Refinishing Holes
Clean the hole before filling to remove dirt and oil. Use metal filler or weld to fill larger holes. Sand the area smooth after the filler dries to match the surface. Apply primer to protect the repair from rust. Paint the area to blend with the surrounding surface. This restores strength and improves appearance.
Frequently Asked Questions
What Tools Are Needed To Remove Huck Fasteners?
You need a Huck fastener removal tool, drill, and safety gear. The removal tool is designed to grip and twist the fastener. A drill helps in loosening stubborn fasteners. Always wear safety glasses and gloves for protection during removal.
Can I Remove Huck Fasteners Without A Special Tool?
Removing Huck fasteners without the proper tool is difficult. Special tools provide the correct grip and torque needed. Using improper tools may damage the fastener or surrounding material. It is best to use the recommended removal tool for safe and efficient removal.
How Do I Safely Remove Huck Fasteners?
Wear safety glasses and gloves before starting removal. Use the Huck fastener removal tool to grip and twist the fastener. Apply steady pressure and avoid sudden force. If the fastener resists, use a drill to loosen it carefully. Follow all safety guidelines during the process.
How Long Does It Take To Remove A Huck Fastener?
Removing a Huck fastener typically takes a few minutes. Time depends on fastener condition and tool experience. Rust or damage may increase removal time. Using the correct tools and technique speeds up the process efficiently.
Conclusion
Removing Huck fasteners is easier with the right tools and steps. Always work carefully to avoid damage. Take your time and follow safety tips closely. Practice makes the process quicker and smoother. Now, you can handle fastener removal with more confidence.
Keep these tips in mind for your next project. Simple and steady work brings the best results.