Are you ready to give your kitchen a fresh, stylish update without spending a fortune? Learning how to put on kitchen cabinet hardware is one of the simplest and most effective ways to transform your space.
Whether you’re replacing old knobs and pulls or installing new ones for the first time, getting the placement and installation just right can make a huge difference in both the look and functionality of your cabinets. In this guide, you’ll discover easy-to-follow steps, smart tips, and pro tricks that will help you install your hardware like a seasoned DIYer.
Stick with me, and by the end, you’ll have the confidence to tackle this project perfectly—making your kitchen more beautiful and enjoyable every day. Let’s get started!
Credit: truepositiontools.com
Tools And Materials
Installing kitchen cabinet hardware requires the right tools and materials. Having these ready makes the process smooth and efficient. This section covers what you need to get started.
Essential Hardware And Tools
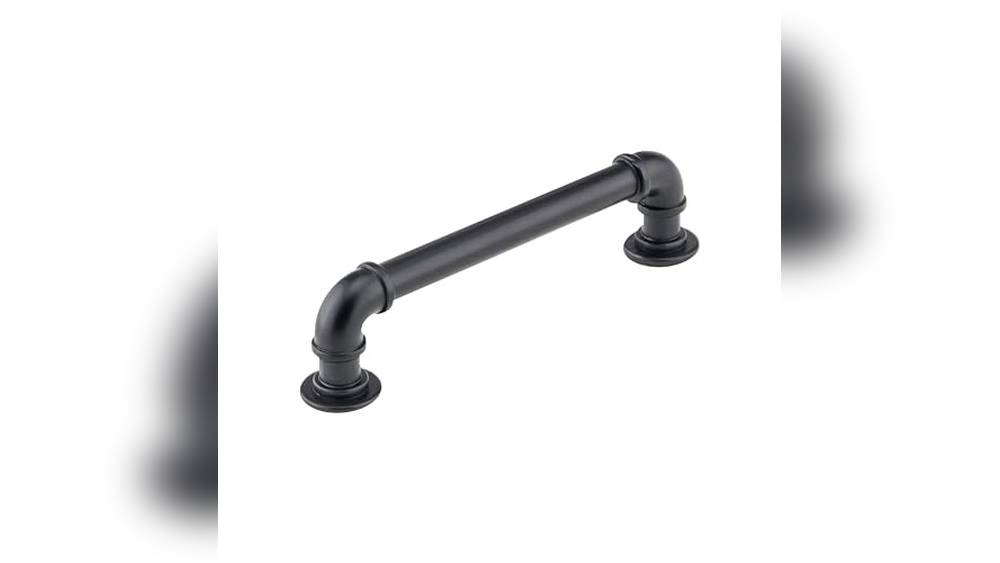
Start with the cabinet knobs or pulls you want to install. Choose hardware that fits your kitchen style and cabinet size. You will also need screws, usually included with the hardware.
For tools, a cordless drill or screwdriver is essential. A tape measure and pencil help mark the drill spots precisely. A level ensures your hardware lines are straight. A drill bit matching the screw size is necessary for clean holes. Finally, a ruler or template can speed up consistent placement.
Choosing The Right Hardware
Select hardware that complements your cabinets and kitchen decor. Knobs work well on cabinet doors, while pulls often suit drawers. Consider the size and shape for comfortable use. The finish should match other kitchen fixtures for a unified look.
Think about durability too. Metal hardware lasts longer than plastic. Also, check the screw length fits your cabinet door thickness. Proper hardware choice improves both function and style in your kitchen.
Credit: opplehouse.com
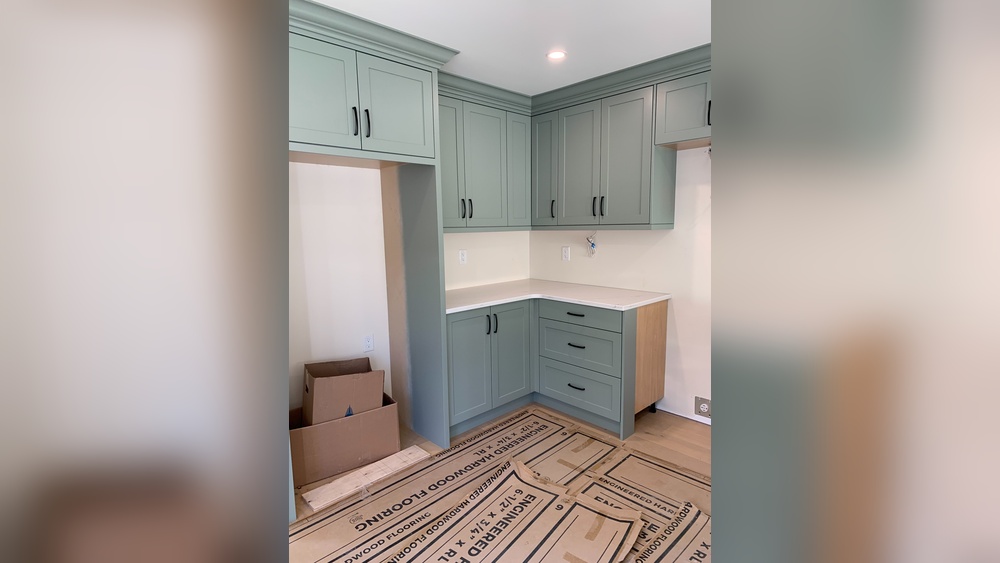
Preparing Cabinets
Preparing your kitchen cabinets is the first step before installing new hardware. Proper preparation ensures a smooth and accurate installation process. It helps avoid mistakes and saves time.
Start by cleaning and measuring the cabinets carefully. Then, mark the hardware placement precisely. These steps create a solid foundation for adding handles or knobs.
Cleaning And Measuring
Clean the cabinet surfaces thoroughly. Remove dirt, grease, and old residue. Use a mild cleaner and a soft cloth. Dry the area completely before measuring.
Measure the cabinets accurately. Use a tape measure or ruler to find the right spots. Measure twice to avoid errors. Note the dimensions for each cabinet door and drawer. Accurate measurements help place hardware evenly and symmetrically.
Marking Hardware Placement
Mark the spots where the hardware will go. Use a pencil for light and clear marks. Follow standard placement guides for handles and knobs.
For cabinet doors, place knobs in the lower or upper corners. For drawers, center knobs or pulls horizontally and vertically. Double-check each mark for consistency. Proper marking prevents misaligned hardware and improves the cabinet’s look.
Hardware Placement Tips
Proper hardware placement enhances both the look and function of kitchen cabinets. Choosing the right spot ensures easy use and adds style. Focus on consistent, balanced positions for knobs and pulls. Small adjustments can make a big difference in daily convenience and kitchen appeal.
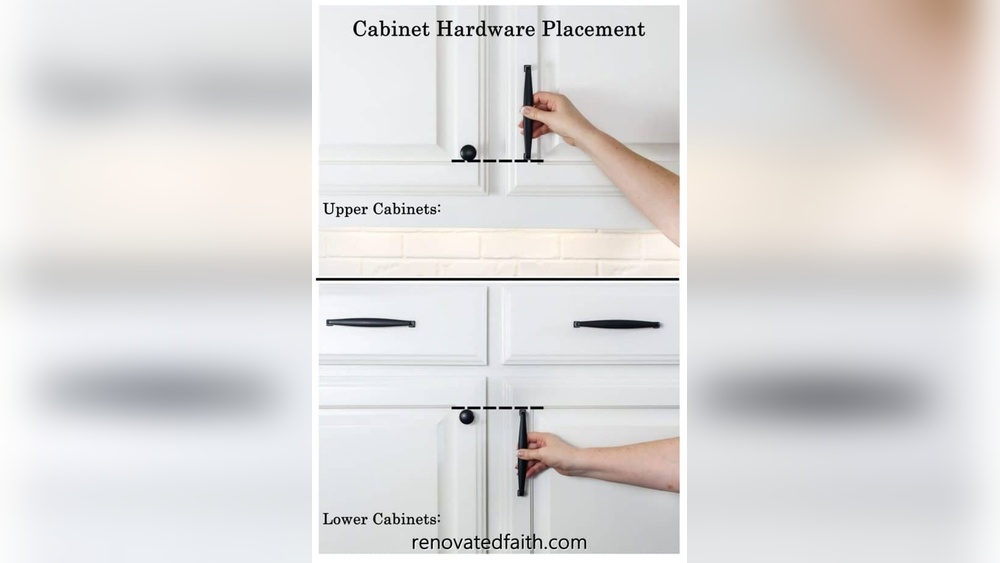
Knob Placement On Doors
Place knobs on cabinet doors for easy reach and good look. For upper cabinets, position knobs in the lower corner opposite the hinges. For lower cabinets, place knobs in the upper corner near the hinge side. Keep the distance from the edges consistent for a neat appearance.
Pull Placement On Doors
Pulls offer a modern touch and better grip on cabinet doors. Position pulls vertically along the door’s vertical edge. Center the pull between the top and bottom of the door. For a unique style, place pulls in the center where the vertical stile meets the horizontal rail.
Knob And Pull Placement On Drawers
Drawers need hardware that is both stylish and functional. For knobs, center them both horizontally and vertically on the drawer front. Pulls should be centered horizontally but placed slightly above center for easier grip on deep drawers. When using multiple pulls, space them evenly across the drawer front for balance.
Adjusting For Cabinet Style
Cabinet style affects hardware placement choices. Shaker cabinets look best with simple, centered knobs or pulls. Raised panel doors may benefit from knobs placed on the frame for classic appeal. For glass or open-frame cabinets, choose smaller hardware and position it where it won’t block the view. Always match hardware style and placement to your cabinet design for a harmonious look.
Using A Jig For Accuracy
Using a jig for accuracy makes installing kitchen cabinet hardware easier and neater. A jig guides your drill and screws, so each handle or knob sits perfectly in place. It saves time and prevents mistakes, especially when working on many cabinets or drawers.
Benefits Of A Hardware Jig
A hardware jig ensures consistent placement on every cabinet door or drawer. It keeps hole spacing exact, avoiding crooked or uneven hardware. This tool reduces the chance of errors and damage to your cabinets.
Using a jig speeds up the installation process. You do not need to measure each piece by hand. It also helps beginners achieve professional-looking results.
How To Use A Jig Correctly
First, select a jig that fits your hardware type and cabinet size. Adjust the jig’s stops or guides to match your desired hole positions. Clamp the jig firmly to the cabinet door or drawer.
Drill through the jig’s holes slowly and steadily. Remove the jig and check the holes for accuracy. Repeat the process for each cabinet piece to keep hardware placement uniform.
Drilling Holes
Drilling holes is a key step when installing kitchen cabinet hardware. Accurate holes ensure your knobs and pulls fit perfectly. Wrong holes can damage cabinets or cause loose hardware. Take your time and prepare well before drilling. Use the right tools and techniques for best results.
Choosing The Right Drill Bit
Select a drill bit that matches the screw size of your hardware. Use a bit slightly smaller than the screw to ensure a tight fit. For wood cabinets, a brad-point bit works well. It creates clean, precise holes without splintering. Avoid using bits designed for metal or masonry on wood. Check your hardware package for recommended drill size.
Drilling Techniques To Avoid Damage
Start by marking the hole location with a pencil or tape. Use a center punch or nail to make a small dent. This prevents the drill bit from slipping. Drill slowly and steadily, applying light pressure. Stop as soon as the bit passes through to avoid splintering the back of the cabinet door. Use painter’s tape over the spot for extra protection. Clean any dust before installing hardware.
Attaching Hardware
Attaching kitchen cabinet hardware brings your cabinets to life. This step requires precision and care. Proper attachment ensures durability and a polished look. Follow these easy instructions to attach knobs and pulls correctly.
Aligning And Securing Knobs
Start by placing the knob on the cabinet door. Check the alignment with the mark you made earlier. Use a level for perfect positioning. Insert the screw from the inside of the door. Hold the knob steady and tighten the screw by hand. Use a screwdriver to secure the screw fully. Avoid overtightening to prevent damage. Test the knob by pulling gently to ensure it is firm.
Installing Pulls With Screws
Measure the distance between the screw holes on the pull. Mark the spots on the cabinet door or drawer face. Drill pilot holes carefully to avoid splitting the wood. Insert the screws through the back of the door or drawer. Align the pull with the screws and slide it into place. Tighten the screws with a screwdriver. Check that the pull is secure and straight. Adjust if needed to keep the hardware level and stable.
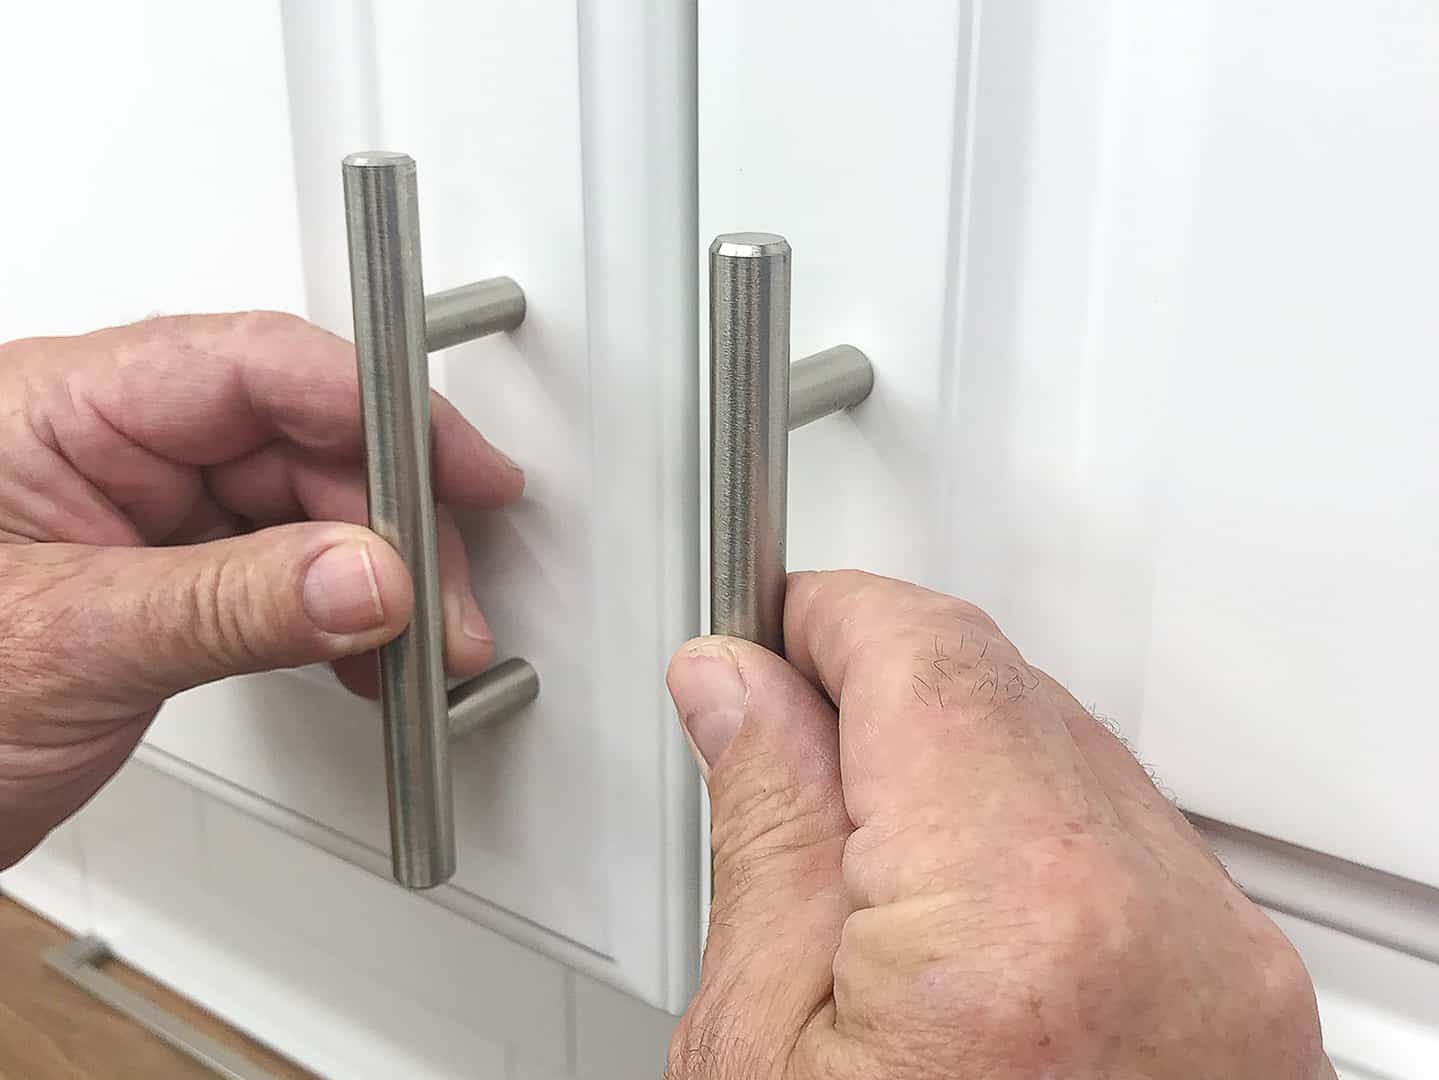
Ensuring Consistency
Ensuring consistency in kitchen cabinet hardware placement creates a polished and professional look. Uniform hardware placement makes your kitchen appear balanced and well thought out. It helps avoid a cluttered or uneven appearance. Small errors can stand out on cabinets, so taking time to align everything is important. Consistency also speeds up the installation process. Knowing exactly where to place each knob or pull reduces mistakes and rework.
Maintaining Uniform Placement
Measure each cabinet door and drawer carefully. Mark the exact spot for hardware placement with a pencil. Use a ruler or tape measure to keep marks at the same height. Double-check measurements before drilling any holes. Use a template or jig if possible. These tools help replicate the same placement on every door and drawer. Consistency in measurements ensures all handles and knobs line up perfectly across cabinets.
Visualizing With Painter’s Tape
Place painter’s tape on cabinet surfaces before marking. Use tape strips to outline hardware positions. This method prevents mistakes on the cabinet finish. Painter’s tape allows easy adjustments without damage. Step back and view the tape lines to visualize the final look. Make sure spacing looks even and balanced. Adjust tape placement until you feel satisfied. Painter’s tape is a simple tool that improves accuracy and confidence in hardware installation.
Adjusting For Special Cases
Adjusting kitchen cabinet hardware for special cases ensures a smooth and functional kitchen. Some cabinets and drawers need unique hardware placement. This helps keep the kitchen looking balanced and easy to use. Follow these tips for special hardware setups.
Multiple Pulls On Large Drawers
Large drawers often need more than one pull for easy opening. Divide the drawer front into equal sections. Place a pull in the center of each section. This makes the drawer easier to open evenly. Use a measuring tape and pencil to mark spots. Keep pulls aligned horizontally for a neat look.
Space the pulls evenly to avoid awkward gaps. This also helps balance the drawer’s weight when opening. Test the placement before drilling holes. Adjust marks if needed for comfort and style. Installing multiple pulls gives large drawers a practical and stylish touch.
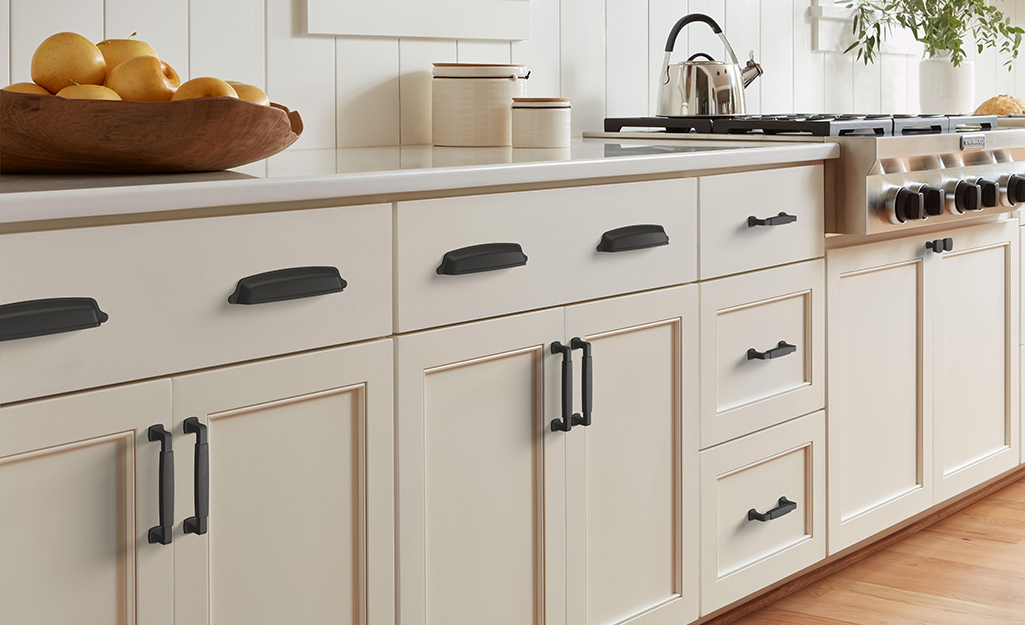
Matching Hardware On Appliances
Matching cabinet hardware with appliance handles creates a unified kitchen design. Choose hardware that complements the finish of your appliances. For example, use stainless steel pulls with stainless steel appliances. This creates a smooth visual flow across the kitchen.
Measure appliance handles to match size and shape. Keep consistent spacing and height when installing cabinet hardware nearby. This avoids a cluttered or mismatched appearance. Matching hardware helps your kitchen feel polished and well thought out.

Credit: www.youtube.com
Frequently Asked Questions
How To Place Hardware On Kitchen Cabinets?
Place knobs on upper cabinet doors’ lower corners and lower doors’ upper corners. Center knobs on drawers. Align pulls horizontally, slightly above center on large drawers. Use a jig for consistent hole placement. Test with painter’s tape before drilling. Keep hardware placement uniform for a cohesive kitchen look.
What Is The 1 3 Rule For Cabinet Hardware?
The 1-3 rule for cabinet hardware means placing pulls one-third from the drawer edge and knobs one-third from the cabinet corner. This guides consistent, balanced hardware placement for a professional look.
Is It Hard To Put Hardware On Cabinets?
Installing cabinet hardware is simple with proper tools and measuring. Use a jig for consistent placement. Test positions with tape before drilling.
How Do I Avoid Common Cabinet Install Mistakes?
Avoid common cabinet install mistakes by measuring accurately, using a jig for drilling, maintaining consistent hardware placement, testing positions with tape, and aligning hardware style with your cabinet type.
Conclusion
Adding hardware to kitchen cabinets can change your space’s look quickly. Use the tips shared here for easy, neat installation. Measure and mark spots carefully before drilling any holes. Keep your hardware placement consistent across all cabinets for a tidy appearance.
Using a jig helps keep holes straight and even. Test the placement with tape first to avoid mistakes. With patience and simple tools, you can update your kitchen with confidence. Enjoy your refreshed cabinets and the new style they bring.