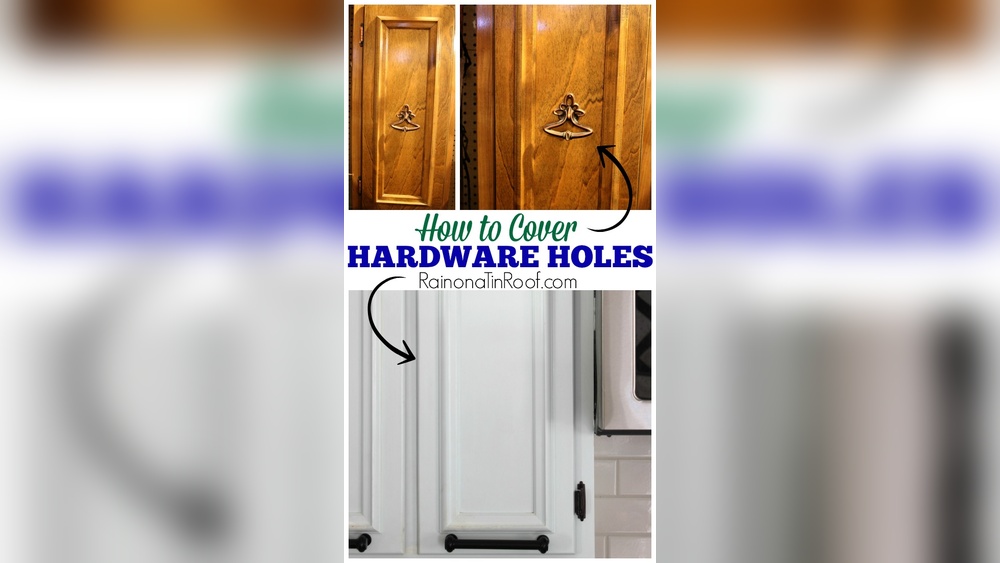
If you’ve ever swapped out your cabinet hardware only to find old holes left behind, you know how frustrating it can be to get a smooth, flawless finish. Those unwanted holes aren’t just an eyesore—they can also make it tricky to install new handles or knobs securely.
But don’t worry, filling hardware holes on cabinets is easier than you think, and with the right approach, you’ll have your cabinets looking fresh and seamless in no time. In this guide, you’ll discover simple, effective methods to fill those holes—whether you want a quick fix or a strong, lasting repair—so you can confidently update your cabinets without stress.
Ready to transform your space? Let’s dive in!
Credit: www.thehandymansdaughter.com
Choosing The Right Filler
Choosing the right filler for hardware holes on cabinets makes a big difference. It affects how strong the repair will be and how good it looks after finishing. Some fillers hold screws well, while others are better for painting or quick fixes. Picking the correct type helps the cabinet last longer and look neat.
Strong Fillers For Re-screwing
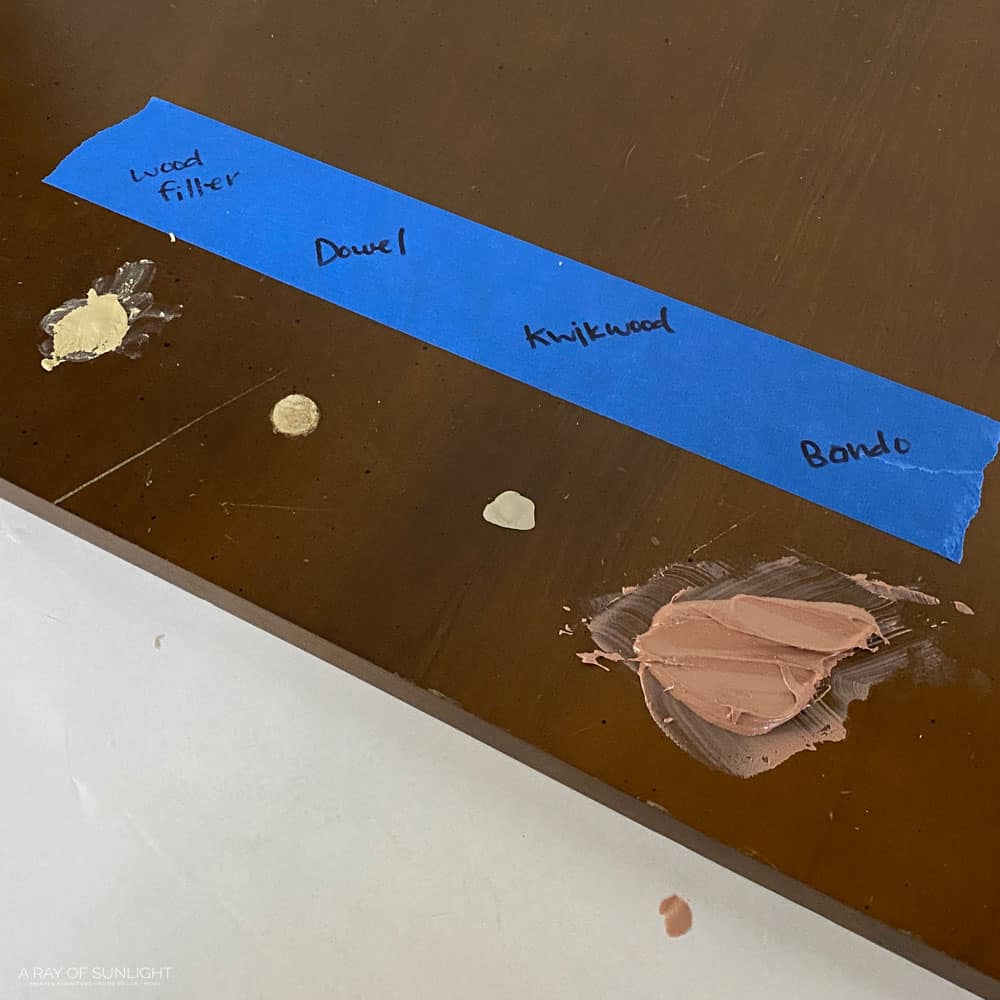
Strong fillers provide solid support for new screws. Hardwood dowels glued inside holes offer a firm base. Durham’s Water Putty is a tough, gypsum-based option that dries hard. Epoxy wood fillers create durable repairs that hold screws well. These fillers make sure hardware stays secure on cabinets.
Lightweight Fillers For Painting
Lightweight fillers work best for holes you want to paint over. Spackle fills small holes smoothly and sands easily. Lightweight wood fillers blend well with cabinet surfaces. They dry fast and create a smooth finish for painting. These fillers keep the cabinet surface even without heavy bulk.
Quick Fix Options
Quick fixes save time and work for small holes. Toothpicks or matches with wood glue fill holes fast. A mix of sawdust and wood glue also works well. These methods patch holes temporarily and prepare cabinets for light repairs. They are handy for fast, simple fixes without special tools.
Preparing The Hole
Preparing the hole is the first step in filling hardware holes on cabinets. A clean and well-sized hole ensures the filler sticks properly. It also makes the repair last longer. Take time to get this step right before moving on.
Cleaning The Hole
Clear out any dirt or dust inside the hole. Use a small brush or a vacuum to remove loose particles. Clean holes help the filler bond better with the wood. Avoid using water as it can swell the wood.
Removing Loose Material
Check for any splinters or crumbling wood around the hole edges. Gently scrape or sand these away with a utility knife or sandpaper. Loose material can cause the filler to crack or fall out later. Make sure the hole edges are solid and smooth.
Sizing The Hole
Measure the hole diameter to choose the right filler size or patch. If the hole is too large, consider filling it with a wood plug first. Small holes can be filled directly with putty or wood filler. Proper sizing helps create a neat and strong repair.
Filling Techniques
Finishing the repair on your cabinet hardware holes is a crucial step. It ensures a clean, professional look. Proper finishing also prepares the surface for new hardware installation. Follow these steps carefully to achieve the best results.
Sanding Smooth
Begin by sanding the filled holes gently. Use fine-grit sandpaper for a smooth surface. Sand until the patch blends with the cabinet surface. Remove any rough edges or excess filler. Clean the dust with a soft cloth before moving on.
Painting Or Staining
Match the cabinet’s original color with paint or stain. Apply a thin, even coat over the repaired area. Let it dry completely to avoid peeling. Multiple coats may be needed for full coverage. This step hides the repair and refreshes the cabinet’s appearance.
Re-drilling For Hardware
Mark the exact spot for the new holes. Use a drill bit suitable for your hardware screws. Drill slowly and carefully to avoid splitting the wood. Test the fit of the hardware before final tightening. This ensures a secure and neat installation.

Credit: rainonatinroof.com
Finishing The Repair
Preventing future damage to cabinets helps maintain their look and function. Proper steps stop holes from enlarging or hardware loosening over time. Taking care during installation and repair extends cabinet life and saves money.
Using Wall Plugs
Wall plugs give screws a firm grip inside the holes. They stop screws from loosening or stripping the wood. Using the right size wall plug for the hole strengthens the hold. This prevents damage caused by wobbly or loose hardware.
Choosing Proper Hardware Size
Hardware that fits well avoids extra stress on the cabinet surface. Screws too big can crack or split the wood. Screws too small may not hold tightly. Measure hole size and hardware carefully before buying or installing.
Avoiding Over-tightening
Over-tightening screws can damage cabinet wood and make holes bigger. Tighten screws just enough to hold hardware firmly. Use a screwdriver with good control to feel resistance. Stop turning when hardware feels secure but not forced.
Preventing Future Damage
Filling hardware holes on cabinets requires specific tools and materials. Having the right supplies makes the job easier and the results neater. This section lists all essential items needed to fill holes effectively.
Gathering these tools and materials before starting helps avoid interruptions. Each tool serves a clear purpose in preparing, filling, and finishing the holes.
Wood Filler Or Putty
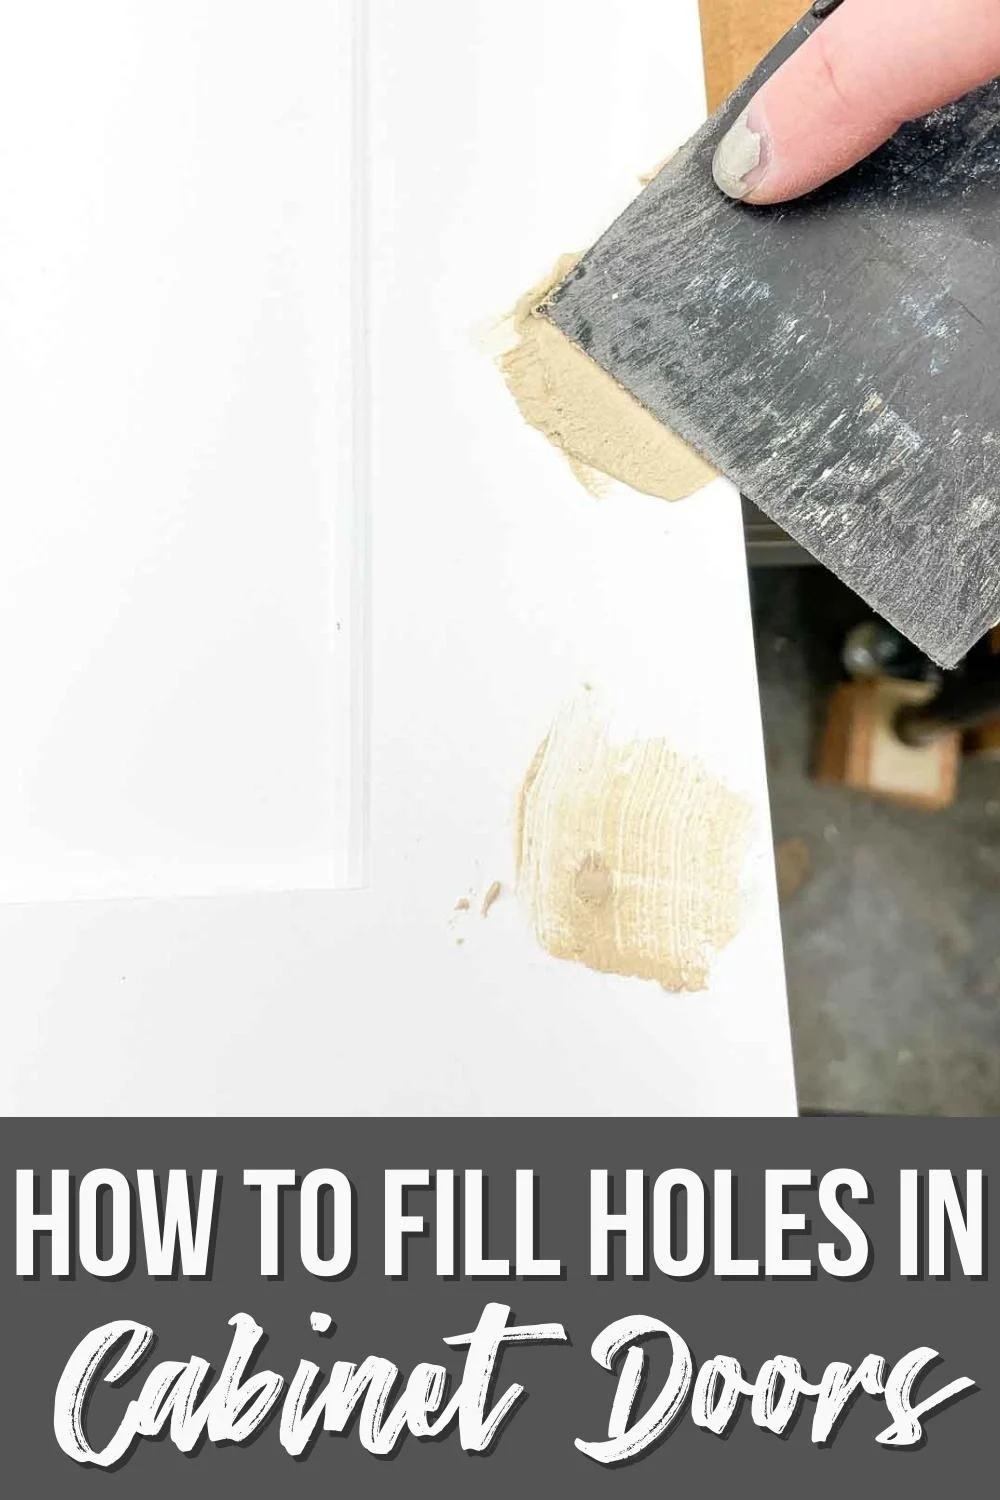
Wood filler is the main material used to fill holes. Choose a wood filler that matches your cabinet color. Putty is another option that dries hard and can be sanded smoothly.
Putty Knife
A putty knife helps spread the filler evenly inside the holes. It allows you to press the filler deep and remove any excess for a clean finish.
Sandpaper
Sandpaper smooths the filled area after it dries. Use medium grit to level the surface and fine grit to finish it gently.
Wood Glue And Toothpicks
Wood glue and toothpicks work well for small holes. Fill the hole with glued toothpicks, then trim and sand once dry.
Drill And Drill Bits
A drill may be needed to clean out old holes or to make new pilot holes for hardware. Use appropriate drill bits for wood.
Cleaning Cloth
Keep a clean cloth handy to wipe dust and debris from the surface before filling and after sanding. This helps the filler stick better.
Tools And Materials Needed
Filling hardware holes on cabinets seems easy, but many make simple mistakes. These errors can cause poor results and extra work. Avoiding common pitfalls helps achieve a smooth, durable finish. Here are frequent mistakes to watch out for during the process.
Using The Wrong Filler Material
Not all fillers are the same. Choosing a weak filler leads to cracks or holes reopening. Avoid lightweight fillers for deep or structural holes. Use wood putty, epoxy, or hardwood dowels for strong repairs. These materials hold screws and last longer.
Skipping Surface Preparation
Filling holes on dirty or rough surfaces causes poor adhesion. Always clean the area well before filling. Sand around the hole gently to remove old paint or finish. This step ensures the filler bonds tightly to the cabinet.
Overfilling Or Underfilling Holes
Putting too much filler creates lumps that are hard to sand. Too little filler leaves gaps and weak spots. Fill holes just enough to cover them fully. After drying, sand smooth for an even surface before painting.
Not Allowing Enough Drying Time
Rushing the drying process can ruin the repair. Wet filler shrinks and cracks when it dries too fast. Follow the product’s drying instructions carefully. Wait until the filler is completely dry before sanding or painting.
Ignoring Proper Sanding Techniques
Rough sanding damages surrounding wood or finish. Use fine-grit sandpaper and sand gently. Sand only until the filler blends with the cabinet surface. Proper sanding creates a smooth base for paint or stain.
Credit: arayofsunlight.com
Frequently Asked Questions
How To Cover Screw Holes In Kitchen Cabinets?
Fill screw holes in kitchen cabinets by inserting toothpicks with wood glue or using wood filler. Sand smooth, then paint or re-screw. For strong repairs, use hardwood dowels with glue or epoxy wood filler. Choose lightweight fillers for small holes and quick drying.
What Is The Best Filler For Screw Holes?
The best filler for screw holes depends on the job. Use hardwood dowels with wood glue or epoxy for strong repairs. Spackle or lightweight wood fillers work well for painting finishes. For quick fixes, toothpicks with glue or sawdust mixed with glue fill holes effectively.
What Is The 1/3 Rule For Cabinet Hardware?
The 1/3 rule for cabinet hardware means placing handles one-third from the drawer edge or door corner. This ensures balanced, ergonomic, and visually appealing hardware placement.
How To Fix Screw Holes In Cabinets?
Fill cabinet screw holes by inserting wood glue and toothpicks or matchsticks. For stronger repairs, use wood filler, epoxy, or hardwood dowels with glue. Let dry, sand smooth, then re-drill for new screws. This ensures a sturdy, clean finish ready for hardware installation.
Conclusion
Filling hardware holes on cabinets is simple with the right materials. Choose a filler that matches your repair needs. For strong fixes, hardwood dowels or epoxy work well. Use spackle or lightweight filler for small holes and smooth finishes. Always sand and paint after filling for best results.
Taking these easy steps restores your cabinets’ look. Enjoy your refreshed furniture without replacing it. Small repairs make a big difference in your home’s style. Keep your cabinets looking neat and fresh with these tips.