Are you ready to give your kitchen a fresh, stylish upgrade? Installing hardware on your kitchen cabinets is one of the easiest and most impactful ways to transform the look of your space.
Whether you’re replacing old knobs and pulls or adding new ones for the first time, doing it yourself can save money and give you a sense of accomplishment. But how do you make sure the hardware is placed perfectly every time?
In this guide, you’ll discover simple, step-by-step tips to install cabinet handles and knobs like a pro—even if you’ve never used a drill before. Keep reading, and you’ll learn how to measure, mark, and attach your hardware with confidence, creating a polished and cohesive look that will impress everyone who steps into your kitchen.
Choosing Hardware
Choosing the right hardware for your kitchen cabinets changes the entire look of your space. Hardware is not just for decoration. It must work well and fit your style. Picking the perfect handles and knobs can make your kitchen easier to use. It also adds a nice touch to your cabinets.
Types Of Handles And Knobs
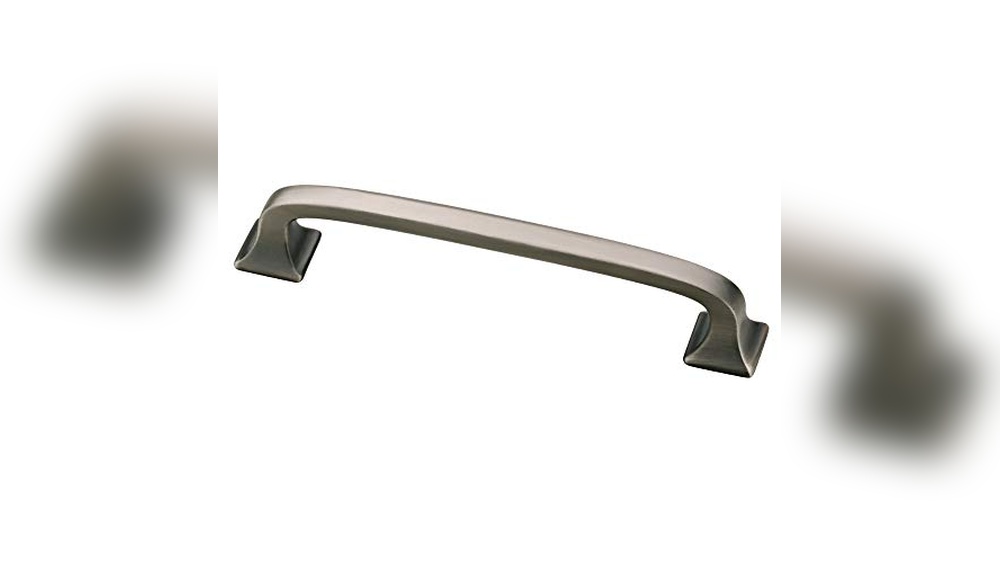
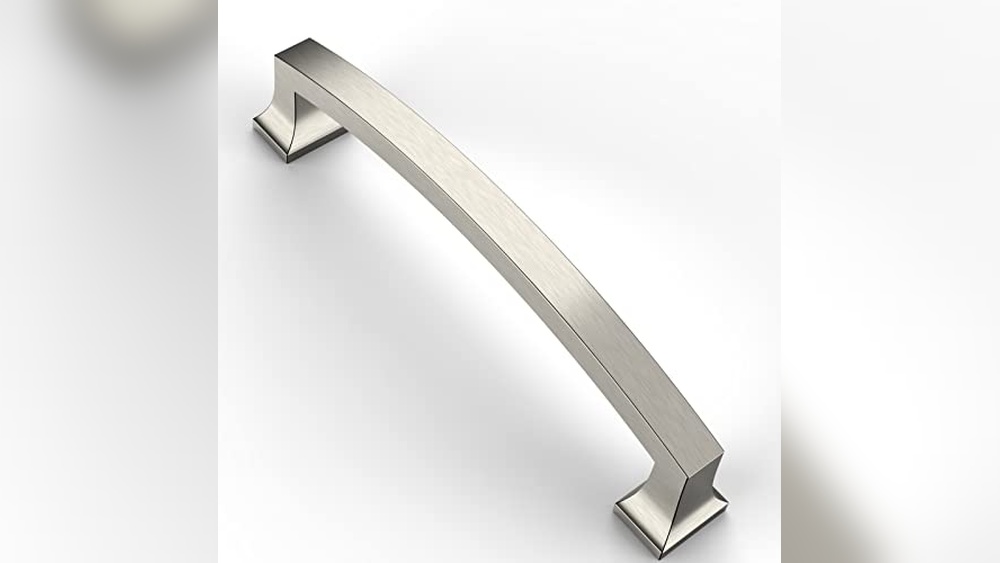
Handles and knobs come in many shapes and sizes. Knobs are small and round or square pieces you pull. Handles, also called pulls, are longer and let you use your whole hand. Some handles are simple bars. Others have detailed designs. Choose the type that feels good to hold and looks right.
Matching Cabinet Style
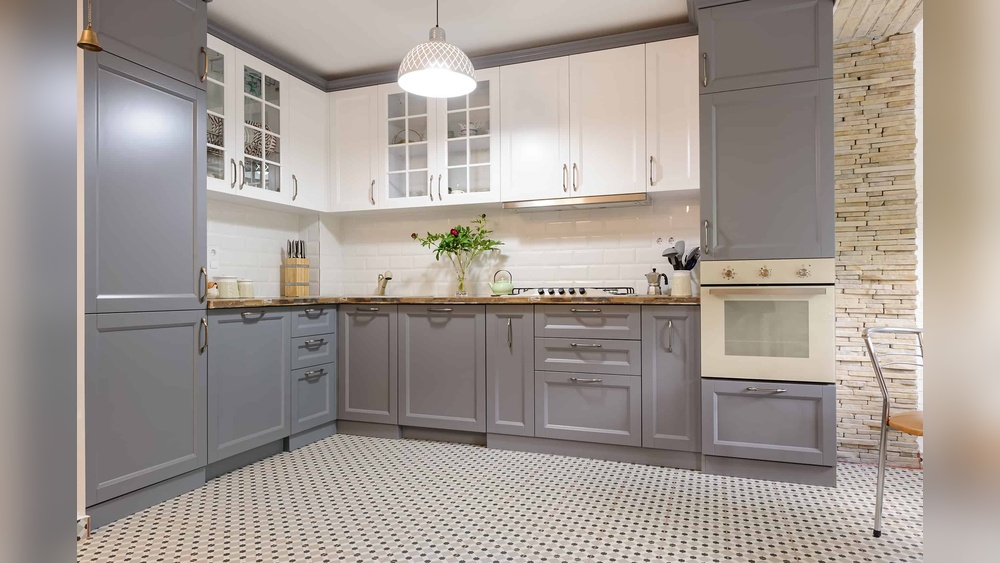
Your cabinet style guides your hardware choice. For classic or traditional cabinets, choose knobs and handles with curves or vintage details. Modern cabinets look best with sleek, straight handles. Rustic cabinets match well with rough, metal hardware. Matching hardware style with your cabinets keeps your kitchen looking balanced and neat.
Considering Functionality
Hardware must be easy to use every day. Handles work better for big drawers and doors. Knobs suit smaller doors and drawers. Think about your kitchen tasks and how often you open each cabinet. Choose hardware that feels comfortable and helps you work faster. Good hardware makes your kitchen more practical.

Credit: www.youtube.com
Tools And Materials
Before installing hardware on kitchen cabinets, gather the right tools and materials. Proper preparation saves time and ensures a neat finish. The tools and hardware you choose affect the ease and outcome of your project.
Essential Tools List
Start with a drill and drill bits for making holes. A screwdriver or a power driver will help tighten screws securely. Use a tape measure for accurate measurements. A pencil marks the drilling spots clearly. A level ensures hardware stays straight. Optional but helpful tools include clamps and a rubber mallet.
Hardware Components
Cabinet hardware includes knobs, pulls, and handles. Choose screws that fit the thickness of your cabinet doors or drawers. Pick hardware styles that match your kitchen decor. Make sure all parts come with installation instructions. Check if you need additional mounting plates or spacers.
Using A Jig For Accuracy
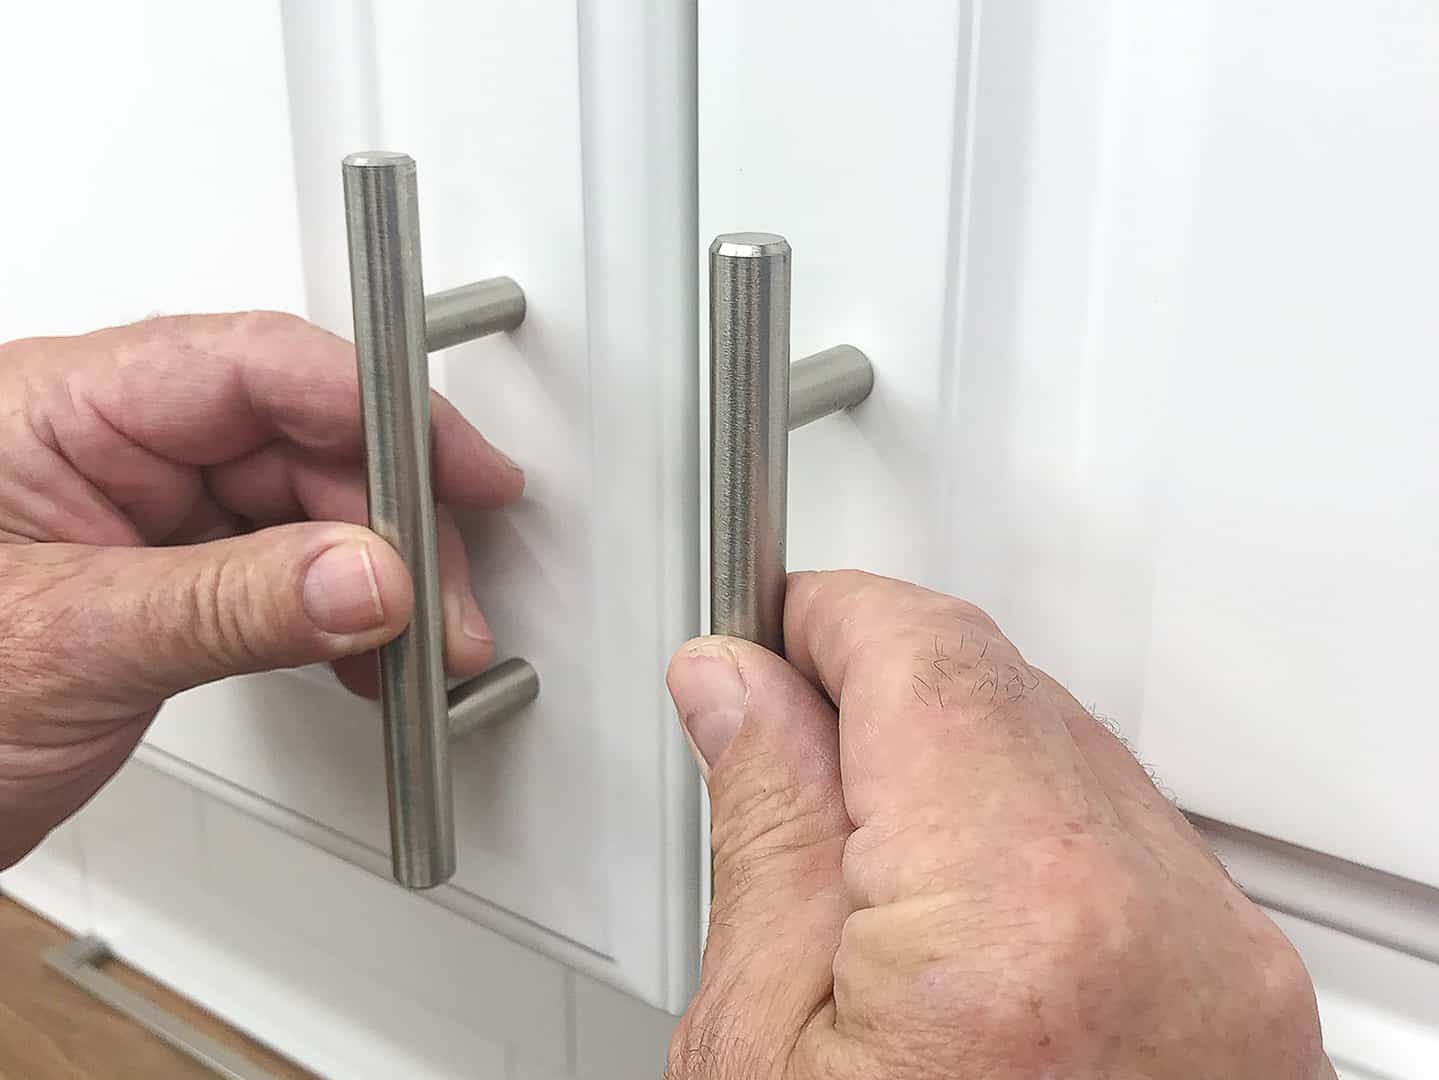
A cabinet hardware jig helps place holes evenly. It saves time by guiding drill placement. Jigs reduce errors and keep hardware aligned. Use the jig on each cabinet door and drawer for uniform results. Adjust the jig settings to match your hardware size and style.
Measuring And Marking
Measuring and marking is a crucial step before installing hardware on kitchen cabinets. Accurate measurements ensure that knobs and pulls align perfectly. This step helps avoid mistakes that could damage your cabinets. Taking your time here sets the foundation for a neat and professional look.
Placement On Cabinet Doors
Place knobs on cabinet doors based on cabinet type. For upper cabinets, position knobs near the lower corner. For lower cabinets, place knobs near the upper corner. Pulls often go vertically on the edge of the door. Mark the spot with a pencil. Use a ruler or measuring tape to get equal distances from edges. Consistency across all doors keeps the look balanced and tidy.
Placement On Drawers
Center knobs on drawers both horizontally and vertically. For pulls, place them centered horizontally. On larger drawers, place pulls slightly above center for easier grip. If your drawer needs two pulls, divide the drawer face into thirds. Mark the center of each outer section for hardware placement. Measure carefully and mark lightly with a pencil to avoid visible spots.
Using Painter’s Tape For Preview
Painter’s tape helps preview hardware placement before drilling. Stick tape over the marked spots on doors or drawers. Mark your measurements on the tape. This method prevents damage from repeated pencil marks. You can also place hardware on the tape to see how it looks. Adjust marks easily without harming the cabinet surface. Painter’s tape is a simple tool to ensure perfect placement.
Credit: truepositiontools.com
Drilling Holes
Installing hardware on kitchen cabinets brings new style and function. Proper installation improves cabinet use and appearance. This guide breaks down the key steps to install knobs and pulls with ease. Follow simple tips to get a professional look on your cabinets.
Attaching Knobs
Start by choosing the right spot for your knobs. Mark the place with a pencil. Use a drill to make a hole through the cabinet door. Insert the knob’s screw from inside the door. Tighten the knob by turning it clockwise. Check if the knob fits firmly and sits straight.
Installing Pulls
Measure the pull’s length to find the screw holes’ distance. Mark two points on the cabinet door or drawer front. Drill holes at the marks carefully. Place the pull on the outside, aligning with the holes. Insert screws from inside the cabinet. Hold the pull steady while tightening the screws.
Tightening And Securing
Use a screwdriver to tighten screws fully. Avoid overtightening to prevent damage to the cabinet or hardware. Check the hardware for any wiggle. If loose, tighten screws a bit more. Repeat the process for all knobs and pulls for a consistent finish.
Installing Hardware
After installing hardware on kitchen cabinets, focus shifts to adjusting and finishing. This step ensures the hardware fits perfectly and looks great. Proper adjustment prevents loose handles and uneven pulls. Finishing touches make your kitchen cabinets shine and last longer.
Checking Alignment
Start by checking the alignment of knobs and pulls. Look closely to see if handles sit straight and level. Use a ruler or level tool to confirm. Misaligned hardware can cause doors to close improperly. Spot any hardware that looks crooked or uneven. Mark areas that need correction before moving on.
Making Adjustments
Loosen screws slightly on hardware that is out of place. Gently shift the handle or knob to the correct position. Tighten the screws carefully to hold the hardware firmly. Avoid over-tightening to prevent damage to the cabinet or hardware. Test each handle by opening and closing the door. Adjust again if needed to ensure smooth operation.
Cleaning And Polishing
Remove dust and fingerprints from new hardware using a soft cloth. Use a mild cleaner safe for metal or wood finishes. Wipe hardware gently to avoid scratches. Polish the hardware to enhance its shine and protect the surface. Clean the surrounding cabinet area to complete the look. Well-maintained hardware adds charm and durability to your kitchen.
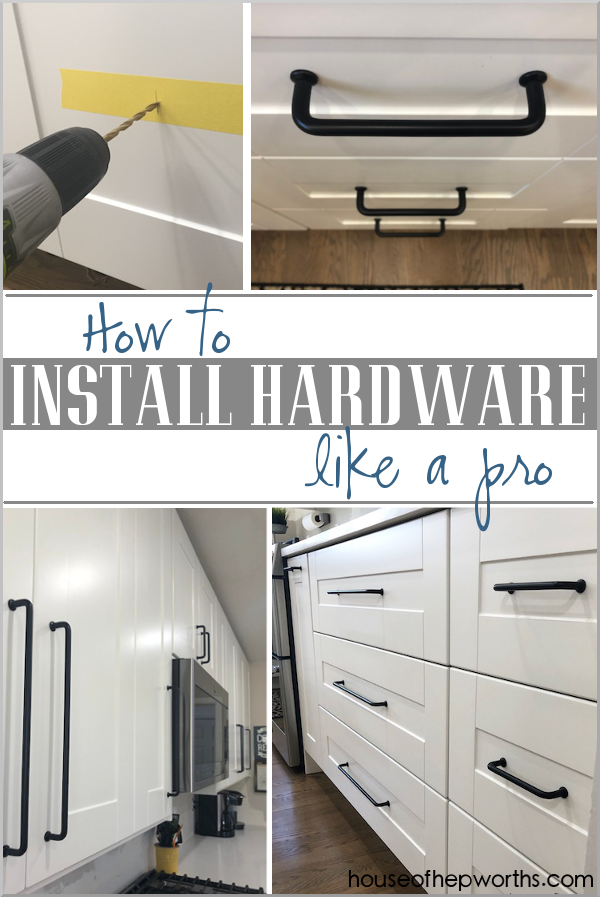
Credit: www.houseofhepworths.com
Adjusting And Finishing
Achieving consistent hardware placement on kitchen cabinets creates a neat, professional look. Consistency helps the kitchen feel balanced and well-designed. Minor differences in handle positions can stand out and disrupt the room’s flow. Follow simple tips to keep your hardware aligned and uniform across all cabinets. This section shares practical advice for consistency in your installation process.
Using Templates
Templates ensure each handle or knob goes in the same spot. Use a paper or plastic template as a guide for drilling holes. Mark the template carefully and double-check measurements before use. Place the template on every door or drawer before drilling. This method saves time and prevents errors. Templates work well for both knobs and pulls, keeping spacing exact.
Maintaining Uniform Placement
Pick one placement style and stick to it throughout your kitchen. Measure the distance from edges or corners to place hardware evenly. Use a ruler or tape measure for each cabinet to confirm the same spot. Check the height on all doors and drawers matches perfectly. Avoid guessing or eyeballing placement. Uniformity makes cabinets look like a set rather than mismatched pieces.
Adapting For Different Cabinet Types
Not all cabinets are the same size or shape. Adjust your hardware placement slightly depending on the cabinet style. For example, upper cabinets usually have handles placed lower on the door. Lower cabinets often have handles near the top corner. Drawers need pulls centered or slightly above center for easy grip. Customize placement but keep the pattern consistent for each cabinet type.
Frequently Asked Questions
What Is The 1 3 Rule For Cabinet Hardware?
The 1-3 rule divides a drawer front into thirds. Place cabinet pulls at the 1/3 or 2/3 mark for balanced, functional hardware placement.
How To Place Hardware On Kitchen Cabinets?
Place knobs on upper cabinet lower corners and lower cabinet upper corners. Center knobs on drawers. Align pulls horizontally, slightly above center on large drawers. Use a jig for consistent hole marking. Test placement with painter’s tape before drilling for best results.
Is It Hard To Install Cabinet Hardware?
Installing cabinet hardware is straightforward with basic tools. Use a template or jig for accurate hole placement. Measure carefully, mark spots, then drill and attach hardware. Consistency in placement ensures a professional look. Beginners can complete this DIY task easily with patience and proper preparation.
What Is The Current Trend For Kitchen Hardware?
Current kitchen hardware trends favor matte black, brushed gold, and mixed metal finishes, combining sleek minimalism with vintage charm.
Conclusion
Installing hardware on kitchen cabinets can be simple and rewarding. Measure twice, drill once, and use a jig for perfect placement. Keep hardware placement consistent for a neat and professional look. Test positions with tape before drilling to avoid mistakes.
Choose handles and knobs that fit your cabinet style well. With patience and care, your cabinets will look fresh and functional. Enjoy the new look and easy access your hardware provides every day.