Are you ready to give your kitchen a fresh new look without a full remodel? Replacing your kitchen cabinet hardware is one of the easiest and most cost-effective ways to transform the entire space.
Whether your current handles are outdated, worn, or just don’t match your style anymore, swapping them out can instantly refresh your kitchen’s appearance. Best of all, you don’t need to be a handyman to do it—you can tackle this project yourself with just a few simple tools.
In this guide, you’ll learn exactly how to remove old hardware, prepare your cabinets, and install new handles or knobs perfectly every time. Keep reading to discover how easy it is to upgrade your kitchen and make it truly yours!

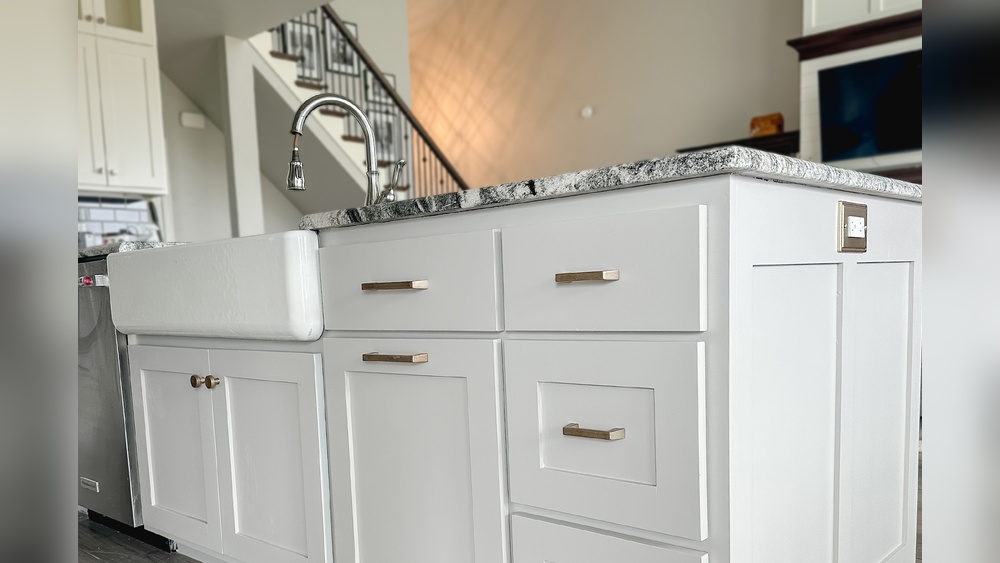
Credit: www.homedepot.com
Tools And Materials
Replacing kitchen cabinet hardware requires a few basic tools and materials. Having everything ready makes the job faster and easier. The right tools help avoid damage to cabinets and ensure a neat finish.
Gather all materials before starting. This prevents interruptions during the project. Using proper tools also improves safety and accuracy.
Essential Tools For Replacing Cabinet Hardware
You will need a screwdriver, either flathead or Phillips, depending on your hardware screws. A cordless drill can speed up the process but is not necessary. A tape measure helps check the hardware size and placement. A level ensures handles and knobs are straight. A pencil marks drill points for new hardware.
Materials Needed For The Project
Choose new knobs or handles that fit your style and cabinet design. Make sure the screw holes match or be ready to fill and drill new holes. Wood filler helps fix old holes if needed. Sandpaper smooths the filled areas. Use painter’s tape to mark hardware positions without damaging the cabinet surface.
Optional Supplies For A Cleaner Finish
A small putty knife helps apply wood filler evenly. A soft cloth cleans the cabinet before and after installation. Gloves protect your hands from sharp edges and chemicals. Having extra screws on hand is helpful in case some get lost or damaged.
Removing Old Hardware
Removing old hardware is the first step to update your kitchen cabinets. It clears the way for new handles and knobs. This process needs care to avoid damage to the cabinet surface. Use the right tools for a smooth removal.
Unscrewing Handles And Knobs
Start by opening the cabinet door or drawer. Find the screws holding the handle or knob in place. Use a screwdriver that fits the screw head perfectly. Turn the screwdriver counterclockwise to loosen the screws. Keep the screws safe if you plan to reuse them. Remove the handle or knob gently once the screws are out. Set the old hardware aside.
Handling Stubborn Hardware
Sometimes, screws may not turn easily. This happens if they are old or painted over. Apply a small amount of penetrating oil to loosen rusted screws. Let it sit for a few minutes. Tap the screwdriver lightly with a hammer to help break the rust. Use steady pressure to avoid stripping the screw head. If screws are painted over, carefully score around them with a utility knife first. This prevents paint from peeling off the cabinet surface.
Choosing New Hardware
Choosing new hardware for your kitchen cabinets changes the room’s look instantly. It refreshes style and adds personality. Picking the right pieces ensures a smooth installation and lasting durability. Focus on two key points: matching screw spacing and selecting styles and finishes. Both affect how the hardware fits and looks on your cabinets.
Matching Screw Spacing
Screw spacing is the distance between the holes on your cabinet doors or drawers. Measure this carefully before buying new hardware. Standard sizes include 3 inches and 5 inches, but some cabinets may differ. Choosing hardware with the same screw spacing avoids extra drilling. This keeps your cabinets intact and makes installation easier. If new hardware has different spacing, you must fill old holes and drill new ones. This takes more time and effort.
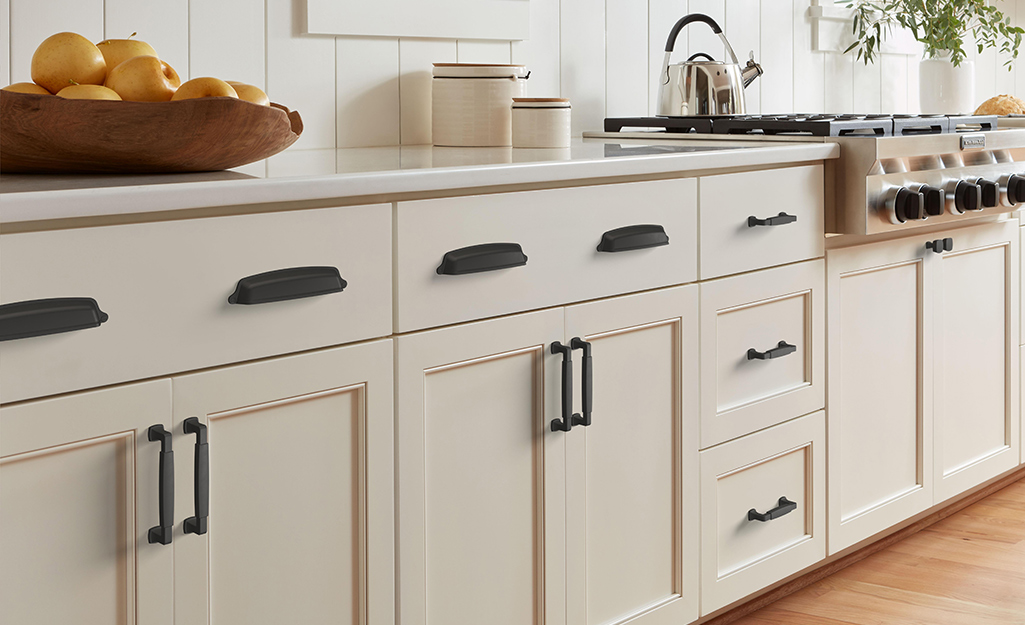
Selecting Styles And Finishes
Styles vary from modern to classic, simple to ornate. Choose a style that matches your kitchen’s theme. Handles, knobs, and pulls come in many shapes and sizes. Pick what feels comfortable and looks good. Finishes include brushed nickel, chrome, bronze, and black. Match finishes with your kitchen fixtures for a unified look. Matte finishes hide fingerprints better than shiny ones. Polished finishes reflect light and add brightness. Consider durability and ease of cleaning when selecting finishes.
Preparing Cabinet Surfaces
Preparing cabinet surfaces is a crucial step before installing new hardware. This step ensures a smooth and clean finish. Proper preparation hides old holes and improves the look of your cabinets. It also helps the new hardware fit perfectly and last longer. Taking time here avoids problems later.
Filling Old Holes
Old holes can spoil the look of your cabinets. Use wood filler to cover these holes. Apply filler with a putty knife, pressing firmly into the holes. Let it dry completely according to the product instructions. Once dry, check if the holes are fully covered. Add more filler if needed. This step creates a smooth surface for painting or staining.
Sanding And Refinishing
After filling holes, sanding is the next step. Sand the cabinet surfaces gently using fine-grit sandpaper. This removes rough edges and smooths the filler. Sand in the direction of the wood grain. Wipe away dust with a damp cloth. Refinishing the surface with paint or stain refreshes the cabinet look. Choose a finish that matches your kitchen style. Let the finish dry fully before installing new hardware.
Measuring And Marking
Measuring and marking are crucial steps in replacing kitchen cabinet hardware. Accurate measurements ensure the new handles or knobs fit perfectly. Marking the screw holes correctly prevents mistakes and damage to your cabinets. Taking time here saves effort later and helps achieve a professional look.
Careful measuring avoids misaligned hardware that can spoil the cabinet’s appearance. Marking guides the drilling process so screws go in straight and secure. Using simple tools like a ruler and pencil makes this task easy for anyone.
Using Templates
Templates help mark screw positions quickly and evenly. Many hardware sets include paper or plastic templates. Place the template on the cabinet door or drawer front. Align it with the edge or center as needed. Use a pencil to mark the screw holes through the template.
If no template is available, create one from cardboard. Measure the distance between screw holes on the new hardware. Draw holes on the cardboard to match. This saves time and ensures consistency across all cabinets.
Aligning Hardware Properly
Proper alignment improves both function and appearance. Handles should sit straight and level on doors or drawers. Use a level tool or measure equal distances from edges. Check alignment before marking holes.
For knobs, position them in the center or at a comfortable grip point. For pulls, measure equal spacing from edges or drawer sides. Double-check marks to avoid crooked or uneven hardware. Taking a moment here makes installation smooth and final results neat.
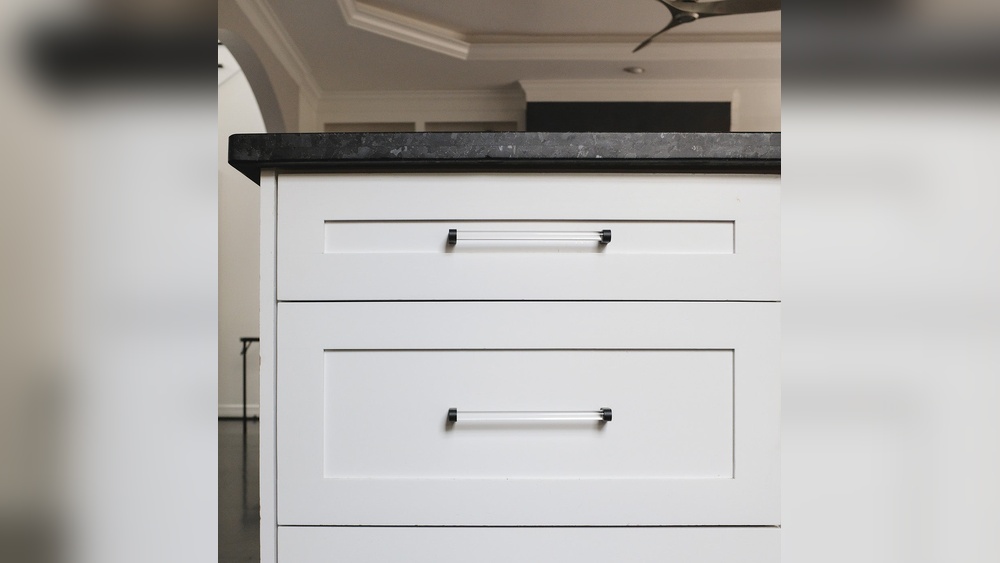
Credit: www.maisondepax.com
Drilling New Holes
Drilling new holes is a key step when your new kitchen cabinet hardware does not match the old hole pattern. This process requires care to avoid damaging your cabinets. Accurate drilling ensures the new knobs or pulls fit perfectly and look professional. You need the right tools and techniques for clean, precise holes.
Choosing Drill Bits
Select drill bits that match the screw size of your new hardware. Use a bit slightly smaller than the screw diameter for a tight fit. Sharp, high-quality bits make cleaner holes and reduce splintering. For wood cabinets, brad point bits work best because they cut precisely without wandering.
Drill bits come in various materials like high-speed steel or carbide. Choose a bit designed for wood to avoid dulling quickly. Always check the hardware package for recommended drill bit size. Using the correct bit size saves time and prevents mistakes.
Drilling From The Back
Drilling from the back side of the cabinet door protects the visible front surface. It helps prevent splintering or chipping around the hole, keeping your cabinet looking neat. Mark the hole position carefully on both sides before drilling.
Use painter’s tape on the drilling spot to add extra protection. Drill slowly and steadily to avoid cracking the wood. After drilling, smooth the hole edges with fine sandpaper. This step prepares the surface for the screw and prevents damage over time.
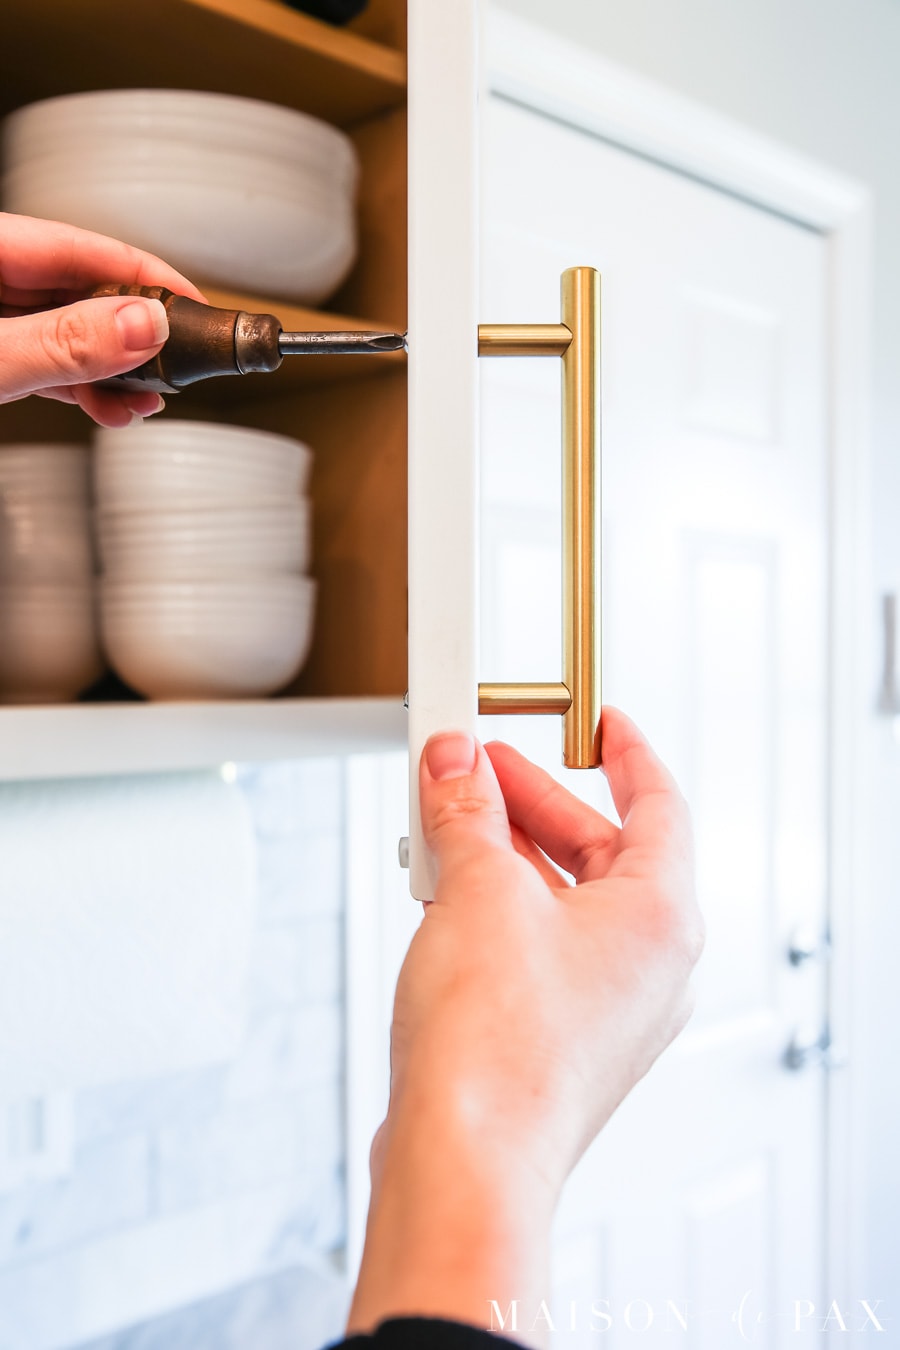
Installing New Hardware
Installing new hardware on your kitchen cabinets brings fresh style and improved functionality. The process requires careful attention to detail for a neat finish. Follow these simple steps for a smooth installation.
Inserting Screws
Begin by aligning the new hardware with the cabinet holes. Insert screws through the back of the cabinet door or drawer. Use your fingers to start threading the screws gently. This prevents cross-threading and damage to the screw or hole. If the screws are tight, use a screwdriver to carefully turn them clockwise. Ensure the screws go in straight for a secure fit.
Securing Handles And Knobs
Once screws are partially inserted, hold the handle or knob on the front. Tighten the screws slowly while steadying the hardware. Check that the handle or knob sits flush against the cabinet surface. Adjust alignment if needed before fully tightening. Secure hardware firmly to avoid wobbling or loosening over time.
Avoiding Overtightening
Stop tightening as soon as the hardware feels snug. Excessive force can strip screws or damage the cabinet wood. Overtightening may also bend or crack the hardware. Use steady, moderate pressure with your screwdriver. If the screw resists, back it out slightly and try again. Proper tightness ensures durability and a clean appearance.
Final Touches
After installing your new kitchen cabinet hardware, the final touches make all the difference. These steps ensure your cabinets look neat and function perfectly. Taking time to clean and check alignment helps maintain your kitchen’s refreshed look.
Cleaning Up
Remove any dust or fingerprints from the new hardware. Use a soft cloth and mild cleaner to wipe handles and knobs. Clean the cabinet doors around the hardware as well. This keeps your kitchen fresh and highlights the new hardware.
Checking Alignment
Make sure all knobs and pulls line up evenly. Check that handles sit straight and tight against the cabinet. Loose hardware can cause damage or fall off. Use a level or ruler for precise alignment. Adjust screws if needed for a perfect fit.
Credit: www.homedepot.com
Frequently Asked Questions
Is It Easy To Replace Cabinet Hardware?
Replacing cabinet hardware is easy and quick. Unscrew old pieces, align new hardware, and install with matching screws. Use wood filler for different hole spacing.
What Is The 1/3 Rule For Cabinet Hardware?
The 1/3 rule for cabinet hardware suggests choosing pulls one-third the length of the drawer or cabinet front for balanced aesthetics and functionality.
How Do I Update Old Cabinet Hardware?
Unscrew old knobs or handles using a screwdriver. Match new hardware’s screw spacing for easy replacement. Fill old holes with wood filler if needed. Drill new holes carefully using a template. Finish by painting or refinishing to blend with cabinets.
How To Remove Old Cabinet Hardware?
Open the cabinet and unscrew old hardware using a screwdriver or drill. Remove handles carefully. Fill old holes with wood filler if needed. Let filler dry, then sand and paint. Align new hardware using a template and drill new holes if necessary.
Install new hardware securely.
Conclusion
Replacing kitchen cabinet hardware refreshes your kitchen’s look quickly. Start by removing old knobs or pulls carefully. Clean the surface well before installing new pieces. Match screw spacing to avoid extra drilling and filling holes. Take your time to align handles evenly for a neat finish.
This simple upgrade adds style without a big cost. Enjoy the new feel of your kitchen today. Small changes can make a big difference. Ready to give your cabinets a fresh look?