
Are your cabinet doors looking tired or outdated? Changing the hardware can give them a fresh new look without breaking the bank.
If you’ve ever wondered how to replace cabinet door hardware yourself, you’re in the right place. This simple update can transform your space quickly and easily. Keep reading, and you’ll discover step-by-step tips that make the process smooth and stress-free.
By the end, you’ll have the confidence to tackle this project and enjoy a stylish, updated kitchen or bathroom. Let’s get started!

Credit: www.ebay.com
Tools And Materials Needed
Replacing cabinet door hardware needs the right tools and materials. This helps the job go smoothly and saves time. Prepare everything before starting. It makes the process easier and safer.
Choosing new hardware and gathering the proper tools are the first steps. Both parts are important for a good result. Below are details on what to select and collect.
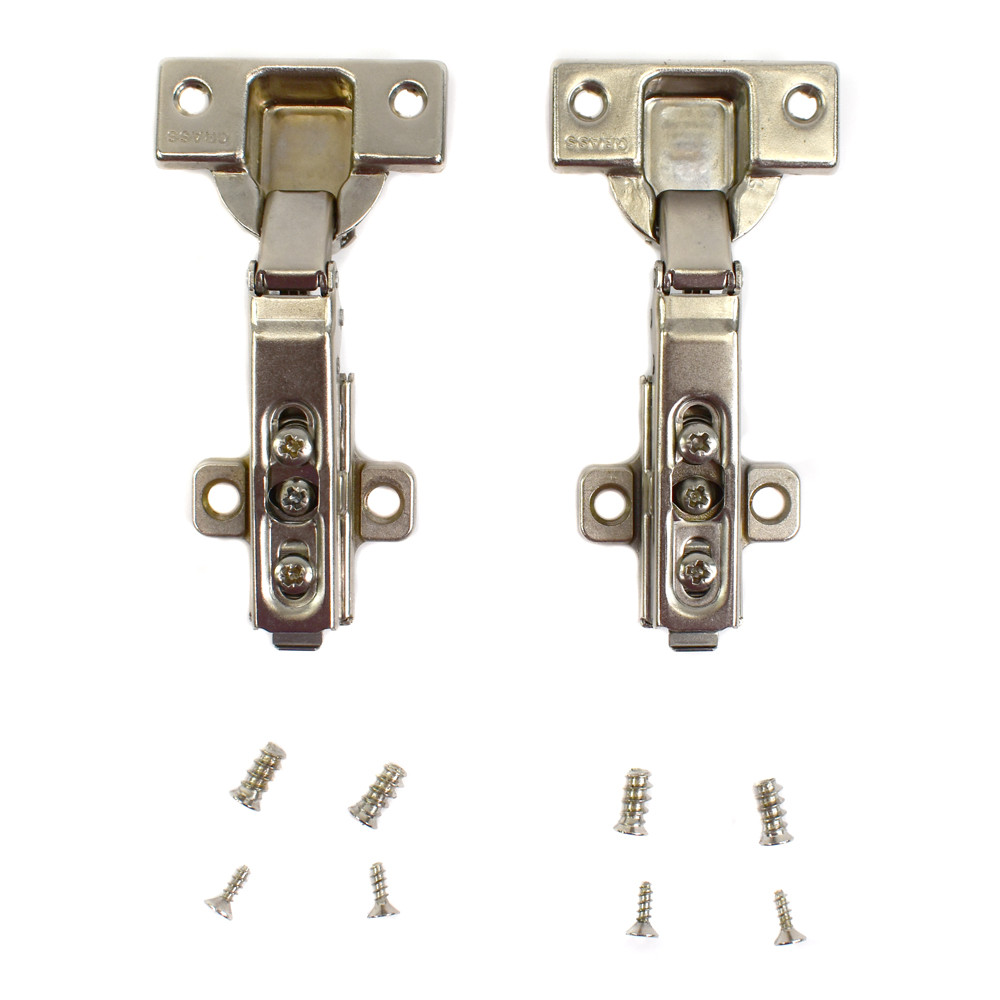
Selecting New Hardware
Pick hardware that fits your cabinet style and size. Measure the old handles or knobs first. Choose new pieces with the same hole spacing. This avoids extra drilling.
Decide on the finish and design. Match it with your kitchen or room decor. Common finishes include brushed nickel, bronze, and chrome. Simple designs suit modern kitchens well. Ornate ones fit classic styles.
Check the quality of the hardware. Look for sturdy materials like metal. Avoid cheap plastic pieces that break easily.
Gathering Essential Tools
Collect tools before starting the replacement. A screwdriver is a must, often a Phillips head. Have a drill ready if new holes are needed.
Use a tape measure to confirm hole placement. A pencil helps mark new spots. Keep a cloth nearby to protect cabinet surfaces.
Have a small container for screws. This stops losing small parts. A level tool can help align handles evenly.

Credit: www.amazon.com
Preparing The Cabinet Doors
Before installing new cabinet door hardware, proper preparation is essential. This step ensures the new handles or knobs fit well and look great. Take time to prepare each door carefully. It makes the whole process easier and helps avoid mistakes.
Start by removing the old hardware. Then, clean the surface thoroughly. These tasks create a smooth, clean base for your new hardware. Clean doors also help the screws hold better and prevent damage.
Removing Old Hardware
Use a screwdriver to remove the screws holding the old hardware. Keep the screws in case you need them later. Gently pull off the handles or knobs. Avoid forcing them to prevent damage to the door surface. If screws are tight, apply a bit of lubricant to loosen them.
Check the door for any leftover bits, like small nails or broken screws. Remove these carefully. Removing old hardware properly makes the next step easier and faster.
Cleaning The Surface
After removing the hardware, clean the door surface well. Use a mild soap and warm water to wipe the area. This removes dirt, grease, and old residue. Dry the surface with a soft cloth to avoid water damage.
Check for any scratches or marks. Sand lightly if needed to smooth the surface. A clean, smooth surface helps new hardware stick better and look neat. Take your time to do this step right.
Installing New Hardware
Installing new hardware on your cabinet doors is a simple way to refresh your kitchen or bathroom look. It requires careful steps to ensure the handles and knobs fit perfectly and work well. This section guides you through the process of aligning and attaching your new hardware correctly.
Aligning And Marking Holes
First, place the new hardware on the cabinet door to check its position. Use a pencil to mark the spots for screws. Measure twice to make sure the marks are even. This step helps avoid mistakes when drilling holes. Keep the marks light so you can erase them later if needed.
Attaching Handles And Knobs
Next, drill small pilot holes on the marks for easier screw insertion. Hold the handle or knob in place and insert screws through the back of the door. Tighten screws with a screwdriver until the hardware feels secure. Avoid overtightening to prevent damage to the door or hardware.
Credit: www.dougdeals.com
Tips For A Professional Finish
Achieving a professional finish when replacing cabinet door hardware makes a big difference. Small details show quality and care. Follow simple tips to get clean, even, and secure results. These tips help your cabinets look polished and last longer. Focus on placement and tightness for the best outcome.
Ensuring Consistent Placement
Measure twice before drilling any holes. Use a template or ruler to mark exact spots. Keep the hardware aligned across all doors for a uniform look. Check the height and distance from edges carefully. Consistency avoids a messy, uneven appearance. A steady hand and clear marks make installation easier.
Checking For Loose Fixtures
Tighten screws firmly but avoid over-tightening. Loose hardware can cause doors to hang wrong or fall off. After installation, open and close doors several times. Listen and feel for any wobbling or shifting. Retighten screws if needed to keep handles stable. Secure hardware improves function and prevents damage.
Maintaining Your Cabinet Hardware
Maintaining your cabinet hardware keeps your kitchen or bathroom looking neat. Well-kept hardware lasts longer and works smoothly. Regular care helps avoid costly repairs or replacements. Simple steps can protect the finish and prevent damage.
Cleaning And Polishing
Clean hardware often to remove dust and grease. Use a soft cloth with mild soap and water. Avoid harsh chemicals that can damage the finish. Dry the hardware well after cleaning to stop water spots. Polish metal handles with a gentle polish to keep shine. This also protects against rust and dullness.
Addressing Wear And Tear
Check hardware for loose screws or parts regularly. Tighten screws to keep handles secure and safe to use. Replace broken or worn pieces quickly to avoid further damage. Sand rough edges lightly to prevent scratches. Lubricate moving parts with a small amount of oil. This reduces noise and ensures smooth operation.
Frequently Asked Questions
How Do I Remove Old Cabinet Door Hardware?
Use a screwdriver to unscrew the old hardware carefully. Keep screws and hardware for reference or disposal. Clean the area before installing new hardware for a smooth finish.
What Tools Are Needed To Replace Cabinet Hardware?
You need a screwdriver, drill, measuring tape, and a pencil. Optional tools include a level and a template for precise alignment. Proper tools ensure easy and accurate hardware replacement.
How To Measure For New Cabinet Door Hardware?
Measure the distance between existing screw holes. If none, measure the cabinet door width and height. Use these dimensions to choose hardware that fits perfectly and looks balanced.
Can I Replace Cabinet Hardware Without Drilling New Holes?
Yes, if the new hardware matches existing hole placement. Otherwise, you may need to fill old holes and drill new ones. Using matching hardware saves time and maintains cabinet integrity.
Conclusion
Replacing cabinet door hardware can refresh your kitchen’s look quickly. Choose hardware that fits your style and measures carefully. Use basic tools and follow steps for easy installation. Small changes bring big improvements to your space. Take your time and enjoy the process.
Now, your cabinets look new and inviting. Try this simple update to boost your home’s charm today.

