Are you tired of bulky cabinet handles that ruin the sleek look of your kitchen or bathroom? Installing recessed hardware can give your cabinets a clean, modern feel while making them easier to open.
But if you’re worried that the process is complicated or requires special tools, don’t be. This guide will walk you through every step, using simple instructions you can follow right now. By the end, you’ll have a stunning upgrade that not only looks great but adds real value to your space.
Ready to transform your cabinets effortlessly? Keep reading!

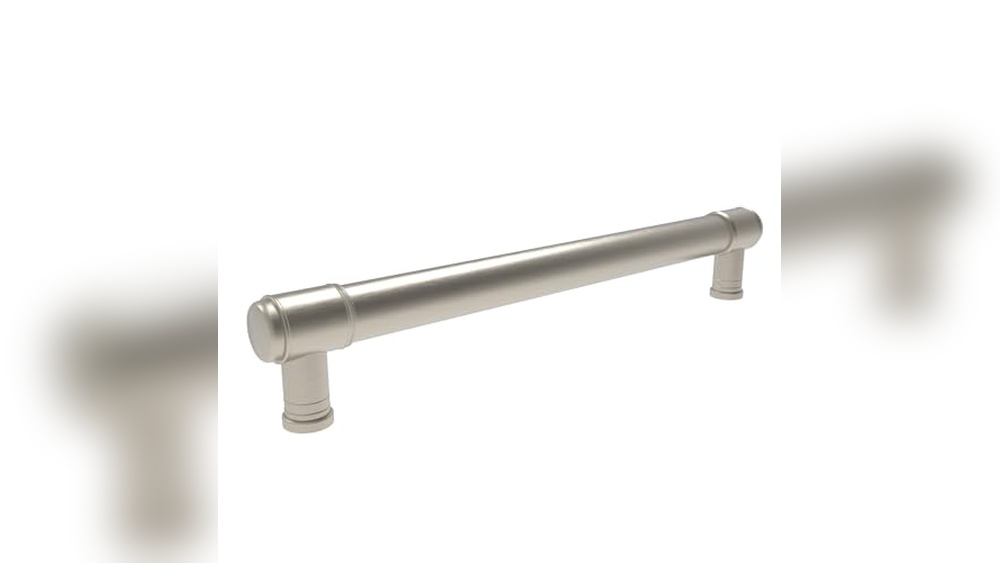
Credit: www.amazon.com
Tools And Materials Needed
Installing recessed cabinet hardware requires specific tools and materials. Having the right items ready helps the job go smoothly. It also ensures your cabinets look neat and professional. This section lists the tools and materials needed for the installation.
Essential Tools
You will need a drill with a drill bit set for making precise holes. A screwdriver helps secure the hardware tightly. A measuring tape or ruler ensures accurate placement. A pencil marks the drill spots. A level guarantees the hardware sits straight. A clamp holds parts steady during work. These tools make installation easier and more accurate.
Choosing The Right Hardware
Select recessed hardware that fits your cabinet style and size. Check the depth and width to match your cabinet doors or drawers. Choose a finish that complements your kitchen or bathroom design. Popular options include cup pulls and edge pulls. Quality hardware lasts longer and feels solid. Buying the correct hardware avoids installation problems.
Safety Gear
Wear safety glasses to protect your eyes from dust and debris. Use gloves to protect your hands from sharp edges and tools. Hearing protection is helpful if using loud power tools. Work in a well-lit area to see clearly. Taking these safety steps reduces the chance of injury. Safety gear keeps you safe and confident during the project.

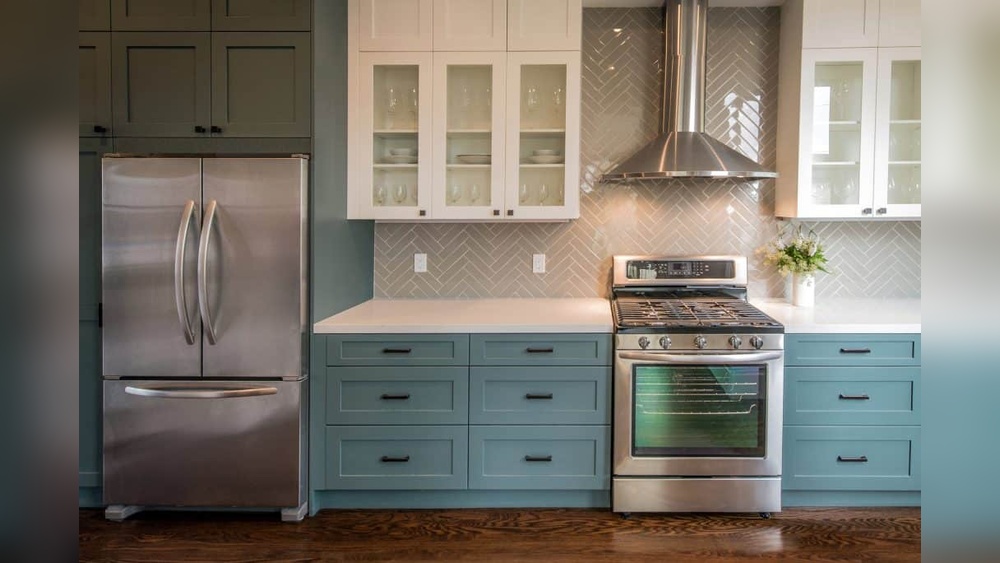
Credit: kahohardware.com
Preparing The Cabinet
Preparing the cabinet is the first important step in installing recessed hardware. It ensures the new hardware fits well and looks neat. Taking time to prepare can save effort later and give a smooth finish. Three key tasks make up this stage: measuring and marking, cleaning the surface, and removing existing hardware.
Measuring And Marking
Measure carefully before making any holes. Use a ruler or tape measure to find the exact spot for the hardware. Mark the position lightly with a pencil. Double-check these marks to avoid mistakes. Accurate measuring helps the hardware sit straight and work properly.
Cleaning The Surface
Clean the cabinet surface thoroughly. Remove dust, dirt, and grease with a mild cleaner or soap and water. Dry the area completely with a cloth. A clean surface helps the hardware stick better and keeps it from loosening over time. It also gives a neat look after installation.
Removing Existing Hardware
Remove old knobs or handles carefully. Use a screwdriver to unscrew them without damaging the cabinet. Keep the screws if they fit the new hardware. Removing old pieces makes space for the new recessed hardware to fit perfectly. Check the surface for any holes or damage to fix before installing new hardware.
Installing The Recessed Hardware
Installing recessed hardware on cabinets improves their look and function. This process requires careful steps to ensure the hardware fits perfectly. Follow each step to make the installation smooth and secure.
Drilling Pilot Holes
Start by marking where the hardware will go. Use a pencil and ruler for accuracy. Drill small pilot holes at these marks. Pilot holes help prevent the wood from splitting. Choose a drill bit slightly smaller than the screws.
Positioning The Hardware
Place the recessed hardware into the cutout area. Check that it sits flush with the cabinet surface. Adjust the position until it fits tightly. Proper placement ensures the hardware works well and looks neat.
Securing With Screws
Insert screws into the pilot holes through the hardware. Tighten them carefully with a screwdriver. Do not overtighten to avoid damaging the cabinet or hardware. Ensure the hardware feels stable and secure before finishing.
Adjusting And Testing
Adjusting and testing cabinet recessed hardware is a key step. It ensures the hardware fits well and works smoothly. This process helps avoid problems later. Take time to align, check, and adjust carefully. A good fit makes your cabinets look neat and function well.
Aligning For A Flush Fit
Start by checking if the hardware sits flush with the cabinet surface. Use a level or ruler to see the alignment. Gently push or pull the hardware to adjust its position. Tighten screws little by little to keep it steady. Make sure no part sticks out or feels loose.
Checking Functionality
Open and close the cabinet doors several times. Listen for any noises and feel for smooth movement. Test if the hardware pulls or pushes easily. Watch for any catching or sticking points. This test shows if the hardware works as it should.
Making Final Adjustments
Adjust screws slightly to fix any issues found during testing. Recheck the fit and function after each change. Tighten all screws firmly once everything fits right. Clean the area to remove dust or fingerprints. Your hardware is ready when it looks good and works well.
Maintenance Tips
Maintaining your cabinet recessed hardware keeps it working well and looking good. Small steps can stop damage and save money on repairs. Regular care makes your cabinets last longer and stay smooth to use.
Cleaning The Hardware
Use a soft cloth to wipe the hardware gently. Avoid harsh cleaners that can damage the finish. A mild soap with water works well for dirt and grease. Dry the hardware fully to stop rust and stains.
Tightening Loose Screws
Check screws often for looseness. Use a screwdriver to tighten them carefully. Loose screws can make the hardware wobbly or fall off. Tight screws keep the hardware stable and safe to use.
Replacing Worn Parts
Look for signs of wear like cracks or rust. Replace any parts that do not work well. Using worn parts can damage your cabinet or cause injury. New parts help the hardware work smoothly again.
Credit: truepositiontools.com
Frequently Asked Questions
What Tools Are Needed To Install Cabinet Recessed Hardware?
You need a drill, screwdriver, measuring tape, pencil, and the recessed hardware kit. A level helps ensure alignment. These tools make installation accurate and efficient.
How Do You Measure For Recessed Cabinet Hardware?
Measure the cabinet door’s width and height first. Mark the hardware placement centered vertically and horizontally for balance. Use a pencil for precise markings.
Can I Install Recessed Hardware On Existing Cabinets?
Yes, you can retrofit recessed hardware on existing cabinets. Carefully follow measurements and drill holes where marked. Ensure the hardware fits the cabinet door thickness.
How Do I Avoid Damaging Cabinets During Installation?
Use painter’s tape to protect surfaces before drilling. Drill pilot holes to prevent wood splitting. Work slowly and double-check measurements for accuracy.
Conclusion
Installing cabinet recessed hardware can improve your kitchen’s look and function. Follow the steps carefully and take your time. Measure twice, drill once. Use the right tools to avoid mistakes. This project suits beginners and saves money. Enjoy the neat, clean style that recessed hardware offers.
Small changes can make a big difference. Keep practicing to get better with each install. Your cabinets will look fresh and modern. Ready to update your space? Start now with confidence!