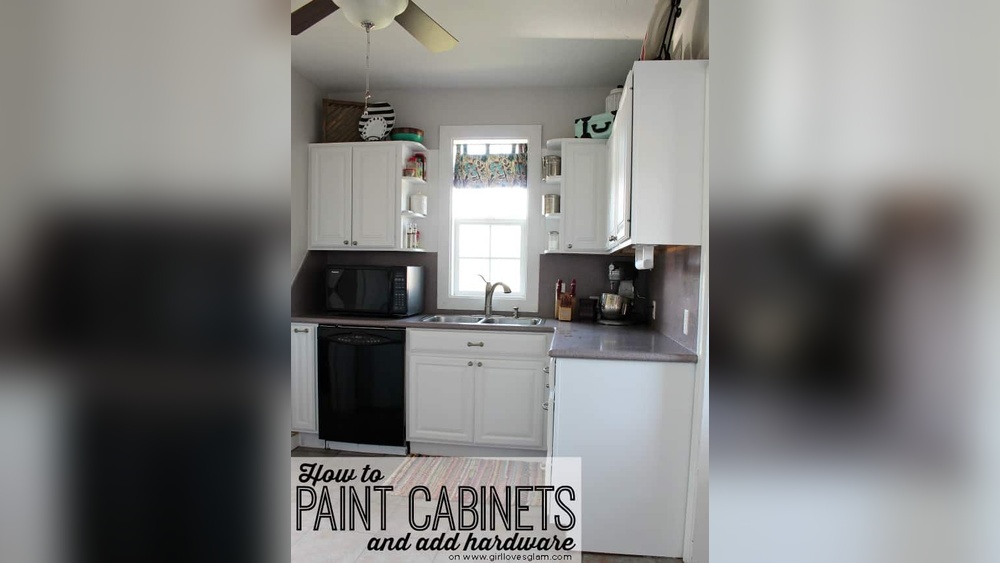
Are your cabinet handles or knobs looking worn out or outdated? Replacing hardware on your cabinets is one of the easiest and fastest ways to give your kitchen or bathroom a fresh new look.
You don’t need to be a DIY expert or spend hours on this project. With just a few simple tools and easy steps, you can transform your space and add a personal touch. Keep reading, and you’ll discover exactly how to replace your cabinet hardware quickly and confidently—making your cabinets look brand new in no time.
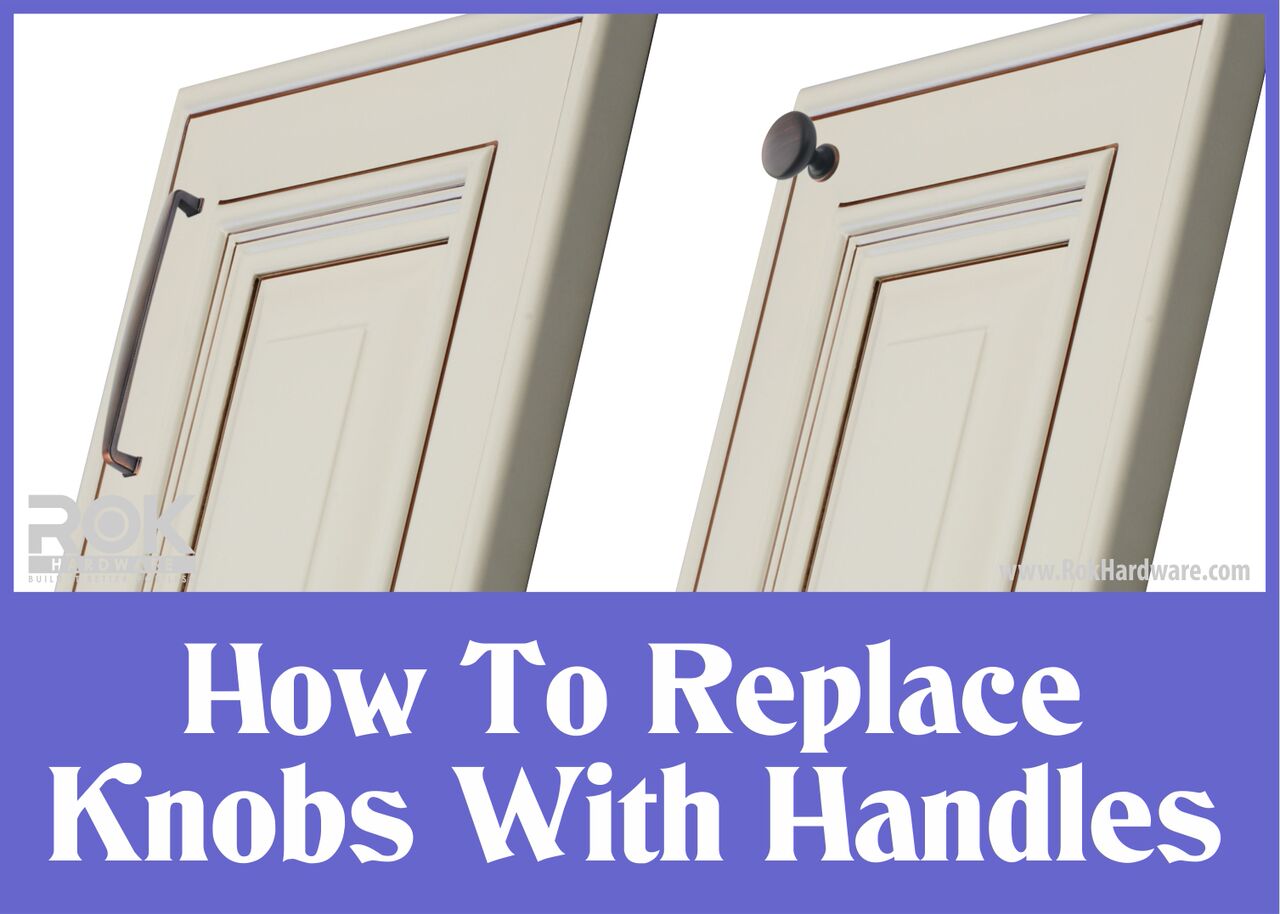
Credit: www.rokhardware.com
Tools And Materials Needed
Replacing cabinet hardware requires the right tools and materials. Having these ready makes the job easier. It also helps achieve a neat, professional look. Knowing what to use saves time and avoids frustration.
Types Of Cabinet Hardware
Cabinet hardware includes knobs, pulls, and handles. Knobs are small and round, easy to grip. Pulls are longer and provide a better hold. Handles often have a bar shape for strong grip. Hinges are also part of cabinet hardware. Each type fits different styles and needs.
Essential Tools For Replacement
You need a screwdriver, usually Phillips or flathead. A drill can speed up screw removal and installation. Measuring tape ensures new hardware fits correctly. A pencil helps mark screw holes for accuracy. A level keeps the hardware straight. Safety glasses protect your eyes during work.
Preparing The Cabinets
Preparing cabinets before changing hardware is key for a smooth update. Clean and clear surfaces help new knobs or handles fit well and look great. Taking time here saves effort later.
Removing Old Hardware
Start by opening cabinet doors or drawers. Use a screwdriver to unscrew old knobs or handles. Keep screws in a small container to avoid losing them. Gently pull off the hardware to prevent damage. Check for any leftover glue or residue.
Cleaning The Surface
Wipe cabinet surfaces with a soft cloth and warm, soapy water. Remove dirt, grease, or old adhesive. Dry the area fully to avoid moisture issues. Smooth surfaces help new hardware stick and look neat. This step prepares cabinets for the next hardware installation.
Measuring And Marking
Measuring and marking are key steps in replacing cabinet hardware. Accurate measurements ensure the new handles or knobs fit perfectly. Marking the spots clearly helps avoid mistakes during installation. Taking time here saves effort later.
Aligning New Hardware
Start by placing the new hardware on the cabinet door or drawer. Check if it lines up with the old holes, if any. For new holes, position the hardware where it looks balanced and feels comfortable to use. Use a ruler or tape measure to keep alignment straight across multiple doors or drawers.
Marking Drill Points
Use a pencil to mark the exact spots for drilling. Mark the centers of the screw holes on the cabinet surface. Double-check measurements before drilling. Keep the marks small but visible. This helps drill in the right place and prevents damage to the cabinet.
Installing New Hardware
Installing new hardware on cabinets can refresh the look of any room. It changes the style and feel without a big cost. The process is simple and takes little time with the right steps. Follow these easy instructions to install handles and knobs correctly for a neat finish.
Drilling Pilot Holes
Start by marking where the hardware will go. Use a ruler to measure and mark the spots for screws. Pilot holes help guide the screws and stop the wood from splitting. Use a drill bit slightly smaller than the screw size. Drill carefully on the marks. Keep the drill straight to avoid angled holes.
Attaching Handles And Knobs
Align the handle or knob with the pilot holes. Insert screws through the back of the cabinet door or drawer. Tighten screws with a screwdriver by hand. Avoid over-tightening to prevent damage. Check that the hardware sits flat and feels secure. Repeat for all handles and knobs for a uniform look.
Finishing Touches
After installing new hardware on your cabinets, the final steps ensure a polished look and smooth function. These finishing touches help secure the hardware and make sure everything fits perfectly. Taking time here prevents future problems.
Tightening Screws
Check all screws for tightness. Loose screws cause handles and knobs to wobble. Use a screwdriver to tighten each screw gently. Avoid over-tightening as it can damage the wood or strip the screw holes. Tight screws keep hardware firm and stable.
Checking Alignment
Step back and look at the hardware alignment. Handles and knobs should line up evenly across all cabinet doors and drawers. Misaligned hardware looks messy and can catch on clothes. Adjust screws slightly to fix any unevenness. Proper alignment improves cabinet appearance and usability.
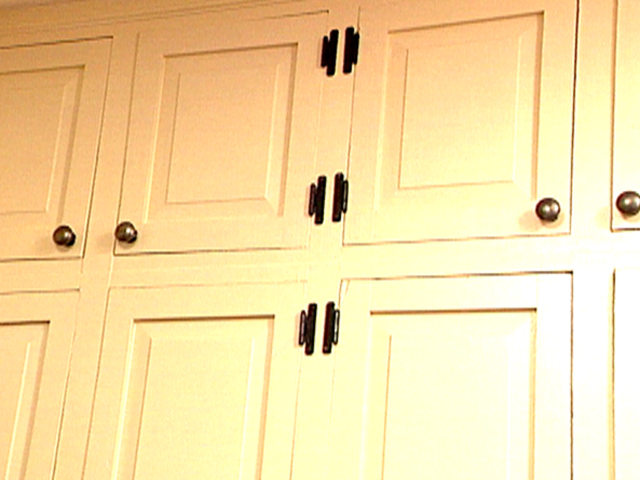
Credit: www.hgtv.com
Tips For Choosing Hardware
Choosing the right hardware for your cabinets changes the whole look. Hardware must fit your style and work well. Picking the wrong handles or knobs can spoil your room’s feel. This guide helps you select hardware that looks good and works right.
Matching Styles And Finishes
Pick hardware that matches your cabinet style. Classic cabinets suit simple, smooth handles. Modern cabinets look great with sleek, sharp designs. Match the finish to other room details. Chrome, brass, or bronze finishes can create different moods. Keep the finish consistent for a neat look.
Considering Functionality
Think about how you use your cabinets. Handles with a good grip make opening easier. Knobs work well on small doors and drawers. Large drawers need sturdy, easy-to-pull hardware. Choose pieces that feel strong and comfortable in your hand. This saves effort every day.
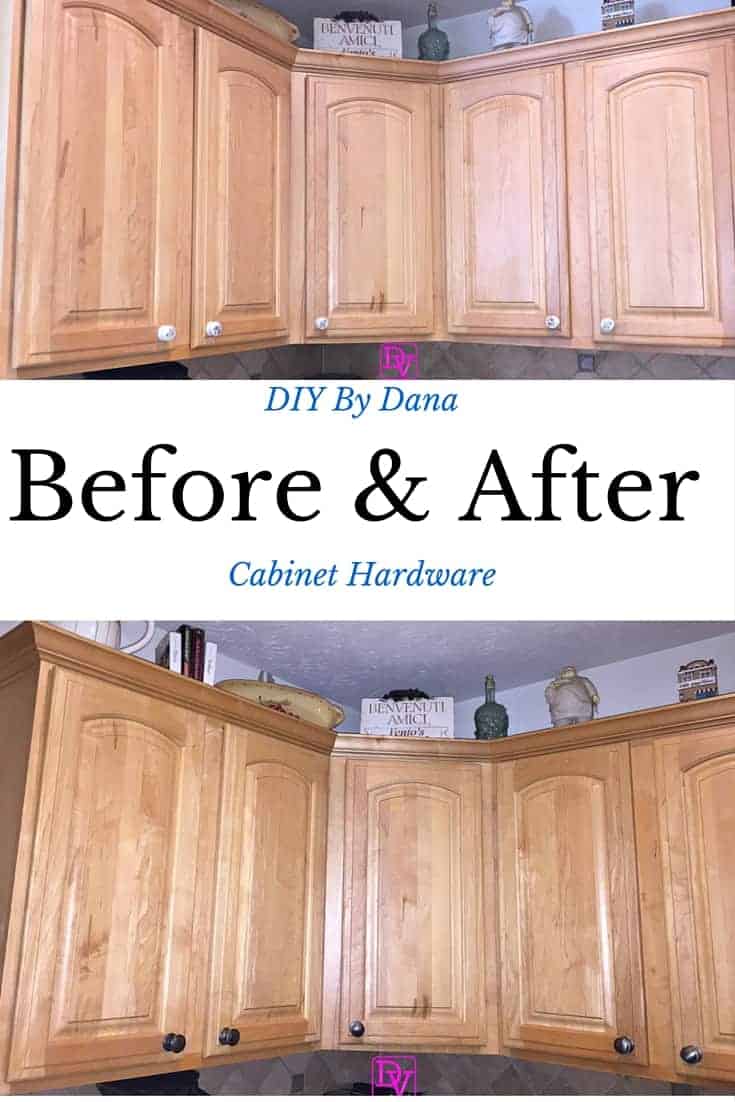
Credit: danavento.com
Frequently Asked Questions
How Do I Remove Old Cabinet Hardware Safely?
Use a screwdriver to unscrew the hardware carefully. Avoid damaging the cabinet surface by applying gentle pressure. Keep screws for reuse or replacement.
What Tools Do I Need To Replace Cabinet Hardware?
You’ll need a screwdriver, measuring tape, and possibly a drill. These tools help remove old hardware and install new pieces accurately.
How To Measure For New Cabinet Hardware?
Measure the distance between existing screw holes precisely. This ensures the new hardware fits without extra drilling or modifications.
Can I Replace Cabinet Hardware Without Drilling New Holes?
Yes, if the new hardware matches the old hole pattern exactly. Otherwise, you may need to fill old holes and drill new ones.
Conclusion
Replacing cabinet hardware can refresh any room quickly and affordably. Start by removing old knobs and handles carefully. Measure and align new hardware to fit existing holes. Use the right tools to secure each piece firmly. Take your time for neat, even results.
Small changes make a big difference in style and function. Enjoy the new look and feel of your cabinets. Simple steps bring a fresh touch to your home. Ready for your next DIY project?