Are you tired of struggling with buttons or zippers that get stuck or break easily? Snap fasteners might be the simple solution you’ve been looking for.
Using a snap fasteners kit can save you time and add a professional touch to your clothes, bags, or DIY projects. In this guide, you’ll learn exactly how to use your kit step-by-step, so you can confidently fix or create items with snap fasteners that last.
Keep reading, and you’ll discover tricks that make the process quick, easy, and even enjoyable.
Choosing The Right Snap Fasteners
Choosing the right snap fasteners is important for your project’s success. The right fastener fits well, lasts long, and looks good. Knowing different types and sizes helps you pick the best one. This section explains how to choose snap fasteners based on type, material, and size.
Types Of Snap Fasteners
Snap fasteners come in many types. Some are sew-on, which you stitch to fabric. Others are press-on, which you push into place. There are also snap buttons with prongs for thick materials. Each type works best for certain fabrics and uses. Choose the type that matches your project’s needs and the material you use.
Materials And Sizes
Snap fasteners are made from metal, plastic, or brass. Metal snaps are strong and good for heavy fabrics. Plastic snaps are light and great for baby clothes or light fabric. Brass snaps resist rust and last long outdoors. Sizes vary from small to large. Small snaps suit thin fabric, while large snaps fit thick or heavy material. Pick a size that fits your fabric thickness and purpose.

Credit: www.youtube.com
Tools Needed For Installation
Installing snap fasteners is simple with the right tools. Knowing what you need helps you finish the job quickly and neatly. This section explains the essential tools for a smooth snap fastener installation.
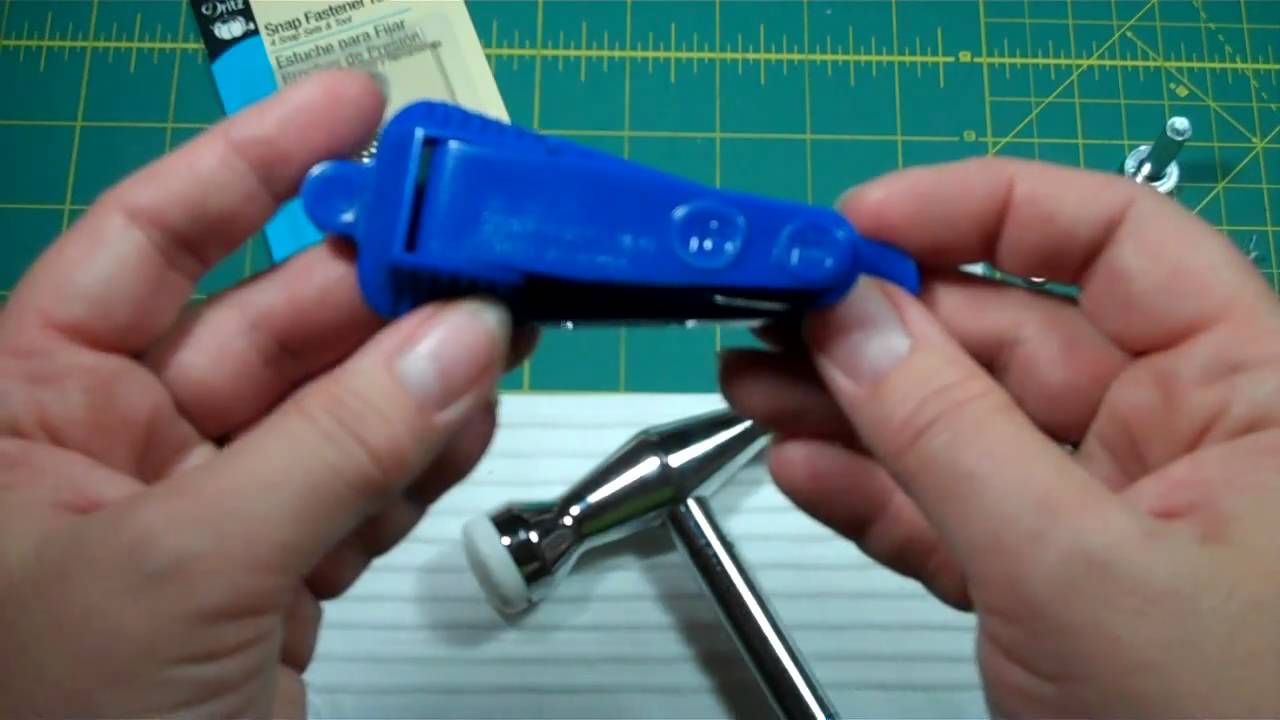
Snap Fasteners Kit Components
A basic snap fasteners kit includes several parts. You will find the snap caps, sockets, studs, and posts. Each piece fits together to form a secure snap. The kit also comes with a setting tool. This tool helps press the snap pieces into the fabric. Most kits include instructions for proper use.
Additional Helpful Tools
Besides the kit, some extra tools make installation easier. A small hammer is useful for tapping the setting tool. A pair of pliers helps hold small parts steady. You might need a hole punch to create holes in thick fabric. A ruler or measuring tape ensures correct placement of snaps. Using these tools improves accuracy and speed.
Preparing The Fabric
Preparing the fabric is a key step before attaching snap fasteners. It ensures the snaps fit well and stay strong. Taking time to prepare the fabric helps avoid mistakes and saves effort later.
Marking Placement
First, decide where to place the snap fasteners on the fabric. Use a fabric marker or tailor’s chalk for clear marks. Mark both parts of the snap so they align perfectly. Check the distance between marks to keep snaps even and straight.
Double-check the marks before making holes. Correct placement gives a neat and professional look. Marking carefully reduces the chance of crooked snaps.
Making Holes
After marking, create small holes for the snap parts. Use a hole punch tool or sharp scissors. Make holes just big enough for the snap prongs to fit. Avoid making holes too large to keep fabric strong.
Work slowly to avoid damaging fabric. Clean holes help snap fasteners stay secure and last longer. Take your time; good holes make a difference.
Attaching Snap Fasteners
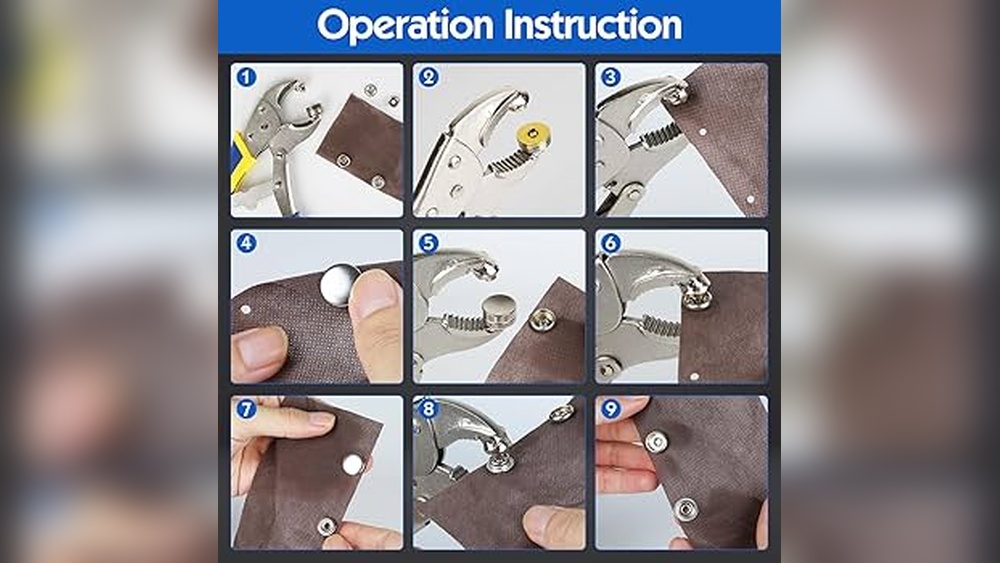
Attaching snap fasteners is a simple process that helps secure fabrics quickly. These fasteners are great for clothing, bags, and crafts. Using a snap fasteners kit makes the job easier and neater. Follow the steps carefully to get a strong hold.
Positioning The Pieces
Start by placing the fabric on a flat surface. Mark the spot where you want to attach the snap fasteners. Align the two parts of the snap so they match perfectly. One piece goes on the front side of the fabric. The other piece goes on the back side. Check the position twice before moving on.
Using The Kit Tools
Take the snap fastener pieces and place them in the kit tool. Use the punch or pliers that come with your kit. Press the tool firmly to connect the snap parts through the fabric. Make sure the snap is tight but not too tight. Test the snap by opening and closing it a few times. Adjust if needed for a perfect fit.
Testing And Adjusting Snaps
Testing and adjusting snaps is a key step when using a snap fasteners kit. It makes sure the snaps work smoothly and hold tight. Skipping this part can cause snaps to fall off or not close properly. Spend time checking each snap after attaching it.
Small adjustments can improve snap performance. Testing helps spot problems early. Adjust snaps that do not align or fasten well. This keeps your project looking neat and professional.
Checking Functionality
Press the snap parts together to test their hold. They should click firmly without extra force. Open and close the snaps several times. This checks if they stay secure and easy to use. Loose snaps may need tightening or repositioning. Snaps that are too tight might damage fabric or break.
Fixing Misalignments
Misaligned snaps cause trouble closing or opening. Compare both snap sides carefully. They must line up perfectly. Use pliers to gently adjust the snap pieces. Move them slightly until they fit well. Avoid bending snaps too much to prevent damage. Check the fabric around the snap for wrinkles or bunching. Smooth out fabric to help snaps meet correctly.
Credit: generaltools.com
Tips For Durable Repairs
Making repairs with snap fasteners can last longer with the right approach. Small steps can keep your work strong and neat. Focus on fabric strength and careful use of tools. These tips help avoid weak spots and mistakes.
Reinforcing Fabric
Use extra fabric behind the repair area. This support stops tears from growing. Cut a small patch from similar fabric. Place it under the snap fastener before attaching. Sew it lightly or use fabric glue. This makes the snap hold better and last longer.
Choose thick fabric for repairs on thin material. Thin fabric can rip easily under pressure. The added layer spreads the force evenly. This prevents damage and keeps the snap firm.
Avoiding Common Mistakes
Do not force the snap fastener if it feels stuck. Check alignment before pressing pieces together. Misaligned snaps break or fall off quickly. Use the right size snap for your fabric. Too big or small snaps cause problems.
Press tools straight and firmly. Angled pressing can bend or break snaps. Test on scrap fabric first. This saves your project from errors and wasted materials. Careful steps lead to neat, strong repairs.
Credit: www.youtube.com
Frequently Asked Questions
What Tools Are Included In A Snap Fasteners Kit?
A typical kit includes snap buttons, setting tools, and an installation base. Some kits also come with a hammer or pliers. These tools help you attach snaps securely to fabric or leather.
How Do I Prepare Fabric For Snap Fasteners?
Clean and flatten the fabric area where snaps will attach. Mark exact positions for accuracy. Use a hole punch if necessary to create small openings for snap prongs.
Can I Use Snap Fasteners On Thick Materials?
Yes, snap fasteners work on thick fabrics like denim and leather. Choose heavy-duty snaps designed for thicker materials to ensure durability and a secure fit.
How Do I Install Snap Fasteners Step-by-step?
Align the snap parts on fabric layers. Use the provided tool to press or hammer them together firmly. Check alignment before finalizing to avoid damage.
Conclusion
Using a snap fasteners kit is simple and useful. You can fix clothes or crafts quickly. Just follow the steps carefully for best results. Practice a few times to feel confident. Snap fasteners hold fabric firmly and look neat. Keep your kit handy for easy repairs anytime.
Enjoy making your projects easier with this tool. Small effort brings great convenience. Try it today and see how helpful it is!