Have you ever tried to remove hardware from a cabinet, only to find it stuck fast? It’s frustrating when screws won’t budge or handles won’t come off, leaving you stuck and unsure what to do next.
But don’t worry—you’re not alone, and there are simple, effective ways to free that stubborn hardware without damaging your cabinet. You’ll discover easy steps and smart tricks to get your hardware off quickly and safely. Keep reading, and you’ll be ready to tackle even the toughest stuck pieces like a pro.
Identify The Stuck Hardware
Before removing stuck hardware from a cabinet, identify the hardware type and cause. This step helps avoid damage and makes removal easier. Knowing what you are dealing with saves time and effort. Look closely at the hardware’s condition and how it is attached.
Common Causes Of Stuck Hardware
Hardware can get stuck due to rust or dirt buildup. Screws may strip or become too tight. Paint or glue can also hold hardware in place. Old or worn parts might not move freely. Moisture can cause metal to swell and stick. Identifying the cause helps choose the right removal method.
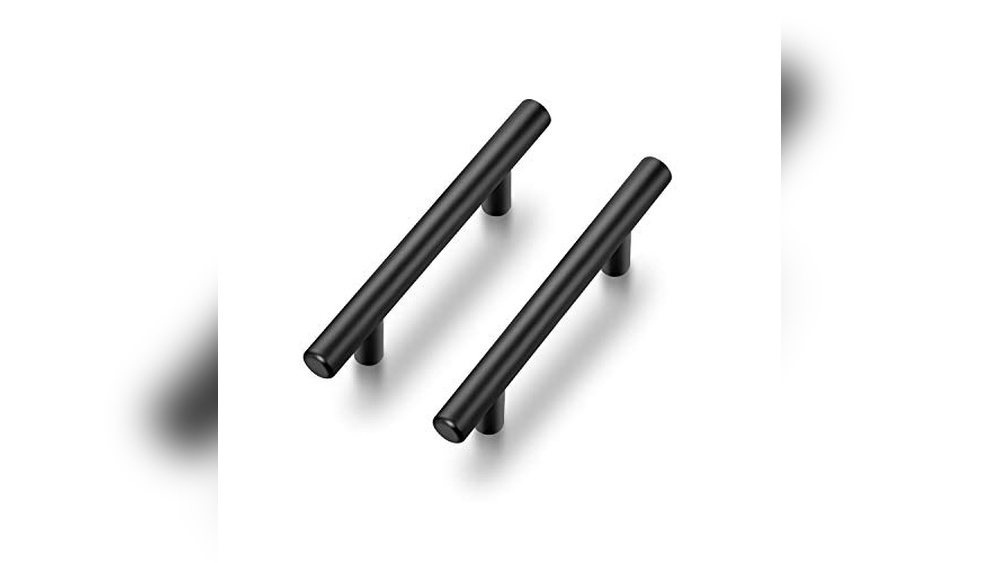
Types Of Cabinet Hardware
Cabinet hardware includes knobs, handles, and pulls. Hinges and locks are also common types. Each type may need a different removal approach. Knobs usually have one screw at the back. Handles often have two screws. Hinges attach with multiple screws and may need special tools. Knowing the hardware type guides your removal steps.

Credit: www.reddit.com
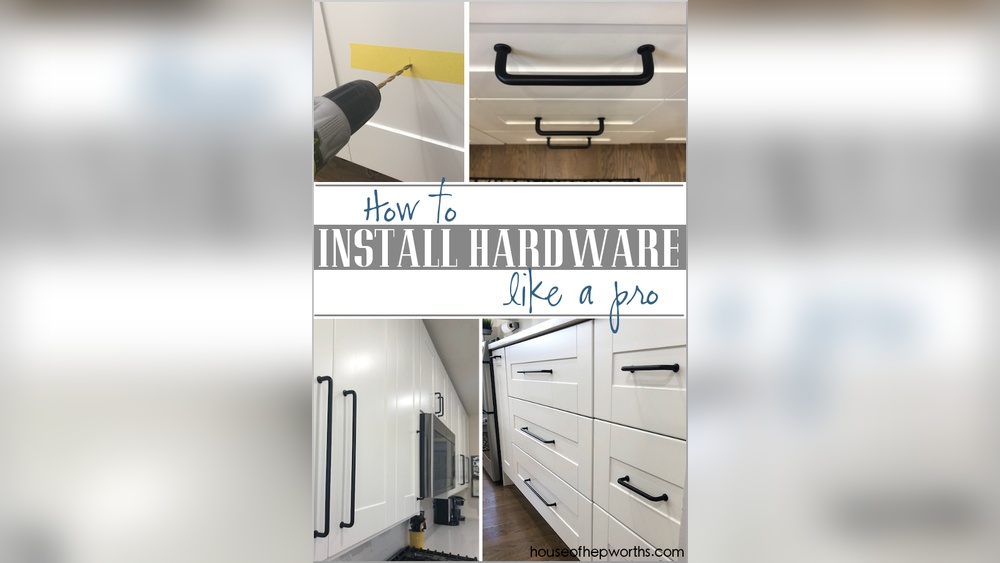
Prepare Your Tools
Preparing your tools is the first step to removing stuck hardware from a cabinet. Having the right tools ready makes the job easier and safer. It also helps prevent damage to your cabinet or hardware.
Essential Tools For Removal
Start with a screwdriver set. Different screws need different heads, like Phillips or flathead. A putty knife or flat tool helps to pry hardware gently. Needle-nose pliers can grip and pull stubborn pieces. A lubricant spray loosens rusted or stuck parts. Keep a small hammer nearby for light taps, if needed. Have a cloth ready to clean dirt and dust off hardware.
Safety Precautions
Wear safety gloves to protect your hands from sharp edges. Eye protection stops dust or debris from getting into your eyes. Work in a well-lit area to see clearly. Use tools carefully to avoid slipping and hurting yourself. Keep your workspace tidy to prevent accidents. Take breaks if you feel tired or frustrated. Safety is key for a smooth removal process.
Apply Lubrication
Applying lubrication can help loosen hardware stuck on a cabinet. It reduces friction and makes removing screws or handles easier. Using the right lubricant and applying it correctly saves time and effort. Follow the steps below to apply lubrication properly.
Choosing The Right Lubricant
Pick a lubricant made for metal parts or household use. WD-40 is a popular choice for stuck hardware. Silicone spray works well on plastic parts and hinges. Avoid heavy oils that can attract dirt and cause more problems. A light spray or oil is best for cabinet hardware.
How To Apply Lubricant Effectively
Spray or apply a small amount of lubricant directly on the stuck area. Let it sit for 5 to 10 minutes to penetrate the parts. Gently wiggle the hardware to help the lubricant work inside. Use a cloth to wipe away any excess liquid. Repeat if the hardware still feels stuck before trying to remove it.
Credit: www.jsbhomesolutions.com
Loosen Screws And Fasteners
Removing hardware from a cabinet can be tricky when screws and fasteners get stuck. These parts hold the hardware tight, so loosening them is key to safe removal. Proper care and the right tools prevent damage to the cabinet or hardware. Focus on loosening screws and fasteners to make the process smoother.
Using The Correct Screwdriver
Select a screwdriver that fits the screw head perfectly. A mismatched tool can strip the screw and make it harder to remove. Look closely at the screw type—Phillips, flathead, or others—and choose the matching screwdriver. Hold the screwdriver firmly and keep it straight while turning. This ensures good grip and reduces slipping.
Techniques For Tight Screws
Apply steady pressure while turning the screwdriver slowly. Quick, forceful moves can strip the screw head. Tap the handle gently with a small hammer to loosen rust or dirt. Use a drop of oil on the screw to reduce friction. Let the oil sit for a few minutes before trying again. These simple steps help loosen even the tightest screws.
Use Gentle Tapping
Removing stuck hardware from a cabinet can be tricky. Use gentle tapping to loosen the hardware without causing damage. This technique helps free screws, knobs, or handles that won’t budge with normal force. Tapping applies small, controlled impacts to break the grip of rust or old paint.
Gentle tapping works well because it avoids harsh force. It slowly loosens the stuck part. You can tap directly on the hardware or the surrounding area. The goal is to create slight vibrations that break the hold.
Tools For Tapping
Use a small hammer or a rubber mallet for tapping. A wooden block can protect the hardware from direct hits. A screwdriver handle or a plastic tool also works for light taps. These tools help control the force and avoid scratches.
Avoiding Damage While Tapping
Tap lightly and steadily. Avoid strong hits that may crack wood or bend metal. Always place a protective block between the tool and hardware. Check the hardware often to see if it loosens. Stop tapping if you see cracks or dents forming.
Try Heat Application
Sometimes hardware on a cabinet gets stuck and won’t come off. Applying heat can help loosen it. Heat makes metal expand slightly, which can break the rust or glue holding it tight. This method works well on screws, hinges, or handles that resist regular tools. Careful heat use prevents damage to the cabinet or hardware.
Safe Methods For Heating Hardware
Use a hairdryer for gentle heat. It warms the metal without burning the wood. Hold it close to the hardware for a few minutes. Avoid direct flame, like a lighter or torch, as it can damage the cabinet. Another option is a heat gun on low setting. Keep moving it to prevent overheating one spot. Use oven mitts or a cloth to protect your hands from hot parts.
When To Use Heat
Apply heat if screws or handles won’t turn or move. Try it after using oil or lubricant without success. Heat helps break rust or dried glue bonds. Do not use heat on plastic parts as they may melt. Also, avoid heat near paint that might peel. Use heat only for metal hardware attached to wooden surfaces. Test heat carefully to avoid damage.
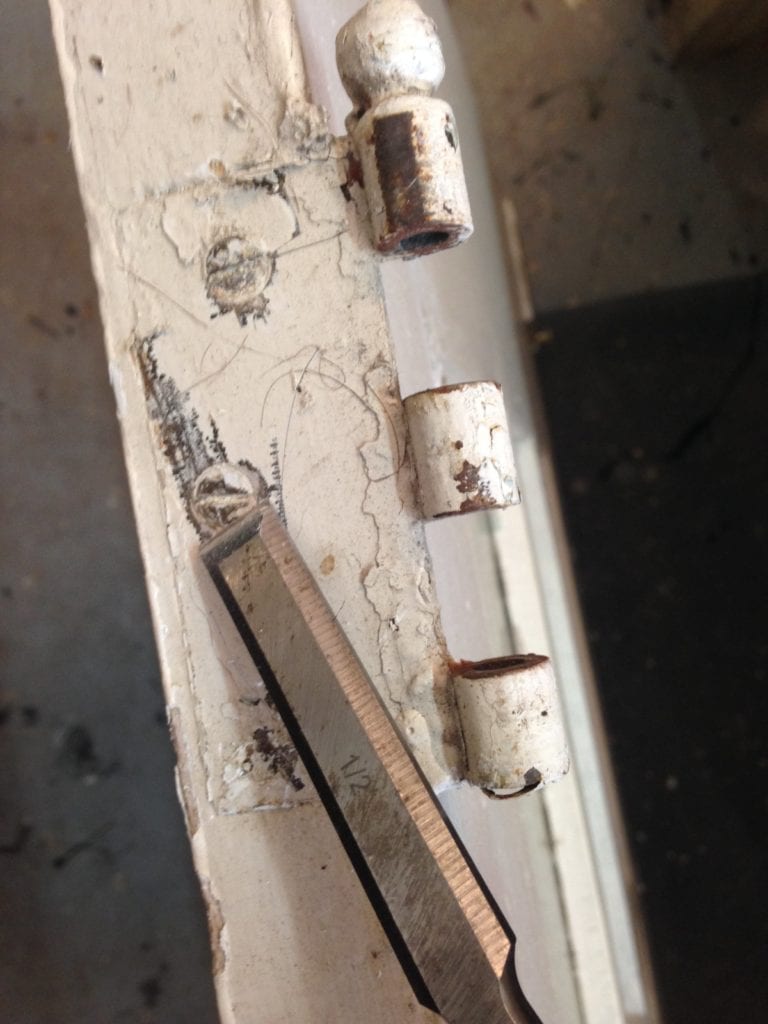
Leverage Prying Tools
Removing stuck hardware from a cabinet can be tough. Using the right prying tools makes the task easier. These tools help apply the right force without damaging the cabinet or hardware. Knowing how to choose and use pry tools is key to success.
Choosing The Right Pry Tool
Select a pry tool that fits the job size. Small hardware needs a small pry bar or flathead screwdriver. Larger hardware may require a wider pry bar or putty knife. Choose tools with smooth edges to avoid scratching surfaces. A tool with a comfortable handle gives better control. Metal tools are strong, but plastic tools reduce damage risk.
Proper Prying Techniques
Place the pry tool carefully under the hardware edge. Start prying slowly to loosen the stuck part. Use gentle rocking motions instead of strong force. Work around the hardware, lifting a little at a time. Avoid pushing too hard to prevent breaks or dents. Use a cloth between the tool and cabinet for extra protection. Patience helps remove stuck hardware safely.
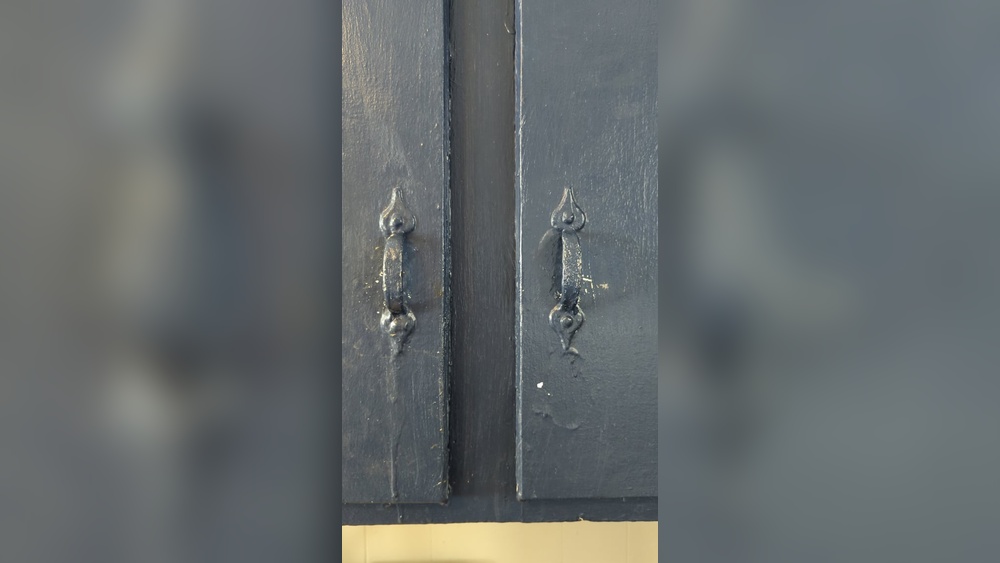
Handle Rust And Corrosion
Rust and corrosion often cause cabinet handles to stick. These problems make hardware removal tough. Rust weakens metal and makes screws hard to turn. Corrosion can cause parts to fuse together. Handling rust and corrosion is key to fixing stuck handles. Simple steps can remove rust and protect your hardware.
Rust Removal Methods
Start by wiping off dirt and dust. Use a wire brush to scrub loose rust. Apply white vinegar to the rusty area. Let it sit for 15 to 20 minutes. Vinegar breaks down rust naturally. After soaking, scrub again with the brush. Rinse with water and dry completely.
Another option is baking soda paste. Mix baking soda with water to make a thick paste. Spread it on the rusted parts. Wait for 30 minutes. Scrub and rinse well. Repeat if needed for heavy rust.
For very stubborn rust, use a rust remover product. Follow the instructions carefully. Wear gloves to protect your skin. After treatment, clean the hardware thoroughly.
Preventing Future Corrosion
Keep your cabinet hardware dry at all times. Moisture speeds up rust formation. Wipe handles regularly to remove water or spills. Use a clear coat spray to seal the metal surface. This creates a protective barrier against moisture.
Lubricate screws and moving parts with light oil. This prevents rust and keeps hardware working smoothly. Store extra hardware in a dry place. Avoid exposure to humid air or rain.
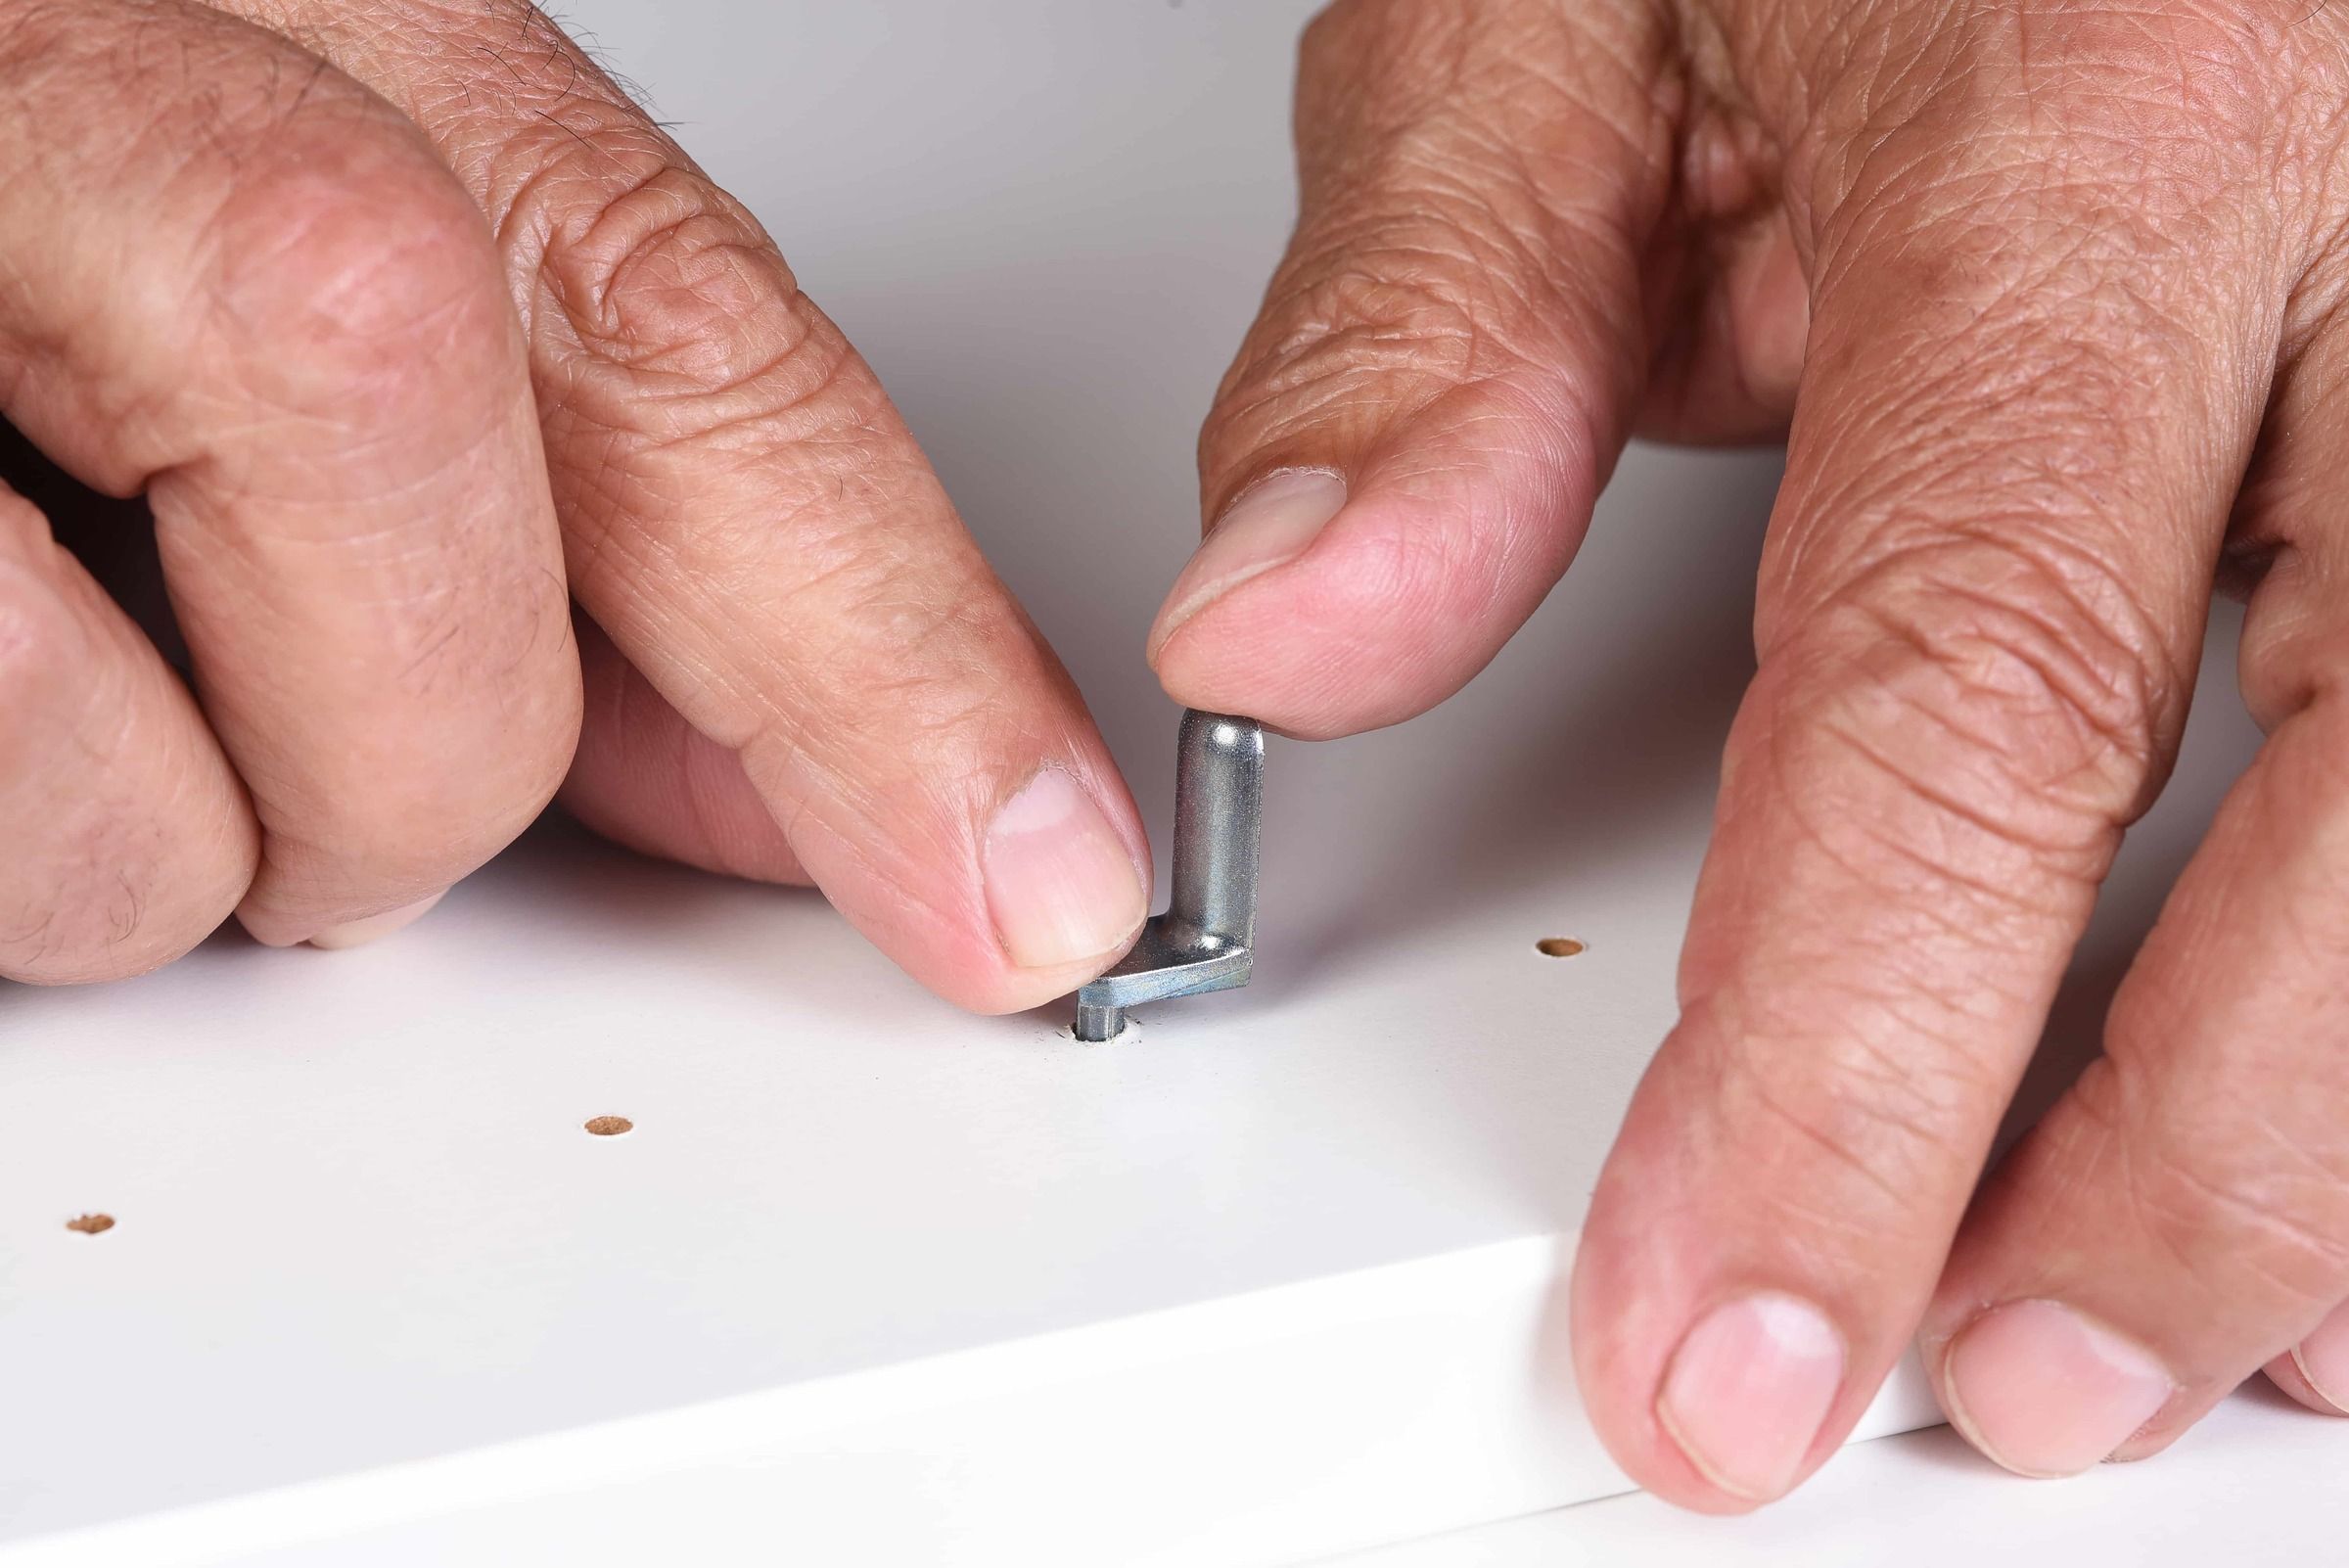
Replace Or Repair Hardware
Sometimes cabinet hardware gets stuck or damaged beyond simple fixes. At this point, deciding whether to replace or repair the hardware becomes important. Choosing the right option saves time and keeps your cabinet looking good. Understanding when to replace or repair helps you maintain your furniture effectively.
Deciding When To Replace
Look at the condition of the hardware carefully. If it is rusted, bent, or broken, replacement is best. Loose screws or minor scratches can often be fixed by repair. If the hardware is old and worn out, replacement improves cabinet function and appearance. Consider the cost and effort of repair versus buying new hardware. New hardware can update the cabinet’s style too.
Finding Matching Hardware
Matching new hardware with existing pieces keeps your cabinet uniform. Measure the size and check the screw placement of the old hardware. Note the color and finish, such as chrome, brass, or matte black. Search local stores or online shops for similar designs and sizes. Keep the style simple if you cannot find an exact match. Consistency keeps your cabinet looking neat and well-maintained.
Credit: thecraftsmanblog.com
Frequently Asked Questions
How Do I Safely Remove Stuck Cabinet Hardware?
To safely remove stuck hardware, use penetrating oil on screws. Let it sit for 10 minutes. Then, gently unscrew with the right screwdriver. Avoid forcing to prevent damage to the cabinet surface or hardware.
What Tools Help Remove Stuck Cabinet Handles?
Use a screwdriver matching the screw type, penetrating oil, and pliers. A rubber grip or heat gun can also help loosen stubborn hardware without damage.
Can Heat Help Loosen Stuck Cabinet Screws?
Yes, applying gentle heat with a hairdryer softens paint or adhesive. This loosens stuck screws, making removal easier. Avoid excessive heat to protect cabinet finish and hardware.
How To Avoid Damaging Cabinets When Removing Hardware?
Use the correct tools and apply penetrating oil before unscrewing. Work slowly and gently to avoid stripping screws or scratching surfaces. Place a cloth under tools to protect finishes.
Conclusion
Removing stuck hardware from a cabinet takes patience and care. Use gentle tools and apply steady pressure. Avoid rushing to prevent damage to wood or metal. Small steps often lead to success. Remember to clean and maintain hardware after removal.
This keeps cabinets working smoothly longer. With practice, the task becomes easier each time. Keep these tips handy for future projects. You can handle stuck cabinet hardware confidently and safely.