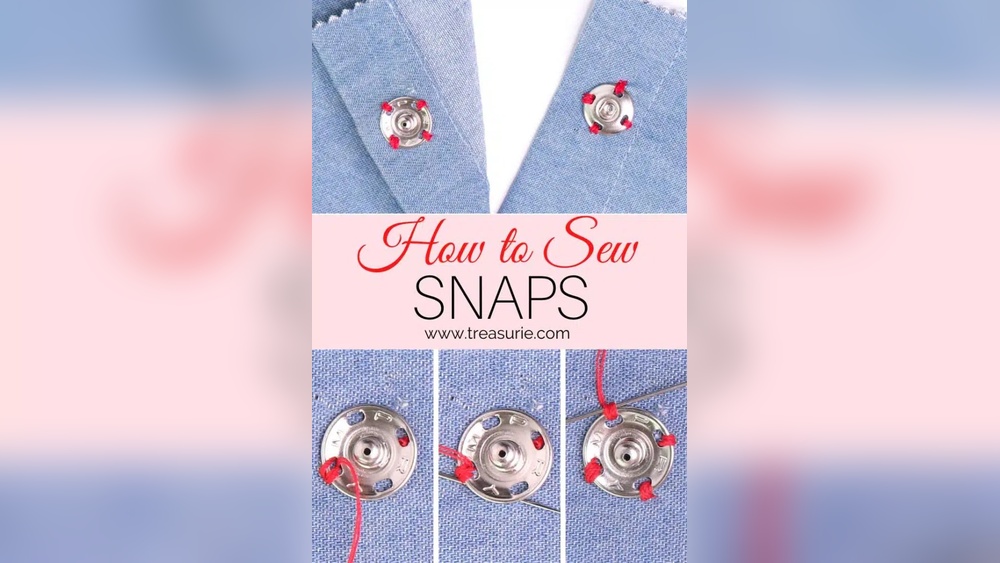
Have you ever struggled with buttons that fall off or zippers that get stuck? Snap fasteners could be the perfect fix for your clothes and projects.
They’re quick to use, sturdy, and look great. But if you’ve never sewn them on before, the process might seem tricky. Don’t worry—you’re about to learn a simple, step-by-step way to sew on snap fasteners that anyone can follow. By the end of this guide, you’ll have the confidence to add snaps to your garments and crafts like a pro.
Ready to make your sewing projects easier and more durable? Let’s get started!
Credit: www.doinaalexei.com
Types Of Snap Fasteners
Snap fasteners come in several types. Each type suits different fabrics and uses. Choosing the right snap fastener is key for your sewing project. Understanding the types helps you pick the best one for your needs.
Metal Snaps
Metal snaps are strong and durable. They hold fabric firmly in place. Often used in jeans, jackets, and heavy fabrics. Metal snaps add a classic look to garments. They require special tools to sew and attach.
Plastic Snaps
Plastic snaps are lightweight and colorful. They fit well on light fabrics and baby clothes. Easy to sew by hand or machine. Plastic snaps resist rust and are gentle on fabric. They come in many sizes and shapes.
Magnetic Snaps
Magnetic snaps close easily with a gentle pull. They suit bags and purses well. No sewing needed for some magnetic snap types. Magnetic snaps offer quick and smooth fastening. Best for accessories rather than clothing.

Credit: www.youtube.com
Tools Needed
Before sewing on snap fasteners, gather the right tools. These tools make the process easier and the result better. Each tool has a clear purpose in attaching snaps securely to fabric.
Sewing Needle And Thread
Choose a sharp sewing needle that fits your fabric. Use strong thread that matches the fabric color. Thread should be thin but durable. This helps the snap stay fastened without damaging fabric.
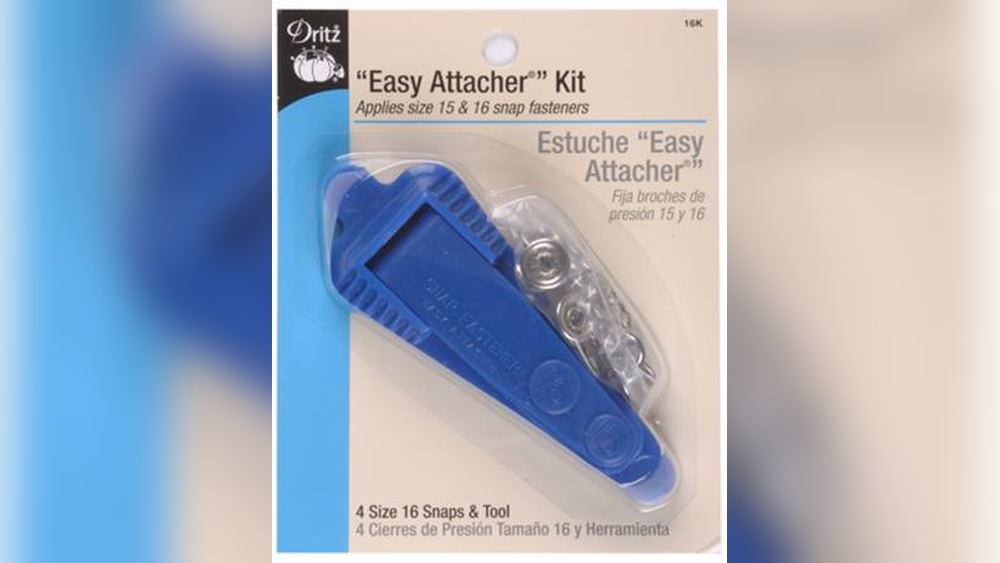
Snap Pliers
Snap pliers help press the snap parts together tightly. They make sure the snap holds well and does not fall off. Use pliers designed for snap fasteners to avoid damage.
Marking Tools
Marking tools help place snaps in the right spots. Use fabric chalk or a water-soluble pen. These marks guide you for neat and even snap placement.
Preparing Fabric And Snaps
Preparing fabric and snaps is an important first step for sewing snap fasteners. This step helps the snaps stay secure and the fabric to last longer. Proper preparation makes sewing easier and results look cleaner.
Careful planning before sewing saves time and avoids mistakes. Knowing where to place snaps and how to support fabric is key. Follow simple tips to get ready for a smooth sewing process.
Choosing Placement
Pick the right spot for your snap fasteners. Choose areas that line up well when closed. Avoid thick seams or bulky parts of the fabric. Check that the snaps won’t pull or pucker the fabric. Mark the exact spots with a pencil or fabric chalk. This helps keep placement even and neat.
Reinforcing Fabric
Reinforce fabric before attaching snaps to prevent tearing. Use small patches of interfacing or extra fabric behind the snap area. This adds strength without bulk. For thin or stretchy fabrics, reinforcement is very helpful. Sew a few stitches around the patch for extra hold. A firm base keeps snaps secure and fabric intact.
Attaching Snaps By Hand
Sewing snap fasteners by hand is a simple skill. It lets you fix clothes or add snaps to new projects. Hand sewing gives control and works well for small tasks. This guide shows how to attach snaps securely using hand stitches.
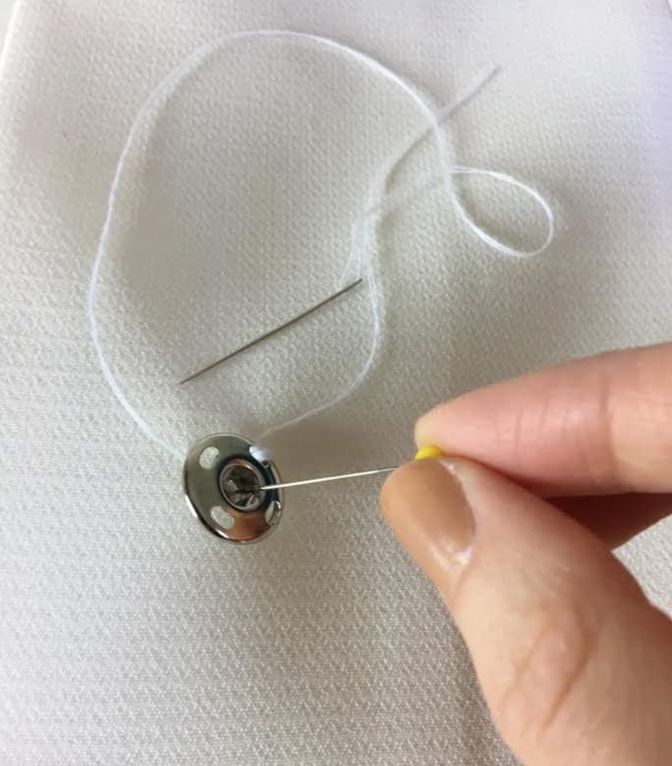
Stitching The Socket
Start by placing the socket on the fabric. Use a needle and strong thread. Make small stitches around the edges of the socket. Pull the thread tight with each stitch. Keep the socket flat and secure. Sew evenly to avoid loose spots. Make about 8 to 10 stitches for good hold.
Securing The Stud
Place the stud on the opposite fabric side. Thread the needle with strong, matching thread. Stitch around the stud’s base carefully. Pull the thread tight after each stitch. Use enough stitches to hold the stud firmly. Check that the stud lines up with the socket. Avoid sewing too close to the snap to prevent damage.
Using Snap Pliers
Using snap pliers makes attaching snap fasteners easier and faster. These tools hold the snap pieces firmly. They help you press snaps together without damage. Snap pliers offer control for a clean, secure fit.
Aligning Components
Place the snap parts correctly before pressing. Match the top and bottom pieces carefully. Check if the snap parts line up well. Proper alignment avoids weak or crooked snaps. Use the pliers’ guides to hold pieces steady.
Applying Pressure
Squeeze the handles of the snap pliers evenly. Apply firm, steady pressure to connect the snaps. Do not press too hard to avoid damage. Hold the pressure for a few seconds. Release slowly and check the snap’s grip.

Credit: www.youtube.com
Tips For Durable Snaps
Durable snaps make your sewing projects last longer. They resist wear and stay firmly attached. Using the right methods ensures snaps don’t loosen or fall off. Focus on key factors like thread and stitching. These details strengthen your work.
Thread Choice
Choose strong thread for sewing snaps. Polyester thread is a good option because it resists stretching and breaking. Avoid cotton thread, which wears out faster. Match thread color to your fabric for a neat look. Use thicker thread for heavy fabrics. This adds extra strength to the snap attachment.
Stitching Techniques
Secure snaps with tight, even stitches. Sew around the snap base multiple times. This prevents the snap from moving or falling off. Use small stitches to hold the fabric well. Avoid large stitches that can loosen easily. Tie knots firmly at the start and end of sewing. This keeps the thread from slipping out.
Troubleshooting Common Issues
Troubleshooting common issues helps fix problems quickly when sewing snap fasteners. Knowing what causes problems saves time and effort. This section covers two frequent problems: loose snaps and misaligned fasteners. Clear steps help solve these issues for better results.
Loose Snaps
Loose snaps do not hold fabric together firmly. This happens when the snap is not attached tightly. Check the thread tension before sewing. Use a strong thread to secure the snap well. Sew multiple stitches around the snap base. Avoid pulling the fabric too hard during sewing. Press the snap gently with pliers to tighten it. Test the snap by closing and opening it several times. If it stays loose, remove and resew carefully.
Misaligned Fasteners
Misaligned fasteners make snaps hard to close. Mark the spot before sewing each side. Use pins or chalk to align the fasteners perfectly. Sew slowly to keep the snap in place. Check alignment often during stitching. If fasteners are off, remove the snap carefully. Realign and sew again for a precise fit. Proper alignment improves snap function and fabric appearance. Practice on scrap fabric to improve accuracy.
Frequently Asked Questions
How Do You Sew Snap Fasteners By Hand?
To sew snap fasteners by hand, mark the placement, use a strong needle and thread, and stitch through the holes securely. Attach each part firmly to fabric layers, ensuring alignment for proper snapping. Hand sewing requires patience and tight, even stitches for durability.
What Tools Are Needed For Sewing Snap Fasteners?
Essential tools include snap fasteners, a sharp needle, strong thread, scissors, and fabric chalk or markers. Optionally, use pliers or a snap-setting tool for easier attachment. Proper tools ensure precise placement and a clean finish.
Can I Sew Snap Fasteners On Thick Fabric?
Yes, you can sew snap fasteners on thick fabric by using a heavy-duty needle and strong thread. Pre-punch holes if needed, and sew carefully to avoid fabric damage. Thick fabric may require extra stitches for secure fastening.
How To Prevent Snap Fasteners From Falling Off?
To prevent snap fasteners from falling off, sew multiple tight stitches and reinforce with strong thread. Ensure proper alignment and avoid pulling on the snaps excessively. Regularly check snaps for loosening and repair immediately if needed.
Conclusion
Sewing on snap fasteners is simple with practice and care. Follow each step slowly and check your work often. Choose the right needle and thread for your fabric. Keep your stitches even and tight for strong snaps. Snap fasteners add convenience and style to clothes and crafts.
Try sewing them on different projects to gain confidence. Soon, you will handle snap fasteners like a pro. Enjoy creating with this easy and useful skill!