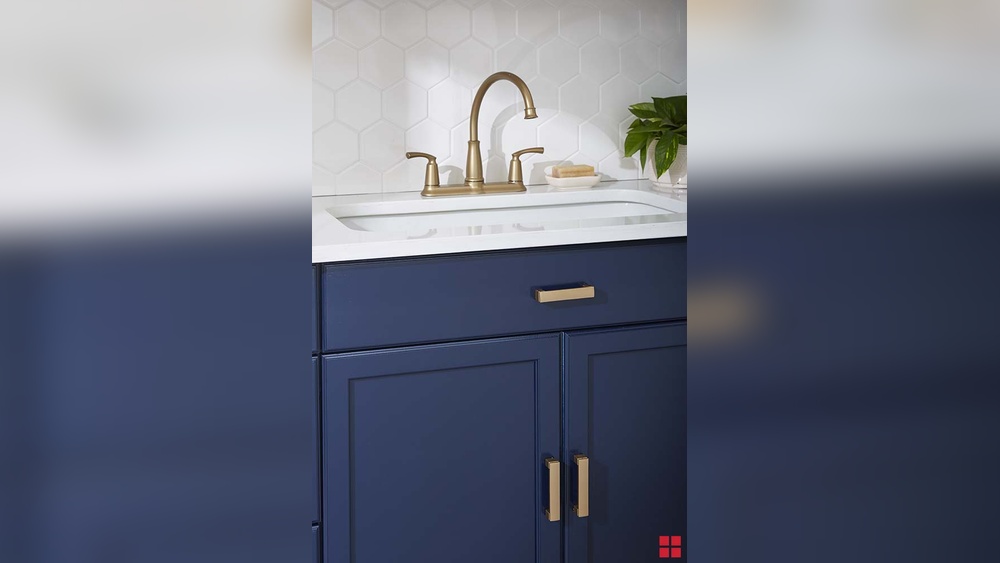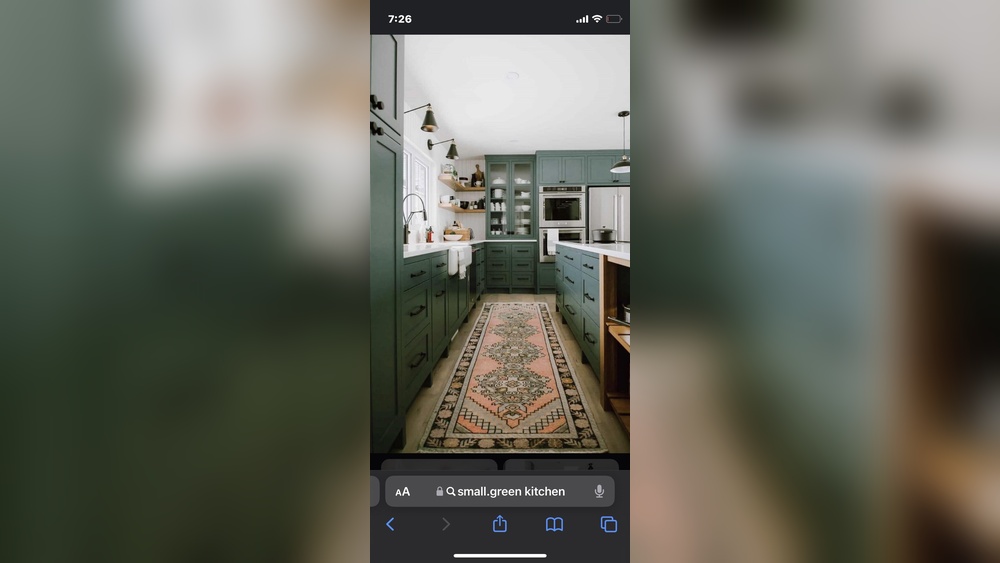
Are your cabinet doors looking outdated or worn out because of old hardware? Replacing cabinet door hardware is one of the easiest and most affordable ways to give your kitchen or bathroom a fresh new look.
You don’t need to be a professional or have fancy tools to get the job done right. In this guide, you’ll discover simple steps that anyone can follow to swap out your cabinet handles and knobs quickly. By the end, you’ll feel confident to upgrade your space and add a touch of style that matches your personality.
Ready to transform your cabinets? Let’s get started!

Credit: www.ebay.com
Tools And Materials Needed
Replacing cabinet door hardware is a simple project anyone can do. Having the right tools and materials makes the job faster and easier. Prepare everything before starting to avoid delays and frustration.
Essential Tools
Start with a screwdriver, either flathead or Phillips, depending on your screws. A drill helps remove old screws and install new ones quickly. Use a tape measure to check the size of your hardware and the space on the door. A pencil comes in handy to mark drill spots. Keep a level nearby to ensure the hardware sits straight. Lastly, use pliers to hold or twist small parts if needed.
Choosing New Hardware
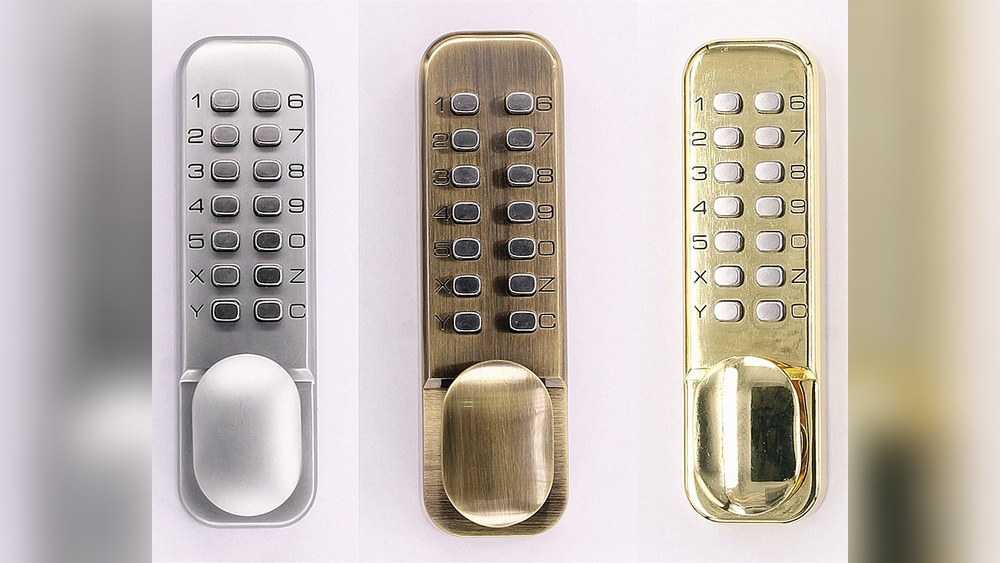
Select hardware that fits your cabinet style. Measure the distance between screw holes on old hardware to find matching new pieces. Pick handles or knobs that feel comfortable to hold. Consider the finish—brushed nickel, bronze, or chrome—to match your kitchen or bathroom decor. Choose durable materials like metal to last longer. Always buy a few extra pieces in case you lose one during installation.

Credit: www.ebay.com
Removing Old Hardware
Removing old cabinet door hardware is the first step in updating your kitchen or bathroom. It clears the way for new handles or knobs and helps the new pieces fit properly. Taking off the old hardware carefully prevents damage to the cabinet doors.
Start by loosening the screws that hold the handles or knobs in place. Keep the screws safe if you plan to reuse them. After removal, clean the door surface to remove dirt and old polish. This makes the new hardware stick well and look better.
Unscrewing Handles And Knobs
Use a screwdriver that fits the screws exactly. Turn the screws counterclockwise to loosen them. Hold the handle or knob firmly to stop it from spinning. Pull the hardware gently once the screws are loose. Place screws and hardware in a small container to avoid losing them.
Cleaning The Surface
Use a soft cloth and mild soap to clean around the holes. Remove all grease, dust, and old polish. Dry the area with a clean cloth before installing new hardware. Smooth surfaces help screws hold better and prevent scratches.
Measuring And Preparing
Measuring and preparing are the first steps in replacing cabinet door hardware. Accurate measurements ensure the new hardware fits perfectly. Preparing the surface helps achieve a clean, professional look. Take time with these tasks to avoid mistakes and extra work later.
Checking Hole Alignment
Start by measuring the distance between existing holes. Use a tape measure or ruler for accuracy. Compare this with the new hardware’s screw placement. Misaligned holes can cause the hardware to fit poorly.
Mark the holes if the new hardware differs from the old. This helps guide where to drill new holes. Check for any damage around old holes that may need fixing.
Filling Unused Holes
Remove any old hardware and clean the cabinet surface. Fill unused holes with wood filler or putty. Press the filler firmly into each hole and smooth it out.
Let the filler dry completely before sanding it flat. This creates a smooth surface for painting or staining. Properly filled holes make the cabinet look neat and new.
Installing New Hardware
Installing new cabinet door hardware gives your kitchen a fresh look. This step needs care to ensure the handles and knobs fit well and work smoothly. Proper installation also helps the hardware last longer.
Aligning Handles And Knobs
Place the new handle or knob in the right spot on the cabinet door. Check that it lines up with the holes from the old hardware. Use a level or ruler to keep everything straight. Correct alignment makes the door easy to open and looks neat.
Securing With Screws
Insert screws through the inside of the cabinet door into the handle or knob. Tighten them gently but firmly with a screwdriver. Avoid overtightening to prevent damage to the door or hardware. Test the handle or knob to make sure it is secure and moves well.
Tips For A Professional Finish
Getting a professional finish on your cabinet door hardware makes a big difference. It helps your cabinets look neat and new. Small details matter. Follow these tips to make your project look like it was done by a pro.
Avoiding Damage
Protect your cabinet surface before you start. Use painter’s tape around the hardware area. This stops scratches and dents. Remove old hardware carefully to keep holes and wood intact. Use the right screwdriver size to avoid stripping screws. Tighten new screws gently to prevent cracks or splits.
Matching Styles And Finishes
Choose hardware that fits your cabinet style. Match the finish to existing pieces for a uniform look. Mixing different finishes can look messy. Check if the new hardware suits the cabinet’s color and design. Consistency helps your kitchen or bathroom look balanced and clean.
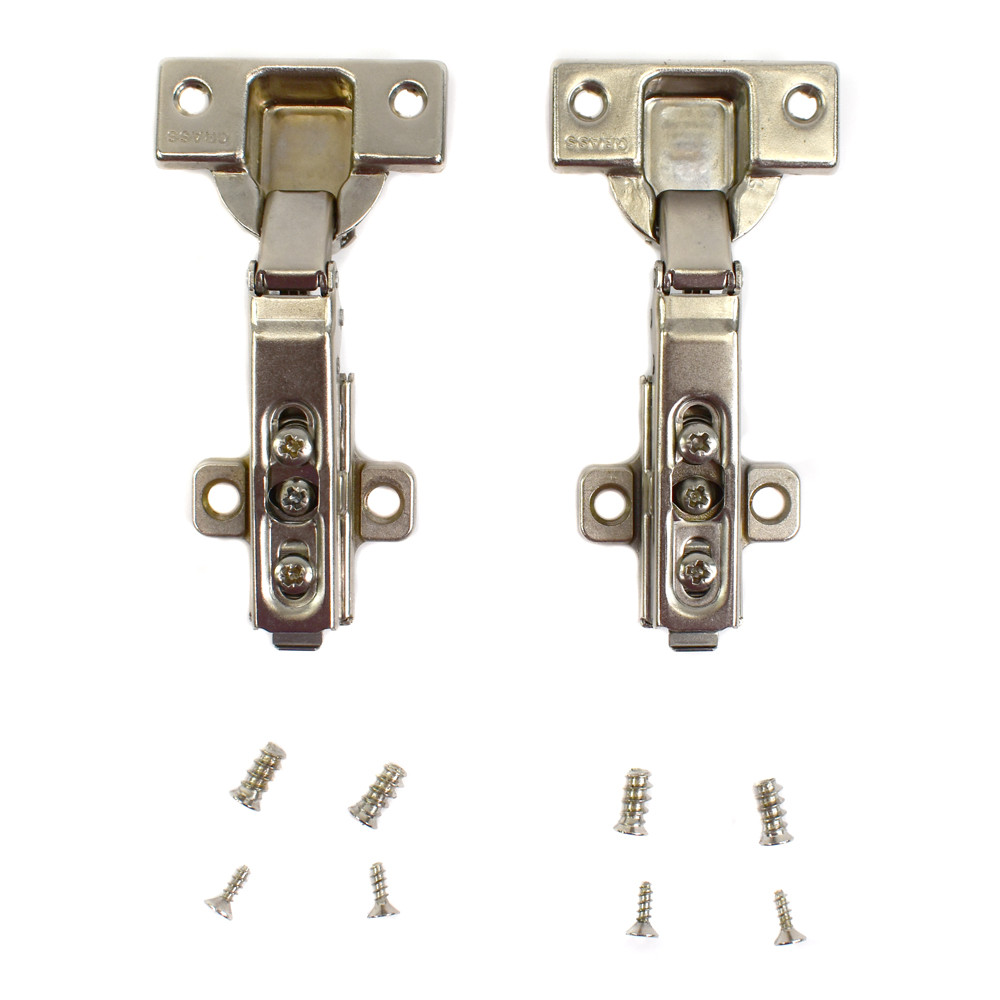
Credit: www.dougdeals.com
Frequently Asked Questions
What Tools Are Needed To Replace Cabinet Door Hardware?
You need a screwdriver, drill, tape measure, and new hardware. A pencil helps mark screw holes. Optional: a drill bit for pilot holes. These tools ensure easy and accurate hardware replacement.
How Do I Remove Old Cabinet Door Hardware Safely?
Unscrew existing knobs or handles with a screwdriver. Support the door to prevent damage. Keep screws for reuse if compatible. Removing hardware carefully avoids scratches or stripping screws.
Can I Replace Cabinet Hardware Without Drilling New Holes?
Yes, if new hardware matches existing hole spacing. Measure old hardware hole distance before buying. Using matching hardware saves effort and keeps doors intact.
How Do I Align New Cabinet Hardware Properly?
Measure and mark screw hole positions with a pencil. Use a template or ruler for accuracy. Drill pilot holes if needed. Proper alignment ensures a professional look and smooth operation.
Conclusion
Replacing cabinet door hardware can refresh your space quickly. Choose the right tools and parts for a smooth process. Take your time to remove old hardware carefully. Align new handles or knobs properly before tightening screws. Small changes can make a big difference in your kitchen or bathroom.
Enjoy the new look and improved function of your cabinets. Simple steps lead to great results. Try it yourself and see how easy it can be.