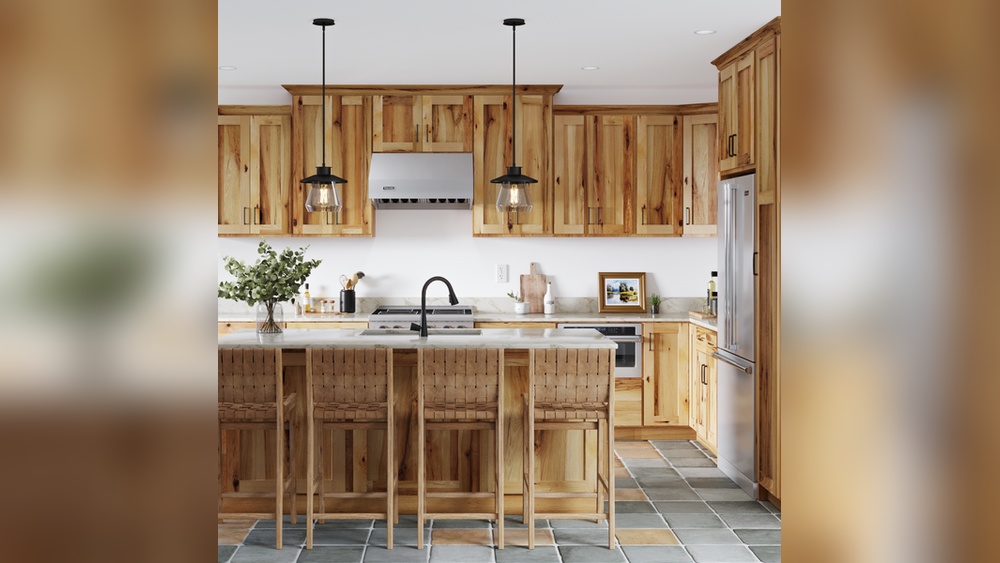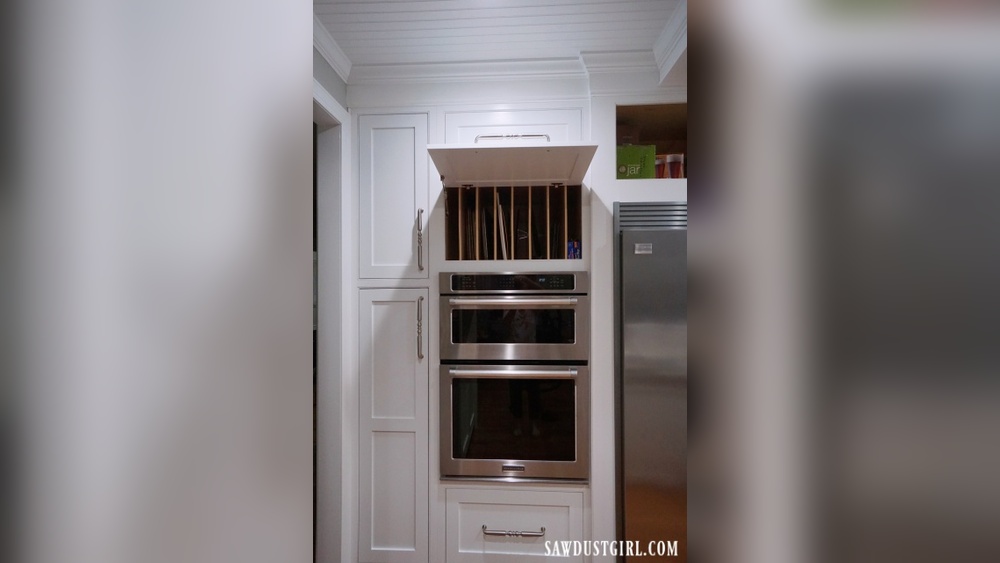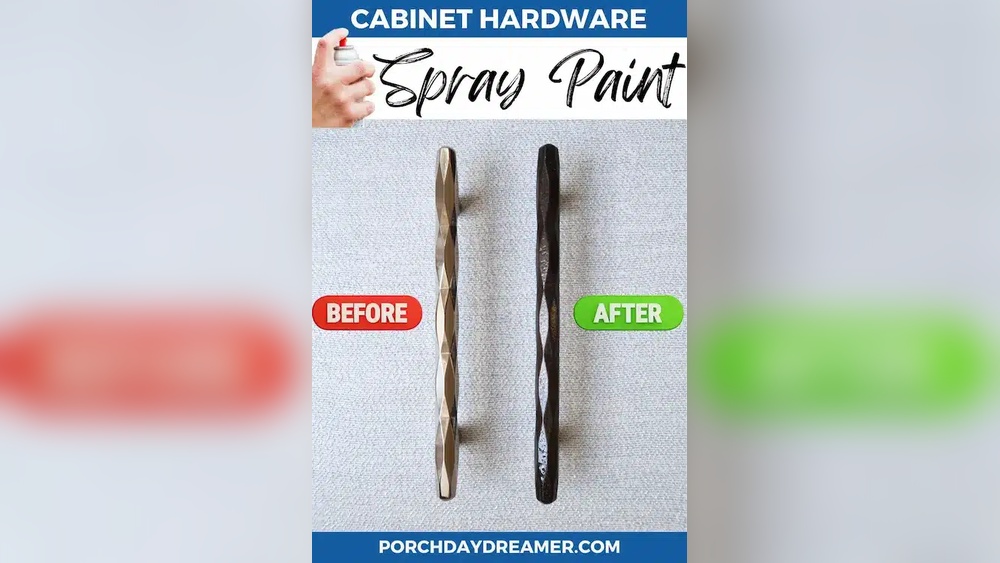
Are your cabinet handles looking tired or outdated? You don’t need to replace them to give your space a fresh new look.
Spraying your cabinet hardware is a quick and affordable way to transform your kitchen or bathroom without the hassle of a full renovation. In this guide, you’ll discover simple steps to achieve a smooth, professional finish that will make your cabinets stand out.
Ready to learn how to spraypaint your cabinet hardware like a pro? Keep reading and turn your old fixtures into eye-catching details you’ll love.
Preparing Your Workspace
Preparing your workspace is the first step before spray painting cabinet hardware. A clean, organized area helps you work safely and get better results. Taking time to set up properly makes the process smoother and faster.
Choosing A Well-ventilated Area
Pick a space with fresh air. Good airflow reduces harmful paint fumes. Outdoors is best, but a garage with open doors works well. Avoid small, closed rooms to stay safe and comfortable.
Gathering Necessary Tools And Materials
Collect everything before you start. You need spray paint, primer, sandpaper, gloves, and masks. Also, have newspapers or drop cloths ready. Having all tools handy saves time and avoids interruptions.
Protecting Surrounding Surfaces
Cover nearby furniture and floors. Use old sheets or plastic covers to stop paint spills. Tape edges to keep paint only where you want. Protecting surfaces keeps your area clean and damage-free.
Removing Cabinet Hardware
Removing cabinet hardware is the first step in spray painting your handles and knobs. Taking off the hardware carefully prevents damage to both the cabinet and the pieces. This process helps you achieve a smooth and professional finish on your hardware.
Safely Detaching Handles And Knobs
Start by opening the cabinet doors or drawers. Use a screwdriver that fits the screws on your hardware. Turn the screws slowly to avoid stripping them. Keep a steady hand to protect the cabinet surface. Remove the screws completely and gently pull off the handles or knobs. If hardware feels stuck, wiggle it slightly to loosen. Avoid using force that can harm the cabinet or hardware.
Organizing Hardware For Reassembly
After removing, organize the hardware and screws carefully. Place each handle or knob with its matching screws. Use small containers, zip bags, or a labeled tray. This step saves time during reassembly. Keep everything in one safe place to avoid losing parts. Label pieces if your cabinet has different hardware styles. This organization ensures a smooth and easy reinstall after painting.
Cleaning And Sanding Hardware
Proper cleaning and sanding are key steps before spray painting cabinet hardware. These steps help the paint stick well and last longer. Taking time to clean and sand ensures a smooth, professional finish. Skipping this can cause peeling or uneven paint.
Removing Dirt And Grease
Start by washing the hardware with warm, soapy water. Use a soft brush or cloth to scrub away dirt and grease. Avoid harsh chemicals that can damage the metal. Rinse thoroughly and dry with a clean cloth. Any leftover grease will stop paint from sticking properly.
Sanding For Better Paint Adhesion
Lightly sand the hardware using fine-grit sandpaper, around 220 grit. Sanding creates tiny scratches that help paint grip the surface. Be gentle to avoid deep marks or scratches. After sanding, wipe away dust with a damp cloth. Clean surfaces improve paint adhesion and result in a smooth finish.
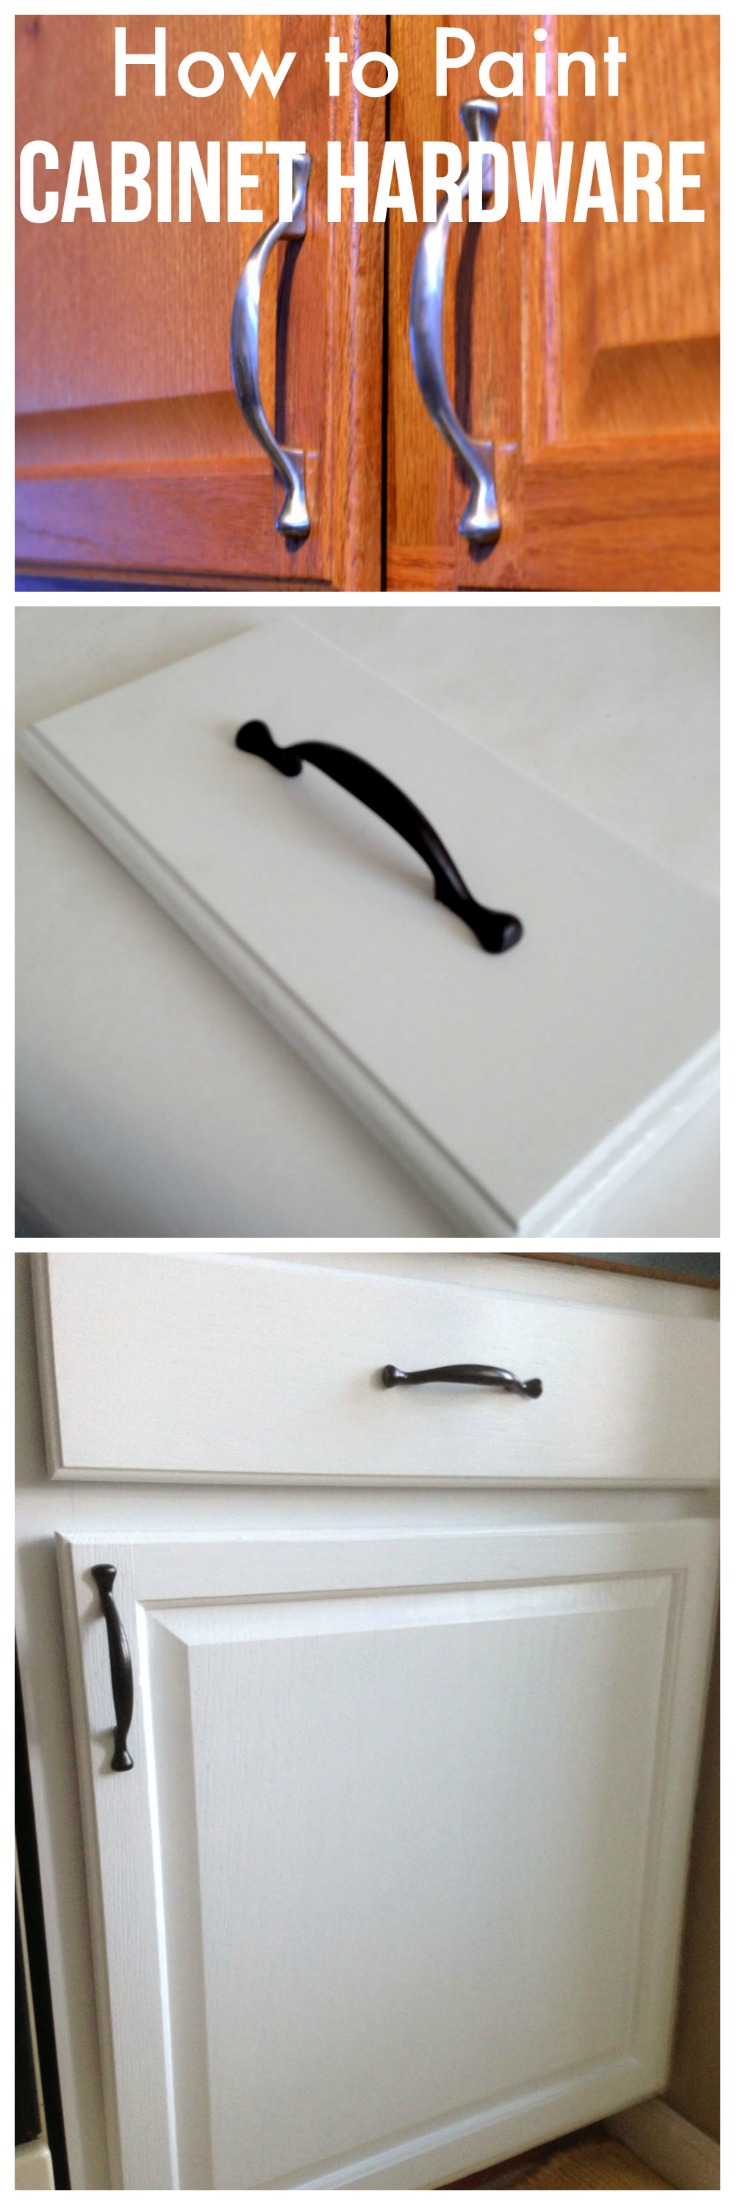
Credit: createandbabble.com
Selecting The Right Spray Paint
Selecting the right spray paint is key for a smooth and lasting finish on your cabinet hardware. The paint must stick well and resist chips or scratches. Choosing the best type and color helps your hardware match or enhance your room’s style. This section guides you through picking paint that works for your project.
Choosing Paint Type And Finish
Use spray paint made for metal or plastic surfaces, depending on your hardware. These paints stick better and last longer. Look for paints labeled as “durable” or “rust-resistant” for added protection.
Pick a finish that fits your style. Matte gives a soft look, satin adds a slight shine, and gloss offers a bright, shiny surface. Glossy finishes highlight details but show fingerprints easily. Satin and matte hide marks better.
Picking Suitable Colors
Choose colors that match or contrast with your cabinets and room decor. Neutral colors like black, white, or silver suit most styles. Bright colors can make hardware stand out as a design feature.
Think about lighting in the room. Dark colors may look dull in low light. Light colors can brighten a space. Test spray a small piece to see the color in your room before painting all hardware.
Priming The Hardware
Priming the hardware is a crucial step in spray painting cabinet hardware. It helps the paint stick better and lasts longer. Primer also stops rust and gives a smooth base for paint. Skipping this step can lead to peeling or uneven color.
Applying Primer Evenly
Hold the spray can about 6 to 8 inches away from the hardware. Spray in light, even coats. Move your hand steadily to avoid drips or thick spots. Cover all sides, including edges and small details. Thin layers dry faster and look smoother.
Allowing Proper Drying Time
Let the primer dry completely before painting. Check the instructions on the can for drying time. Usually, it takes 30 minutes to an hour. Touch the surface gently to see if it feels dry. Rushing this step can ruin your paint job.
Spray Painting Techniques
Spray painting cabinet hardware can give old pieces a fresh, new look. Using the right techniques makes the finish smooth and long-lasting. Small mistakes can cause uneven color or drips. Follow simple steps for the best results.
Maintaining Proper Distance
Keep the spray can about 6 to 8 inches from the hardware. Too close causes paint to pool and drip. Too far makes the paint dry before reaching the surface. Move the can steadily to cover all areas evenly.
Using Light, Even Coats
Spray thin layers instead of one thick coat. Light coats dry faster and reduce runs. Let each coat dry before adding the next. This builds color gradually and keeps the finish smooth. Patience pays off in the final look.
Avoiding Drips And Runs
Hold the can steady and spray with smooth motions. Stop spraying before the edge to prevent paint buildup. Check the hardware often for drips. If found, gently wipe or sand after drying to fix them. Careful painting prevents costly mistakes.
Drying And Curing
Drying and curing are crucial steps after spray painting cabinet hardware. Proper drying ensures the paint hardens well and lasts longer. Rushing this process can cause smudges and peeling. Taking time helps achieve a smooth, durable finish. Follow these tips for best results.
Setting Up A Dust-free Area
Choose a clean, dry space to let your hardware dry. Dust and dirt can stick to wet paint. Cover surfaces with a clean cloth or paper. Avoid windy or humid places that slow drying. Keep pets and people away to prevent dust.
Recommended Drying Times
Let the paint dry for at least one hour before handling. For a stronger finish, wait 24 hours before reattaching hardware. Some spray paints need longer curing times—check the label. Avoid touching or stacking pieces during this time. Patience helps the paint fully harden and resist damage.
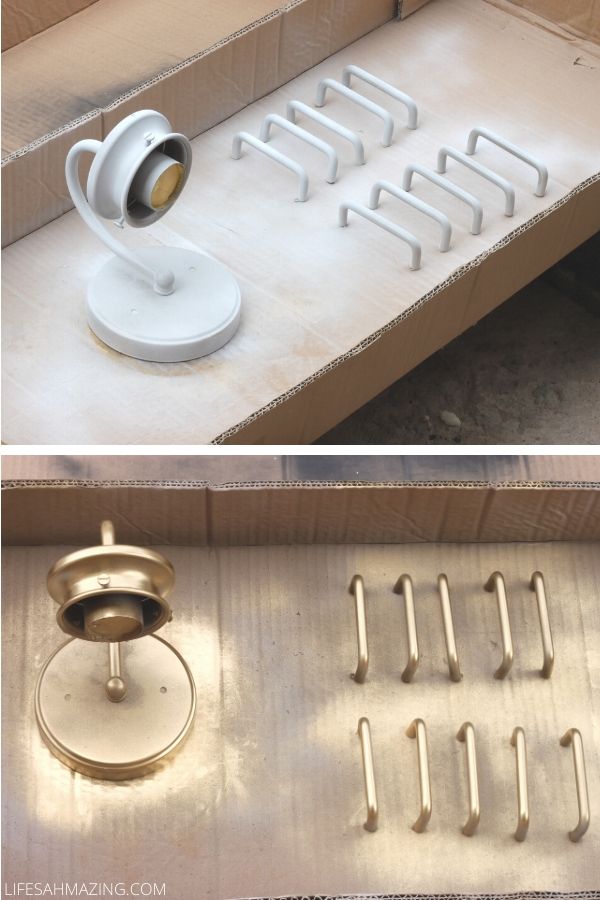
Credit: www.lifesahmazing.com
Sealing And Protecting The Finish
Sealing and protecting the finish is a key step after spray painting cabinet hardware. It keeps the paint from chipping or fading. This step makes your hardware last longer and look fresh. Without a sealant, the finish can wear off quickly.
Applying Clear Coat Or Sealant
Choose a clear coat made for metal surfaces. Use a spray can for even coverage. Hold the can 6 to 8 inches from the hardware. Spray in light, steady coats to avoid drips. Let each coat dry fully before adding the next. Two to three coats work best for strong protection.
Ensuring Durability
Allow the sealed hardware to cure for at least 24 hours. Avoid touching or using the hardware during this time. This curing time helps the finish harden and stay tough. For extra durability, use a polyurethane or acrylic sealant. These sealants resist scratches and moisture well.
Reinstalling Cabinet Hardware
Reinstalling cabinet hardware is the final step after spray painting. It brings new life to your cabinets. This process requires care to avoid damage and ensure a clean look. Take your time to align and secure each piece correctly. Proper reinstallation makes your cabinets both functional and beautiful again.
Aligning And Securing Pieces
Start by checking the screw holes on the cabinet doors. Match the hardware to the holes carefully. Hold each piece firmly in place. Use a screwdriver to tighten screws slowly. Avoid overtightening to prevent stripping the holes. If screws feel loose, try a slightly bigger one. Make sure each handle or knob sits straight. Proper alignment keeps your hardware looking neat and working well.
Final Inspection And Touch-ups
After securing all pieces, inspect your work closely. Look for any paint chips or scratches on the hardware. Use a small brush to fix tiny paint flaws. Check if all hardware moves smoothly without wobbling. Clean off any fingerprints or dust. This final step ensures your cabinets look fresh and polished. A careful inspection adds a professional finish to your project.

Credit: www.thriftydecorchick.com
Tips For Long-lasting Results
Spraypainting cabinet hardware can give your space a fresh, updated look. To keep that new finish looking great for a long time, proper care is essential. Small habits can protect the paint and avoid damage. Follow these tips to maintain your hardware’s beauty and durability.
Regular Cleaning And Maintenance
Dust and dirt can build up on cabinet hardware. Clean the pieces often with a soft cloth. Use gentle wiping to avoid scratching the paint. A quick clean every week helps keep the finish bright. Avoid soaking hardware in water. Dry pieces thoroughly after cleaning.
Avoiding Harsh Chemicals
Strong cleaners can ruin spraypaint finishes. Stay away from bleach, ammonia, and other harsh chemicals. Use mild soap mixed with water for cleaning. Test any cleaner on a small area first. Harsh chemicals can cause paint to peel or fade. Treat hardware gently to keep the paint intact.
Frequently Asked Questions
How Do I Prepare Cabinet Hardware For Spray Painting?
Clean the hardware thoroughly with soap and water. Remove old paint or rust using sandpaper. Dry completely before priming. This ensures smooth paint adhesion and a professional finish.
What Type Of Spray Paint Is Best For Cabinet Hardware?
Use spray paint designed for metal surfaces. Choose enamel or acrylic spray paint for durability. Select a finish like matte, satin, or glossy to match your style.
How Many Coats Of Spray Paint Are Needed?
Apply 2 to 3 thin coats for even coverage. Allow 10-15 minutes drying time between coats. Thin layers prevent drips and create a smooth finish.
Should I Use A Primer Before Spray Painting Hardware?
Yes, apply a metal primer to improve paint adhesion. Primer prevents chipping and rust, extending hardware life. Let the primer dry fully before painting.
Conclusion
Spraypainting cabinet hardware can refresh any room quickly. Clean the pieces well before starting. Use light, even coats for best results. Let each layer dry fully. Take your time and work in a ventilated space. This simple project saves money and adds style.
Your cabinets will look fresh and new. Enjoy the satisfaction of a DIY upgrade. Small changes make a big difference in your home. Ready to try it yourself? Give it a go and see the change!