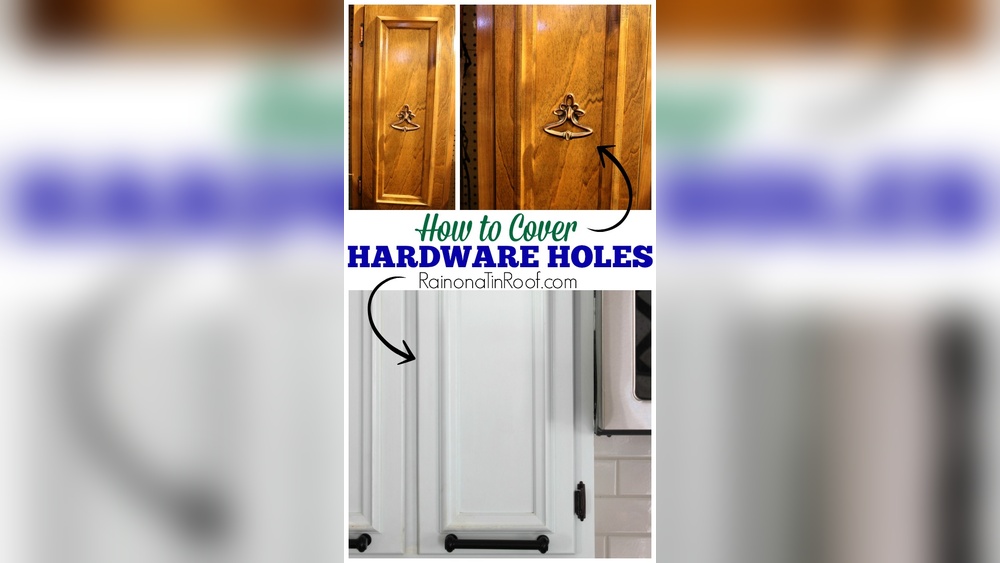
Are your kitchen or bathroom cabinets looking a bit tired? Changing out cabinet hardware is one of the easiest and most affordable ways to give your space a fresh, new look.
You don’t need to be a handyman or spend hours on a project. With just a few simple steps, you can transform your cabinets and make your room feel brand new. Keep reading, and you’ll discover exactly how to change out your cabinet hardware quickly and effortlessly—no stress, no hassle, just satisfying results you’ll love.
Tools And Materials Needed
Changing cabinet hardware is a simple project with big impact. Having the right tools and materials makes the job smooth and fast. Preparing ahead helps avoid mistakes and saves time. Below are the types of hardware and essential tools you will need.
Types Of Cabinet Hardware
Cabinet hardware includes knobs, pulls, and handles. Knobs are small and round, easy to install. Pulls are longer and provide a better grip. Handles can be decorative or simple bars. Choose hardware that fits your style and cabinet size. Also, check the screw size and hole spacing for a good fit.
Essential Tools For The Job
A screwdriver is the most important tool. Use the correct type: Phillips or flathead. A drill helps remove old screws quickly. A tape measure ensures new hardware fits properly. A pencil marks new hole positions if needed. A level keeps handles straight. Having a small wrench or pliers helps with tight screws. Keep a cloth handy to protect cabinet surfaces.
Preparing Your Cabinets
Preparing your cabinets is an important first step before changing out cabinet hardware. It helps ensure the new handles or knobs fit well and look great. Taking time to prepare also prevents damage to your cabinets and makes installation easier.
Start by carefully removing the old hardware. Then clean the surface to create a fresh base for the new pieces. These tasks set the stage for a smooth update and a polished final look.
Removing Old Hardware Safely
Use a screwdriver that fits the screws perfectly. Turn the screws slowly to avoid stripping them. If screws are tight, apply a little oil to loosen them. Hold the hardware firmly as you remove it. This prevents scratches or dents on the cabinet surface.
Keep all screws and old hardware in a safe place. They may be useful later or for reference. Check for any damage around the holes. Repair any cracks or chips before moving forward.
Cleaning The Surface
Wipe the cabinet surface with a soft cloth to remove dust. Use mild soap and water for sticky residue or grease. Avoid harsh chemicals that can damage the finish. Dry the area completely to prevent moisture damage.
Inspect the cleaned surface for stains or marks. Light sanding may help smooth rough spots. A clean, smooth surface helps the new hardware stick better and look neat.
Measuring And Marking
Measuring and marking are key steps when changing cabinet hardware. Accurate marks ensure handles or knobs fit perfectly. This saves time and prevents mistakes. Taking your time here leads to a professional look.
Finding The Right Placement
Start by deciding where to place the hardware. Common spots are the top corner of drawers and the upper corner of doors. Measure from the edges to find a balanced spot. Mark lightly with a pencil. Check your marks before drilling any holes.
Using Templates For Accuracy
Templates help keep marks even across all cabinets. Use a paper or plastic template with pre-set hole positions. Place it on the cabinet and mark through the holes. This method speeds up the job and keeps hardware aligned. Recheck measurements to avoid errors.
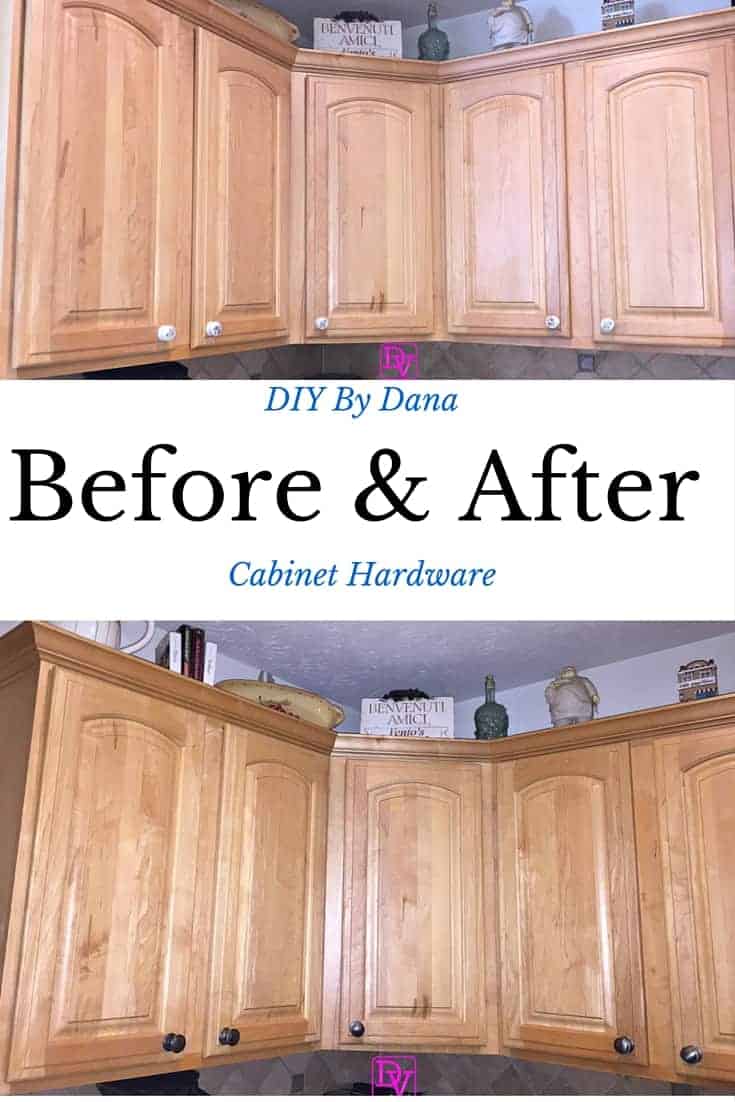
Credit: danavento.com
Installing New Hardware
Installing new cabinet hardware is a simple task that can refresh the look of your kitchen or bathroom. It requires careful attention to detail to make sure the handles and knobs fit well and look great. Taking time during installation helps avoid mistakes and ensures the hardware lasts long.
Aligning And Securing Handles And Knobs
Start by placing the handle or knob in the right spot on the cabinet door or drawer. Use a ruler or measuring tape to check the alignment. Mark the hole positions lightly with a pencil. This step ensures the hardware is straight and even.
Hold the handle or knob firmly while inserting screws through the holes. Avoid shifting the hardware to keep it aligned. Double-check the position before tightening any screws to the cabinet surface.
Tightening Screws Properly
Use a screwdriver to tighten the screws slowly and evenly. Avoid over-tightening, which can strip the screw or damage the cabinet. Tighten until the hardware feels secure but not forced.
Check the hardware’s movement after tightening. It should not wiggle or feel loose. If needed, adjust the screws slightly to improve stability. Proper tightening keeps the handles and knobs functional and safe to use.
Finishing Touches
Finishing touches are key to completing your cabinet hardware change. They ensure your new knobs or pulls look good and work well. Taking time to finish the job right makes a big difference.
Checking Hardware Stability
Test each handle or knob to check its hold. Gently pull and twist to see if it moves. Tighten screws with a screwdriver if needed. Loose hardware can cause damage over time. Make sure every piece feels firm and secure.
Cleaning And Polishing
Wipe the hardware with a soft cloth to remove dust. Use a mild cleaner for any sticky spots. Avoid harsh chemicals that can harm finishes. Polish metal handles to bring out shine. Clean hardware enhances the look of your cabinets.
Tips For Choosing Hardware
Choosing the right hardware for your cabinets can change the look of your whole room. It is important to pick pieces that fit your style and work well. Small details make a big difference in your space.
Think about the style and finish of the hardware. Also, consider how it will work for your daily needs. These tips help you select the best hardware for your cabinets.
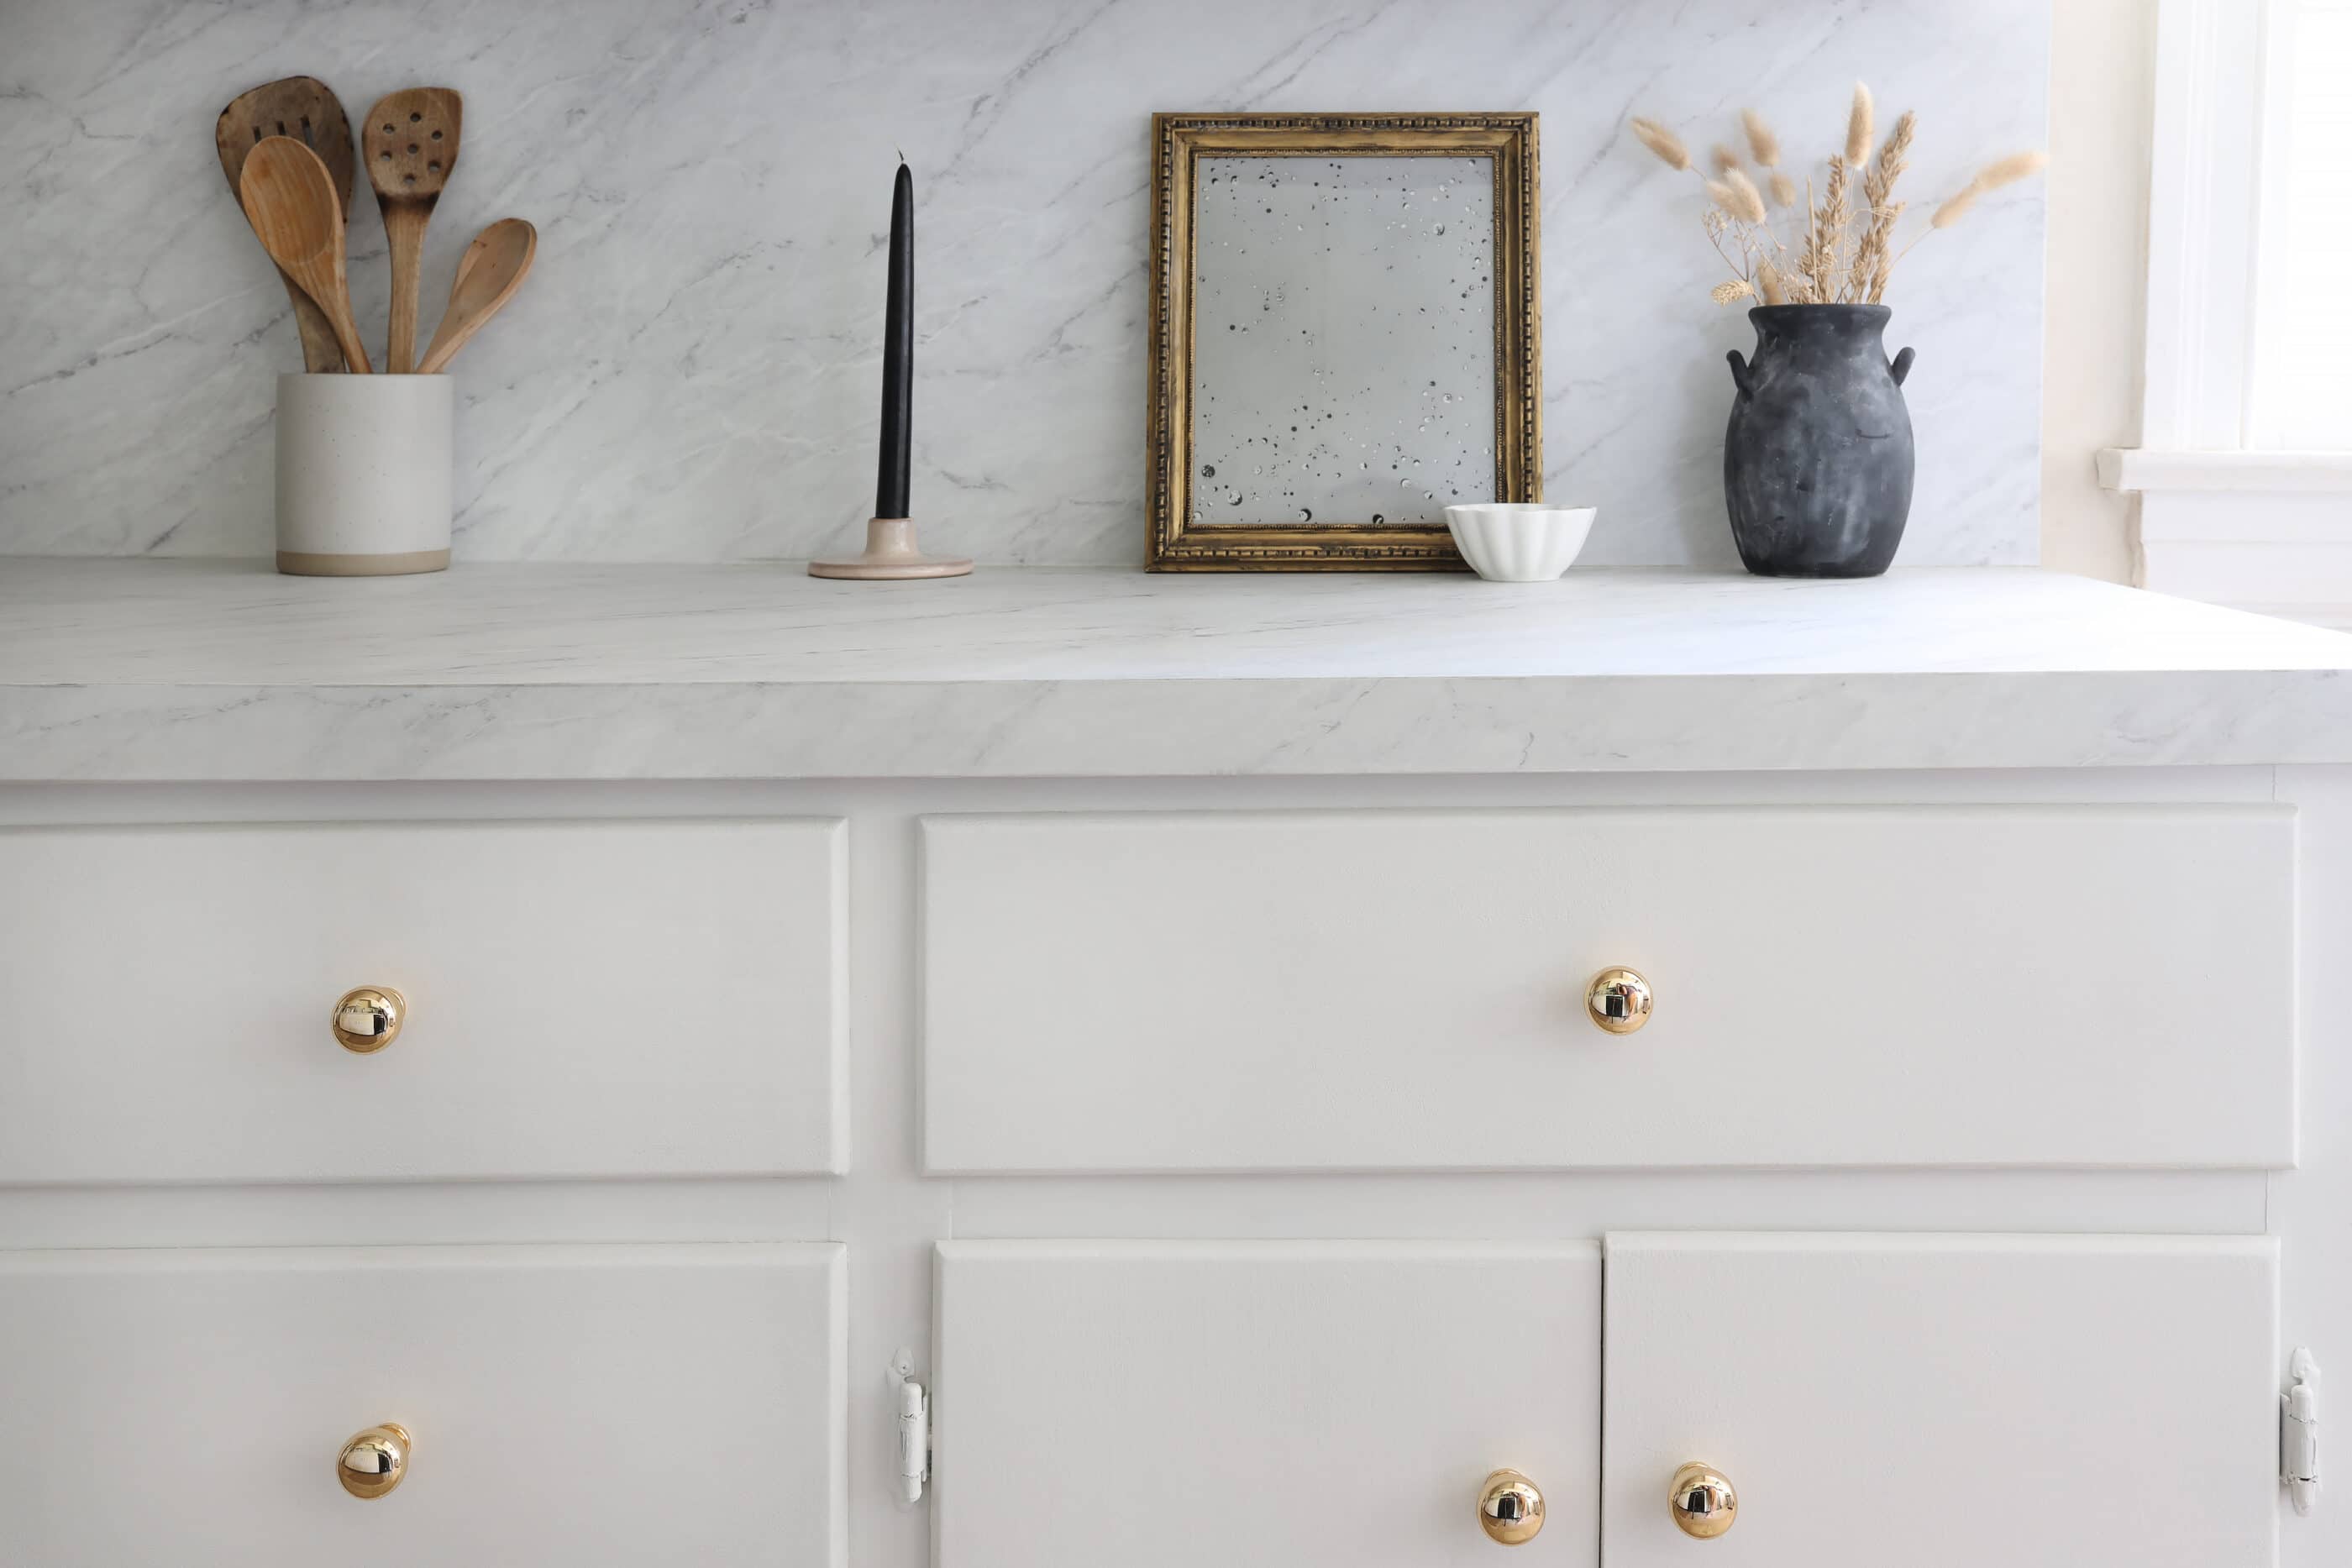
Matching Styles And Finishes
Choose hardware that matches the style of your cabinets. Classic cabinets look good with simple, elegant handles. Modern cabinets pair well with sleek, minimal designs.
Look at the finish too. Brushed nickel, bronze, and chrome are popular options. Pick a finish that fits your room’s color and theme. Consistent finishes create a clean, polished look.
Considering Functionality
Think about how you use your cabinets each day. Large handles can be easier to grip for heavy drawers. Small knobs might work better for light doors.
Choose hardware that feels comfortable and works well for your needs. Good functionality makes your kitchen or bathroom easier to use. Don’t forget to check the size and shape before buying.
Common Mistakes To Avoid
Changing cabinet hardware is a simple task that can refresh your kitchen or bathroom. Avoiding common mistakes makes the job easier and prevents damage. These errors can waste time and money.
Pay close attention to details. Small errors can affect the look and function of your cabinets. Follow these tips to avoid typical pitfalls.
Incorrect Measurements
Measure twice, cut once. Always measure the screw holes on your cabinets before buying hardware. Different cabinets have different hole spacing. Using the wrong size hardware looks awkward and may not fit.
Use a ruler or tape measure to check the distance between holes. Note the length of the screws too. Hardware that is too big or too small can cause problems during installation.
Over-tightening Screws
Do not tighten screws too much. Over-tightening can strip the holes or damage the cabinet door. This leads to loose hardware and costly repairs.
Tighten screws just enough to hold the hardware firmly. Use a screwdriver with care. Stop turning as soon as you feel resistance. The hardware should be secure but not forced.

Credit: www.homedepot.com
Credit: semistories.semihandmade.com
Frequently Asked Questions
How Do I Remove Old Cabinet Hardware Safely?
To remove old hardware, use a screwdriver to unscrew knobs or pulls carefully. Avoid damaging the cabinet surface by working slowly. Keep screws and hardware parts for reuse or disposal.
What Tools Are Needed To Change Cabinet Hardware?
You need a screwdriver, drill, measuring tape, and a pencil. These tools help remove old hardware, mark new hole positions, and install new pieces accurately.
How To Measure For New Cabinet Hardware Installation?
Measure the distance between existing holes precisely using a ruler or tape. This ensures new hardware fits without extra drilling. Mark new holes if hardware size differs.
Can I Reuse Old Screws For New Cabinet Hardware?
Reusing screws is possible if they fit new hardware and are undamaged. Otherwise, use new screws provided with hardware for secure installation and durability.
Conclusion
Changing out cabinet hardware can refresh your kitchen’s look quickly. You only need a few tools and some patience. Removing old handles and knobs takes minutes. Installing new ones is just as simple. Pick hardware that fits your style and cabinet holes.
Small changes can make a big difference. Enjoy your updated cabinets without a full remodel. This task suits anyone wanting a fresh, easy home upgrade. Try it yourself and see the change happen. Simple steps, great results.