Are you tired of those unsightly holes left behind after removing cabinet hardware? Whether you’re updating your kitchen or simply replacing drawer pulls, those leftover holes can ruin the smooth, polished look you want.
But don’t worry—filling holes from cabinet hardware is easier than you think. With the right materials and a few simple steps, you can restore your cabinets to flawless condition and prepare them for new hardware. Keep reading to discover easy, effective methods that will save your cabinets and make your next DIY project a success.
Your cabinets deserve that fresh, clean finish—and you’re just a few minutes away from achieving it!

Credit: www.woodworkerexpress.com
Tools And Materials
Filling holes left from cabinet hardware needs the right tools and materials. Choosing the proper supplies ensures a smooth, lasting repair. The materials vary based on the hole size and wood type. Simple fixes use basic items, while larger holes require strong fillers.
Knowing what to gather before starting makes the process faster. Here are some common tools and materials to keep handy.
Wood Fillers And Putty
Wood fillers are easy-to-use pastes that fill small to medium holes. They dry hard and can be sanded smooth. Putty is similar but stays softer and is great for minor surface holes. Both come in colors matching wood tones.
Epoxy wood filler works best for strong repairs. It bonds well and holds screws firmly. Choose heavy-duty wood putty for durability on cabinet doors and drawers.
Toothpicks, Matchsticks, And Golf Tees
Toothpicks and matchsticks fill tiny holes or stripped screw holes. Dip them in glue and pack tightly for a quick fix. Golf tees fit larger holes and provide extra support. They are easy to cut and shape.
This method works well for holes that need structural strength before filling with putty.
Glue Options
Wood glue is the best choice for bonding wooden fillers inside holes. It dries clear and is strong once set. Super glue offers a fast bond and works well with toothpicks or matchsticks. Epoxy glue is ideal for heavy repairs, as it hardens tough.
Select glue based on drying time and strength needed for your repair.
Additional Supplies
Keep sandpaper handy to smooth the filled area after drying. A putty knife or small scraper helps apply filler evenly. Painter’s tape can protect surrounding surfaces from mess. Clean rags and a small brush assist in finishing touches.
Gathering these supplies beforehand leads to a neat and professional finish.
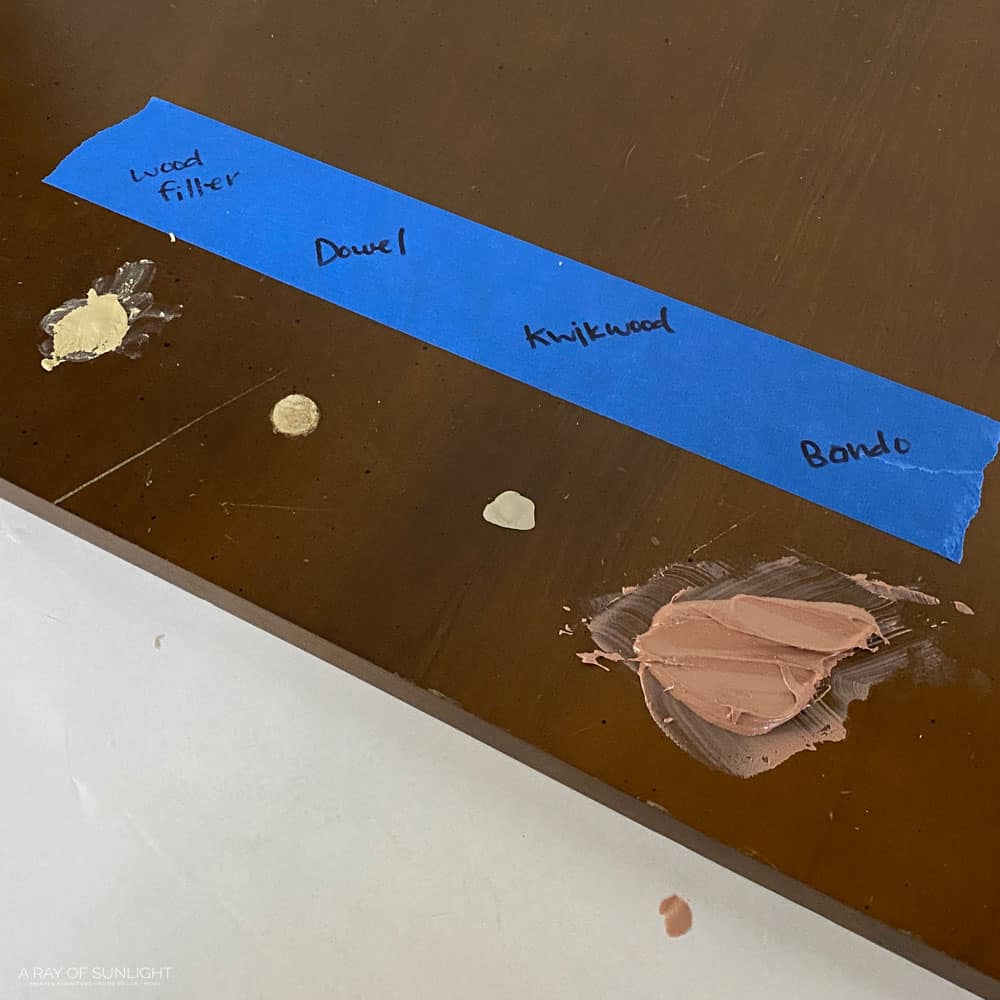
Choosing The Right Filler
Preparing the hole is a key step before filling holes from cabinet hardware. Proper preparation ensures the filler sticks well and creates a smooth finish. It also helps the repair last longer and look neat. Follow these steps to prepare the hole correctly.
Cleaning The Hole
Remove any dust or dirt inside the hole. Use a small brush or a vacuum cleaner to clear out the space. A clean hole allows the filler to bond properly with the wood. Avoid using water, as it can swell the wood and cause damage.
Removing Loose Debris
Check the hole for any loose wood chips or paint flakes. Gently scrape them out with a toothpick or a small tool. Loose debris can weaken the repair and cause the filler to fall out. Make sure the hole is solid and free from any weak parts before filling.
Sanding Edges
Lightly sand the edges of the hole to smooth rough spots. Use fine-grit sandpaper for best results. Sanding creates a slight texture that helps the filler stick better. Be careful not to enlarge the hole while sanding. Smooth edges also make the repair less visible after filling.
Preparing The Hole
Filling small holes left by cabinet hardware is a simple task that improves the cabinet’s look. These tiny holes often appear after removing handles or knobs. Fixing them quickly prevents damage and prepares the surface for new hardware or paint. Using easy methods, you can fill holes without special tools or skills.
Using Toothpicks Or Matchsticks
Toothpicks or matchsticks work well for filling small holes. Choose a few toothpicks or matches slightly thicker than the hole. Break or cut them to fit the hole’s depth perfectly. Insert them carefully into the hole, filling the space completely.
This method gives a solid base for new screws or filler. It also keeps the repair strong and hidden. Trim any extra wood flush with the cabinet surface for a smooth finish.
Applying Wood Glue
Wood glue helps secure toothpicks or matchsticks inside the hole. Apply a small drop of glue to the wood pieces before insertion. The glue bonds the filler to the cabinet firmly. It prevents the filler from loosening over time.
After inserting the glue-coated pieces, press gently to ensure a tight fit. Wipe away excess glue around the hole to avoid stains. Let the glue dry fully before moving to the next step.
Inserting The Filler
Once the hole is filled with toothpicks or matchsticks and glue, apply wood filler over the top. Choose a filler that matches the cabinet’s color. Use a putty knife or a small flat tool to press the filler into the hole.
Spread the filler evenly, making sure it covers the entire surface. Smooth it out to blend with the cabinet. Let the filler dry completely before sanding it lightly. This step creates a seamless repair ready for painting or staining.
Filling Small Holes
Filling large holes in cabinet hardware requires strong and reliable methods. Large holes need more than just simple fillers to hold new screws securely. Using the right materials ensures the repair lasts long and looks neat. Here are three effective ways to fill big holes in your cabinets.
Using Wooden Golf Tees
Wooden golf tees are a simple and cheap option for filling large holes. Push a golf tee into the hole after trimming the tip. Break off the excess so it fits flush with the surface. Add wood glue for extra hold. Let it dry completely before sanding smooth. This method creates a solid base for new screws.
Epoxy Wood Filler Application
Epoxy wood filler is a strong, two-part mix that bonds well with wood. Mix equal parts of resin and hardener as instructed. Apply the epoxy into the hole using a putty knife. Overfill slightly to allow for sanding. After drying, sand the area flat. Epoxy fillers provide excellent strength for heavy hardware.
Sawdust And Glue Mixture
Mix fine sawdust with wood glue to make a thick paste. This blend matches the wood color and texture closely. Fill the hole with this mixture using a small spatula or stick. Press the paste firmly to avoid air gaps. Let it dry for several hours. Sand the patch smooth before painting or staining.
Filling Large Holes
Curing and drying are key steps after filling holes from cabinet hardware. Proper curing ensures the filler sets solid and bonds well. Drying removes moisture, preventing damage and preparing the surface for sanding or painting.
Patience during this phase leads to a smooth and durable finish. Rushing can cause cracks or weak spots in the repair. Follow the recommended times for the best results.
Waiting Times
Each filler type has its own drying time. Wood fillers usually need a few hours to dry. Epoxy fillers might require longer, sometimes up to 24 hours. Check the product label for exact times.
Keep the area well-ventilated to speed drying. Avoid touching or disturbing the filler during this time. Wait fully to prevent imperfections or weak repairs.
Ensuring Full Hardening
Full hardening means the filler is completely solid and ready for finishing. Press gently with your finger to test firmness. It should feel hard and not dent.
Hardening depends on temperature and humidity. Cooler or damp conditions may slow the process. Keep the room warm and dry for best results.
Once hardened, the surface can be sanded smooth. This step is easier with fully cured filler. Proper hardening ensures a strong, long-lasting repair.
Curing And Drying
After filling the holes left by old cabinet hardware, the final steps shape the smooth, polished look. The finishing touches bring your cabinet surface back to life. These small actions ensure the repair blends perfectly with the surrounding wood. Smooth surfaces and fresh finishes help the new hardware shine.
Sanding Smooth
Start by sanding the filled holes with fine-grit sandpaper. Sand gently in circular motions to avoid damaging nearby wood. Make sure the surface feels even and flat. Remove any bumps or excess filler for a seamless finish. Clean dust away with a soft cloth before moving on.
Drilling New Pilot Holes
Mark the new hardware positions carefully. Use a small drill bit to create pilot holes in the filled areas. These holes guide screws and prevent wood from splitting. Drill straight and to the correct depth for your screws. This step helps the hardware fit tightly and last longer.
Painting Or Staining
Match the cabinet’s original color by painting or staining the repaired spots. Apply thin coats to blend the patch with the wood grain. Let each layer dry fully before adding another. This prevents visible lines and creates a natural look. Use a clear sealant for extra protection if needed.
Finishing Touches
Ensuring repairs last is key after filling holes from cabinet hardware. Using the right techniques prevents damage and keeps your cabinets strong. Focus on simple habits that protect your work over time.
Avoiding Over-tightening
Over-tightening screws can strip holes and weaken wood. Tighten screws just enough to hold hardware firmly. Use a screwdriver with a torque setting or stop when resistance increases. This avoids damage and extends the life of your repair.
Using Proper Screw Length
Choose screws that fit the thickness of your cabinet doors or drawers. Screws too long can split wood or push through surfaces. Too short screws may not hold hardware securely. Measure carefully and pick screws that provide a strong grip without causing harm.
Regular Maintenance
Check your cabinet hardware often for loose screws or damage. Tighten screws gently when needed to keep hardware secure. Clean around repaired holes to remove dust and moisture. This care helps prevent wear and keeps repairs solid for years.
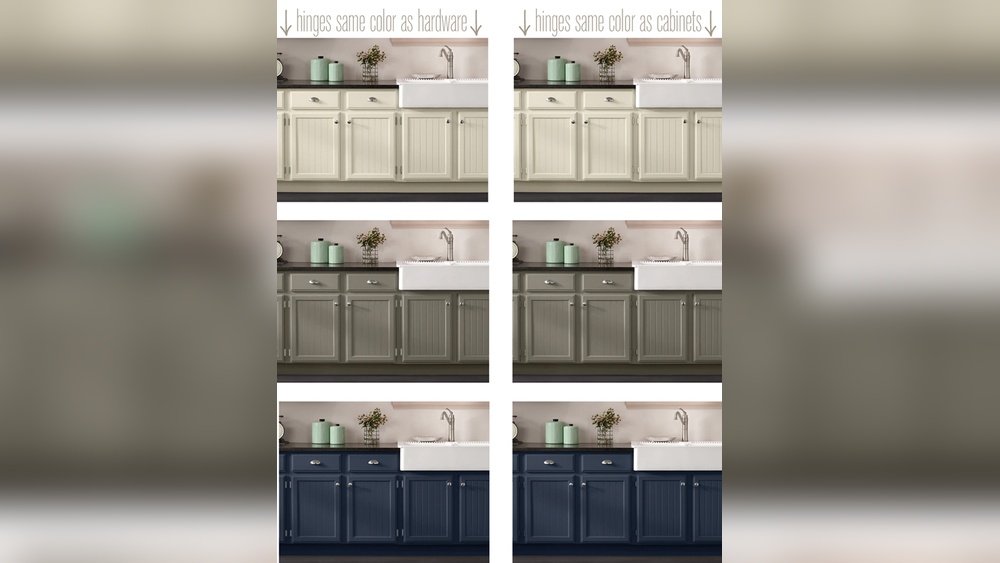
Credit: arayofsunlight.com

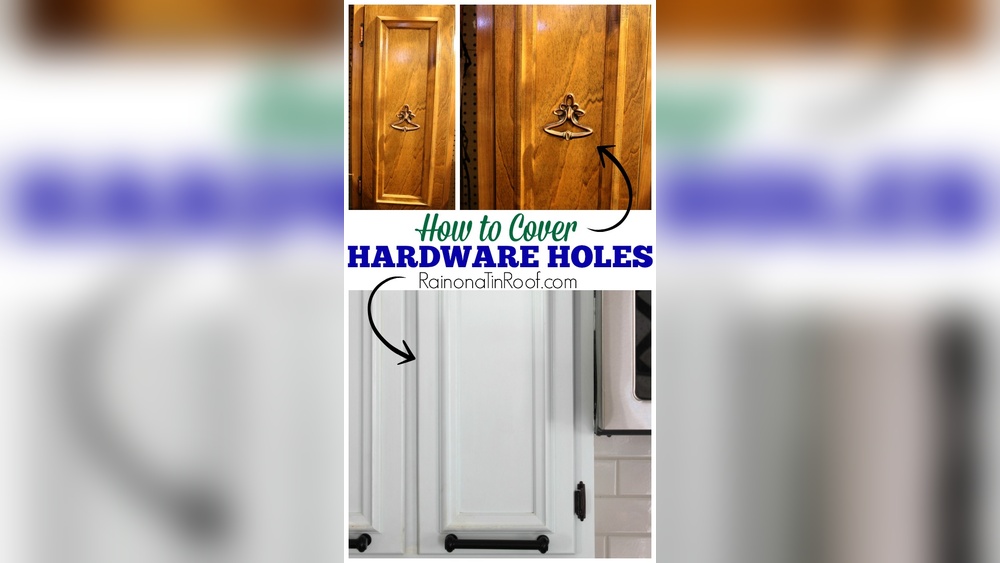
Credit: rainonatinroof.com
Frequently Asked Questions
What Is The 1/3 Rule For Cabinet Hardware?
The 1/3 rule for cabinet hardware means choosing pulls one-third the drawer or door length. This ensures balanced, proportional appearance and comfortable use.
What Is The Best Filler For Screw Holes In Wood?
Epoxy wood filler or heavy-duty wood putty works best for strong, durable screw hole repairs. For quick fixes, use wooden toothpicks or golf tees with wood glue. These fillers hold screws firmly and restore wood strength effectively.
How To Fill Kitchen Cabinet Hinge Holes?
Fill kitchen cabinet hinge holes by packing wood glue mixed with sawdust or using wooden toothpicks. Let dry, then drill new pilot holes. For stronger fixes, apply epoxy wood filler or heavy-duty wood putty, allow curing, and re-drill for secure hinge attachment.
How To Fill A Stripped Out Cabinet Hole?
Fill stripped cabinet holes by inserting wood glue-coated toothpicks or matchsticks. For larger holes, use a glued wooden golf tee, snap flush, then drill a new pilot hole. Alternatively, apply epoxy wood filler or heavy-duty wood putty, let cure, then redrill for a strong repair.
Conclusion
Filling holes from cabinet hardware is a simple task anyone can do. Choose the right filler based on the hole size and strength needed. Epoxy wood filler works best for strong repairs. For quick fixes, use toothpicks or matchsticks with glue.
Let the filler dry fully before drilling new holes. This ensures a secure hold for your new hardware. Taking these steps brings a clean, smooth finish to cabinets. Your cabinets will look neat and last longer. Small repairs make a big difference in home appearance.