If you’ve ever struggled to secure heavy materials to concrete or masonry, Tapcon fasteners can be a game-changer for your projects. Knowing how to use Tapcon fasteners correctly can save you time, avoid costly mistakes, and ensure your work holds strong for years.
In this guide, you’ll discover simple, step-by-step instructions that make installing these fasteners easy—even if you’re new to the job. Keep reading, and you’ll gain the confidence to tackle your next project with the right tools and techniques.
Credit: www.homedepot.com
Choosing The Right Tapcon
Choosing the right Tapcon fastener is key for a strong hold. The correct choice depends on the project needs and material type. Picking the wrong one can cause weak joints or damage. This guide helps you select the best Tapcon for your task.
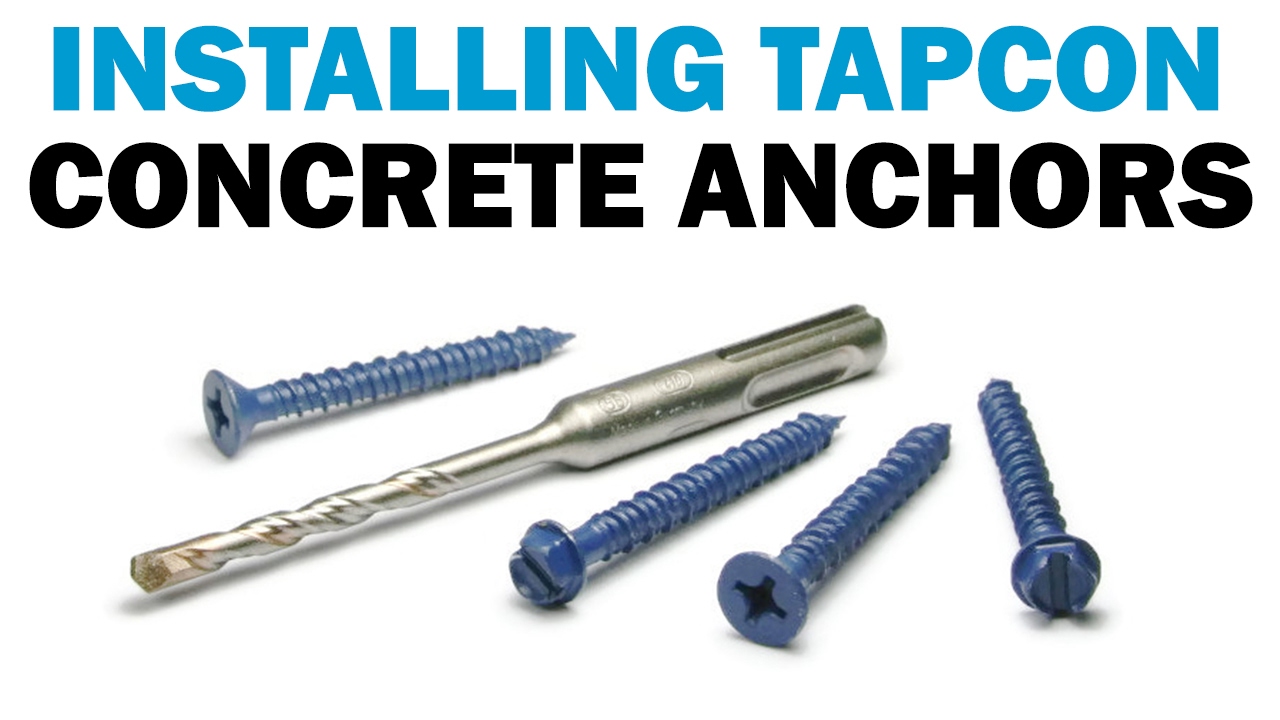
Types Of Tapcon Fasteners
Tapcon fasteners come in different styles. The most common are hex head and flat head. Hex head offers strong grip with a wrench. Flat head sits flush with the surface. Choose based on the look and strength you need.
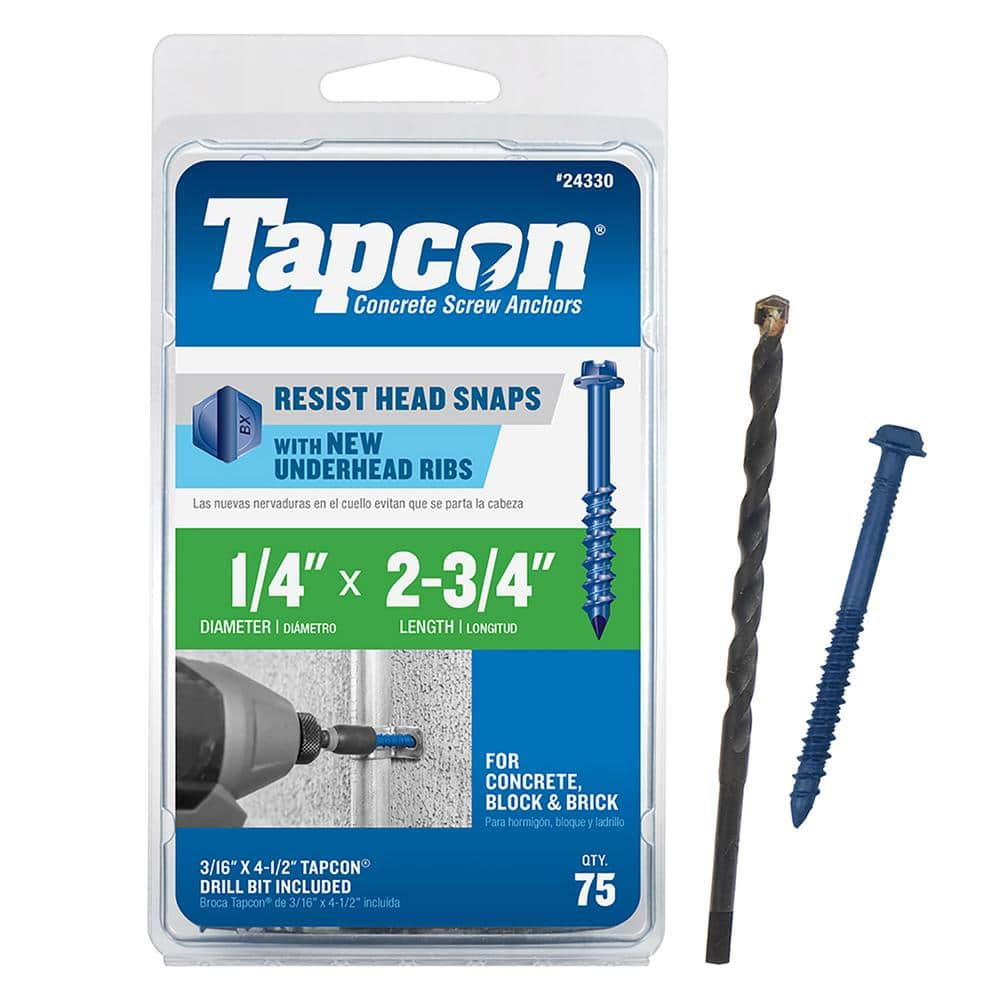
Selecting Size And Length
Size matters for Tapcon fasteners. Diameter affects holding power and hole size. Length must match the thickness of the material plus the base. Too short means poor grip. Too long can damage the surface behind.
Material Considerations
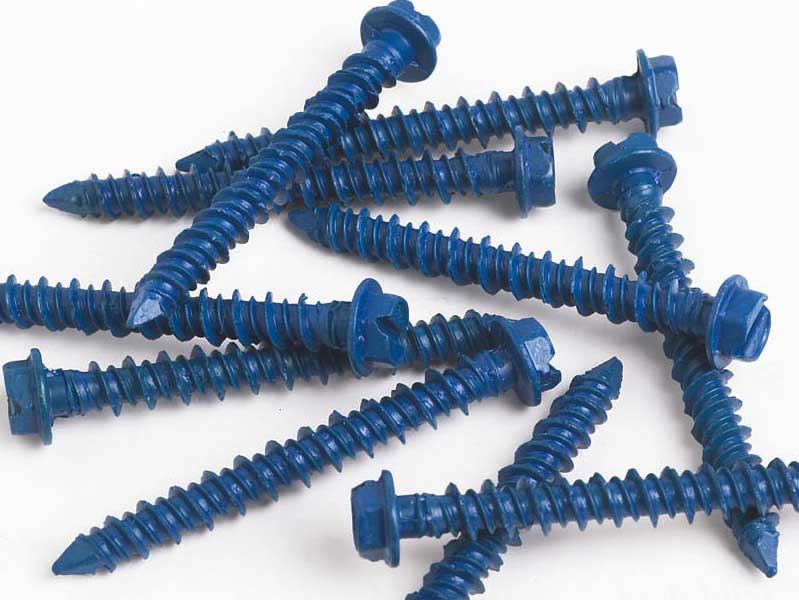
Tapcon screws come in various materials. Standard steel is strong but can rust. Stainless steel resists rust and suits outdoor use. Blue-coated screws resist corrosion for long-lasting hold. Match material to the environment for best results.
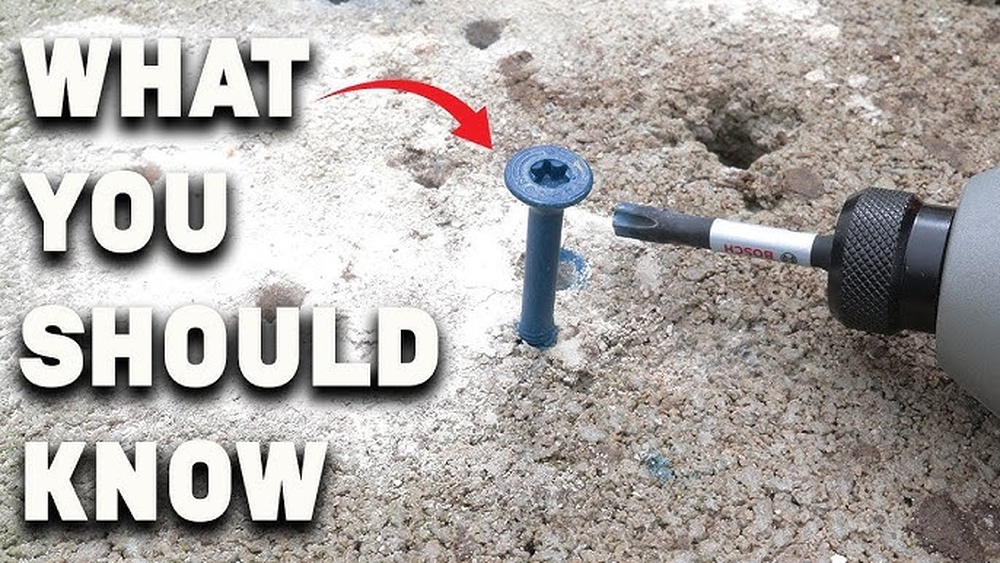
Credit: www.youtube.com
Preparing The Surface
Preparing the surface is a key step before using Tapcon fasteners. A clean and well-marked surface ensures strong and secure fastening. Proper preparation saves time and prevents mistakes during installation. Follow these steps carefully to get the best results.
Cleaning The Area
Clear the surface of dust, dirt, and debris. Use a brush or cloth to remove loose particles. A clean area helps the fastener grip tightly. Avoid wet or oily surfaces as they can weaken the hold.
Marking Drill Points
Use a pencil or marker to mark where you will drill. Measure carefully to keep marks even and precise. Proper markings guide the drill and fasten the fastener correctly. Check your marks twice before drilling.
Safety Precautions
Wear safety goggles to protect your eyes from dust and debris. Use gloves to avoid injury from sharp tools or materials. Make sure your work area is well-lit and clear of obstacles. Follow all tool instructions to stay safe.
Drilling The Pilot Hole
Drilling the pilot hole is a key step when using Tapcon fasteners. It creates the right path for the fastener to hold strong in concrete or masonry. A well-drilled hole prevents cracks and ensures a firm grip. Follow simple rules to get the best results.
Using The Correct Drill Bit
Choose a carbide-tipped masonry drill bit. Match the bit size to the Tapcon fastener diameter. The drill bit packaging often shows the right size. Using the correct bit helps the fastener fit tightly. Avoid using wood or metal bits; they wear out quickly on concrete.
Drilling Techniques
Hold the drill steady and perpendicular to the surface. Start drilling slowly to avoid slipping. Apply consistent pressure, but do not force the drill. Let the bit do the work. Pull the bit out now and then to clear dust. This keeps the hole clean and deep.
Depth And Diameter Tips
Drill the hole slightly deeper than the fastener length. This leaves room for dust and debris. The hole diameter should match the bit size exactly. A hole too wide weakens the hold. A hole too small makes insertion hard or damages the fastener.
Installing The Tapcon Fastener
Installing the Tapcon fastener requires careful steps to ensure a strong hold. This fastener is perfect for securing objects to concrete, brick, or block walls. Following the right process helps avoid damage and keeps the fastener in place for a long time.
Aligning The Fastener
Start by marking the spot where the fastener will go. Use a drill with a masonry bit to make a hole. The hole must be the same diameter as the fastener. Hold the fastener straight and place it into the hole. Check the alignment to keep it steady and secure.
Driving The Screw
Use a screwdriver or drill with a proper bit to drive the screw. Apply steady pressure and keep the tool straight. Do not force the screw too hard. Drive it in until the head is flush with the surface. This ensures a tight fit and strong hold.
Avoiding Common Mistakes
Do not drill a hole too shallow or too deep. A wrong hole size can cause the fastener to fail. Avoid using the wrong drill bit size. Do not over-tighten the screw, as it may strip the hole. Keep the fastener straight during installation to prevent bending.
Ensuring Strong Anchoring
Ensuring strong anchoring with Tapcon fasteners is key to safe and lasting results. Proper anchoring prevents loosening and damage over time. It helps your projects stay secure even under pressure or vibration.
Focus on correct installation steps and understanding your material. This section guides you through testing stability, handling weak surfaces, and maintaining your anchors.
Testing Stability
After installing Tapcon fasteners, test their hold firmly. Apply gentle pressure or try moving the attached item. No movement means a strong anchor.
Use a screwdriver or drill to check if the fastener stays tight. If it wiggles, tighten it carefully or choose a different anchor size. Stability ensures safety and durability.
Dealing With Weak Materials
Some surfaces like soft brick or old concrete need extra care. Tapcon fasteners may not hold well in weak materials. Consider using a larger fastener or a different type of anchor.
Drill deeper holes to increase contact with solid parts. Avoid forcing the fastener if the material crumbles. Use epoxy or filler for added strength if needed.
Maintenance Tips
Check your Tapcon fasteners regularly for looseness or rust. Clean the area around the fastener to prevent dirt buildup. Replace any fastener that shows signs of wear.
Keep tools handy for quick tightening or adjustments. Proper care extends the life of your anchors and keeps your projects safe.
Applications And Uses
Tapcon fasteners are versatile tools for many projects. They work well with concrete, brick, and block materials. These fasteners secure objects firmly and last long. Their strong hold makes them popular for both home and professional use.
Indoor Projects
Tapcon fasteners are great for indoor tasks. They hold shelves, cabinets, and railings tightly. These fasteners also secure electrical boxes and pipes. Using Tapcon inside helps keep items stable and safe. They work well on concrete basement walls and floors.
Outdoor Projects
Tapcon fasteners perform well outdoors. They fix fences, decks, and railings securely. These fasteners resist weather and rust, making them reliable. They attach signs and outdoor lighting to walls. Tapcons also work on patios and walkways for strong support.
Specialized Uses
Tapcon fasteners suit specialized jobs too. They attach heavy machinery and equipment to floors. These fasteners are used in construction for steel framing. They hold HVAC units and plumbing fixtures in place. Tapcon fasteners provide strong, lasting hold for tough tasks.
Credit: www.protoolreviews.com
Frequently Asked Questions
What Are Tapcon Fasteners Used For?
Tapcon fasteners are designed to anchor objects into concrete, brick, or block. They provide a strong, reliable hold for fixtures and fittings in masonry surfaces.
How Do You Install Tapcon Fasteners Correctly?
First, drill a pilot hole using the recommended bit size. Then, insert the Tapcon screw and tighten it with a screwdriver or drill until secure.
Can Tapcon Fasteners Be Removed And Reused?
Tapcon fasteners can be removed but are not recommended for reuse. Removal may damage the threads, reducing holding strength on reinstallation.
What Tools Are Needed For Tapcon Fasteners Installation?
You need a hammer drill, masonry drill bit, screwdriver or drill with the correct bit, and a vacuum or brush to clean dust from holes.
Conclusion
Using Tapcon fasteners is simple and effective. Choose the right size for your project. Drill a proper hole before inserting the fastener. Tighten the fastener firmly but do not overdo it. These steps ensure a strong and lasting hold. Tapcon fasteners work well with concrete and masonry.
They save time and provide reliable support. Try these tips to complete your work with confidence. Small effort brings big results. Keep practicing for better skill.