
Are you tired of nails that just won’t hold your pictures or shelves on drywall? Installing a wall anchor might be the simple solution you need.
With the right steps, you can make sure your items stay secure without damaging your walls. In this guide, you’ll learn exactly how to install a wall anchor in drywall quickly and easily. Keep reading, and by the end, you’ll feel confident tackling your next hanging project like a pro.
Choosing The Right Wall Anchor
Choosing the right wall anchor is key to a secure hold in drywall. Different anchors fit different needs and weights. Picking the correct one prevents damage and keeps your items safe on the wall.
Types Of Wall Anchors
Plastic expansion anchors are common and easy to use. They work well for light items like small pictures. Toggle bolts are strong and good for heavy objects. Molly bolts spread inside the wall for extra grip. Self-drilling anchors screw directly into drywall without pre-drilling. Each type fits different situations and weights.
Weight Capacity Considerations
Check the weight of what you want to hang. Light anchors hold up to 20 pounds. Medium anchors can support 30 to 50 pounds. Heavy-duty anchors hold more than 50 pounds. Using an anchor with the right weight limit prevents wall damage. Always choose an anchor that supports more than your item’s weight.
Material Compatibility
Most anchors work in drywall, but some fit better in plaster or hollow walls. Plastic anchors suit drywall well. Metal anchors offer more strength and work in various materials. Avoid anchors meant for wood or concrete in drywall. Matching the anchor material with your wall type ensures a strong hold.
Tools And Materials Needed
Installing a wall anchor in drywall requires a few simple tools and materials. Having the right items ready makes the job easier and safer. This section explains what you need before starting.
Essential Tools
You need a drill with a drill bit matching the anchor size. A screwdriver will help to screw in the anchor. A tape measure is useful to mark the exact spot on the wall. A pencil helps to mark the drilling point. A level can ensure your anchor is straight. Lastly, a hammer might be needed for some anchor types.
Safety Gear
Wear safety glasses to protect your eyes from dust and debris. Gloves protect your hands from sharp edges and tools. Use a dust mask if drilling creates a lot of dust. Safety gear keeps you safe during the installation process.
Preparing The Workspace
Clear the area around the wall to avoid accidents. Remove furniture or cover it with a cloth. Check the wall for electrical wires or pipes before drilling. Use a stud finder if needed. Good preparation helps you work smoothly and safely.
Preparing The Drywall
Preparing the drywall is an important first step for installing a wall anchor. It helps ensure the anchor stays secure and supports weight properly. This section guides you through locating studs, marking the spot, and drilling a pilot hole.
Locating The Studs
Studs are vertical wooden beams behind drywall. Anchors hold better when placed near studs. Use a stud finder tool to find their exact location. Move the tool slowly across the wall. It beeps or lights up when it finds a stud. Mark the edges of the stud with a pencil. This helps you avoid drilling directly into the stud.
Marking The Anchor Spot
Choose a spot between or near studs for the anchor. Mark the spot clearly with a pencil. Double-check the spot to avoid mistakes. Make sure the spot is level if you hang a picture or shelf. Use a level tool or measure from a fixed point on the wall. Clear marks help guide accurate drilling.
Drilling The Pilot Hole
Use a drill bit slightly smaller than the anchor size. A pilot hole guides the anchor and prevents drywall damage. Hold the drill steady and drill straight into the marked spot. Drill slowly and stop as soon as the hole is deep enough. Clean any dust or debris from the hole before inserting the anchor.

Credit: www.youtube.com
Installing Different Types Of Wall Anchors
Installing wall anchors in drywall is essential for hanging items securely. Different anchors serve different weight limits and wall types. Knowing how to install each type helps you choose the right one for your project. This guide explains how to install four common anchors.
Plastic Expansion Anchors
Plastic expansion anchors are simple and affordable. First, drill a hole slightly smaller than the anchor. Push the anchor into the hole until it is flush with the wall. Insert the screw slowly, expanding the anchor inside the drywall. This creates a tight grip to hold light items.
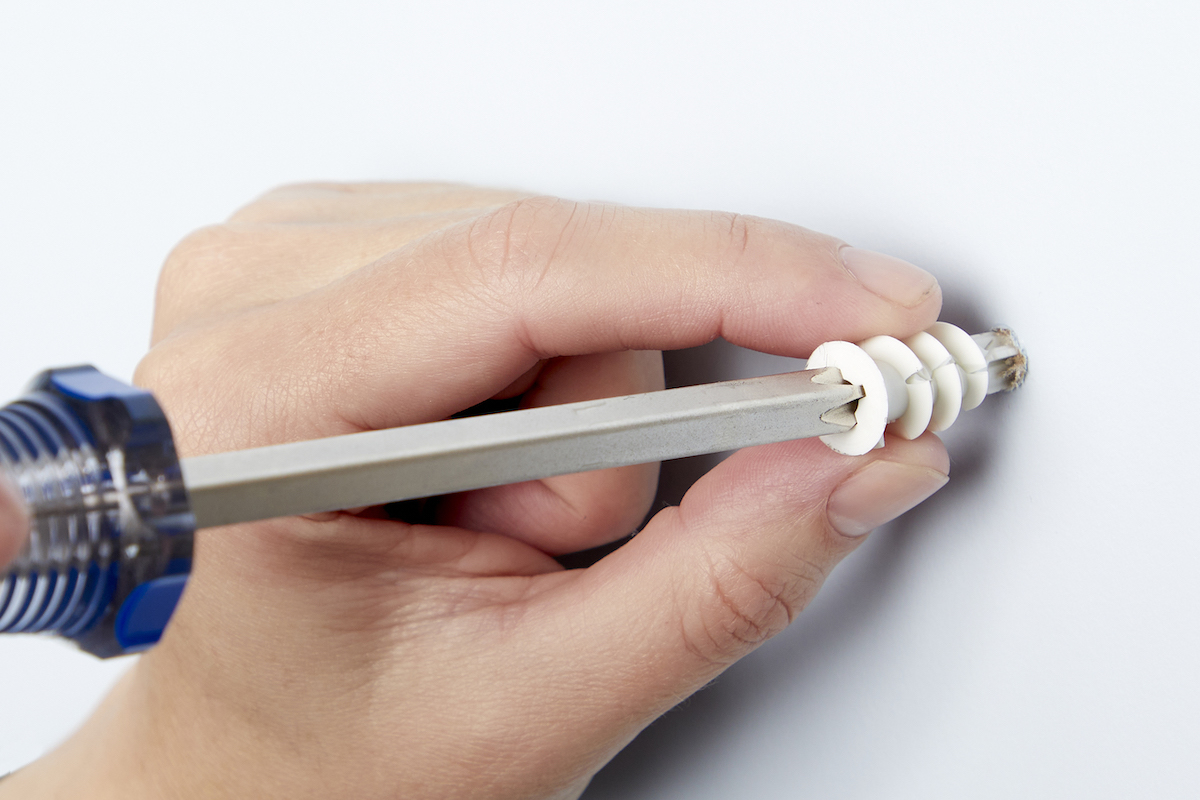
Self-drilling Anchors
Self-drilling anchors do not need a pre-drilled hole. Place the anchor tip on the wall surface. Use a screwdriver to twist the anchor into the drywall. It cuts its own hole as you turn. Once flush, insert the screw to secure your item firmly.
Toggle Bolts
Toggle bolts work well for heavy objects. Drill a hole large enough for the folded toggle. Thread the screw through the item and toggle. Push the toggle through the hole. It opens behind the wall and braces firmly. Tighten the screw to pull the toggle tight against drywall.
Molly Bolts
Molly bolts are metal anchors that expand inside the wall. Drill a hole to fit the bolt size. Insert the molly bolt and tap it flush. Tighten the screw slowly; the sleeve expands behind the drywall. This provides strong support for medium weight items.
Securing The Anchor
Securing the anchor in drywall is a key step in making sure your item stays firmly in place. A properly set anchor holds the weight and prevents damage. Follow these steps carefully for a strong hold.
Inserting The Anchor
Start by gently pushing the anchor into the drilled hole. Use your fingers or a small hammer. Tap lightly until the anchor is flush with the wall surface. Avoid forcing it in too fast or deep.
Ensuring A Tight Fit
The anchor must fit snugly in the hole. Wiggle it slightly to check for looseness. A loose anchor will not hold well. If it moves, remove and try a bigger anchor or a smaller hole.
Avoiding Common Mistakes
Do not use anchors meant for heavier loads if your drywall is thin. Avoid over-tightening screws into the anchor. This can strip the anchor or break the drywall. Always match the anchor size to the screw and load.

Credit: www.wikihow.com
Testing Anchor Stability
Testing the stability of a wall anchor is a key step after installation. It ensures the anchor can hold weight safely without slipping or damaging the drywall. This process helps avoid accidents and keeps your walls secure. Follow these simple steps to check your anchor’s strength and stability.
Applying Test Weight
Start by adding a small weight to the anchor. Use something light like a bag or a small tool. Hang it carefully and watch how the anchor holds. This step checks if the anchor can bear some load without moving.
Checking For Movement
Look closely for any wiggle or shift in the anchor. Press gently around the anchor to feel if it moves. No movement means the anchor is secure. Movement shows the anchor might be loose and unsafe.
Reinforcing If Needed
If the anchor moves, remove the weight and fix it. Try tightening the anchor or use a larger size. Consider using a different type of anchor for stronger hold. Repeat the test until the anchor stays firm and steady.
Tips For Removing Wall Anchors
Removing wall anchors can be tricky. Doing it wrong may damage your drywall. Follow simple tips to take them out safely. This helps keep your walls neat and ready for new anchors or repairs.
Safe Removal Techniques
Start by loosening the anchor with a screwdriver. Turn it counterclockwise to pull it out gently. For plastic anchors, use needle-nose pliers to grip and pull. Avoid forcing the anchor, or the drywall may break. If it is stuck, try pushing it into the wall carefully.
Repairing The Drywall
After removing the anchor, check the hole size. Small holes need spackle or wall filler. Apply the filler with a putty knife and smooth it out. Let it dry fully before sanding lightly. For bigger holes, use a patch kit for best results. Paint over the repaired spot to match the wall color.
Reusing Or Replacing Anchors
Inspect anchors before reuse. Bent or damaged anchors should be replaced. Choose the right anchor type for your wall and weight needs. Plastic anchors suit lightweight items; metal ones hold heavier things. Always match the anchor size to the screw and wall thickness.
Credit: www.bobvila.com
Frequently Asked Questions
What Tools Do I Need To Install A Wall Anchor?
You need a drill, screwdriver, wall anchors, a hammer, and a pencil. These tools ensure proper and secure installation in drywall.
How Do I Choose The Right Wall Anchor For Drywall?
Select anchors based on weight capacity and drywall thickness. Plastic anchors suit light loads; metal anchors handle heavier items.
Can I Install Wall Anchors Without A Drill?
Yes, for lightweight anchors, you can use a hammer and screwdriver. However, a drill provides cleaner, easier holes for stronger anchors.
How Deep Should I Drill For A Drywall Anchor?
Drill a hole slightly smaller than the anchor’s diameter. This ensures a tight fit and secure hold in the drywall.
Conclusion
Installing a wall anchor in drywall is simple with the right steps. Choose the right anchor for your wall and weight needs. Mark and drill the hole carefully to avoid damage. Insert the anchor firmly and tighten the screw slowly.
This method keeps your items secure and your walls safe. Practice makes perfect, so don’t rush. Soon, hanging shelves or pictures will feel easy and safe. Give it a try and see the difference yourself.


