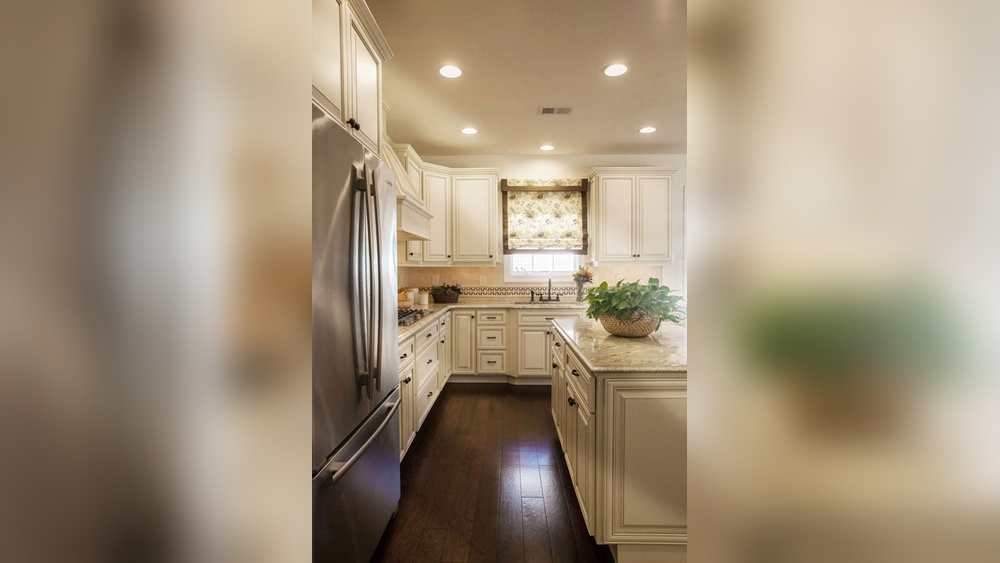
Want to give your kitchen or bathroom a fresh new look without spending a fortune? Changing your cabinet hardware is one of the easiest and most effective ways to do just that.
You don’t need special skills or expensive tools, and the results can completely transform your space. You’ll discover simple, step-by-step instructions to swap out your old knobs and pulls for stylish new ones. By the end, you’ll feel confident and ready to upgrade your cabinets like a pro.
Keep reading to unlock the secret to a quick and satisfying home refresh!
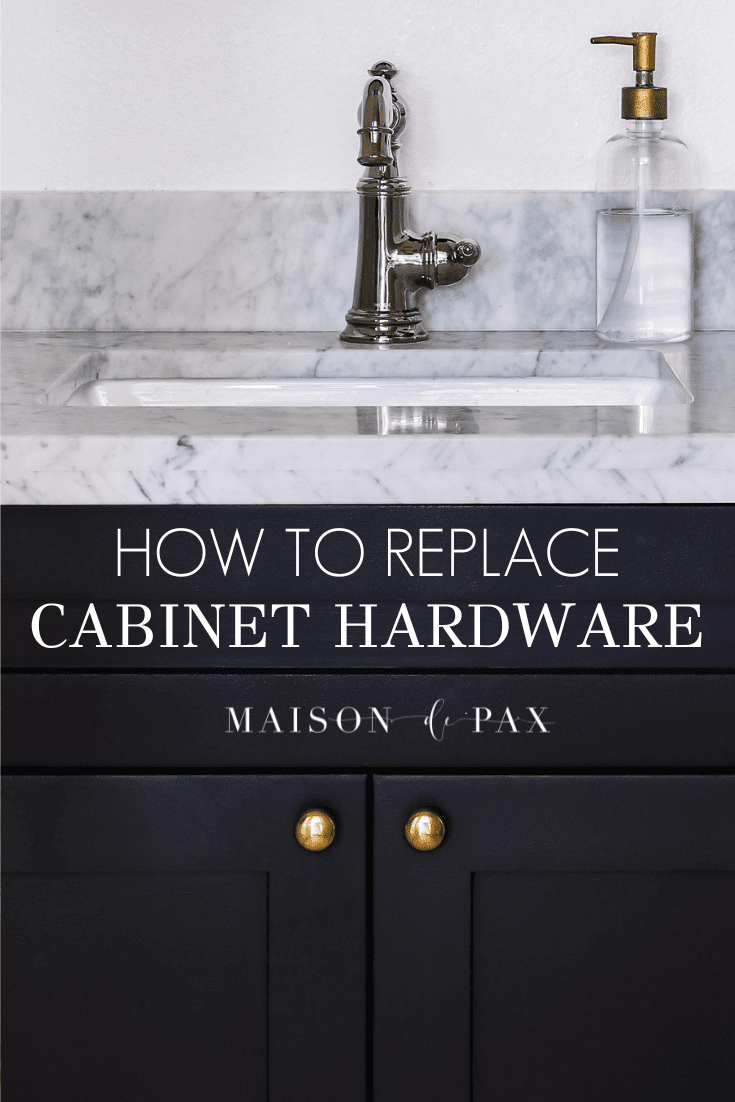
Credit: www.maisondepax.com
Tools And Materials Needed
Changing cabinet hardware can refresh your kitchen or bathroom quickly. Having the right tools and materials makes the job easier. Prepare everything before starting. This saves time and avoids frustration. Use tools that fit well and materials that match your style. Keep safety in mind to prevent any accidents.
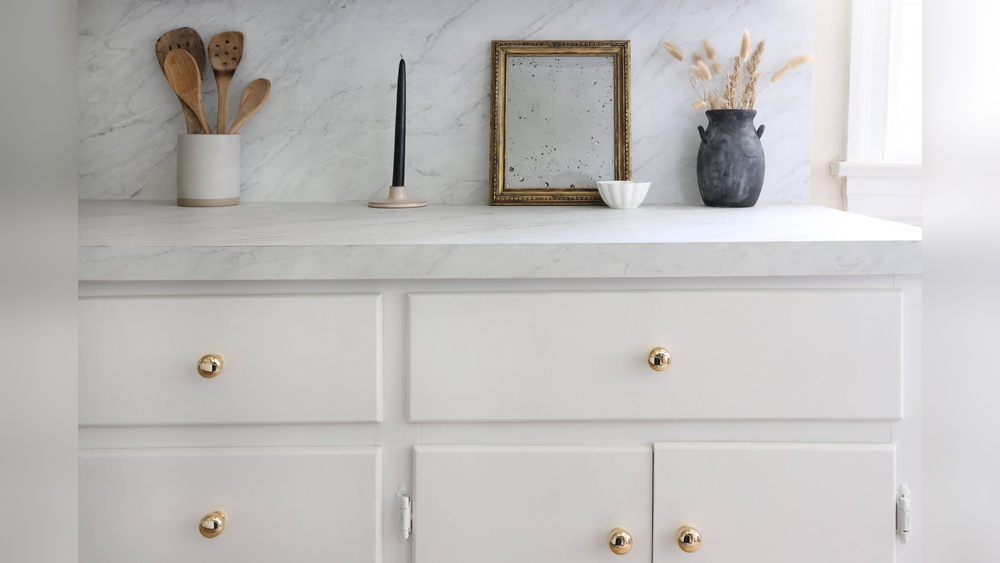
Choosing New Hardware
Select hardware that fits your cabinet style and size. Measure the distance between the screw holes on your cabinets. Pick handles or knobs that match your room’s look. Choose durable materials like metal or high-quality plastic. Consider the finish: brushed nickel, bronze, or chrome are popular. Make sure the new hardware is comfortable to use.
Gathering Essential Tools
Gather tools before starting the work. You need a screwdriver that fits your screws perfectly. A drill helps if new holes are required. Use a tape measure to check sizes accurately. A pencil marks where to drill or place hardware. Keep a level to align handles straight. Have a soft cloth to clean fingerprints or dust. Consider a small container to hold screws and parts safely.
Credit: semistories.semihandmade.com
Preparing Your Cabinets
Preparing your cabinets is the first step to change cabinet hardware successfully. It helps the new handles or knobs fit well and look great. Proper preparation saves time and avoids problems during installation.
Start by clearing the area around your cabinets. This gives you space to work safely and comfortably. Gather all tools you might need, such as a screwdriver, cloth, and cleaner. Now you are ready to remove old hardware and clean the surfaces.
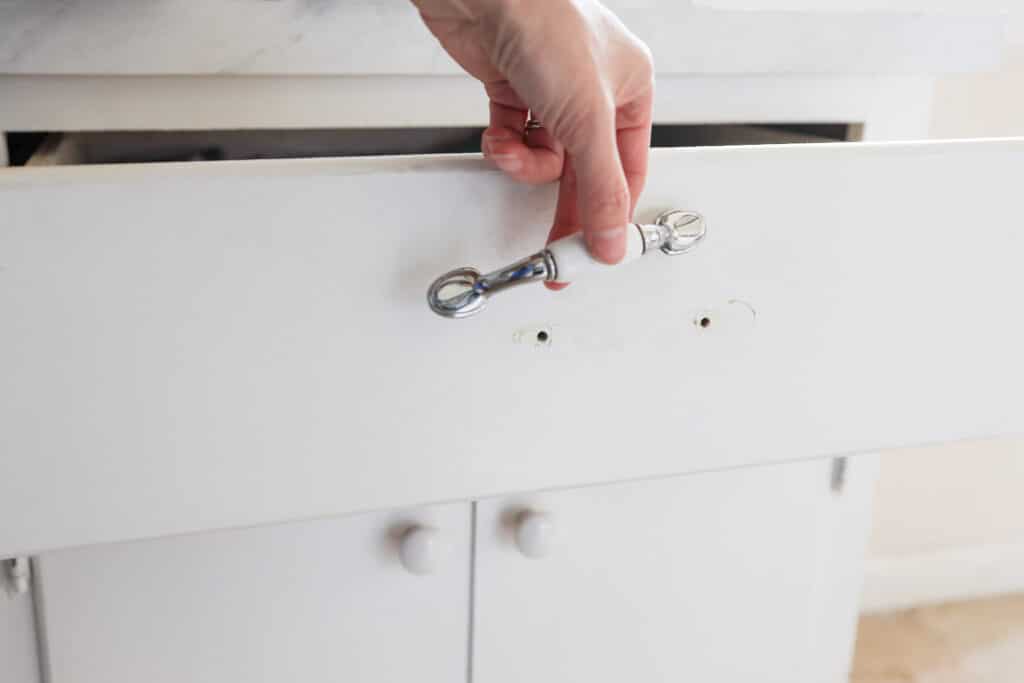
Removing Old Hardware
Use a screwdriver to remove screws from the old knobs or handles. Hold the hardware firmly to stop it from falling. Keep all screws in a small container to avoid losing them. Check for any extra nails or glue that might hold the hardware. Remove those carefully to avoid damage to the cabinet.
Cleaning Cabinet Surfaces
After removing the hardware, clean the cabinet surfaces well. Use a gentle cleaner and a soft cloth. Remove all dirt, grease, and dust. Pay close attention to areas around screw holes. Clean surfaces help new hardware stick better and last longer. Let the cabinets dry completely before installing new hardware.
Measuring And Marking
Measuring and marking are key steps for changing cabinet hardware. Accurate measurements ensure the new handles or knobs fit perfectly. Marking drill points clearly helps avoid mistakes. Taking time here saves effort later.
Aligning New Hardware
Start by placing the new hardware on the cabinet door or drawer. Check if it lines up with old holes. If it does, you can use the same spots. If not, measure the distance between screws carefully. Use a ruler or tape measure for accuracy. Keep the hardware straight to avoid a crooked look.
Marking Drill Points
Use a pencil to mark where you need to drill new holes. Mark gently to avoid deep scratches. Double-check measurements before marking. Use a level to keep marks even. Clear, precise marks help guide your drill. This step ensures the hardware fits firmly and looks neat.
Installing New Hardware
Installing new cabinet hardware can refresh your kitchen or bathroom quickly. It changes the look without a full renovation. This step requires some care to ensure a neat finish. Follow simple steps to fit handles and knobs correctly. Proper installation makes your cabinets look professional and helps the hardware last longer.
Drilling Holes If Needed
New hardware may not fit old holes. Check if the new handles match the existing holes. Measure carefully before drilling. Mark the spots clearly using a pencil. Use a drill bit that fits the screws. Drill slowly to avoid cracking the wood. Clean any dust from the holes before moving on.
Securing Handles And Knobs
Place the handle or knob on the hole. Insert the screw from inside the cabinet. Tighten the screw using a screwdriver. Avoid over-tightening to prevent damage. Check if the hardware sits straight and tight. Adjust if needed for a perfect fit. Test the handle or knob by pulling gently.
Tips For A Professional Look
Changing cabinet hardware can give your kitchen or bathroom a fresh, updated look. Small details make a big difference. Follow simple tips to achieve a clean and professional style. Focus on choosing the right hardware and keeping everything balanced.
Matching Styles And Finishes
Choose hardware that fits your room’s style. For modern spaces, pick sleek, simple handles. For classic rooms, go for ornate designs. Match the finish of new hardware to your faucets or lighting. This creates a unified look. Avoid mixing too many styles or finishes. It can make the space feel messy.
Maintaining Consistency
Use the same style and finish on all cabinets. Consistency helps the room feel organized and put together. Check the size and shape of each handle. Replace any that do not match the rest. Keep the spacing between handles even. Balanced placement adds to the professional look. Take time to measure before installing new hardware.
Troubleshooting Common Issues
Troubleshooting common issues during cabinet hardware replacement can save time and frustration. Small problems often block progress. Understanding simple fixes helps keep your project smooth. Two frequent problems are misaligned holes and stubborn screws. Both can stop your work in its tracks. Addressing these quickly gets your cabinets ready fast.
Fixing Misaligned Holes
Misaligned holes happen when new hardware does not match old holes. This can make screws loose or uneven. First, check if new holes can be drilled near old ones. Use a pencil to mark new spots. Drill carefully to avoid wood damage. Fill old holes with wood filler or toothpicks and glue. Let dry before sanding smooth. This creates a solid base for new screws. Test the hardware before final tightening.
Dealing With Stubborn Screws
Stubborn screws resist turning or come out damaged. Start by applying a drop of oil to loosen rust. Let it sit for a few minutes. Use the correct screwdriver size to avoid stripping. Turn screws slowly and firmly. If screws strip, try rubber bands for grip or a screw extractor tool. Avoid force that may break screws inside. Patience helps remove tough screws without harm.
Credit: danavento.com
Frequently Asked Questions
How Do I Remove Old Cabinet Hardware Safely?
Use a screwdriver to unscrew handles or knobs carefully. Protect the cabinet surface with tape to avoid scratches. Keep all screws and parts for reuse or disposal.
What Tools Are Needed To Change Cabinet Hardware?
You need a screwdriver, drill, measuring tape, and a level. These tools help remove old hardware and install new pieces accurately.
How To Measure For New Cabinet Hardware?
Measure the distance between existing screw holes. This is called the center-to-center measurement. It ensures new hardware fits without extra drilling.
Can I Reuse Old Screws For New Hardware?
You can reuse screws if they fit the new hardware holes. Otherwise, use new screws supplied with the hardware for a secure fit.
Conclusion
Changing cabinet hardware is a simple way to refresh your space. You only need a few tools and some patience. Take your time to pick the right style and finish. Removing old hardware and installing new pieces can be done in under an hour.
Small changes like this make a big difference in your room’s look. Try it yourself and enjoy a fresh, updated feel without spending much money. It’s an easy project anyone can do. Give your cabinets a new life today!