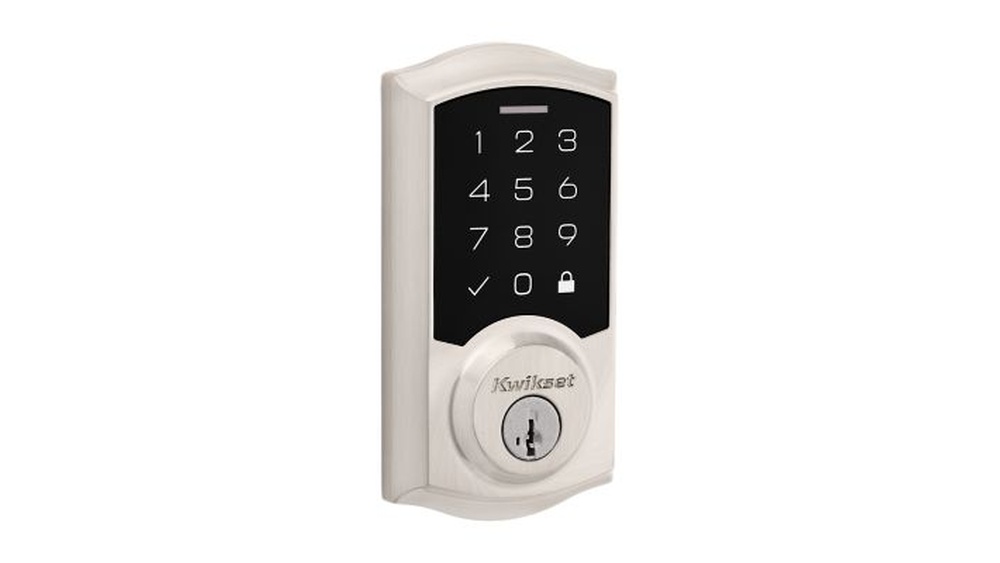
If you’re looking to remove your Kwikset deadbolt cover, you might be wondering where to start. Maybe you need to fix a jammed lock, replace a worn-out part, or upgrade your security.
Whatever your reason, taking off the deadbolt cover can seem tricky if you don’t know the right steps. But don’t worry—this guide will show you exactly how to remove your Kwikset deadbolt cover quickly and safely. By the end, you’ll have the confidence to handle your lock like a pro.
Keep reading to find out how!

Credit: diy.stackexchange.com
Tools Needed
Removing the Kwikset deadbolt cover is easier with the right tools. Having these tools ready saves time and effort. Each tool serves a specific purpose in the process.
Use simple and common tools to avoid confusion. You do not need complex equipment. These basic tools make the job smooth and safe.
Screwdriver
A screwdriver is essential to remove screws holding the cover. Most Kwikset deadbolts use Phillips head screws. Choose a screwdriver that fits the screw size well. This prevents stripping or damaging screws.
Flat Pry Tool
A flat pry tool helps gently lift the cover without scratching the door. Use a plastic pry tool to avoid damage. It fits into small gaps to ease the cover off carefully.
Tape
Tape protects the door surface during removal. Apply painter’s tape around the deadbolt cover. This prevents scratches from tools or accidental slips.
Cleaning Cloth
A soft cloth cleans dust and debris after removing the cover. Wipe the area before installing a new cover or reassembling. It keeps the door looking neat and polished.
Locate The Deadbolt Cover
Locating the deadbolt cover is the first step in removing a Kwikset deadbolt. The cover protects the inner parts of the lock. Finding it helps you understand how to take it off safely.
Most Kwikset deadbolt covers sit on the inside of the door. They hide screws or clips that hold the lock together. Knowing where to look saves time and effort.
Check The Interior Side Of The Door
Look at the door’s inside side. The deadbolt cover usually covers the thumb turn or keyhole. It is often round or oval shaped. This part is easier to access and remove.
Identify Visible Screws Or Clips
Look closely for screws around the cover edges. Some covers have small clips instead of screws. These hold the cover firmly in place. Spotting them helps you plan your removal method.
Feel For A Detachable Cover
Gently press or pull the cover to check if it moves. Some covers snap on and off without tools. Others need a screwdriver to loosen screws first. Testing helps avoid damage during removal.
Remove The Screws
Removing the screws is the first key step to take off the Kwikset deadbolt cover. These screws hold the cover firmly in place. You need to take them out carefully to avoid damage. This part requires patience and the right tools. Knowing what type of screws to expect helps you prepare better. Also, using the right screwdriver makes the process smooth and safe.
Types Of Screws To Expect
Kwikset deadbolt covers usually have Phillips or flathead screws. Phillips screws have a cross-shaped slot. Flathead screws have a simple straight line slot. Some models may use security screws with special patterns. These need specific tools to remove. Checking the screws before starting helps you pick the right screwdriver.
Using The Right Screwdriver
Use a screwdriver that fits the screw head perfectly. A wrong size can strip the screw or damage the cover. For Phillips screws, choose a Phillips screwdriver. For flathead screws, use a flathead screwdriver. Apply firm but gentle pressure while turning. Turn counterclockwise to loosen the screws. Keep screws safe after removal for reassembly later.
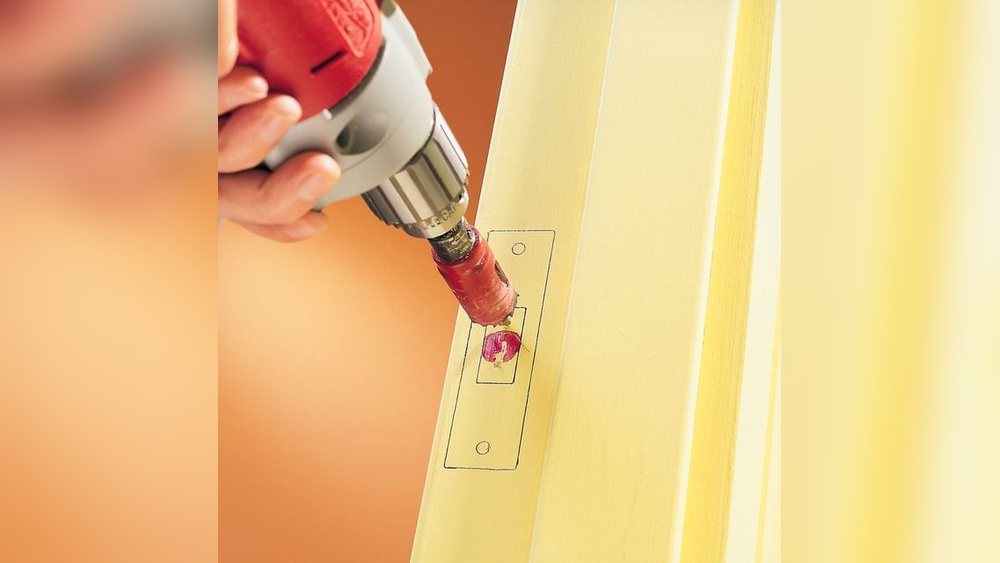
Pry Off The Cover
Removing the Kwikset deadbolt cover starts with prying it off carefully. This step needs a gentle touch and the right tools. The cover fits tightly, so patience helps avoid problems. Using proper techniques makes the job easier and keeps your door safe.
Safe Pry Techniques
Choose a flat tool like a putty knife or small screwdriver. Slide it gently under the edge of the cover. Work slowly and lift a little at a time. Move the tool around the cover’s edge to loosen it evenly. Avoid using too much force to prevent bending the cover.
Avoiding Damage To The Door
Protect the door surface by placing a thin cloth or tape under the tool. This stops scratches and dents. Pry carefully near the edges, where the cover is thinner. Keep the tool steady and do not twist sharply. Take your time to keep the door and cover intact.
Handle Stubborn Covers
Removing a stubborn Kwikset deadbolt cover can be tricky. Some covers stick due to dirt, rust, or tight fittings. Patience and the right method help to remove these covers without damage. Two effective ways to handle tough covers include using lubricants and applying gentle force.
Using Lubricants
Lubricants can loosen stuck covers easily. Spray a small amount of WD-40 or a similar oil around the edges. Let it sit for a few minutes to penetrate the tight areas. This reduces friction and helps the cover slide off smoothly. Avoid using too much oil to prevent mess.
Applying Gentle Force
Use gentle force to avoid breaking the cover or door. Try wiggling the cover back and forth with your hands. Use a plastic pry tool if needed, placing it carefully under the edge. Press slowly and evenly to lift the cover. Stop if you feel strong resistance and try lubricant again.

Credit: www.youtube.com
Check The Deadbolt Mechanism
Checking the deadbolt mechanism is a key step in removing the Kwikset deadbolt cover. It helps ensure the lock works smoothly and safely. This step also reveals any hidden problems inside the lock. Taking a close look at the mechanism can save time and prevent damage during removal.
Inspecting For Issues
First, look closely at the deadbolt parts. Check for rust, dirt, or broken pieces. Notice any parts that move stiffly or get stuck. Also, see if the screws are loose or missing. These problems can cause the deadbolt to jam or fail.
Look at the bolt itself. It should slide in and out smoothly. If it feels rough, it needs cleaning or fixing. A careful inspection helps decide the next steps. It also prevents surprises during reassembly.
Cleaning The Components
Use a soft cloth to wipe dust and dirt off the parts. Avoid harsh chemicals that could damage the finish. A mild soap solution works well for cleaning. Dry the pieces completely before putting them back.
Lubricate moving parts with a graphite or silicone spray. This reduces friction and stops sticking. Do not use oil-based lubricants because they attract dirt. Clean parts make the deadbolt work better and last longer.
Reinstalling The Cover
Reinstalling the Kwikset deadbolt cover is a simple step that restores your lock’s appearance and function. Take your time to place the cover right. A poorly aligned cover can cause problems with the lock’s operation. Follow clear steps for a smooth reinstallation.
Aligning The Cover Correctly
Hold the cover gently over the lock. Match its holes with the screw slots on the deadbolt. The cover should fit snugly without forcing it. Make sure the keyhole or thumb turn lines up perfectly. Check that the cover sits flat against the door surface.
Securing With Screws
Use the original screws for best fit and strength. Insert screws carefully into the aligned holes. Tighten each screw evenly with a screwdriver. Avoid overtightening to prevent cracking the cover. Confirm the cover is secure and does not wobble.
Tips For Maintenance
Proper maintenance keeps your Kwikset deadbolt working smoothly. Small care steps prevent damage and make the lock last longer. Regular checks avoid costly repairs and keep your home safe.
Cleaning The Deadbolt Cover
Use a soft cloth to clean the cover. Avoid harsh chemicals that can damage the finish. Light soap and water work best. Dry the cover well to stop rust.
Lubricating The Lock Mechanism
Apply graphite or silicone spray inside the keyhole. This helps the lock turn easily. Do this every six months to keep it smooth. Avoid oil sprays; they attract dust.
Checking Screws And Parts
Tighten loose screws on the cover and lock. Loose parts can cause the lock to fail. Use a screwdriver for this simple task. Check the screws every few months.
Testing Lock Function Regularly
Turn the key and thumb turn to test the lock. Make sure it locks and unlocks without sticking. Early checks find problems before they get worse. Test the lock every few weeks.

Credit: diy.stackexchange.com
Frequently Asked Questions
How Do I Remove A Kwikset Deadbolt Cover?
To remove a Kwikset deadbolt cover, locate the small hole on the side. Insert a paperclip or pin, press inward, and gently pull the cover off.
What Tools Are Needed To Remove Kwikset Deadbolt Cover?
You only need a small pin or paperclip to remove the Kwikset deadbolt cover. No special tools are required for this simple task.
Can I Remove The Kwikset Deadbolt Cover Without Damage?
Yes, by gently pressing the release pin and pulling carefully, you can remove the cover without damaging it or the lock mechanism.
Why Remove The Kwikset Deadbolt Cover?
Removing the cover allows access to internal components for maintenance, repair, or rekeying the Kwikset deadbolt lock.
Conclusion
Removing a Kwikset deadbolt cover is simple with the right steps. Start by locating the screws and gently unscrewing them. Keep the parts safe to avoid losing anything. Take your time to prevent damage to the lock. This task does not need special tools or skills.
Following these easy instructions helps you maintain or replace your lock. Now you can handle this small home project with confidence.