Replacing a Schlage deadbolt might sound tricky, but it’s easier than you think. If your lock is old, broken, or you just want better security, you’re in the right place.
This guide will walk you through every step, using simple language and clear instructions. By the end, you’ll have a brand-new deadbolt installed, keeping your home safe and giving you peace of mind. Ready to take control of your door’s security?
Let’s get started!
Tools Needed
Replacing a Schlage deadbolt requires some basic tools. Having the right tools makes the job easier and faster. You can complete the task without stress if you prepare well.
Gather all tools before starting. This saves time and helps avoid interruptions. Here is a list of tools needed for replacing a Schlage deadbolt.
Phillips Head Screwdriver
A Phillips head screwdriver is essential. It fits the screws on the deadbolt. Most Schlage deadbolts use this type of screw.
Flathead Screwdriver
A flathead screwdriver helps with prying or adjusting parts. It also helps remove trim plates carefully without damage.
Tape Measure
Use a tape measure to check door thickness. This ensures the new deadbolt fits perfectly. Measure twice to avoid mistakes.
Drill With Drill Bits
A drill speeds up screw removal and installation. Use the right drill bits for wood or metal doors. It makes the process smooth and quick.
Pencil Or Marker
Mark screw holes and alignment points with a pencil. This helps keep everything straight during installation. Clear marks prevent errors.
Remove The Old Deadbolt
Removing the old deadbolt is the first step to replacing your Schlage lock. This process ensures the door is ready for the new lock installation. Follow each step carefully for a smooth removal.
Keep your tools handy. A screwdriver will be your main tool for this task. Handle parts gently to avoid damage.
Unscrew Exterior Components
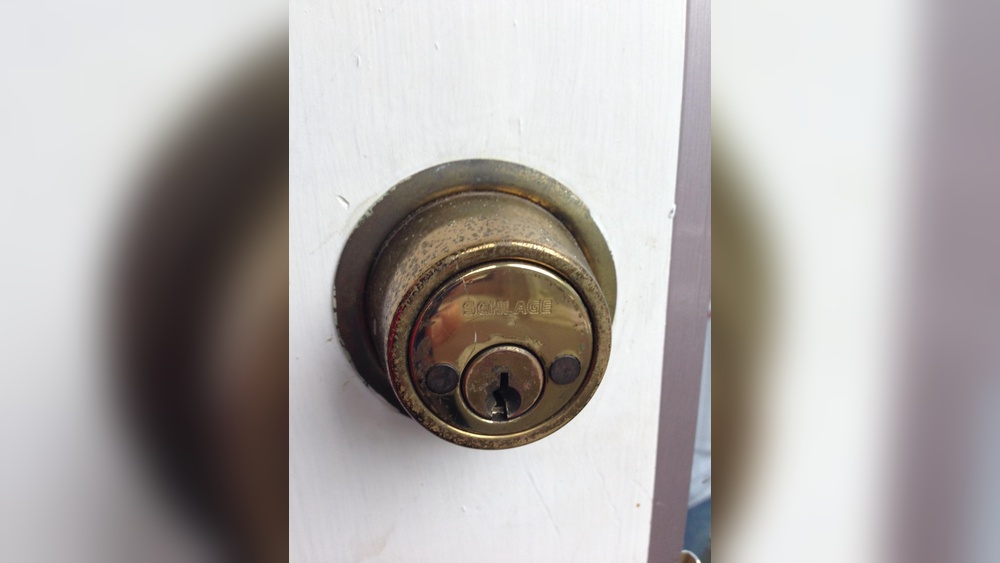
Locate the screws on the outside part of the deadbolt. Use a screwdriver to unscrew them. Set the screws aside safely. Gently pull off the exterior lock piece from the door.
Extract Interior Assembly
Move to the inside of the door. Find the screws holding the interior part of the deadbolt. Unscrew these carefully. Remove the interior assembly by pulling it away from the door.
Take Out The Latch
Open the door edge to see the latch mechanism. Unscrew the two screws securing the latch. Pull the latch out from the door. Check the door hole for any debris or damage before installing the new deadbolt.
Prepare The Door
Preparing the door is an important first step before replacing a Schlage deadbolt. It helps ensure the new lock fits correctly and works smoothly. Taking time now can save trouble later.
Start by making sure the door is clean and ready. Then, check the door’s alignment. These steps create a solid base for the new deadbolt installation.
Clean The Door Surface
Remove dirt and dust from around the deadbolt area. Use a damp cloth or mild cleaner. A clean surface helps the new lock sit flush against the door.
Check for old paint or debris. Scrape off any loose material carefully. This step prevents issues with lock fitting and operation.
Check Door Alignment
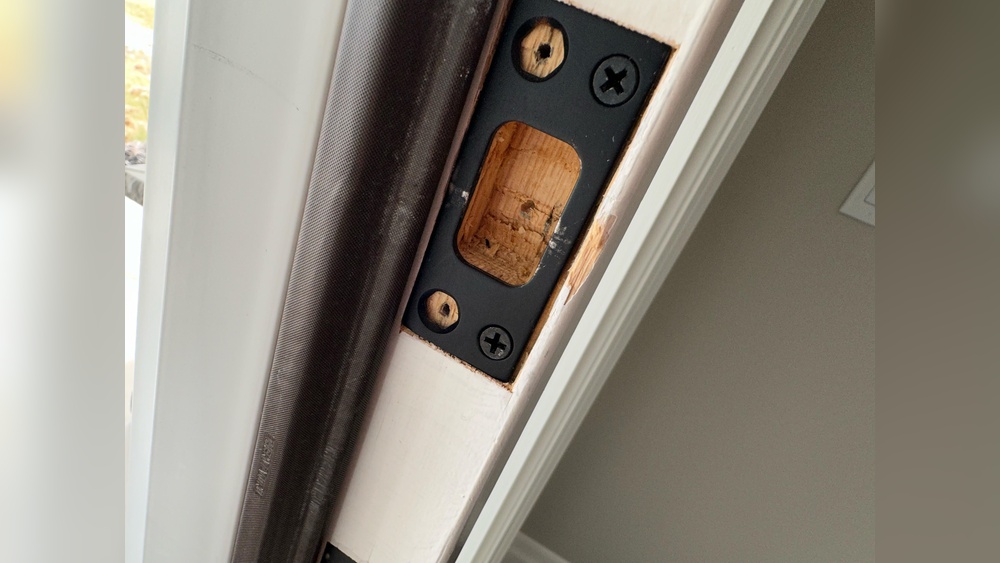
Close the door and see if it lines up with the frame. The deadbolt should slide smoothly into the strike plate. Adjust hinges or strike plate if needed.
Misalignment can cause the lock to jam or wear out quickly. Fixing this now ensures the new deadbolt works properly and lasts longer.

Credit: forums.wyze.com
Install The New Latch
Installing the new latch is a key step in replacing your Schlage deadbolt. This part fits into the door edge and works with the lock mechanism. Proper installation ensures your door locks smoothly and securely. Follow these simple steps to set the new latch correctly.
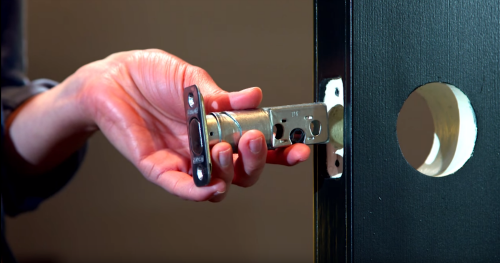
Insert Latch Into Door Edge
Hold the new latch so the curved side faces the door frame. Slide it into the hole on the door edge. Push it in until the latch plate sits flush with the door surface. Make sure the latch bolt moves freely by pressing it in and letting it spring back.
Secure Latch With Screws
Align the latch plate with the screw holes on the door edge. Use a screwdriver to fasten the screws tightly. Do not over-tighten to avoid damaging the latch or door. Check that the latch stays in place firmly and the bolt still moves smoothly.
Attach Exterior Assembly
Attaching the exterior assembly is a key step in replacing your Schlage deadbolt. This part holds the key cylinder and connects to the inside mechanism. Proper attachment ensures your lock works smoothly and safely. Follow the steps carefully to avoid damage and ensure a tight fit.
Align Exterior Plate
Start by placing the exterior plate on your door’s outer side. Match the plate’s holes with the screw holes on the door. The plate must sit flush against the door surface. Check that the tailpiece, a small metal bar, fits through the hole in the door. Proper alignment prevents jamming or loose fitting later.
Insert Key Cylinder
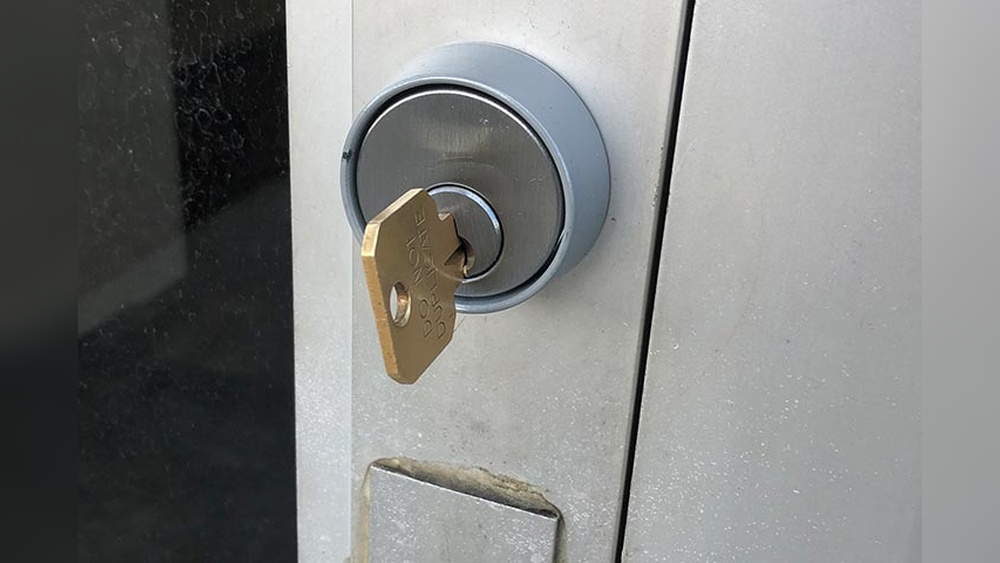
Next, insert the key cylinder into the exterior plate. Slide it gently through the hole until it clicks into place. The key cylinder should turn easily with your key. Ensure the cylinder is facing the correct direction. This step connects the key to the locking mechanism inside your door.
Install Interior Assembly
Installing the interior assembly of a Schlage deadbolt is a key step in replacing your lock. This part fits on the inside of the door and works with the exterior lock to secure your home. The process is simple and requires only a few tools. Follow the steps carefully to make sure the lock works smoothly.
Connect Interior Plate
Start by placing the interior plate on the inside of the door. Align it so the spindle fits through the hole. The spindle connects the interior thumb turn to the lock mechanism. Make sure the plate sits flush against the door surface. This ensures the lock will operate without sticking.
Secure With Screws
Use the screws provided with your deadbolt kit to fasten the interior plate. Insert each screw into the holes on the plate. Tighten them with a screwdriver. Do not overtighten, or the plate might bend. Check the thumb turn moves freely after securing the screws. This confirms proper installation and smooth operation.
Test The Deadbolt
Testing the deadbolt is an important step after installation. It ensures the lock works smoothly and secures your door properly. You want to confirm everything functions before finishing up. This step helps avoid future problems with your Schlage deadbolt.
Check Key Operation
Start by inserting the key into the lock. Turn the key both ways to check smooth movement. The key should not stick or feel hard to turn. If it does, the lock may need adjustment. Make sure the key fully turns to lock and unlock positions.
Test Lock And Unlock
Try locking and unlocking the deadbolt from inside and outside. Use the thumb turn inside and the key outside. The bolt should slide easily into the strike plate. Listen for a solid click sound when locked. Test multiple times to confirm consistent action.
Credit: www.schlage.com
Troubleshooting Tips
Troubleshooting common problems with your Schlage deadbolt can save time and effort. Some issues happen often during installation or use. Simple fixes often solve these problems quickly. Focus on key areas like alignment and smooth operation.
Fix Misalignment Issues
Misalignment stops the deadbolt from locking properly. Check if the bolt fits into the strike plate hole. Adjust the strike plate by moving it slightly up or down. Use a screwdriver to loosen screws before shifting. Tighten screws once the bolt slides in easily. Test the lock several times to ensure smooth locking.
Address Sticking Deadbolt
A sticking deadbolt can make locking hard. Dirt or debris inside the mechanism causes this. Spray a small amount of lubricant into the keyhole and bolt area. Turn the key slowly back and forth to spread lubricant. Avoid using oil-based lubricants that attract dust. Clean the bolt and strike plate regularly to prevent sticking.
Credit: www.schlage.com
Frequently Asked Questions
How Do You Remove A Schlage Deadbolt?
To remove a Schlage deadbolt, first unscrew the interior mounting screws. Then, carefully pull both the interior and exterior parts away from the door. Finally, slide the latch mechanism out from the door edge. This process allows easy replacement or maintenance of the deadbolt.
What Tools Are Needed To Replace Schlage Deadbolt?
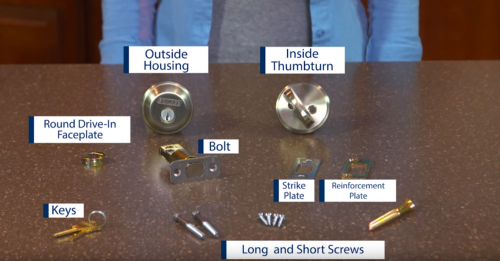
You need a Phillips screwdriver, a new Schlage deadbolt, and optionally a tape measure. These basic tools help remove the old deadbolt and install the new one quickly and securely. No special skills or equipment are required for this task.
How To Align A New Schlage Deadbolt Properly?
Ensure the latch fits flush with the door edge. Align the exterior and interior parts so screw holes match perfectly. Tighten mounting screws evenly to keep the deadbolt straight. Proper alignment ensures smooth locking and unlocking without jamming.
Can I Replace Schlage Deadbolt Without Removing The Door?
Yes, you can replace a Schlage deadbolt without removing the door. Just unscrew and remove the deadbolt components from both sides. Replace the latch and deadbolt parts while the door remains in place. This saves time and effort during installation.
Conclusion
Replacing a Schlage deadbolt is simple with the right steps. Take your time to follow each part carefully. Use the correct tools to avoid damage. Double-check the alignment before tightening screws. Test the lock to ensure it works smoothly. A secure deadbolt keeps your home safe and gives peace of mind.
You can do this job yourself and save money. Stay patient and focused throughout the process. Your door will be stronger and more secure in no time.