If you’ve been struggling to activate the deadbolt turret in MW3, you’re not alone. This tricky step can hold you back from progressing in the game, and it’s easy to get stuck without the right guidance.
But don’t worry—this guide is here to help you unlock that turret quickly and smoothly. By following simple, clear instructions, you’ll gain the edge you need to move forward and dominate your missions. Ready to master the deadbolt turret and boost your gameplay?
Let’s dive in.
Deadbolt Turret Basics
The Deadbolt Turret is a key tool in MW3. It helps players defend positions and control areas. Understanding how it works is important for better gameplay.
This section explains what the Deadbolt Turret is and its role in the game. You will learn why it matters and how it can affect your strategy.
What Is A Deadbolt Turret
The Deadbolt Turret is a small automated gun. It shoots at enemies automatically when they come close. It can be placed on walls or floors. It has limited ammo but reloads after some time.
The turret works without player control after placement. It provides extra firepower and helps cover blind spots. It is not very strong but useful for defense.
Role In Mw3 Gameplay
The turret protects areas from enemy attacks. It slows down enemy movement and stops surprise attacks. Players can use it to hold key positions on the map.
The turret forces enemies to change their path or face damage. It supports teammates by guarding flanks and entrances. Knowing when and where to place it improves team defense.
Credit: attackofthefanboy.com
Preparing To Activate
Preparing to activate the Deadbolt Turret in MW3 requires careful planning. You must gather the right tools and choose the best loadouts. This preparation helps you use the turret effectively and survive longer in the game.
Required Equipment
First, ensure you have the Deadbolt Turret in your killstreak rewards. Check your loadout for support items like ammo and grenades. A sturdy weapon with good range helps protect you while deploying the turret. Also, carry tactical gear to control enemy movement around the turret area.
Ideal Loadouts
Choose weapons that balance speed and power. Assault rifles or submachine guns work well for quick defense. Equip perks like Scavenger to reload ammo faster. Consider perks that improve stealth, so enemies do not spot you easily. This setup lets you stay alive longer and keep the turret active.
Activation Steps
Activating the Deadbolt Turret in MW3 is a simple process. Follow these steps carefully to place and power your turret correctly. Each step ensures your turret works well during battles.
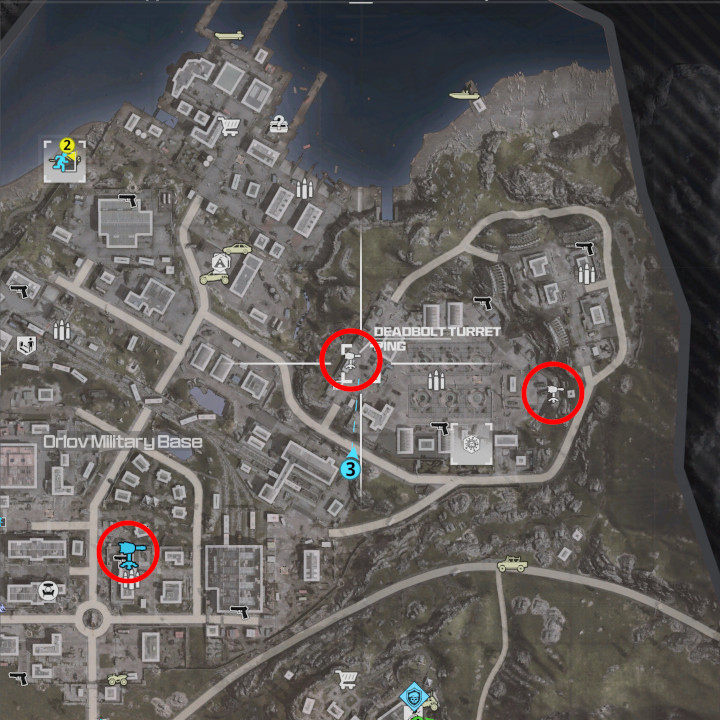
Locating The Turret Spot
First, find a good spot for the turret. Pick a place with a clear view of enemy paths. Avoid open areas where enemies can spot you easily. Corners or behind cover work best.
Choose high ground if possible. It gives your turret a better range. Make sure the spot is safe from enemy fire.
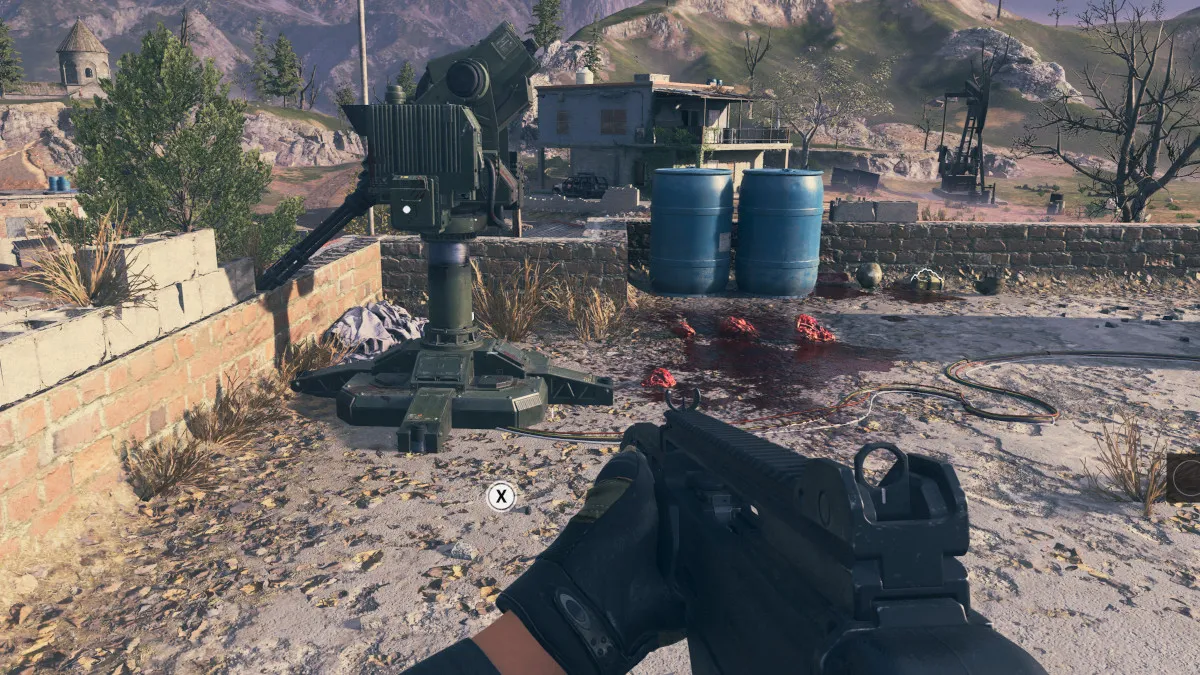
Placing The Turret
Next, place the turret on the chosen spot. Use your controller or mouse to aim the spot. Confirm the placement by pressing the action button. The turret will set up automatically.
Double-check the area around the turret. Clear any obstacles that block its view. This helps the turret target enemies faster.
Powering Up
Finally, power up the turret to activate it. Some versions need you to press a button to start. Others turn on automatically after placement. Listen for a sound or look for a light to confirm power.
Keep an eye on your turret’s status during the game. Repair it if enemies damage it. A powered turret can protect your team effectively.
Tips For Effective Use
Using the Deadbolt Turret effectively can turn the tide of battle in MW3. Knowing how to place, time, and hide the turret helps you get the most out of it. These tips improve your defense and surprise opponents.
Best Positions
Place the turret in narrow paths or near objectives. Corners and doorways work well. Avoid open areas where enemies can see it easily. Set it where it covers high-traffic zones. This forces enemies to face it or change routes.
Timing Your Activation
Activate the turret just before enemies arrive. Waiting too long lets foes get close. Early activation wastes time and reveals your spot. Watch enemy movement and predict their path. Use the turret to block or delay attacks.
Cover And Concealment
Hide the turret behind objects or walls. Use shadows and corners to keep it unseen. Turrets visible from a distance get destroyed fast. Blend it with the environment for surprise attacks. Protect it with teammates or traps for extra safety.
Common Challenges
Activating the Deadbolt Turret in MW3 presents several challenges players must overcome. These challenges can affect your success and survival in the game. Understanding these obstacles helps you plan better and use the turret effectively.
Enemy Countermeasures
Enemies use different tactics to stop your turret. They may throw grenades or use EMP to disable it quickly. Snipers often target the turret from far away. Watch for enemy movements and protect your turret with teammates. Keep moving the turret to avoid easy destruction.
Avoiding Detection
The turret makes noise and shows on enemy radar. It can attract unwanted attention fast. Place the turret in hidden spots or behind cover. Use it near choke points where enemies gather. Stay alert to enemy approaches and reposition as needed.
Dealing With Turret Malfunctions
Turrets may jam or stop working during fights. This leaves you vulnerable to attacks. Check turret status often and repair it quickly. Carry extra equipment to fix or replace the turret. Always have a backup plan in case the turret fails.

Credit: www.youtube.com
Advanced Tactics
Advanced tactics help you use the Deadbolt Turret in smarter ways. They increase your control of the battlefield. These tactics make your turret more effective and surprise your enemies.
Using the turret alone can limit its power. Teamwork and clever positioning boost its impact. Let’s explore key tactics to improve your gameplay.
Combining With Team Strategies
Coordinate with your team to cover more ground. Place the turret where teammates defend or attack. Use it to watch your team’s blind spots. This reduces enemy chances to sneak past.
Share turret info with your team. Tell them where it spots enemies. This helps your team react faster and plan attacks.
Using Turret For Area Control
Set the turret in key areas to block enemy paths. It stops or slows enemy movement. Choose spots with narrow entrances or choke points. The turret forces enemies to change routes or face damage.
Keep the turret active in high-traffic zones. It acts as a warning system and defense. This gives your team more time to respond.
Surprise Attacks
Place the turret in unexpected spots. Hide it behind objects or corners. Enemies won’t see it until it fires. This catches them off guard and causes panic.
Combine surprise turret shots with your attack. Shoot together to overwhelm enemies. This tactic breaks enemy defense quickly and gives your team an advantage.
Credit: attackofthefanboy.com
Frequently Asked Questions
How Do I Activate The Deadbolt Turret In Mw3?
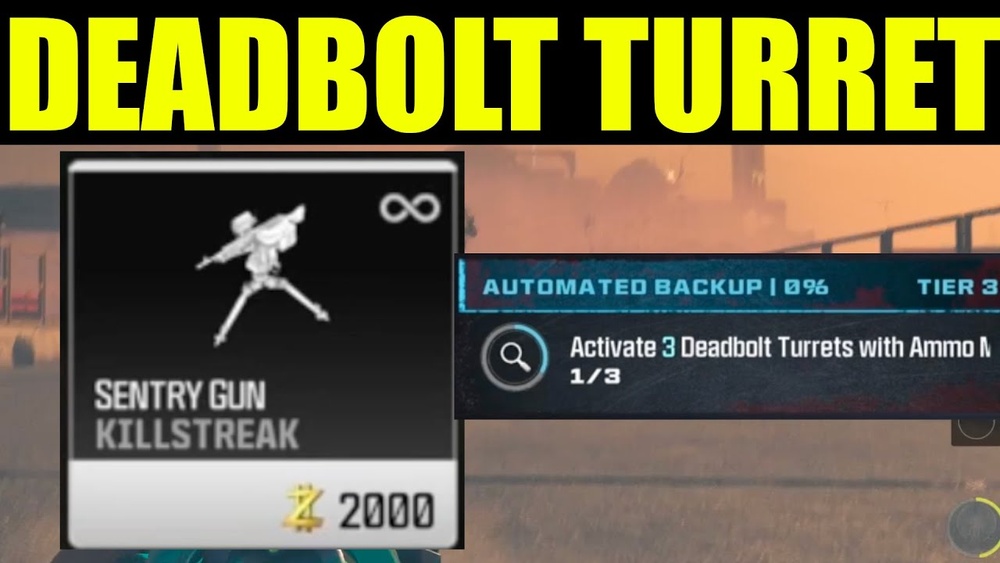
To activate the Deadbolt turret in MW3, select it from your killstreak rewards. Deploy it by placing it on a flat surface. The turret will automatically target enemies within its range for effective defense.
What Killstreak Is Needed For Deadbolt Turret Activation?
You need to earn the Deadbolt killstreak reward, which requires a 5-kill streak. Once earned, you can deploy the turret to gain an advantage in combat.
Can I Control The Deadbolt Turret Manually?
No, the Deadbolt turret is automated. It detects and shoots enemies on its own, allowing you to focus on other tasks during gameplay.
Where Should I Place The Deadbolt Turret For Best Use?
Place the turret in high-traffic or strategic choke points. This maximizes enemy detection and increases its effectiveness during battles.
Conclusion
Activating the Deadbolt Turret in MW3 is simple and quick. Follow the steps carefully to avoid mistakes. Practice helps you get better and faster at activation. Use the turret wisely to protect your position in the game. Remember, patience and timing make a big difference.
Keep trying, and soon it will feel natural. Enjoy your improved gameplay with the Deadbolt Turret ready to assist.