Have you ever pulled off an adhesive hook and been left staring at a damaged wall? It’s frustrating to see your beautiful paint or wallpaper peel away just because you wanted to hang something easily.
But don’t worry—you don’t have to live with those ugly marks or spend a fortune on repairs. You’ll discover simple, effective steps to fix your wall quickly and restore it to its original look. Keep reading, and you’ll learn how to turn that damage into a smooth, clean surface you’ll be proud of.

Credit: www.reddit.com
Identify Wall Damage
Before fixing damage from removing adhesive hooks, identify the problem clearly. Knowing the type and severity of damage helps choose the right repair method. Walls can look fine at first but hide small cracks or paint loss. Take your time to inspect the area carefully. This step prevents further damage and saves repair time.
Types Of Damage From Adhesive Hooks
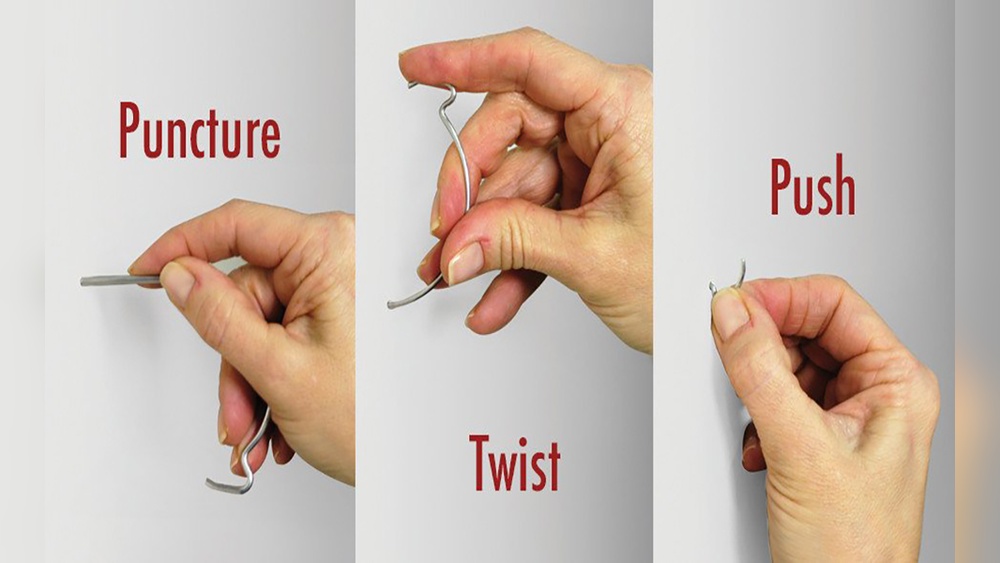
Adhesive hooks can cause different types of wall damage. Paint may peel off in small or large patches. Sometimes, the wall surface gets scratched or gouged. In worse cases, chunks of drywall or plaster can come off. Sticky residue often remains and can be hard to remove. Each type needs a different repair approach.
Assessing The Severity
Check how deep and wide the damage is. Light damage means only paint or surface material is affected. Moderate damage involves scratches or small holes. Severe damage includes large holes or broken drywall. Use your fingers or a soft tool to feel the wall. This helps find hidden cracks or weak spots. Accurate assessment guides you to fix the wall properly.

Credit: www.reddit.com
Gather Repair Materials
Before fixing the damage left by adhesive hooks, gather all repair materials. Having everything ready saves time and makes the repair smooth. It helps to avoid multiple trips to the store. Focus on tools and products that fit the wall type and damage level.
Essential Tools
Start with basic tools for wall repair. A putty knife helps spread filler evenly. Sandpaper smooths the surface after filling holes. A utility knife removes loose paint or damaged drywall. A sponge and bucket with water clean the area before repair. A paintbrush or roller is useful for repainting the wall.
Recommended Repair Products
Choose wall filler or spackle for small holes and cracks. For bigger holes, use drywall patch kits. Primer seals the repaired spot and improves paint adhesion. Select paint that matches the wall color. Use gentle adhesive removers if sticky residue remains. These products ensure the wall looks like new after repair.
Prepare The Damaged Area
Preparing the damaged area is the first step to fixing walls hurt by adhesive hooks. This step helps make the repair smooth and lasts longer. Take time to prepare the surface well. This makes filling and painting easier and cleaner.
Cleaning Residue And Debris
Remove all glue residue and dirt from the wall. Use warm water and mild soap on a cloth. Rub the area gently to clear sticky spots. Avoid harsh chemicals that may damage paint or drywall. Let the wall dry completely before the next step.
Sanding Rough Surfaces
Check the wall for bumps or rough patches. Use fine-grit sandpaper to smooth these spots. Sand lightly to avoid making holes. Wipe off dust with a dry cloth. A smooth surface helps the repair material stick better.
Apply Wall Filler
Applying wall filler is a key step to fix damage left by adhesive hooks. It fills holes and smooths the wall surface. This step prepares the wall for painting or wallpapering, making the repair invisible. Choosing the right filler and applying it correctly ensures a strong, clean finish.
Choosing The Right Filler
Select a filler suitable for your wall type. For small holes, use a lightweight filler. It dries quickly and sands easily. For larger holes or deeper damage, opt for a stronger filler. Some fillers work better on drywall, others on plaster. Check the label for wall compatibility. Avoid fillers that shrink too much after drying.
Techniques For Smooth Application
Start with a clean, dry surface. Use a putty knife to apply the filler. Press firmly to fill all gaps and holes. Spread the filler evenly beyond the damaged area. Remove excess filler with the knife edge. Let the filler dry completely before sanding. Sand gently with fine-grit paper for a smooth finish. Wipe off dust before painting or decorating.
Sand And Smooth The Surface
After removing an adhesive hook, the wall may have rough patches or leftover glue. Sanding and smoothing the surface helps fix these imperfections. This step prepares the wall for painting or repainting. A smooth surface makes the repair less visible and the finish look clean.
Best Sandpaper Grits
Start with medium grit sandpaper, around 120 to 150. It removes glue and smooths rough spots well. Avoid using very coarse sandpaper that can damage the wall further. After the rough sanding, switch to fine grit sandpaper, about 220 grit. Fine grit helps create a soft, even surface. Use light pressure and sand in small circles.
Creating An Even Finish
Check the wall by touch and sight as you sand. Keep sanding until the surface feels flat and smooth. Avoid sanding too much in one spot to prevent dips. Wipe the area with a damp cloth to remove dust. Let it dry before painting or applying primer. A well-prepared surface ensures paint sticks better and looks nice.
Prime And Paint
After fixing the damaged wall from adhesive hook removal, priming and painting are important. These steps help the wall look smooth and new again. Primer prepares the surface and stops stains from showing. Paint adds color and protects the wall.
Selecting Primer Types
Choose a primer that fits your wall damage. For small holes or scratches, a general-purpose primer works well. For walls with stains or dark marks, use a stain-blocking primer. Some primers dry fast and make painting easier. Check the label to find the best match for your wall.
Matching Wall Paint
Pick paint that matches your existing wall color. Take a small paint chip or photo to the store. Many stores offer color matching services for accuracy. Use the same finish as your current wall paint. This keeps the wall looking even and clean after repair.
Prevent Future Damage
Preventing future damage to walls from adhesive hooks is important. Proper care helps keep walls smooth and clean. Using the right methods can save time and money on repairs. Small steps make a big difference in protecting your walls.
Alternative Hanging Solutions
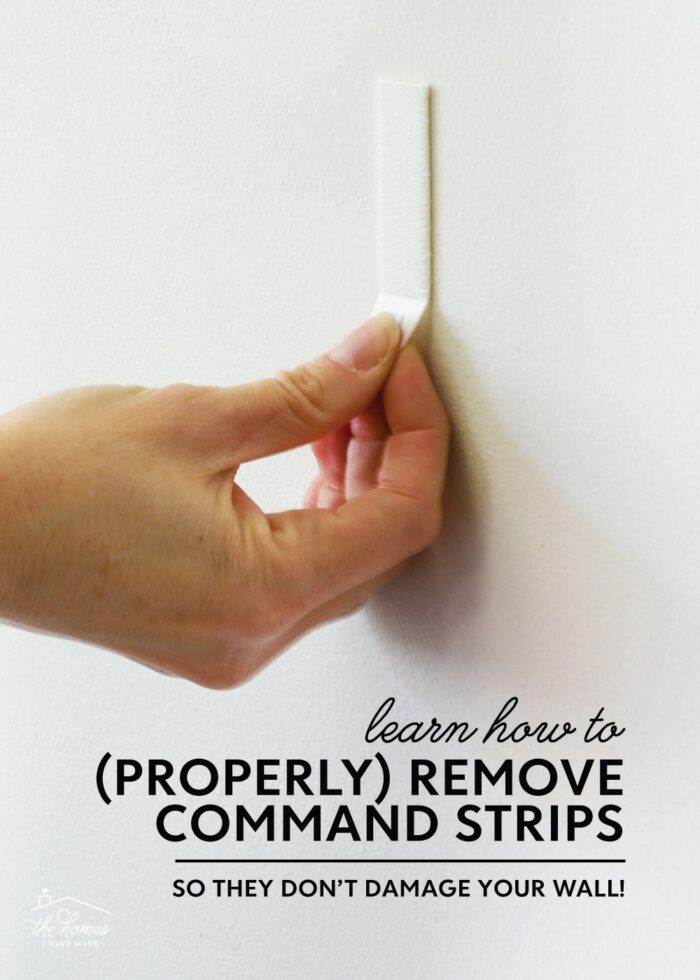
Try using nails or screws for heavier items. Picture rails work well and avoid direct wall contact. Command strips with lower weight ratings reduce wall damage. Use wall-safe putty for lightweight decorations. Choose hooks designed for your wall type. These options keep walls intact and hold items securely.
Safe Removal Tips
Always follow the hook maker’s removal instructions. Slowly peel the adhesive strip down, not outward. Use a hairdryer to warm the adhesive for easier removal. Avoid pulling hooks too fast to stop paint peeling. Clean any leftover residue gently with soap and water. These steps help keep walls safe and smooth.
Credit: thehomesihavemade.com
Frequently Asked Questions
How Do I Remove Adhesive Hook Residue Safely?
To remove adhesive hook residue safely, use warm soapy water or rubbing alcohol. Gently rub the area with a soft cloth. Avoid harsh scrubbing to prevent wall damage.
What Materials Repair Wall Damage From Hook Removal?
Use spackling paste or wall filler to repair small holes. For larger damage, apply joint compound and sand smooth. Finish with primer and paint matching the wall color.
Can I Prevent Wall Damage When Removing Adhesive Hooks?
Yes, warm the adhesive gently with a hairdryer before peeling it off. Pull the hook slowly at a 45-degree angle to minimize wall damage.
How Long Does Wall Repair Take After Hook Removal?
Wall repair usually takes a few hours. Drying times for filler or compound vary but typically take 1-2 hours. Paint may require additional drying time.
Conclusion
Fixing wall damage from adhesive hooks is simple and quick. Start by cleaning the area and removing any leftover glue. Use putty or filler to cover holes or tears. Sand the surface smooth once dry. Finally, paint over the repaired spot to match your wall.
Small steps make a big difference. Your wall looks fresh and neat again. No need to worry about damage or marks. Anyone can do this with a little care and patience. Try these tips and enjoy a flawless wall finish.