Are you struggling to remove your Omnia deadbolt but don’t know where to start? You’re not alone.
Deadbolts can be tricky, especially if you haven’t done this before. But don’t worry—removing your Omnia deadbolt doesn’t have to be a headache. In this guide, you’ll get simple, step-by-step instructions that anyone can follow. By the end, you’ll have the confidence to take it off safely and quickly.
Ready to make your door work the way you want? Let’s dive in.
Tools Needed
Removing an Omnia deadbolt needs the right tools. Having these tools ready makes the job easier and faster.
Each tool has a special role in the removal process. Using the correct tools helps avoid damage to the door or lock.
Phillips Screwdriver
A Phillips screwdriver is essential for removing screws. Most deadbolts use Phillips head screws. This tool helps to loosen and take out those screws easily.
Flathead Screwdriver
A flathead screwdriver helps to pry off covers or plates. It fits into small gaps and lifts parts gently. This tool is useful for removing trim around the deadbolt.
Allen Wrench
Some Omnia deadbolts use Allen screws. An Allen wrench fits these screws perfectly. Keep a set of different sizes for the best fit.
Pliers
Pliers help to grip and turn parts that are hard to move. They assist in pulling out the cylinder or other tight pieces. Use them carefully to avoid damage.
Drill (optional)
A drill may be needed if screws are stuck or stripped. Use it with a screwdriver bit to save time. Handle the drill with care to protect the door.
Locate The Deadbolt
Locating the deadbolt is the first step to removing an Omnia deadbolt. Knowing exactly where the deadbolt sits helps you work faster and avoid damage. The deadbolt is usually on the door edge, near the lock handle or knob.
Check the door carefully. The deadbolt is a metal piece that slides into the door frame to lock the door. It is different from the latch, which is part of the door handle. The deadbolt is stronger and deeper inside the door.
Find The Door Edge
Look at the side of the door that closes against the frame. The deadbolt will be visible as a rectangular metal piece. It often has screws around it. This part moves when you turn the key or thumb turn.
Identify The Faceplate
The faceplate is the metal cover on the door edge. It holds the deadbolt in place. Usually, it is secured with screws. Removing these screws allows access to the deadbolt mechanism.
Check The Inside And Outside
The deadbolt has two parts: one on the inside and one on the outside. The inside has a thumb turn or knob. The outside has the keyhole. Both parts work together to lock or unlock the door.
Look For Screws And Fasteners
Screws hold the deadbolt to the door. They are usually near the faceplate or on the inside of the door. Use a screwdriver to remove these screws before pulling out the deadbolt.
Remove Interior Plate
Removing the interior plate is the first step in taking off an Omnia deadbolt. This plate holds the lock components inside the door. Taking it off carefully protects the door and lock parts. Follow clear steps to remove it safely.
Keep tools ready and work slowly. Avoid forcing parts to stop damage. This part of the process sets the stage for removing the whole deadbolt.
Locate The Screws Holding The Interior Plate
Find the screws on the inside face of the door. Usually, two screws keep the plate fixed. These screws may be visible or hidden under a small cover. Use a flat tool to lift any covers gently.
Use A Screwdriver To Remove The Screws
Select a screwdriver that fits the screws well. Turn the screws counterclockwise to loosen them. Keep the screws safe for reassembly. Avoid stripping the screw heads by applying steady pressure.
Carefully Pull The Interior Plate Away
After screws come out, grip the plate firmly. Pull it straight away from the door surface. If it resists, check for missed screws or clips. Work slowly to avoid bending or cracking the plate.
Set The Interior Plate Aside Safely
Place the removed plate on a clean surface. Keep it with the screws to avoid losing parts. Inspect the plate for damage before moving on. Clean the area around the lock if needed.

Credit: www.reddit.com
Unscrew The Deadbolt
Removing the Omnia deadbolt starts with unscrewing the lock from the door. This step is simple but important. You need to take your time and work carefully to avoid damaging the door or the lock.
Unscrewing the deadbolt lets you separate the lock from the door. This makes it easier to remove the entire deadbolt assembly. Make sure you have the right tools before you begin.
Gather The Right Tools
Use a screwdriver that fits the screws well. Most Omnia deadbolts use a Phillips head screwdriver. Having the correct tool helps you avoid stripping the screws.
Locate The Screws On The Interior Side
Look at the inside part of the deadbolt. You will see two screws holding the lock in place. These screws are usually near the handle or knob.
Unscrew The Deadbolt Carefully
Turn the screwdriver counterclockwise to loosen the screws. Keep the screws safe after removal. Avoid forcing the screws out to prevent damage.
Separate The Lock Components
Once the screws are out, gently pull the lock apart. The interior and exterior parts should come off easily. If stuck, check for any hidden screws.
Extract The Deadbolt Mechanism
Checking for additional components is a key step in removing an Omnia deadbolt. These parts may not be obvious at first glance. Missing them can make removal harder or cause damage.
Take your time to inspect the deadbolt carefully. Look beyond the main screws and plates. Extra pieces might hold the lock firmly in place.
Look For Hidden Screws
Some Omnia deadbolts have screws hidden under covers or trim pieces. Gently pry off any decorative plates. Use a flashlight to find small screws that secure the lock.
Identify Mounting Brackets
Mounting brackets can be behind the lock or inside the door. They keep the deadbolt stable. Check both sides of the door for these parts before trying to pull the lock out.
Check For Security Pins
Security pins add extra protection to the deadbolt. They can be tiny and hard to see. Use a small tool to feel around the edges for these pins.
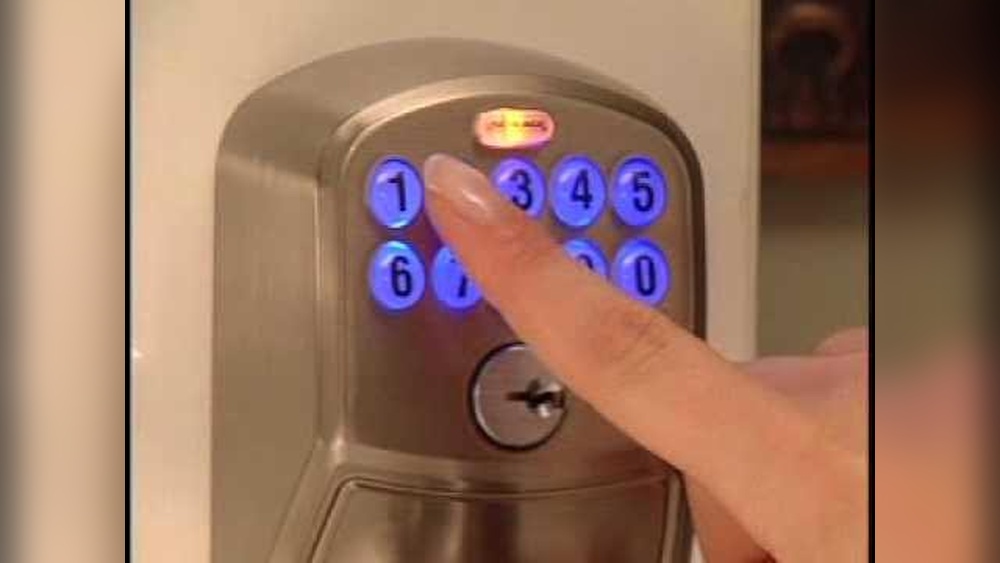
Inspect For Electronic Components
Some Omnia deadbolts include electronic parts. Batteries or wires may connect to the lock. Disconnect power sources carefully to avoid damage.

Credit: omniaindustries.com
Check For Additional Components
Look closely for extra parts like screws or plates that hold the deadbolt in place. Removing these pieces helps take off the lock smoothly. Double-check all sides to spot hidden components before starting.
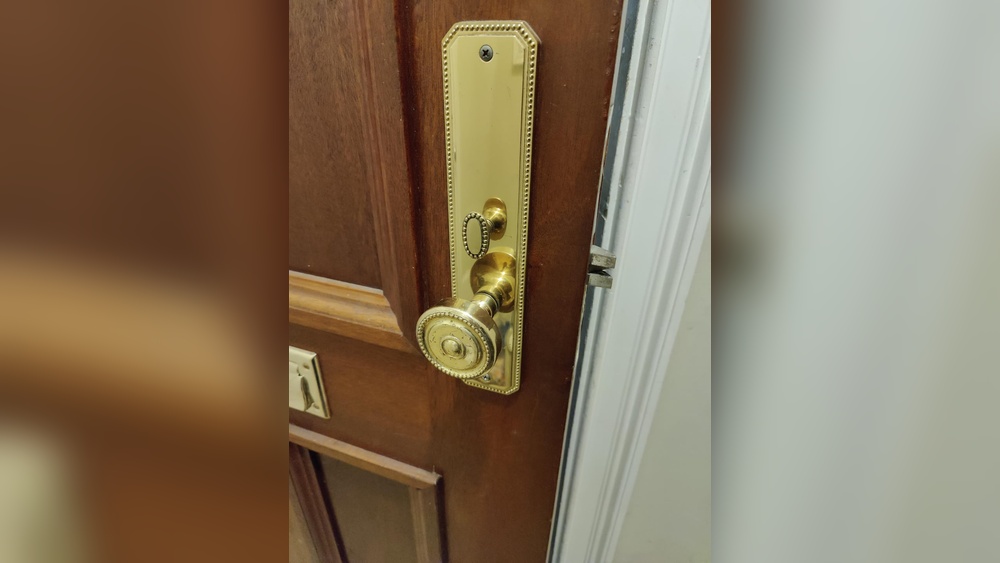
Understanding Door Movement After Removal
After removing the Omnia deadbolt, check how the door moves. Open and close it slowly. The door should swing smoothly without sticking or resistance. Listen for any unusual sounds like scraping or grinding. These noises might mean something inside the door needs fixing.
Check The Lock Mechanism
Test the door’s lock area to see if it works properly. Try turning the latch or knob where the deadbolt was. The latch should move freely and lock securely if it has a lock. If it feels stuck or loose, you may need to adjust or replace parts.
Inspect The Door Alignment
Look at the door’s alignment with the frame. The door should fit evenly in the frame without gaps. Check the strike plate area where the deadbolt used to catch. Make sure the strike plate lines up with the latch properly. Misalignment can cause the door not to close well.
Test Door Security
Push and pull the door gently to test its security. It should stay closed firmly without wobbling. A door that moves too much might not secure your home properly. Tighten screws or adjust hinges if the door feels loose.

Credit: www.reddit.com
Frequently Asked Questions
How Do I Remove An Omnia Deadbolt Lock?
To remove an Omnia deadbolt, first unscrew the interior mounting screws. Then, gently pull off both the interior and exterior lock components. Finally, remove the latch mechanism from the door edge by unscrewing it.
What Tools Are Needed To Remove Omnia Deadbolt?
You need a Phillips screwdriver and possibly a flathead screwdriver. These tools help remove screws securing the deadbolt and latch. Having a small pry tool may assist with gently detaching lock parts.
Can I Remove Omnia Deadbolt Without Damaging The Door?
Yes, by carefully unscrewing all mounting screws and gently pulling lock parts off, you avoid damage. Avoid forcing components or using excessive pressure to keep the door surface intact.
How Long Does It Take To Remove An Omnia Deadbolt?
Removing an Omnia deadbolt typically takes 10 to 20 minutes. Time varies depending on your experience and available tools. Following proper steps ensures a quick and smooth removal process.
Conclusion
Removing an Omnia deadbolt can be simple with clear steps. Take your time and follow each step carefully. Use the right tools to avoid damage. Keep track of all screws and parts you remove. If the lock feels stuck, try gentle wiggling before forcing.
Safety first—wear gloves and eye protection. After removal, check the door for any needed repairs. This guide helps make the process smooth and easy. You can handle this task with patience and care.