Have you ever tried to remove an anchor from your wall, only to end up with a bigger mess? Getting anchors out and fixing the holes doesn’t have to be tricky or messy.
Whether you’re updating your décor or fixing a rental space before moving out, knowing the right steps can save you time and frustration. In this guide, you’ll learn simple, effective methods to pull anchors out cleanly and patch your walls so they look good as new.
Keep reading—you’ll find easy tips that anyone can follow, even if you’ve never done this before.
Credit: theturquoisehome.com
Removing Plastic Anchors
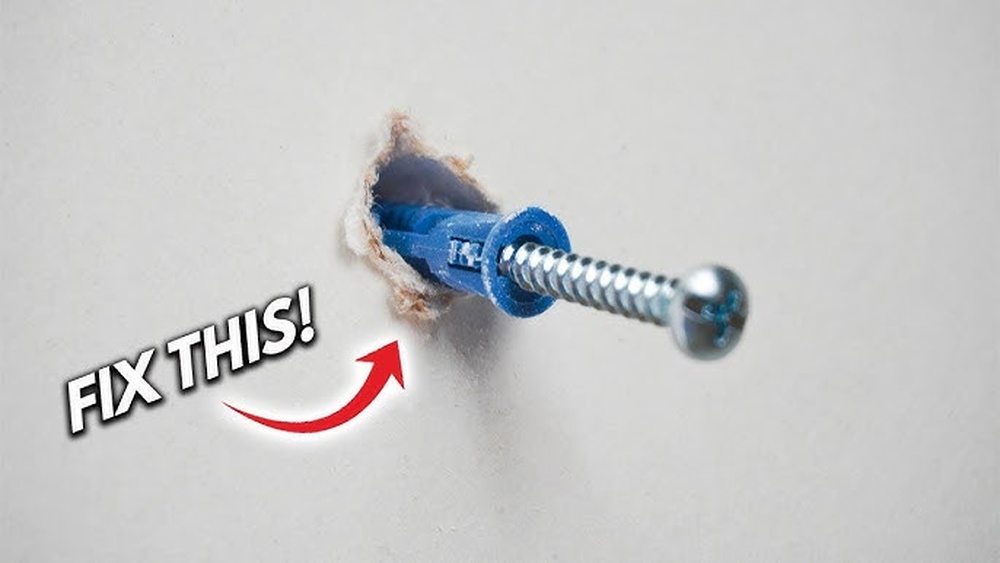
Removing plastic anchors from walls can be tricky but is doable with the right method. These anchors hold screws firmly in drywall or plaster. They leave holes that need patching after removal. Knowing how to take them out carefully helps avoid wall damage.
Tools You’ll Need
- Flathead screwdriver
- Needle-nose pliers
- Utility knife
- Hammer
- Spackle or wall filler
- Putty knife
- Sandpaper
Step-by-step Removal Process
- Use a flathead screwdriver to pry around the anchor edge gently.
- Try pulling the anchor out with needle-nose pliers carefully.
- If the anchor moves, pull it straight out slowly.
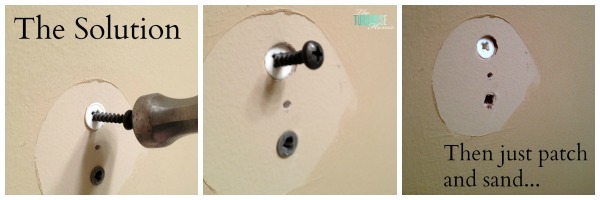
- If it won’t budge, push it into the wall cavity using a hammer and screwdriver.
- Clean the hole by cutting any rough edges with a utility knife.
- Fill the hole with spackle using a putty knife and let it dry.
- Sand the patched area smooth for painting.
Handling Stubborn Anchors
Sometimes anchors stick tight and resist removal. Pushing them inside the wall cavity avoids extra damage. This method leaves a small hole to patch but keeps the wall intact. Use a hammer and screwdriver for gentle taps. Avoid forcing anchors out to prevent wall cracks.
Taking Out Metal Anchors
Removing metal anchors from walls requires care and the right approach. Metal anchors are strong and hold tightly. This makes them harder to remove than plastic anchors. Knowing the right steps helps avoid wall damage and saves time.
Differences From Plastic Anchors
Metal anchors are made of steel or other metals. They expand inside the wall for a firm grip. Plastic anchors are softer and easier to pull out. Metal anchors do not bend or break easily. This makes removal a bit tricky. Metal anchors often need tools to remove safely.
Safe Removal Techniques
Start by unscrewing any attached screw. Use pliers to grip the metal anchor’s edge. Pull gently but firmly. If it does not move, try twisting it slowly. Avoid using too much force to stop wall damage. A drill with a small bit can help loosen stuck anchors. Work carefully and patiently.
Preventing Wall Damage
Remove anchors slowly to avoid large holes. Push the anchor back into the wall if pulling fails. Fill small holes with spackle or wall filler. Sand the area smooth after drying. Use paint to match the wall color. These steps keep your wall looking clean and neat.
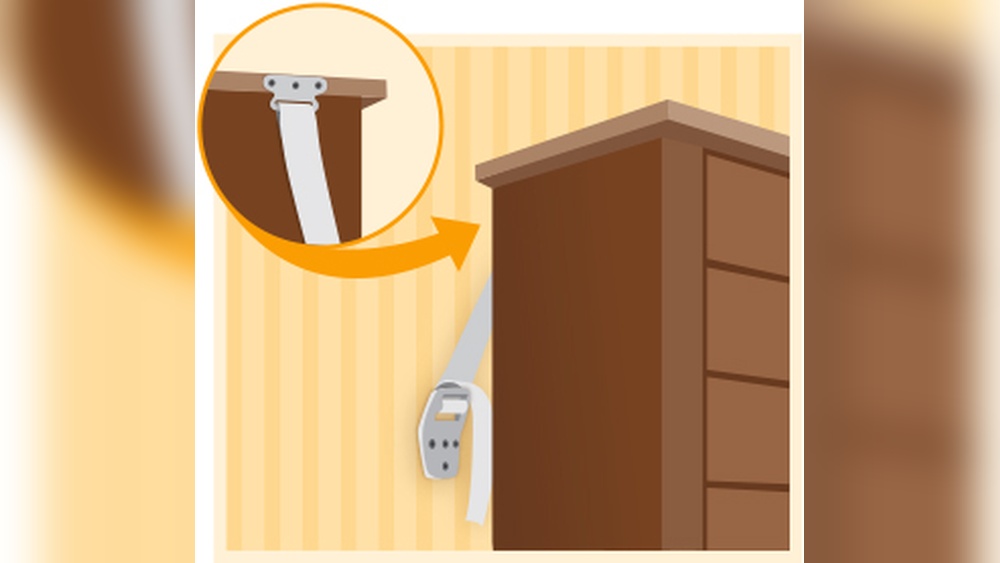
Dealing With Toggle Bolts
Toggle bolts are strong anchors used to hang heavy items on drywall. Removing them can be tricky because of their design. This section explains how to identify toggle bolts, remove them carefully, and handle tough cases.
Identifying Toggle Bolts
Toggle bolts have a spring-loaded wing that opens behind the wall. The wings spread out to hold the bolt tightly in place. You often find them in hollow walls where normal screws won’t hold. The bolt head is usually flat or Phillips shaped. The wings are metal and fold inward when inserted.
Removing Toggle Bolts Without Damage
Start by unscrewing the bolt head counterclockwise. Keep turning until the bolt slips inside the wall. The wings will stay behind the drywall and cannot come out. To avoid damage, do not pull the bolt out by force. Use a drill or screwdriver to remove the bolt cleanly. After removal, patch the hole with spackle or wall filler.
Tips For Difficult Cases
If the bolt is stuck or the wings block removal, try pushing the wings deeper inside. Use needle-nose pliers for better grip on the bolt head. Drilling around the hole can help loosen the wings. For large holes, use a drywall patch kit for repair. Patience is key to avoid wall damage during removal.

Credit: www.youtube.com
Patching Small Holes
Small holes left by anchors in the wall can look messy. Fixing them quickly helps keep walls clean and smooth. Patching these holes is simple and does not need special tools. A few steps will make your wall look like new again.
Choosing The Right Filler
Select a filler suitable for small wall holes. Spackle and lightweight putty work best. They dry fast and are easy to apply. Avoid heavy fillers that take longer to set. Check the label for quick-dry options. This saves time and effort during repair.
Applying Spackle Or Putty
Use a putty knife or a small scraper for the job. Scoop a small amount of filler. Press it into the hole firmly. Spread it evenly over the hole’s surface. Smooth out the edges to blend with the wall. Let it dry completely before moving to next steps.
Sanding And Smoothing
After the filler dries, sand the area gently. Use fine-grit sandpaper for a smooth finish. Sand until the patch matches the wall surface. Wipe away dust with a dry cloth. Now the wall is ready for painting or decorating.
Fixing Larger Holes
Fixing larger holes in the wall takes more effort than small nail holes. These holes need strong support and careful patching. A proper repair keeps your wall smooth and ready for paint. You can restore the wall’s look with a few simple steps.
Using Wall Repair Patches
Start with a wall repair patch. These patches cover big holes quickly. Choose a patch that fits the hole size. Peel off the backing and stick it over the hole. Press the patch firmly so it stays in place. The patch gives a solid base for the next steps.
Mixing And Applying Joint Compound
Mix joint compound until smooth and creamy. Use a putty knife to apply the compound over the patch. Spread it evenly beyond the patch edges. Feather the compound out to blend with the wall. Let it dry fully, then sand it smooth. Add more compound if needed to fill low spots.
Texturing And Painting
Match the wall texture before painting. Use a sponge or brush to create a similar pattern. Let the texture dry completely. Paint over the patch with matching wall paint. Use light coats for a smooth finish. The patch will blend in with the rest of the wall.
Preventing Future Wall Damage
Preventing future wall damage starts with smart choices and careful work. Walls can get damaged from wrong anchors or poor installation. Taking steps to avoid these problems saves time and money. Small efforts keep walls strong and looking good.
Selecting Proper Anchors
Choose anchors based on the wall type. Drywall, plaster, and concrete each need different anchors. Use anchors that fit the weight of the object. Avoid using heavy anchors for light items and vice versa. Proper anchors hold firmly and prevent holes from growing.
Proper Installation Tips
Drill holes the right size for anchors. Do not force anchors into too small holes. Insert anchors gently to avoid cracking the wall. Use a level to keep items straight. Tighten screws slowly to stop walls from breaking around anchors.
Regular Wall Inspection
Check your walls often for signs of damage. Look for cracks, loose anchors, or holes. Fix small problems quickly to stop bigger damage. Clean walls gently to avoid weakening anchors. Regular checks keep walls safe and neat.

Credit: diy.stackexchange.com
Frequently Asked Questions
How Do I Remove A Wall Anchor Safely?
To remove a wall anchor safely, first try pulling it out gently with pliers. If stuck, use a screwdriver to pry it loose. Avoid damaging the wall by working slowly and carefully to minimize holes and cracks.
What Tools Do I Need To Remove Wall Anchors?
You will need pliers, a screwdriver, a putty knife, sandpaper, and wall patching materials. These tools help remove anchors, clean the hole, and prepare the wall for patching effectively.
How Can I Patch Holes After Removing Anchors?
Fill holes with spackling compound or wall filler using a putty knife. Once dry, sand smooth and paint over the patch to match your wall color seamlessly.
Can I Reuse Wall Anchors After Removal?
Generally, wall anchors cannot be reused once removed. They may lose grip or become damaged, reducing their holding strength. It’s best to use new anchors for safety.
Conclusion
Removing anchors from walls and patching holes is simple. Use the right tools and gentle steps. Clean the area well before patching. Apply filler smoothly and let it dry fully. Sand the surface to make it even. Paint over the patch to match the wall.
This keeps your walls neat and ready for new decor. A little care goes a long way in home repair. Try these tips to fix walls quickly and easily.