Have you ever looked at your light switch and thought, “This looks so plain and boring”? You’re not alone.
Light switches are a small part of your walls, but they can stand out in a way you don’t want. The good news is, you don’t have to live with that dull look. Imagine turning that simple switch into a stylish part of your room’s design.
You’ll discover easy and creative ways to decorate around your light switch. These tips will help you add personality and charm without much effort. Keep reading, and you’ll be surprised how a little change can brighten up your whole space.
Credit: www.houzz.com
Choosing The Right Switch Plate
Choosing the right switch plate can change the look of a room. It is a small detail that makes a big difference. The right switch plate fits the style of your space. It protects the switch and adds a decorative touch. Consider materials, finishes, and how the plate matches your room.
Materials And Finishes
Switch plates come in many materials. Plastic is common and easy to clean. Metal options like brass or stainless steel add shine. Wood switch plates bring warmth and texture. Finishes can be matte, glossy, or brushed. Each finish gives a unique look. Choose a material that suits your room’s style and needs.
Customizable Options
Custom switch plates allow personal touches. You can find plates with patterns, colors, or images. Some companies let you add names or designs. Custom plates make your space feel unique. They can match themes or favorite colors. This option helps create a personalized look around your switches.
Matching Room Decor
Switch plates should blend with the room decor. Match colors with walls or furniture. Use plates that complement the style, like modern or rustic. Avoid plates that clash with the design. A well-matched plate creates harmony in the room. It keeps the focus on the overall decor, not just the switch.

Credit: professionalstaging.com
Incorporating Wall Art
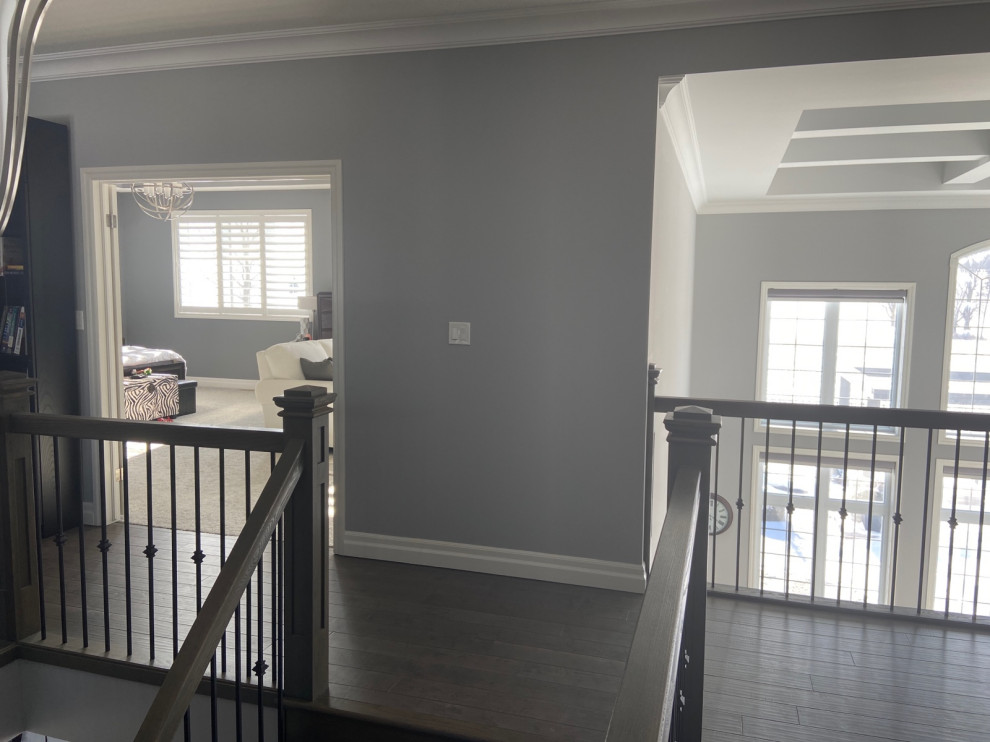
Incorporating wall art around a light switch is a smart way to blend function with style. The light switch does not have to stand out as an eyesore. Instead, it can become part of a creative wall design. Small touches can make a big difference in how the switch fits into the room’s look.
Art can draw attention away from the switch or highlight it in a fun way. Decorating around a switch lets you add personality to your space. It also makes the wall feel more complete and thought-out.
Framing The Switch
One simple idea is to frame the light switch. Use a small picture frame or shadow box. This creates a clear boundary around the switch. Choose a frame style that matches your room’s decor. A rustic wood frame suits a farmhouse look. A sleek metal frame fits modern spaces.
Framing the switch turns it into a tiny art piece. You can even paint the frame in a bright color. It helps the switch blend with or stand out from the wall. This method makes the switch look intentional and neat.
Using Decals And Stickers
Decals and stickers are easy to apply around light switches. They come in many shapes and sizes. You can pick simple patterns or fun images. Flowers, animals, or geometric shapes work well.
Place the decals so the switch is part of the design. For example, a butterfly decal can look like it’s landing near the switch. This adds charm and whimsy. Decals are also easy to remove or change later.
Creating A Themed Display
Build a small themed display around the switch. Use tiny shelves or hooks nearby. Hang small art pieces or decorative objects. Choose a theme like nature, travel, or vintage style.
Themed displays make the switch part of a larger story on the wall. It feels like a thoughtful vignette, not just a random switch. This approach works well in living rooms and bedrooms.
Adding Functional Elements
Adding functional elements around a light switch can improve both style and convenience. It creates useful space and keeps things organized. Small changes make daily tasks easier. Functional decor blends beauty with purpose. This approach fits well in any room.
Small Shelves And Hooks
Small shelves near a light switch hold keys or small items. Hooks are perfect for hanging bags, hats, or scarves. These elements keep clutter off surfaces. They save space in tight areas. Choose shelves and hooks that match your room’s style.
Organizers And Holders
Organizers by the switch hold mail, pens, or notes. Wall-mounted holders keep essentials within reach. They help keep things tidy and visible. Use simple designs to avoid overcrowding. Organizers add order and reduce lost items.
Integrating Lighting Features
Adding extra lighting near the switch enhances visibility. Small LED lights or nightlights work well. They help find the switch in the dark. Lighting features can add style and function. Choose soft light to create a cozy atmosphere.
Using Color And Patterns
Using color and patterns around a light switch can turn a plain wall into a stylish feature. It makes the switch blend in or stand out in a fun way. Small changes with paint or texture can make a big difference. This section explores simple ideas to decorate around the switch using color and patterns.
Painting Around The Switch
Painting around the switch creates a neat frame. Use a different color than the wall. This draws attention in a subtle way. Try a bold color for a pop or a soft shade for a gentle touch. Use painter’s tape for sharp edges. Make sure the paint dries fully before touching the switch.
Tiling And Textures
Tiling around the switch adds texture and interest. Use small tiles in a pattern that fits your room. Mosaic or subway tiles work well. Textured wallpaper or wall panels also add depth. Keep the area easy to clean. Avoid materials that can peel or trap dust near the switch.
Contrasting Colors
Contrasting colors highlight the switch as a design element. Use dark colors against light walls or vice versa. This creates clear separation and focus. Use the contrast to guide the eye or create a bold statement. Balance the colors with the room’s overall style for a cohesive look.
Creative Diy Ideas
Creative DIY ideas can turn a plain light switch into a charming feature. Small changes can make your space feel unique and warm. These ideas do not require much skill or expensive tools. Anyone can try them and see great results quickly.
Crafting Decorative Frames
Use simple materials like wood or cardboard to make frames around the switch. Paint or cover them with patterned paper for a fresh look. Frames help the switch stand out as a stylish element. Choose colors that match your room’s theme. Glue the frame securely but leave the switch easy to use.
Upcycling Materials
Old buttons, fabric scraps, or broken jewelry can become decorations near the switch. Attach these items around the switch plate for a new, creative look. Upcycling helps reduce waste and saves money. Use glue or double-sided tape to hold pieces in place. This method adds personality without much effort.
Personalized Embellishments
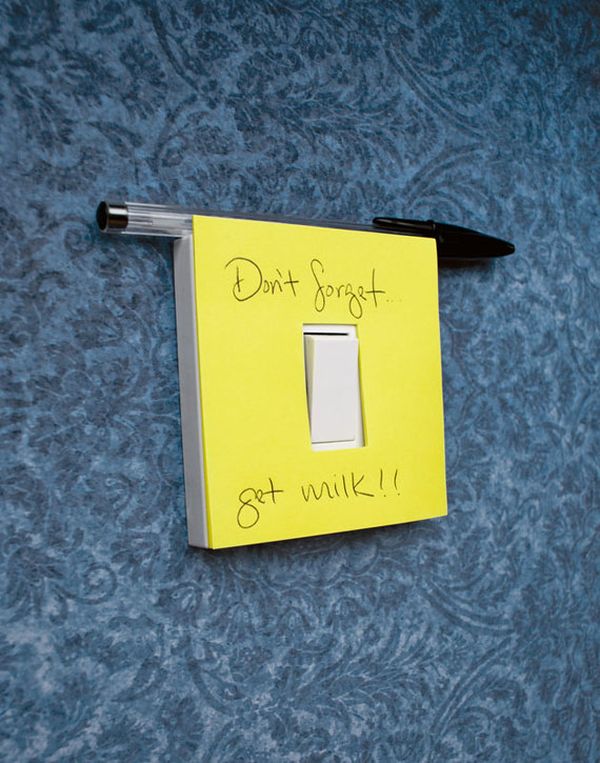
Add stickers, decals, or small drawings around the switch for a personal touch. Write a short word or phrase to inspire or amuse. Use waterproof markers or paint to keep the design long-lasting. Personalized embellishments make the switch feel part of your home story. Change them easily for a fresh look anytime.
Maintaining Accessibility
Decorating around a light switch can add charm to any room. It is important to keep the switch easy to reach and use. Accessibility should never be sacrificed for style. Thoughtful decoration blends beauty with convenience.
Balancing Style And Function
Choose decorations that do not block the switch. Use small frames or decals around the switch plate. Keep the area clear for easy access. Select colors that highlight the switch without distracting. Simple designs often work best here.
Ensuring Safety
Keep flammable items away from the switch. Avoid covering the switch with fabric or paper. Ensure that no cords or wires interfere with the switch. Check that decorations do not cause any electrical hazards. Safety must always be the top priority.
Easy Maintenance Tips
Use materials that are easy to clean around the switch. Avoid sticky or dusty decorations that collect dirt. Regularly wipe the switch plate and surrounding area. Choose washable paints or decals. Easy cleaning keeps the switch looking neat and working well.
Credit: www.homedit.com
Frequently Asked Questions
How Can I Decorate Around A Light Switch Without Damage?
Use removable adhesive decals or washi tape around the switch. Avoid strong adhesives to prevent wall damage. Choose lightweight decor like small frames or vinyl stickers for easy removal and minimal impact.
What Colors Work Best Near Light Switches?
Use contrasting or complementary colors near switches to make them stand out. Light switch plates in neutral tones blend well with most walls. Bright colors can create a focal point and add visual interest.
Can I Use Artwork Around A Light Switch?
Yes, small framed art or prints can enhance the area. Ensure the artwork does not obstruct switch access. Use lightweight frames and secure them properly to avoid accidents.
How To Hide A Light Switch Effectively?
Use decorative switch covers or fabric panels that match your décor. Avoid blocking the switch completely for safety. Creative covers can blend switches into your room’s theme seamlessly.
Conclusion
Decorating around a light switch can brighten any room quickly. Small touches make a big difference in style and feel. Choose frames, colors, or decals that match your space. Keep designs simple to avoid clutter near the switch. Play with shapes and textures to create interest.
Remember, the goal is to blend function and beauty well. Your light switch can become a subtle part of your decor. Try these ideas and watch your room come alive. Simple changes can refresh your space easily.