Are you struggling to secure a ledge in a wall cutout and want a simple, reliable method? Getting the right anchoring technique can make all the difference between a sturdy ledge and one that feels shaky or unsafe.
In this guide, you’ll discover easy steps that anyone can follow to anchor a ledge firmly and confidently. Whether you’re tackling a DIY project or improving your home’s functionality, mastering this skill will save you time and frustration. Keep reading to learn how to make your ledge strong, stable, and built to last.
Choosing The Right Anchor
Choosing the right anchor is key to securing a ledge in a wall cutout. The anchor must hold tight and fit the wall material perfectly. A poor choice can lead to weak support or damage. Understanding the types of anchors, material compatibility, and load capacity helps make the right decision.
Types Of Anchors For Wall Cutouts
Several anchors suit different wall types. Plastic expansion anchors work well in drywall for light loads. Metal anchors, like toggle bolts, offer stronger grip for heavier items. Sleeve anchors fit concrete or brick walls securely. Choose an anchor based on the wall’s texture and strength.
Material Compatibility
Match the anchor to the wall material for best results. Drywall needs anchors that expand behind the surface. Concrete or brick requires anchors that can grip hard surfaces firmly. Using the wrong anchor can cause cracks or loose fitting. Always check the wall type before selecting an anchor.
Load Capacity Considerations
Each anchor has a weight limit. Estimate the ledge’s load including objects it will hold. Use anchors rated above the total weight for safety. Overloading an anchor causes it to fail and can damage the wall. Choose anchors that support more than the expected load.
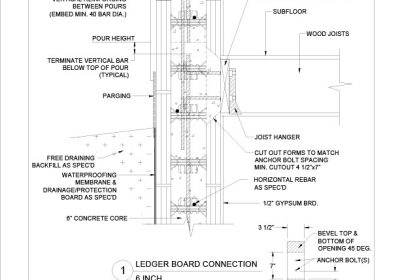
Credit: buildblock.com
Preparing The Wall Cutout
Preparing the wall cutout is a vital step in anchoring a ledge securely. This stage sets the foundation for a strong and stable installation. A well-prepared cutout ensures the ledge fits perfectly and holds firmly over time. Careful preparation reduces the risk of errors and damage.
Measuring And Marking
Begin by measuring the area where the ledge will go. Use a tape measure for accuracy. Mark the cutout outline clearly with a pencil. Double-check your measurements to avoid mistakes. Precise marking helps create a clean, neat cutout.
Cleaning The Surface
Remove dust, dirt, and loose debris from the wall surface. Use a brush or cloth to clean the area thoroughly. A clean surface improves adhesion and stability. This step also prevents problems during the anchoring process.
Ensuring Proper Cutout Dimensions
Verify the cutout size matches the ledge specifications exactly. The cutout should be slightly larger to allow room for adjustments. Avoid making the cutout too big or too small. Correct dimensions ensure the ledge fits snugly without gaps.
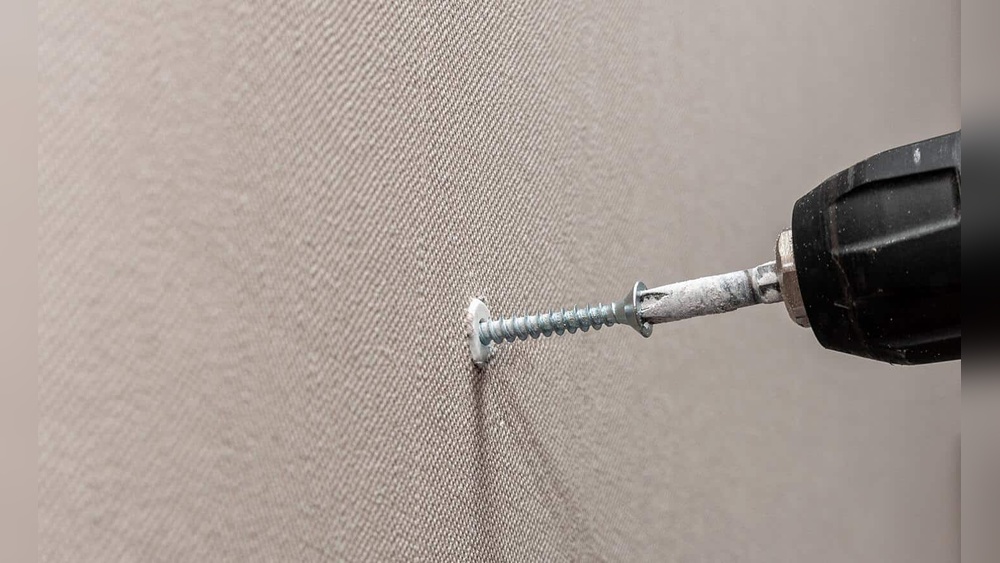
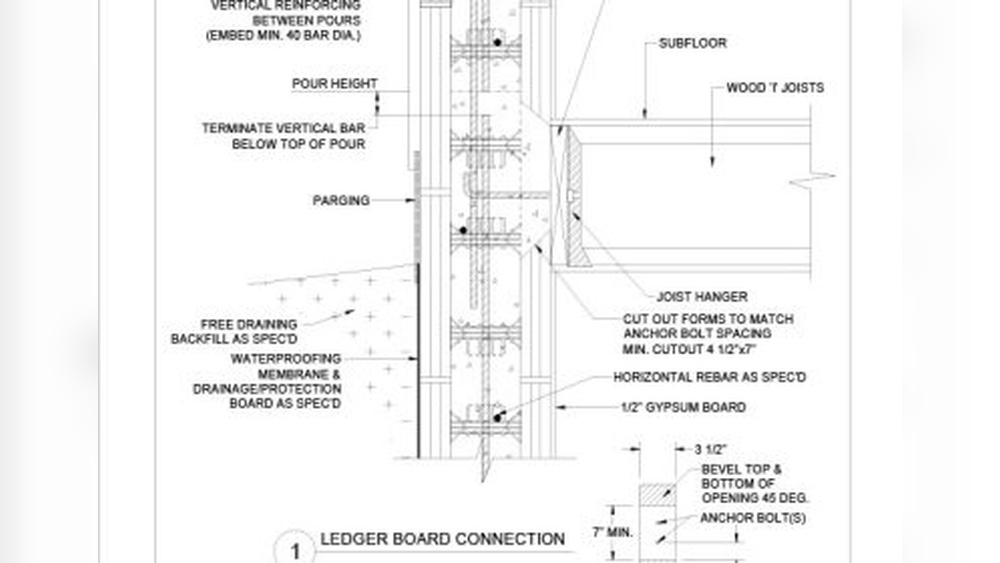
Installing Anchors For Ledge Support
Installing anchors for ledge support is a key step in securing a ledge inside a wall cutout. Proper anchoring ensures the ledge holds weight safely and stays stable over time. This process involves drilling precise holes, placing anchors firmly, and using the right adhesives or fasteners. Each step builds a strong base for the ledge, avoiding future damage or failure.
Drilling Techniques
Start by marking the exact spots for drilling. Use a drill bit that matches the anchor size. Drill straight into the wall to avoid weak spots. Clear out dust and debris from the holes after drilling. Clean holes help anchors fit tightly and hold better.
Inserting Anchors Securely
Push anchors fully into the drilled holes. Tap gently with a hammer if needed for a snug fit. Anchors must sit flush with the wall surface. Loose anchors reduce strength and may cause the ledge to fall. Check each anchor’s stability before moving on.
Using Adhesives And Fasteners
Apply construction adhesive inside the hole for extra grip. Insert anchors while the adhesive is still wet. Use screws or bolts that match anchor type and size. Tighten fasteners firmly but avoid overtightening. Proper fasteners keep the ledge firmly fixed to the wall.
Credit: theshelfshop.com
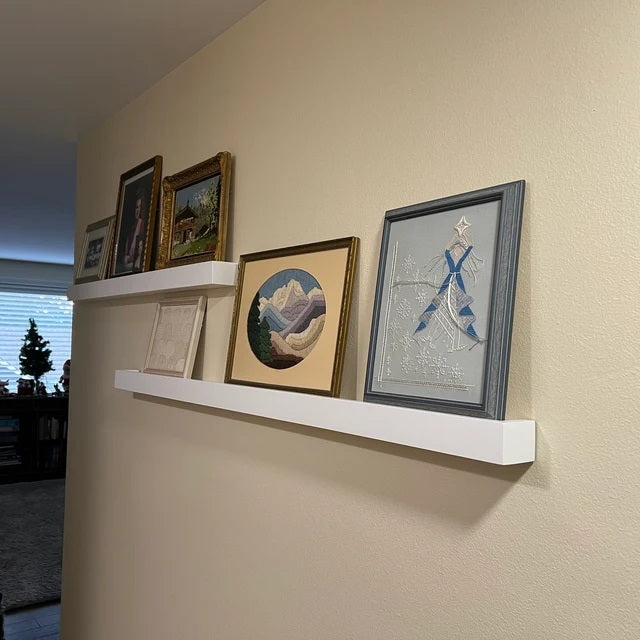
Securing The Ledge
Securing the ledge in a wall cutout is a crucial step. It ensures the ledge stays firmly in place. Properly securing the ledge prevents accidents and damage. Follow clear steps to make sure the ledge is stable and safe.
Aligning The Ledge Correctly
Place the ledge into the wall cutout carefully. Check that it sits flush against the wall edges. Use a level tool to make sure it is straight. Adjust the ledge until it is perfectly aligned. Proper alignment helps the ledge support weight evenly.
Fastening Methods
Use screws or brackets to fasten the ledge securely. Choose fasteners suitable for the wall material. Drill pilot holes to avoid cracking the wall. Insert screws tightly but avoid over-tightening. Brackets add extra support for heavier ledges.
Checking For Stability
Press down gently on the ledge to test its hold. Look for any movement or wobbling. Tighten screws or add more fasteners if needed. A stable ledge will not shift under pressure. Stability ensures safety and long-lasting support.
Common Mistakes To Avoid
Anchoring a ledge in a wall cutout needs care and attention. Many errors can cause weak support or damage. Avoiding common mistakes helps keep your project safe and strong.
Overloading The Ledge
Putting too much weight on the ledge is a frequent error. Every ledge has a limit. Exceeding this limit causes cracks or collapse. Check the weight capacity before placing heavy items.
Incorrect Anchor Placement
Anchors must be placed correctly for strong hold. Placing them too close to edges or too far apart weakens the support. Follow guidelines for proper anchor spacing and depth.
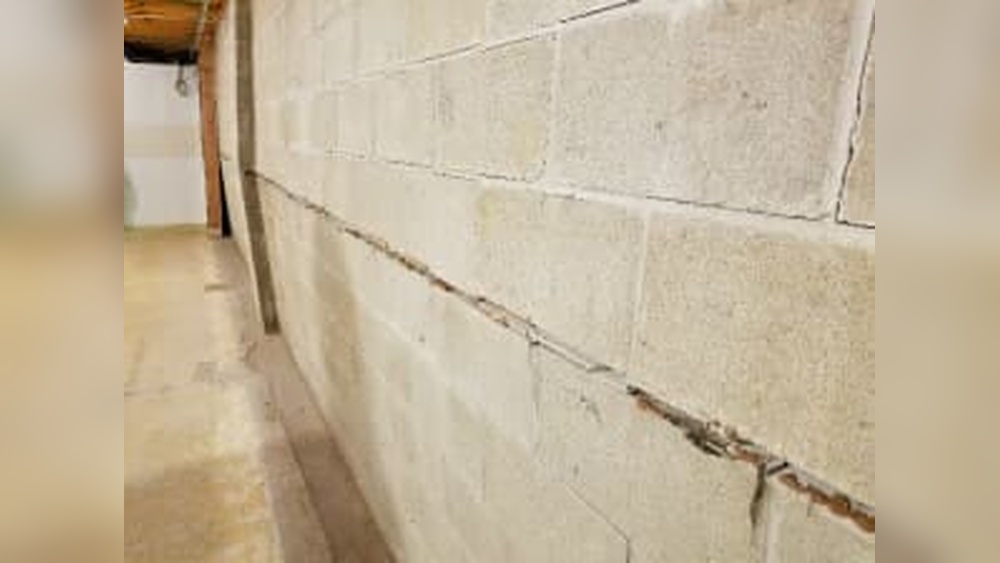
Ignoring Wall Material Limits
Different walls hold anchors differently. Drywall, brick, or concrete all need specific anchors. Using the wrong type or ignoring wall strength leads to failure. Know your wall material before anchoring.
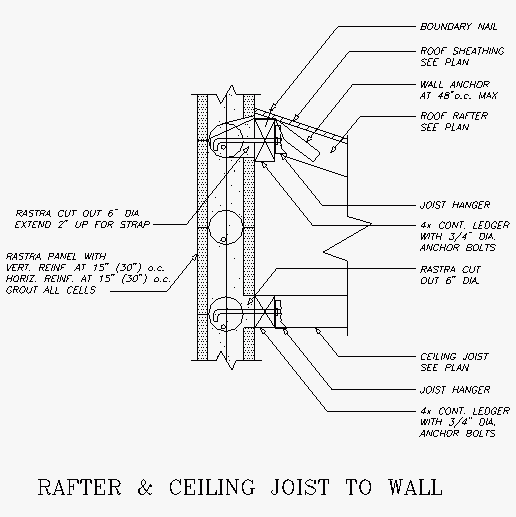
Credit: www.rastra.com
Maintenance Tips For Long-lasting Support
Maintaining the anchor ledge in a wall cutout ensures strong and steady support over time. Regular care prevents damage and keeps the structure safe. Small efforts made often can avoid costly repairs later.
Follow these simple maintenance tips to keep your anchor ledge reliable and durable. Checking and fixing issues early makes a big difference.
Regular Inspection
Check the anchor ledge at least twice a year. Look for cracks, rust, or any signs of damage. Inspect the surrounding wall area too. Early detection helps stop problems before they grow.
Tightening Loose Fasteners
Loose screws or bolts reduce the ledge’s strength. Use a screwdriver or wrench to tighten all fasteners. Do this gently to avoid stripping the threads. Tight fasteners keep the ledge firmly in place.
Dealing With Wear And Tear
Wear and tear is natural over time. Sand down rough or splintered areas to prevent injury. Replace any broken parts immediately. Use rust-resistant paint or sealant to protect metal surfaces. This extends the life of the anchor ledge.
Frequently Asked Questions
What Tools Are Needed To Anchor A Ledge In Wall Cutout?
You need a drill, anchors, screws, a level, and a measuring tape. These tools ensure a secure and precise ledge installation in your wall cutout.
How Do You Choose The Right Anchor For Wall Cutouts?
Select anchors based on wall type and ledge weight. Use toggle bolts for drywall and masonry anchors for concrete or brick walls.
Can I Install A Ledge Without Professional Help?
Yes, with basic tools and careful measurement, DIY installation is possible. Follow instructions and safety tips to secure the ledge properly.
How To Ensure The Ledge Is Level In The Cutout?
Use a spirit level during installation. Check both horizontal and vertical alignment before securing anchors and screws to avoid tilting.
Conclusion
Anchoring a ledge in a wall cutout is simple with the right steps. Use strong anchors to keep the ledge steady and safe. Measure carefully before drilling to avoid mistakes. Tighten screws just enough to hold firm, not damage the wall.
Take your time and check your work often. These tips help you create a secure ledge that lasts. Try it yourself and enjoy the extra space it brings. Small efforts lead to strong results.