Have you ever stared at your wall, wondering how to get rid of those stubborn picture hanging hooks without leaving a mess? Removing hooks can be tricky, especially when you want to keep your walls looking perfect.
If you’re tired of unsightly holes, chipped paint, or damaged drywall, you’re in the right place. This guide will show you simple, effective ways to remove picture hanging hooks safely and quickly. Keep reading to discover easy tips that will save you time and protect your walls—your home deserves it!
Types Of Picture Hooks
Picture hanging hooks come in many shapes and sizes. Knowing the types helps in removing them safely. Different hooks suit different wall types and picture weights. Understanding the materials and designs makes removal easier and less damaging.
Common Hook Designs
Picture hooks often have a simple metal design. The most common are angled hooks, which have one or two prongs. Some hooks use adhesive strips instead of nails. There are also wire hooks that hang on a nail or screw. Each design holds pictures differently on walls.
Materials Used
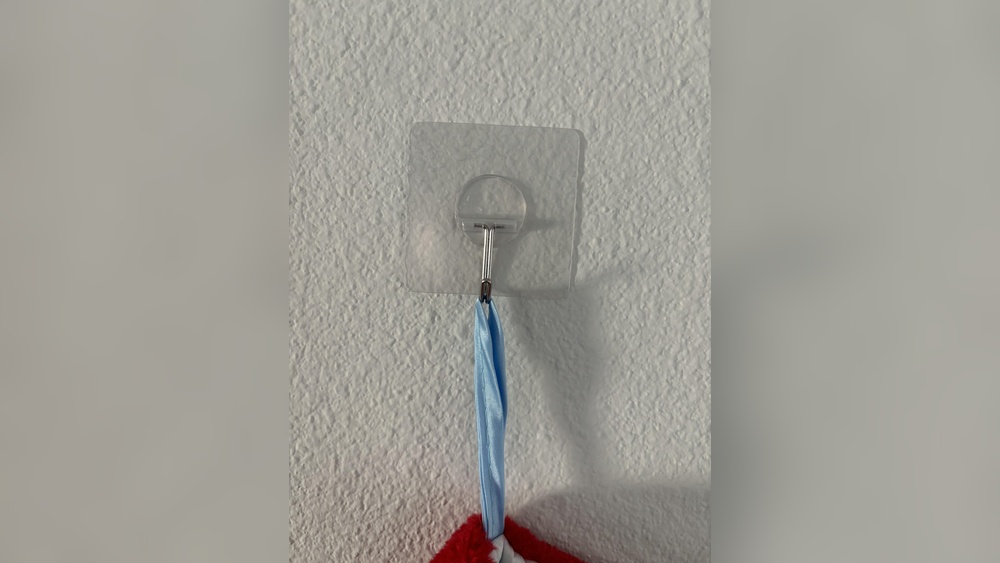
Hooks are mostly made of metal or plastic. Metal hooks are strong and reusable. Plastic hooks are lighter and often disposable. Adhesive hooks use sticky pads to avoid nails. The material affects how you remove the hook and repair the wall.
Wall Compatibility
Hooks suit different wall types like drywall, plaster, or brick. Nail hooks work best on drywall and plaster. Adhesive hooks are better for smooth surfaces like painted walls. Brick or concrete walls need special hooks or anchors. Using the right hook prevents wall damage and eases removal.
Credit: www.youtube.com
Tools Needed For Removal
Removing picture hanging hooks needs the right tools. Using proper tools makes the job easier and protects your walls. Different tools help with different types of hooks and wall materials.
Gathering tools before you start saves time and effort. Knowing what to use keeps the process smooth and safe.
Basic Household Tools
Common tools in your home often work well. A flat-head screwdriver helps pry hooks gently. Needle-nose pliers pull out small hooks or nails. A putty knife slides under the hook to loosen it without damage. A hammer can tap the screwdriver or pliers for better grip.
Specialized Equipment
Some hooks need specific tools. A wall hook removal tool fits around the hook for easy pulling. Stud finders help locate wall studs to avoid damage. A heat gun softens adhesive hooks for easier removal. These tools make removing tricky hooks safer and cleaner.
Safety Gear
Protecting yourself is important. Safety glasses stop dust or debris from hitting your eyes. Gloves protect hands from sharp edges or splinters. A dust mask helps if you sand or scrape paint. Using safety gear keeps you safe during the removal process.
Step-by-step Removal Guide
Removing picture hanging hooks from walls can be simple with the right steps. This guide shows you how to take down hooks carefully. Follow easy instructions to protect your walls and keep them looking neat.
Preparing The Area
Clear the space around the hook. Move furniture or objects away to avoid damage. Lay down a cloth or drop sheet to catch any debris. Gather tools like pliers, a flathead screwdriver, and a putty knife. Having everything ready makes the removal smooth and safe.
Removing Different Hook Types
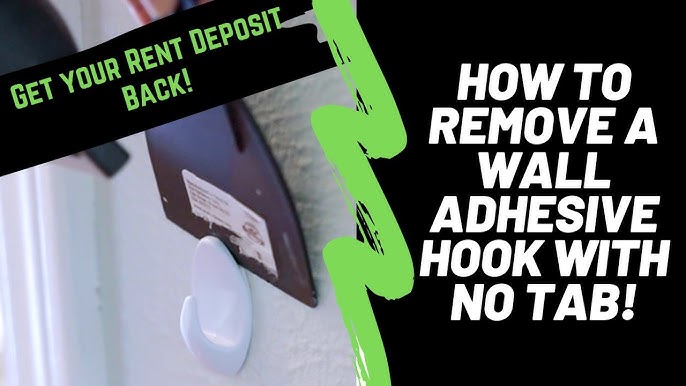
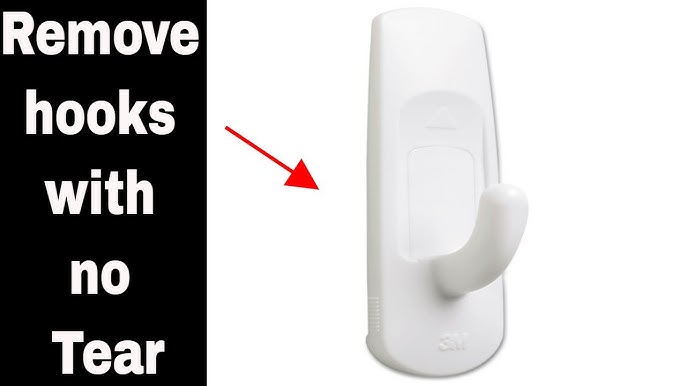
For adhesive hooks, gently pull the tab or edge to peel them off. Use slow, steady pressure to avoid wall damage. Wire hooks need pliers to twist and pull out nails. Picture hooks with small nails can be lifted with a flathead screwdriver. Insert the tool under the nail head and pry it out carefully.
Handling Stubborn Hooks
Softening the area helps with tough hooks. Apply a small amount of warm soapy water to loosen adhesive. Let it sit for a few minutes. Use a putty knife to gently lift the hook edges. For nails stuck deep, wiggle them gently with pliers before pulling. Patience prevents wall scratches or holes.
Credit: www.youtube.com
Fixing Wall Damage
Removing picture hanging hooks often leaves small holes and marks on your walls. Fixing this damage helps your walls look clean and smooth again. Simple steps can restore your wall’s original look without much effort.
Filling Small Holes
Use spackling paste to fill tiny holes left by hooks. Apply a small amount with a putty knife. Press the paste gently into the hole to fill it completely. Let the paste dry fully before moving to the next step.
Sanding And Smoothing
Once the filler is dry, sand the area lightly. Use fine-grit sandpaper for a smooth finish. Sand until the wall feels even and flat. This step removes bumps and prepares the wall for painting.
Painting Touch-ups
Match your wall paint color for best results. Use a small brush to cover the repaired spots. Apply thin, even coats and let each dry before adding more. This hides the repair and blends it with the rest of the wall.
Preventing Future Damage
Preventing damage to walls is key to keeping your home looking neat. Small holes and marks can add up over time. Taking steps to protect your walls helps avoid costly repairs. Choosing the right hooks and using proper methods can make a big difference.
Choosing The Right Hooks
Select hooks designed for your wall type. Light-duty hooks suit small pictures and lightweight frames. Heavy-duty hooks work better for large or heavy items. Look for hooks with smooth edges to reduce wall marks. Using the right size prevents unnecessary holes or cracks.
Alternative Hanging Methods
Try adhesive strips or putty instead of nails or hooks. These options leave little to no marks on walls. Use picture rails or leaning shelves to avoid wall damage. Magnetic hanging systems can hold lightweight art without holes. Choose methods that match your wall and item weight.
Proper Installation Tips
Measure carefully before drilling or hammering. Mark the spot lightly with a pencil. Use a level to keep items straight. Insert hooks gently, avoiding excess force. Follow the hook’s instructions for best results. These steps reduce wall damage and keep your pictures secure.
Credit: www.reddit.com
Frequently Asked Questions
How Do I Safely Remove Picture Hanging Hooks?
To safely remove hooks, gently twist or pull them out using pliers. Avoid sudden force to prevent wall damage. Use a putty knife to loosen stuck hooks. This method ensures minimal harm and preserves your wall’s surface.
Can I Remove Hooks Without Damaging The Paint?
Yes, carefully loosen hooks with a putty knife or your fingers. Pull slowly to avoid peeling paint. Applying heat with a hairdryer can soften paint, making removal easier. This helps keep your paint intact during hook removal.
What Tools Are Best For Removing Wall Hooks?
Use needle-nose pliers, a putty knife, and a hairdryer. Pliers grip hooks tightly for easy removal. The putty knife helps loosen stuck hooks. A hairdryer softens paint or adhesive around hooks, making removal smoother and safer.
How Do I Fix Holes After Removing Hooks?
Fill holes with spackle or wall filler using a putty knife. Let it dry completely, then sand smooth. Finally, repaint the area to blend with the wall. This process restores your wall’s surface neatly and quickly.
Conclusion
Removing picture hanging hooks from walls is simple with the right steps. Take your time and be gentle to avoid damage. Use tools like pliers and putty to fix small holes. Clean the area well before painting or decorating again.
Small repairs keep your walls looking fresh and neat. Try these tips to keep your home tidy and nice. You can handle this task easily and with little effort.