Are you ready to take control of your home’s lighting but don’t know where to start? Learning how to attach a light switch is easier than you think, and it can save you time and money on electrician fees.
Imagine flipping a switch you installed yourself, knowing you did it safely and correctly. In this guide, you’ll find simple, step-by-step instructions designed just for you. By the end, you’ll have the confidence to handle light switches like a pro.
Let’s get started and light up your space the way you want!
Tools And Materials Needed
Before attaching a light switch, gather all necessary tools and materials. Proper preparation helps ensure a smooth and safe installation. Use the right tools to avoid damage and make the job easier. Safety gear protects you from electrical hazards. Choosing the correct switch is key for proper function and fit.
Essential Tools
Start with a flathead and a Phillips screwdriver. A voltage tester is crucial to check for live wires. Wire strippers help remove insulation from wires safely. Needle-nose pliers assist in bending and holding wires. A utility knife may be needed to trim wires or insulation. Keep electrical tape handy for securing wire connections.
Safety Gear
Wear insulated gloves to protect against electric shocks. Safety goggles shield your eyes from dust and sparks. Use a face mask if working in dusty areas. Ensure your clothing covers your arms and legs. Always work in a well-lit area to avoid mistakes.
Choosing The Right Switch
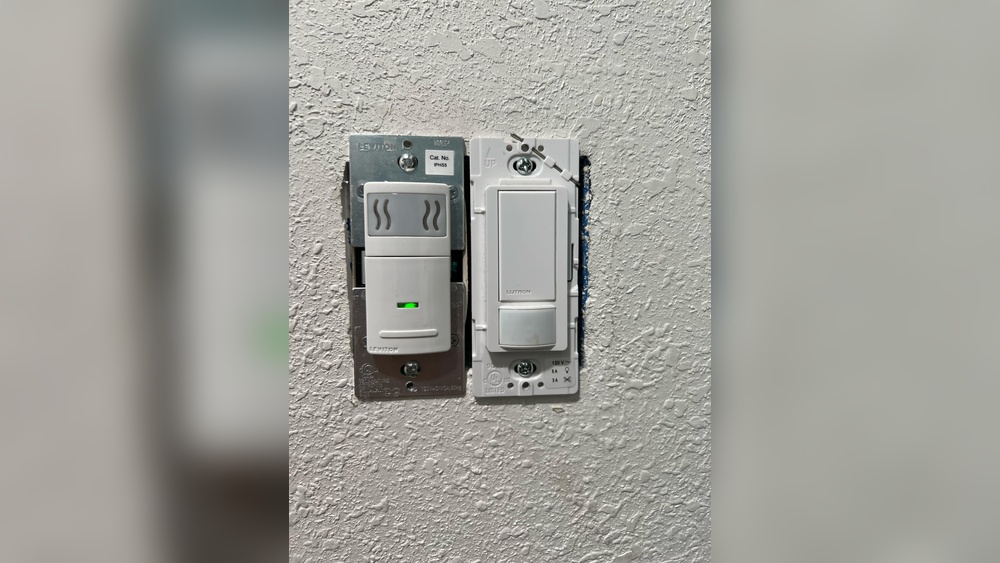
Select a switch that matches your circuit voltage and current. Single-pole switches are common for controlling one fixture. Three-way switches allow control from two locations. Dimmer switches adjust light brightness. Check the switch size to fit your wall box. Confirm the switch type matches your wiring setup.
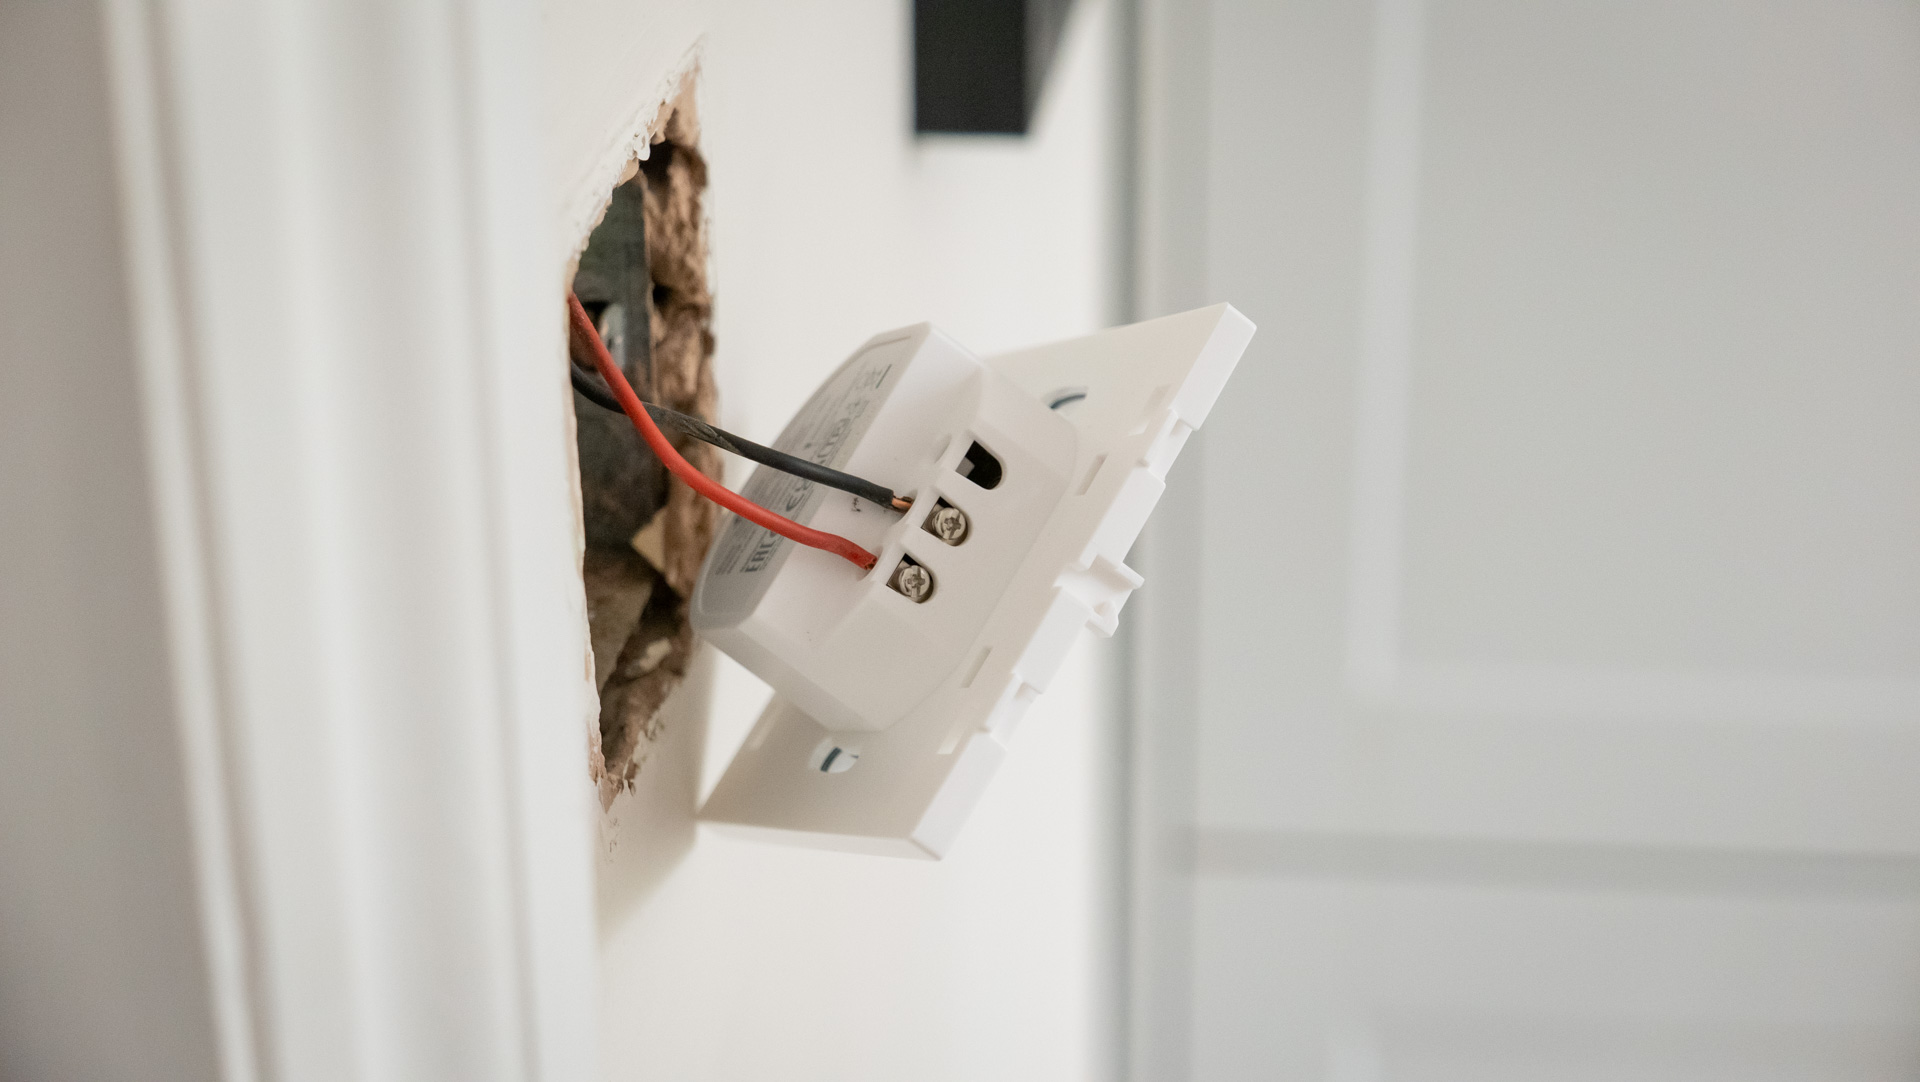
Credit: www.techradar.com
Preparing The Work Area
Preparing the work area is the first step in attaching a light switch safely and efficiently. A clean and organized space helps you focus on the task. It also reduces the risk of accidents. Follow the steps below to get your work area ready.
Turning Off Power
Safety is the top priority. Switch off the power to the room where you will work. Find the circuit breaker panel and flip the correct switch to off. Use a voltage tester to confirm the power is off. Never skip this step. It protects you from electric shock.
Clearing The Space
Remove any objects near the switch area. Clear furniture, rugs, and decorations. This gives you plenty of room to move and work. Lay down a cloth or plastic sheet to catch dust and debris. A tidy space makes the job easier and faster.
Removing The Old Switch
Removing the old light switch is the first step in installing a new one. This task requires care and attention to safety. Always turn off the power at the breaker before starting. Working with electrical parts can be risky without the right precautions.
The process involves taking off the cover plate and then disconnecting the wires. Each step must be done carefully to avoid damage. Follow these simple instructions to remove the old switch safely.
Unscrewing The Cover Plate
Use a screwdriver to remove the screws holding the cover plate. Most covers have two screws, one at the top and one at the bottom. Keep the screws in a safe place for later use. Gently pull the cover plate away from the wall. This exposes the switch and wiring behind it.
Disconnecting Wires
Look closely at how the wires connect to the switch. Take a picture for reference if needed. Loosen the screws holding the wires or release them from push-in connectors. Carefully pull the wires away from the switch. Keep the wires separated to prevent accidental contact. Your old switch is now free and ready to be replaced.
Wiring The New Switch
Wiring the new switch is a key step in installing a light switch. It involves connecting the electrical wires properly to ensure safe and reliable operation. Taking time to wire carefully avoids problems like short circuits or loose connections. Follow each step with care for the best results.
Identifying Wires
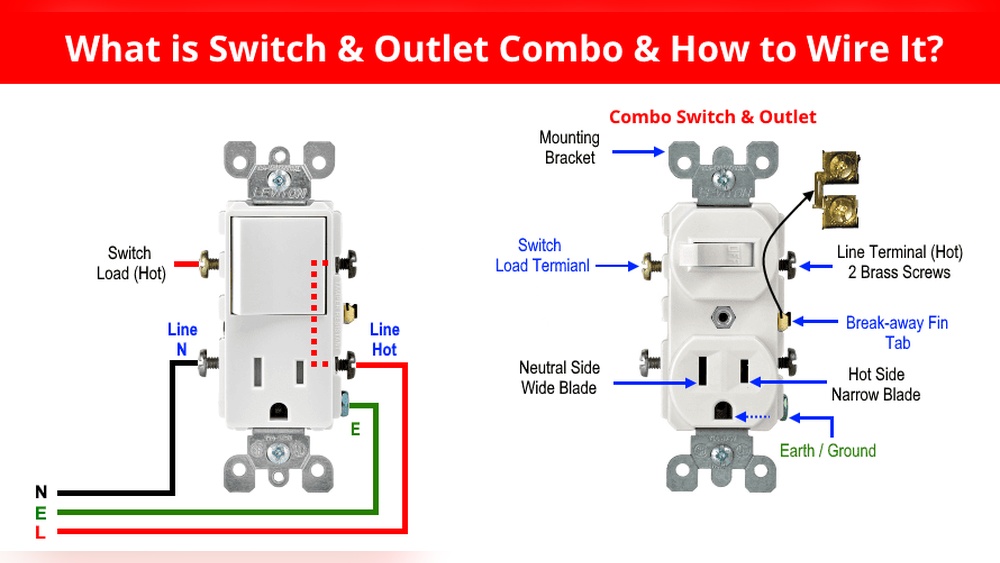
First, know the types of wires in your switch box. Usually, you will see a black wire, a white wire, and a green or bare copper wire.
The black wire carries power. It is called the “hot” wire. The white wire is the neutral wire. The green or bare wire is the ground wire.
Use a voltage tester to check which wire has power. This helps confirm the hot wire. Label wires with tape if needed to keep track.
Connecting Wires To Terminals
Match each wire to the correct terminal on the switch. The black (hot) wire goes to the brass or dark-colored terminal.
The white (neutral) wire usually does not connect to the switch. It often stays in the box with other white wires.
Connect the green or bare ground wire to the green terminal on the switch. This is important for safety.
Wrap wires clockwise around the terminal screws. Tighten screws firmly to hold wires in place.
Securing Wire Connections
After connecting wires, check each screw is tight. Loose screws can cause sparks or switch failure.
Use wire nuts to join any extra wires together inside the box. Twist nuts firmly to secure wires.
Push wires gently back into the box. Avoid bending or pinching wires as you close the switch cover.
Proper wiring and secure connections ensure your light switch works well and stays safe.
Mounting The Switch
Mounting the switch is a key step when installing a light switch. This step makes sure the switch stays in place and works safely. Take your time and follow simple steps for a solid mount.
Positioning The Switch
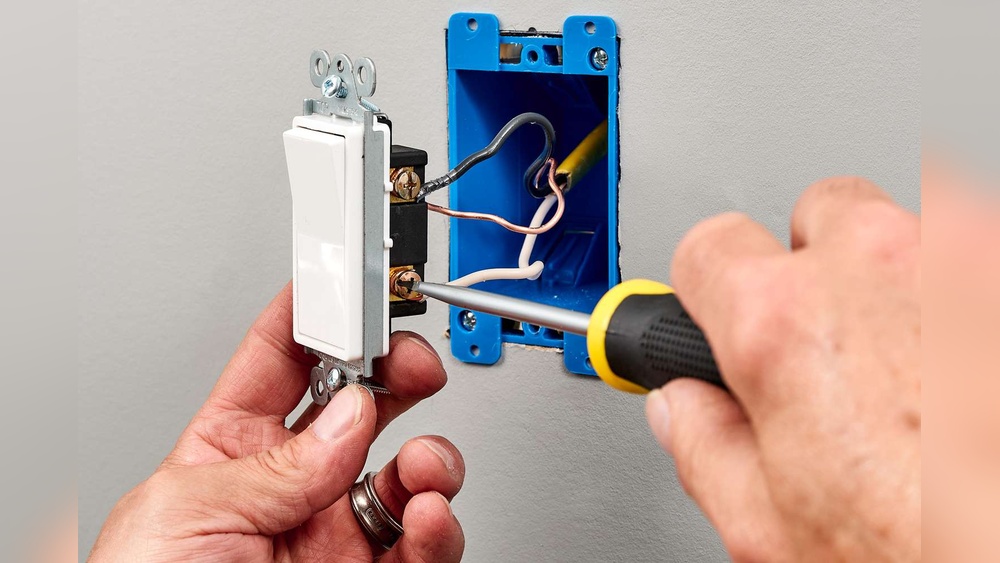
Place the switch carefully inside the electrical box. Make sure the switch fits well and the wires are not pinched. The switch toggle should face up or down, depending on your room setup. Check that the switch is straight and lines up with the wall plate.
Screwing The Switch In Place
Use a screwdriver to tighten the screws on the switch. Do not overtighten. Screws should be snug but not too tight to avoid damage. Secure the switch evenly by tightening screws on both sides. This keeps the switch stable and safe to use.
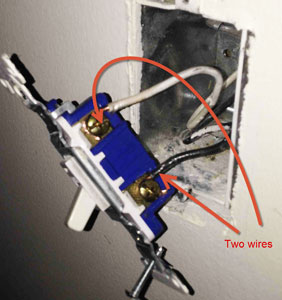
Credit: www.protolusa.com
Testing The Installation
Testing the installation is an important step after attaching a light switch. It helps confirm the switch works properly and is safe to use. Careful testing can prevent electrical problems or hazards in your home.
Turning The Power Back On
First, go back to your circuit breaker. Switch the power back on to the area where you installed the light switch. Make sure the breaker is fully in the “on” position. This restores electricity to the switch and the connected light fixture.
Do not touch the switch or wires before turning the power back on. This step must be done carefully and safely to avoid shocks or damage.
Checking Switch Functionality
Next, test the switch by flipping it up and down. The light should turn on and off smoothly. Listen for any unusual sounds or feel for resistance. The switch should move freely without sticking.
Try the switch multiple times to confirm it works every time. If the light does not respond, turn off the power again and check the wiring connections. Proper function means your installation is complete and safe.
Troubleshooting Common Issues
Troubleshooting common issues helps fix problems quickly. Many problems happen from small mistakes. Checking these issues saves time and effort. Follow these tips to find and fix common errors with light switches.
Simple steps can solve most problems. Be patient and careful. Safety is very important when working with electricity.
Switch Not Working
Check if the power is on. Sometimes the breaker is off. Test the switch with a voltage tester. A faulty switch may need replacement. Make sure the switch matches the circuit type.
Loose Connections
Loose wires cause the switch to fail. Turn off the power before checking wires. Tighten all screws and wire terminals. Look for damaged or frayed wires. Replace any wires that look bad.
Safety Tips
Always cut power at the breaker box. Use insulated tools to avoid shocks. Wear safety glasses to protect your eyes. Do not touch wires with wet hands. If unsure, consult a professional electrician.
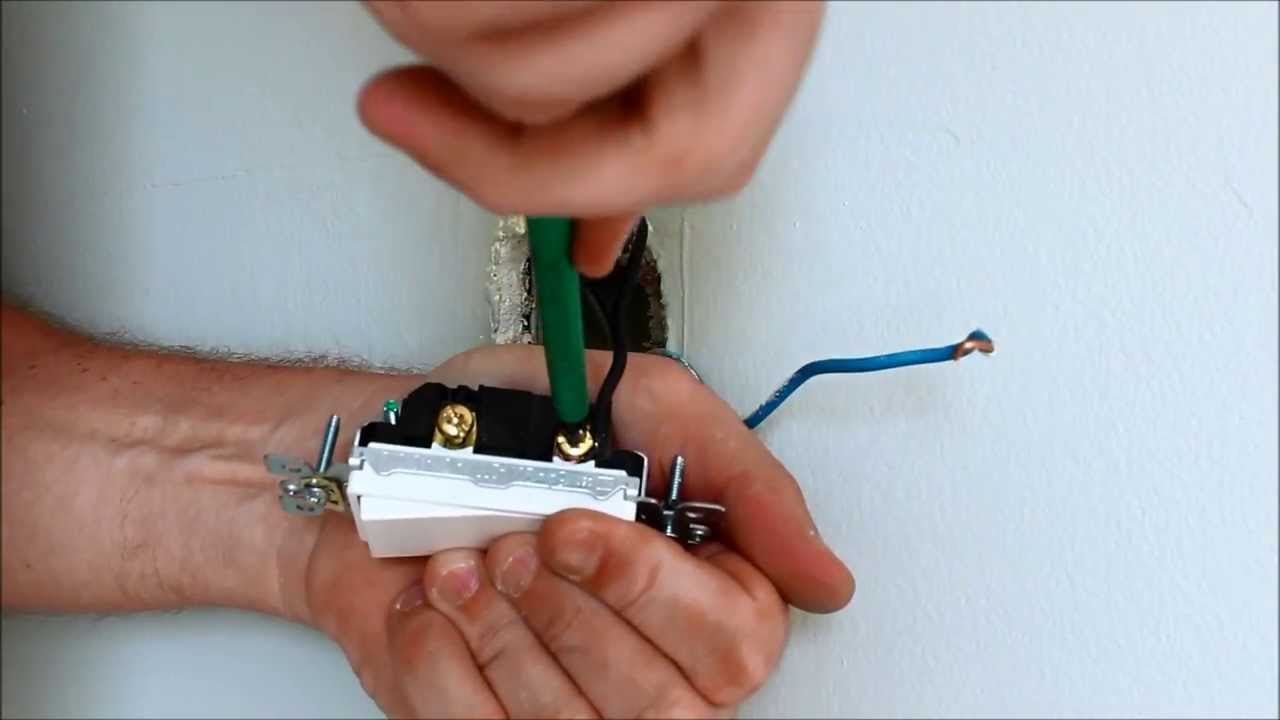
Credit: www.youtube.com
Frequently Asked Questions
How Do I Safely Turn Off Power Before Attaching A Light Switch?
Always turn off the circuit breaker controlling the switch. Use a voltage tester to confirm no power is present before starting work. Safety first prevents electrical shocks and accidents.
What Tools Are Needed To Attach A Light Switch?
You need a screwdriver, wire stripper, voltage tester, and electrical tape. These tools help you install the switch securely and safely.
How To Connect Wires To A Light Switch?
Strip wire ends, connect black (hot) wire to switch terminals, and secure with screws. White (neutral) wires typically connect in the box but not to the switch.
Can I Replace A Light Switch Without An Electrician?
Yes, if you follow safety steps and understand wiring basics. Always turn off power and double-check connections to avoid hazards.
Conclusion
Attaching a light switch is simple with clear steps. Always turn off power before starting work. Use the right tools and follow safety rules. Connect wires carefully to avoid problems later. Tighten screws firmly but do not force them. Test the switch after installation to ensure it works.
Taking your time helps prevent mistakes. Now, you can change or fix light switches yourself. A little practice builds your confidence and skills. Keep safety first and enjoy your new switch.