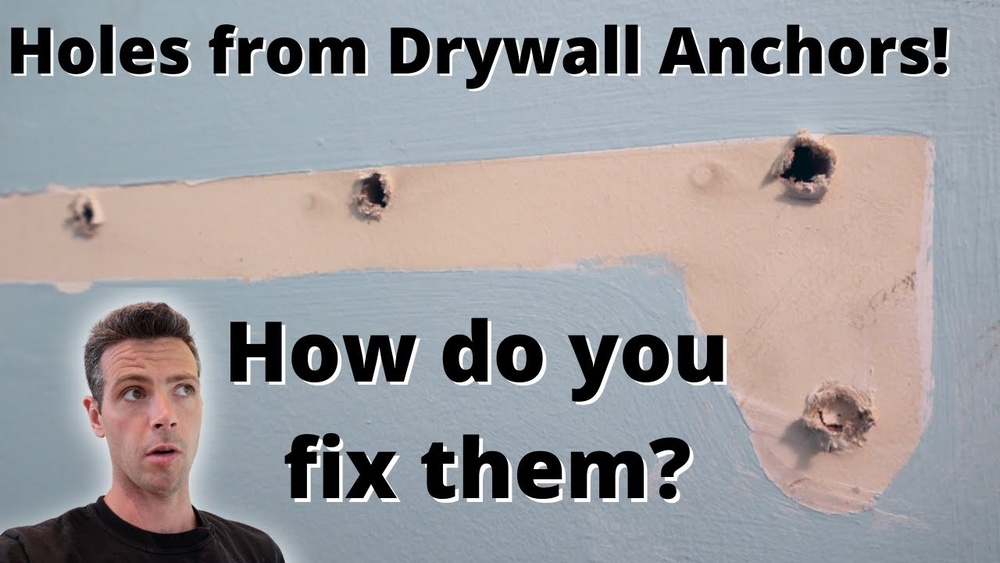
Have you ever removed a picture or shelf and been left with ugly holes in your drywall? Those small anchor holes can make your walls look messy and unfinished.
But fixing them doesn’t have to be a hassle. You’ll discover simple, step-by-step ways to cover up drywall holes from anchors quickly and effectively. Whether you’re a beginner or just want a fast fix, these tips will help you restore your walls to a smooth, flawless finish.
Keep reading to learn how easy it is to make those holes disappear for good!
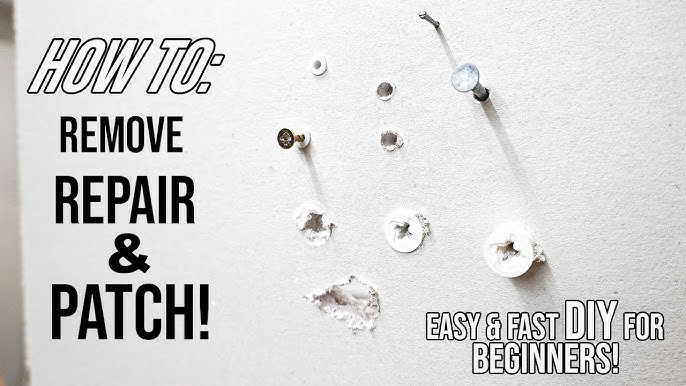
Credit: www.youtube.com
Tools And Materials Needed
Fixing holes left by anchors in drywall requires a few key tools and materials. Having the right items makes the repair easier and the result cleaner. This section lists everything needed to cover those holes properly.
Essential Repair Tools
A putty knife is necessary to apply and smooth the filler. Sandpaper helps to even out the patch for a flat finish. A utility knife trims loose drywall or tape edges. A paintbrush or small roller is useful to repaint the repaired area.
Recommended Fillers And Compounds
Spackling paste works well for small holes from anchors. For larger holes, a joint compound offers better coverage and strength. Ready-mixed compounds save time and are simple to use. Drywall patch kits can also provide filler and mesh for bigger damage.
Preparing The Hole
Start by cleaning the hole and removing loose debris. Smooth the edges with sandpaper to help the filler stick better. Dry the area completely before applying any patching material.
Before fixing drywall holes from anchors, prepare the area carefully. Proper preparation ensures the repair lasts and looks smooth. Start by making the hole clean and ready to hold new material. Take your time and follow simple steps for best results.
Cleaning The Area
Clear the space around the hole. Dust, dirt, and grease can stop the patch from sticking well. Use a dry cloth or soft brush to wipe the wall. Make sure the surface feels dry and clean before moving forward.
Removing Loose Debris
Look inside the hole for loose bits of drywall or anchor pieces. Use a small brush or your fingers to pull out any weak material. Removing loose debris helps the patch stick better and prevents cracks later on.
Filling Small Holes
Small holes from wall anchors are common and easy to fix. Filling these holes restores a smooth wall surface. It also prepares the wall for painting or wallpaper. The right materials and method make the job quick and clean.
Focus on using spackle or putty for best results. These materials fill holes well and dry fast. The repair will blend well with the surrounding wall. Here is how to fill small holes step-by-step.
Using Spackle Or Putty
Choose lightweight spackle or wall putty made for small holes. Use a putty knife to apply a small amount over the hole. Press the spackle firmly to fill the entire cavity. Spread the material smoothly over the area. Avoid adding too much at once to reduce sanding later. Let it slightly overflow to cover edges well.
Smoothing And Drying Tips
Allow the spackle or putty to dry completely. Drying time varies but usually takes 30 minutes to an hour. Check by touching lightly; it should feel hard. Use fine sandpaper to smooth the surface gently. Sand until the patch blends with the wall. Wipe away dust with a damp cloth before painting.
Repairing Larger Holes
Larger holes in drywall from anchors need more care to fix. Small patches won’t hold well on big holes. This section covers easy ways to repair large holes. Follow these steps to make your wall smooth again.
Applying Patch Kits
Patch kits are helpful for bigger holes. They come with a metal or plastic patch and compound. First, clean the hole edges. Peel the backing off the patch and stick it firmly over the hole. The patch gives a strong base to cover the hole.
Using Mesh Tape For Support
Mesh tape adds extra strength to the repair. Cut a piece of tape slightly bigger than the hole. Place it over the patch or directly on the hole edges. The tape holds the compound better and stops cracks from forming later.
Layering Joint Compound
Apply joint compound in thin layers. Spread the first layer over the patch and tape. Let it dry fully before adding more. Sand each layer lightly for a smooth finish. Repeat until the surface matches the wall perfectly.
Sanding And Finishing
Sanding and finishing are key steps to cover drywall holes from anchors. These steps make the patch blend smoothly with the wall. Proper sanding removes rough edges and high spots. Finishing ensures a clean, even surface ready for painting.
Achieving A Smooth Surface
Start with a medium-grit sandpaper to level the patch. Sand gently in a circular motion. Focus on the edges to blend them with the wall. Switch to fine-grit sandpaper for a softer finish. Avoid pressing too hard to prevent damage. Check your work by running your hand over the surface. It should feel smooth and even.
Cleaning Dust And Residue
After sanding, dust covers the wall and floor. Use a dry cloth or brush to remove loose dust. A damp sponge helps pick up finer particles. Make sure the surface is clean before painting. Dust can prevent paint from sticking well. Clean surroundings keep your work neat and safe.
/Bhg-how-to-patch-dry-wall-hero-2431_ErCJ7v2pKcVADoq5rBc19m-9bc6054b40c84af4bd3ba2b19b3693b9.jpg)
Credit: www.bhg.com
Painting The Repaired Area
Painting the repaired area is the final step to make your wall look smooth again. This step hides the patch and blends it with the rest of the wall. Taking time to paint carefully improves the overall look and keeps the repair strong over time.
Priming Before Paint
Apply a primer on the repaired spot first. Primer helps paint stick well and stops the patch from showing. Use a small brush or roller to cover the area evenly. Let the primer dry fully before painting over it.
Matching Wall Color
Choose paint that matches your wall color exactly. Test a small spot to check the color match. Use the same finish as the rest of the wall, like matte or satin. Paint the patch in thin, even coats. Let each coat dry before adding another.
Preventing Future Damage
Preventing future damage to drywall is key after fixing holes. Proper steps help keep walls strong and smooth. Avoiding common mistakes keeps your walls looking good longer. Follow simple rules to protect your drywall from new holes.
Choosing The Right Anchors
Select anchors based on the weight you will hang. Use plastic anchors for light items like pictures. Metal anchors work better for heavier shelves or mirrors. Avoid using anchors too large or too small for the hole. Right size anchors hold firmly and prevent wall damage.
Proper Installation Techniques
Drill a hole that matches the anchor size exactly. Clean dust out of the hole before inserting the anchor. Insert anchors straight to avoid weakening the wall. Do not force anchors into too small holes. Tighten screws gently to prevent cracking or crumbling drywall.

Credit: www.thriftydecorchick.com
Frequently Asked Questions
How Do I Fix Small Drywall Holes From Anchors?
Fill small holes with spackling compound using a putty knife. Let it dry, then sand smooth. Finally, paint to match the wall.
Can I Use Toothpaste To Cover Drywall Holes?
Toothpaste is a temporary fix for very small holes. It’s not durable and should be replaced with proper spackle for lasting results.
What Materials Do I Need To Cover Drywall Anchor Holes?
You need spackling compound, a putty knife, sandpaper, primer, and paint. These materials help ensure a smooth, seamless repair.
How Long Does Drywall Spackle Take To Dry?
Drying time varies by brand but usually takes 1 to 4 hours. For best results, wait until fully dry before sanding or painting.
Conclusion
Fixing drywall holes from anchors is simple with the right steps. Fill the hole with spackle or joint compound. Let it dry, then sand it smooth. Paint over the patch to match your wall. These easy repairs improve your room’s look quickly.
Anyone can do this with basic tools. Small holes don’t have to stay visible. Try it yourself and see the difference. Your walls will look neat and fresh again.