Struggling to remove a deadbolt when you don’t see any screws? You’re not alone.
Many people find themselves stuck, unsure how to get the lock off without damaging the door. But what if you could easily unlock this mystery and take control of the situation? In this guide, you’ll discover simple, step-by-step methods to remove a deadbolt with no visible screws—no special tools or expert skills needed.
Keep reading, and you’ll unlock the secret to handling this common home challenge quickly and confidently.

Credit: www.youtube.com
Identify The Deadbolt Type
Removing a deadbolt with no visible screws starts with identifying the deadbolt type. This step helps you understand how the lock is held in place. Different deadbolts have different ways to hide screws. Knowing the type of deadbolt guides you in the removal process. It saves time and avoids damage to the door or lock.
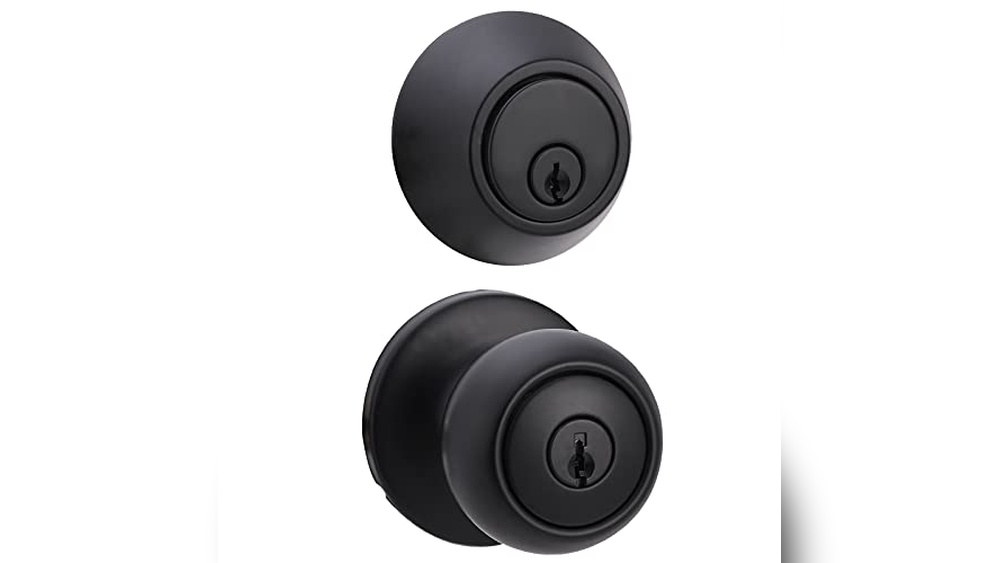
Common Deadbolt Designs
Most deadbolts fall into a few common designs. The single cylinder deadbolt uses a key on one side and a thumb turn on the other. The double cylinder deadbolt has keyholes on both sides. Some deadbolts have a decorative faceplate covering the screws. Others have a simple round or square shape. Identifying these designs helps find where the hidden screws might be.
Hidden Screw Mechanisms
Many deadbolts hide screws under covers or plates. These covers snap or slide off with gentle prying. Some locks use set screws inside the thumb turn or keyhole. Others have screws behind the latch faceplate, accessible only after removing the bolt. Understanding these hidden screw methods helps you remove the deadbolt without damage. Take time to look for small gaps or seams around the lock parts.
Gather Essential Tools
Gathering the right tools is the first step to removing a deadbolt with no visible screws. Without the proper tools, the task becomes harder and can damage the lock or door. Prepare everything before you start. This saves time and avoids frustration.
Tools For Removing Hidden Screws
Hidden screws often require special tools to access. A flathead screwdriver helps to pry off covers or plates gently. A small pick or a thin knife can lift decorative trim without damage. A drill with a small bit is useful to remove screws inside the lock. Sometimes, a tension wrench or a lock pick set is needed to unlock the mechanism from the inside. Have a flashlight ready to see inside dark spaces clearly. These tools make the job easier and safer.
Safety Gear To Use
Safety is important during lock removal. Wear safety glasses to protect your eyes from dust or metal shards. Gloves protect your hands from sharp edges and tools. Use ear protection if you drill or hammer near the ear. Keep a first aid kit nearby for any minor cuts. Being safe helps avoid accidents and keeps the work smooth.
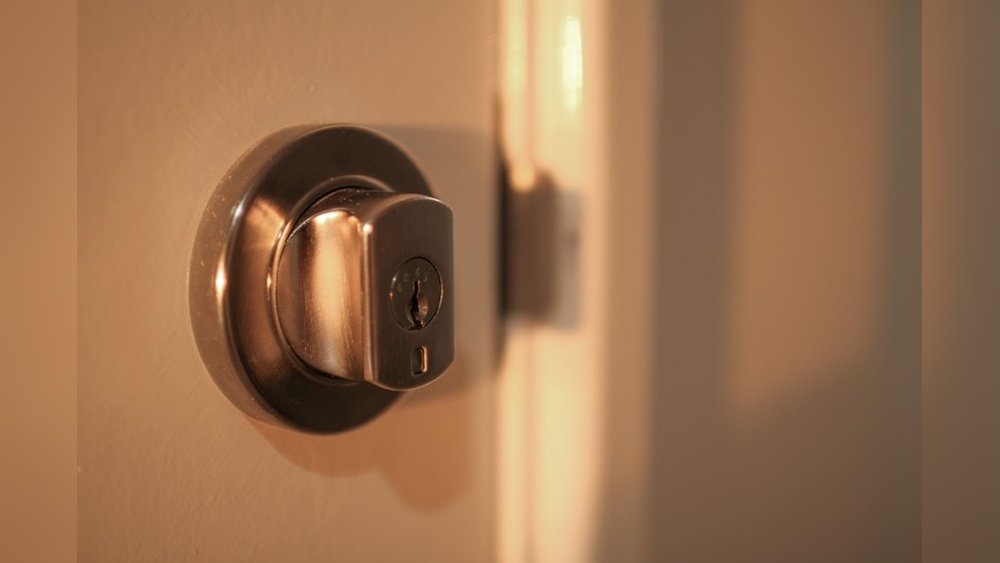
Accessing The Deadbolt Interior
Accessing the deadbolt interior is the first step to remove a deadbolt with no visible screws. The interior side usually hides the screws under a cover plate. This cover protects the mechanism and keeps the screws out of sight. Removing this cover lets you reach the screws and take the deadbolt apart.
Removing The Interior Cover Plate
The cover plate on the deadbolt’s interior side often snaps or twists off. Look closely for a small slot or edge where you can pry it open. Use a flat-head screwdriver or a thin tool to gently lift the cover. Be careful not to scratch the door or damage the plate. Once loose, pull the cover off to expose the screws underneath.
Using A Credit Card Or Flat Tool
If the cover plate fits tightly, a plastic credit card can help. Slide the card between the cover and the door frame. Wiggle the card back and forth to create space. This action loosens the cover without damaging the surface. After enough movement, the cover should pop off easily. Using a flat tool works the same way but be gentle to avoid marks.

Credit: www.reddit.com
Alternative Removal Techniques
Removing a deadbolt without visible screws can seem tricky. Standard methods won’t work here. You need alternative ways to take it apart. These techniques help you remove the lock safely and quickly. They require simple tools and a bit of patience. Choose the method that fits your lock and tools best.
Sliding The Cylinder Out
Start by turning the key or knob slightly. This aligns the cylinder for easy removal. Use a thin tool, like a flathead screwdriver, to slide the cylinder out. Push gently along the edge to avoid damage. Keep turning the key to find the right spot. Once loose, pull the cylinder straight out.
Prying Off With A Screwdriver
Insert a flathead screwdriver between the deadbolt and door surface. Apply steady pressure to pry the lock cover away. Work slowly to avoid scratching the door. Wiggle the screwdriver side to side to loosen the lock. Once the cover is off, the screws or internal parts become visible. Remove these to take the deadbolt off.
Using A Drill For Stubborn Locks
Use a drill if the lock won’t budge. Select a drill bit slightly smaller than the lock cylinder. Drill directly into the cylinder to break the internal pins. Keep the drill steady and controlled. After drilling, use a screwdriver to twist and remove the lock. Wear safety glasses to protect your eyes from debris.
Preventing Damage During Removal
Removing a deadbolt without visible screws can be tricky. Avoiding damage during this process is very important. Protecting your door and the lock parts keeps everything working well. Taking care helps you save time and money on repairs.
Protecting Door Surfaces
Use painter’s tape around the lock area. This shields the door from scratches and dents. Soft cloths or cardboard pieces also protect the door edge. Work gently with your tools to avoid gouging the wood. Small movements and steady hands prevent marks and chips.
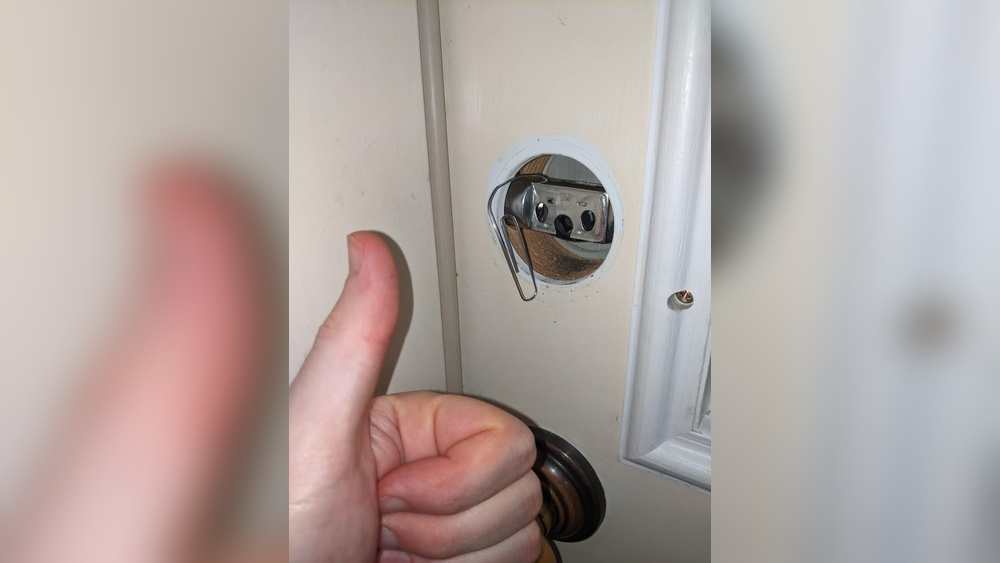
Handling Lock Components Carefully
Keep all lock parts organized and safe. Use a small container for screws and pieces. Avoid forcing parts apart to prevent breaking them. Handle the cylinder and latch with care. Clean parts gently to avoid damage. Careful handling ensures the lock can be reused or replaced easily.

Credit: diy.stackexchange.com
Frequently Asked Questions
How Do I Remove A Deadbolt Without Visible Screws?
To remove a deadbolt with no visible screws, first locate the hidden set screws. These are often under the faceplate or inside a slot. Use a flathead screwdriver or an Allen wrench to loosen them. Then, gently pull the deadbolt apart for removal.
What Tools Are Needed To Remove A Hidden Screw Deadbolt?
You typically need a flathead screwdriver, an Allen wrench, and sometimes a small pry tool. These help access concealed screws and release the deadbolt components safely without damage to the door or lock.
Can I Remove A Deadbolt Without Damaging The Door?
Yes, by carefully locating and loosening hidden screws, you can remove the deadbolt without damage. Avoid forcing parts off, and use proper tools to prevent scratches or holes in the door surface.
Why Are Some Deadbolt Screws Hidden?
Manufacturers hide screws for aesthetic reasons and to improve security. Hidden screws make it harder for intruders to tamper with the lock, increasing overall door safety and maintaining a clean appearance.
Conclusion
Removing a deadbolt without visible screws can seem tricky. Small steps and patience make it easier. Use the right tools and gently pry the cover. Find hidden screws or release clips carefully. Stay calm and avoid forcing parts. This method saves time and prevents damage.
You can handle the task safely at home. Practice these tips to feel confident next time. Simple actions lead to successful deadbolt removal.