Is your deadbolt lock broken and leaving your home less secure? You don’t have to call a locksmith or spend a fortune to fix it.
Replacing a deadbolt lock is easier than you think—and you can do it yourself in just a few simple steps. Imagine the peace of mind you’ll feel once your door is locked tight again. In this guide, you’ll learn exactly how to replace a broken deadbolt lock quickly and safely, even if you have no prior experience.
Keep reading, and take control of your home’s security right now.
Credit: lisburnlocksmith.com
Tools And Materials Needed
Replacing a broken deadbolt lock needs the right tools and materials. Having these ready makes the job easier and faster. It helps avoid interruptions and mistakes during the process.
Gather all tools and materials before starting. This way, you stay organized and focused. Below are the essential items needed for the task.
Tools Required
- Screwdriver (Phillips and flathead)
- Drill with drill bits
- Measuring tape
- Hammer
- Pliers
- Chisel
Materials Needed
- New deadbolt lock set
- Replacement screws (usually come with lock)
- Wood filler (if needed)
- Sandpaper
- Masking tape
Removing The Old Deadbolt
Removing the old deadbolt is the first step in replacing a broken lock. It is important to take your time and work carefully. This process makes sure you do not damage the door or the new lock parts. Follow these steps to remove the old deadbolt safely and easily.
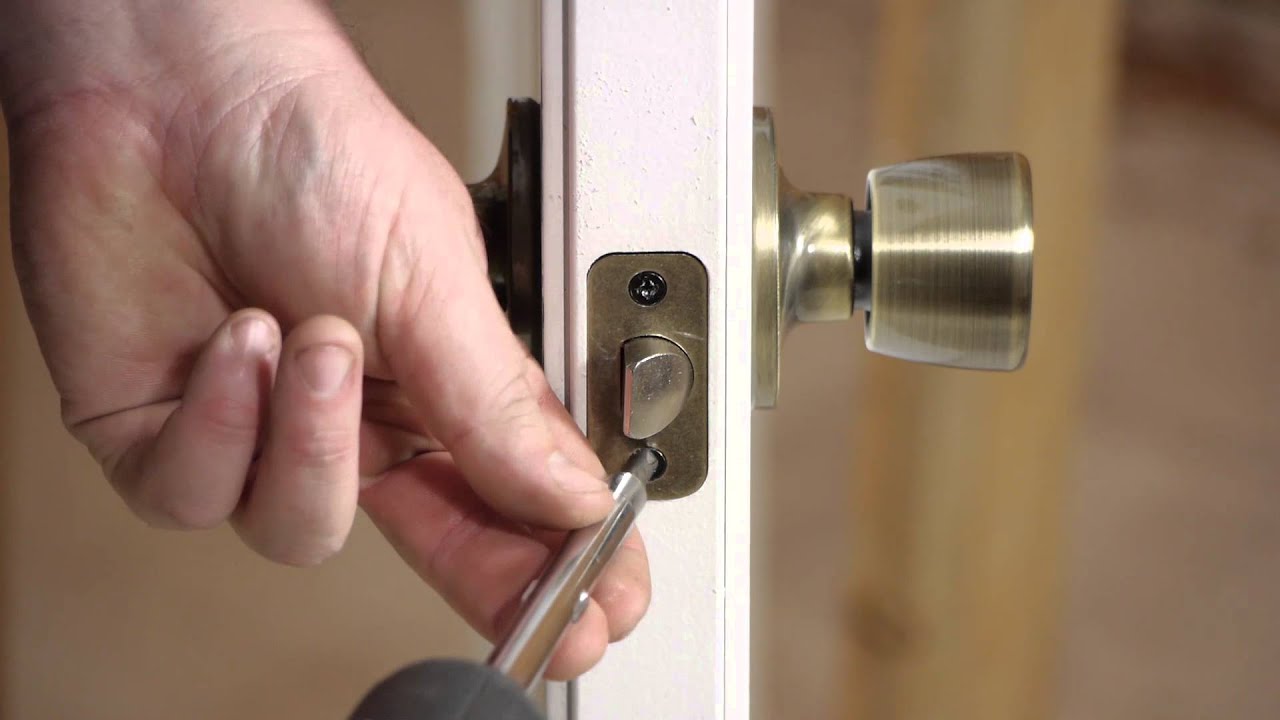
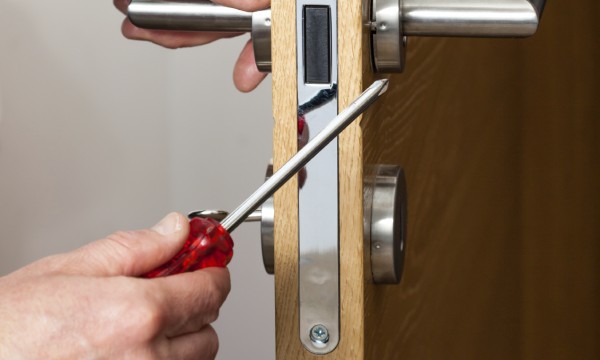
Locate And Unscrew The Mounting Screws
Look for the screws on the interior side of the door. These screws hold the lock in place. Use a screwdriver to turn them counterclockwise. Keep the screws in a safe spot for later use. Once the screws are out, the lock parts should be loose.
Detach The Exterior And Interior Parts
Pull the exterior part of the lock away from the door gently. Then, do the same with the interior part. Sometimes, a little wiggle helps to free them. Make sure both parts come off completely before moving on.
Remove The Deadbolt Mechanism
Look inside the edge of the door for the deadbolt mechanism. It slides out after removing the screws and lock parts. Pull the deadbolt straight out carefully. Now, the door is ready for the new lock to be installed.
Preparing The Door For The New Lock
Preparing the door for the new deadbolt lock is an important step. It helps the lock fit well and work smoothly. Taking time to get the door ready makes installation easier. The door must be clean, aligned, and have a properly placed strike plate. These steps ensure security and ease of use.
Clean The Door Surface
Start by cleaning the door surface around the lock area. Remove dirt, dust, and old paint if any. Use a damp cloth and mild soap to wipe the area. Let the door dry fully before moving on. A clean surface helps the new lock fit tightly and look neat.
Check The Door Alignment
Check if the door closes smoothly and lines up with the frame. Misaligned doors can cause the lock to jam or not lock properly. Close the door slowly and watch the gap around it. Adjust the hinges if the door is uneven or sticks. Proper alignment makes the lock work better and last longer.
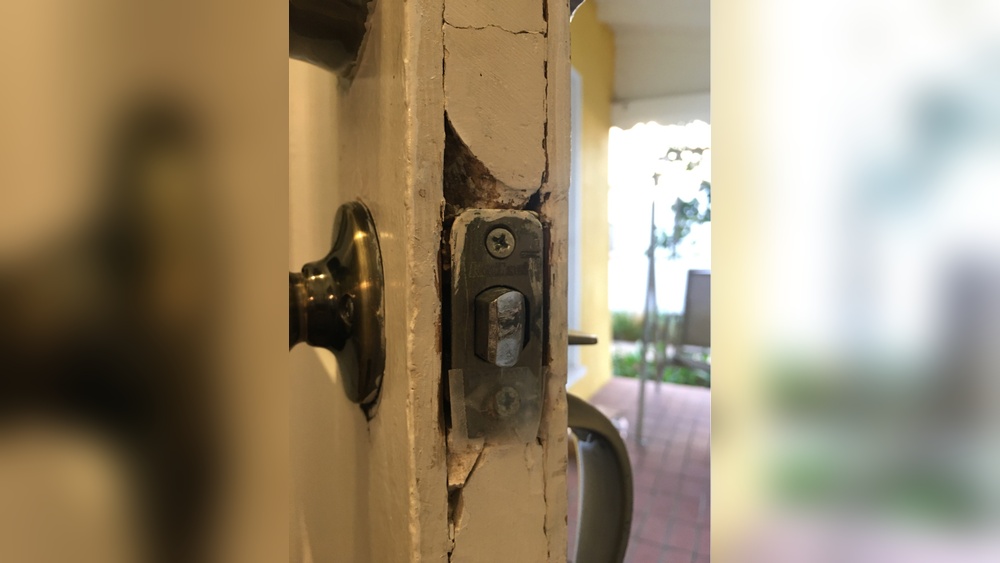
Adjust The Strike Plate
Examine the strike plate on the door frame. This plate holds the deadbolt when locked. It must align with the bolt hole on the door. If it is loose or out of place, remove and reposition it. Tighten screws securely or replace them if needed. A well-adjusted strike plate improves security and lock function.
Credit: www.reddit.com
Installing The New Deadbolt
Installing the new deadbolt is the key step to secure your door. This process involves placing the main parts in the correct position. Follow each step carefully to ensure the lock works smoothly and safely.
Insert The Deadbolt Mechanism
Start by sliding the deadbolt mechanism into the door’s edge. Make sure the bolt faces the door frame. Push it in until it fits snugly. The screw holes should line up with the holes in the door. Check the bolt moves freely by sliding it in and out.
Attach The Exterior Lock Assembly
Place the exterior lock assembly on the outside of the door. Align the keyhole with the deadbolt mechanism. Feed the connecting tailpiece through the deadbolt. Hold it steady while attaching the screws. Tighten the screws evenly, but do not overtighten. The lock should sit flush against the door.
Secure The Interior Lock Assembly
Put the interior lock assembly on the inside of the door. Connect it to the tailpiece from the exterior lock. Line up the screw holes with the door holes. Insert the screws and tighten them firmly. Test the thumb turn to ensure the deadbolt moves easily. The lock is now ready for use.
Testing The New Lock
Testing the new lock is a key step after installation. It ensures the lock works smoothly and keeps your home safe. Careful testing helps avoid problems later. Follow these steps to check everything is set up right.
Check Lock Operation
Turn the thumb turn or knob several times. The bolt should slide in and out easily. Listen for any grinding or sticking sounds. Make sure the lock fully extends and retracts. Check both sides of the door to confirm smooth action.
Test The Key Function
Insert the key into the lock cylinder. Turn the key gently to lock and unlock the door. It should turn without resistance or jamming. Test the key from both outside and inside. Try the key multiple times to ensure consistent operation.
Make Final Adjustments
If the lock feels tight or does not work well, adjust the strike plate. Loosen screws and shift the plate slightly. Tighten screws and test the lock again. Repeat until the bolt fits securely without force. Double-check all screws are tight for safety.
Credit: www.yellowpages.ca
Tips For Maintaining Deadbolt Locks
Maintaining deadbolt locks keeps your home safe and extends lock life. Small care steps prevent lock problems and costly repairs. Regular attention helps locks work smoothly every day.
Lubricate Moving Parts
Apply a small amount of graphite or silicone spray lubricant to the keyhole. Avoid oil-based lubricants; they attract dust and dirt. Lubricate the bolt and inside parts to reduce friction. This makes turning the key easier and stops sticking.
Regularly Inspect Lock Components
Check screws on the lock and strike plate often. Tighten loose screws to keep the lock steady. Look for signs of rust or wear on the bolt and faceplate. Replace parts that look damaged to avoid lock failure.
Replace Batteries For Electronic Deadbolts
Change batteries before they run out to avoid lock failure. Use the battery type recommended by the manufacturer. Test the lock after battery change to ensure proper function. Keep spare batteries nearby for quick replacement.
Frequently Asked Questions
How Do I Know If My Deadbolt Is Broken?
Check for difficulty turning the key or knob. Look for loose parts or misalignment. If the lock jams or won’t latch, it’s likely broken.
What Tools Are Needed To Replace A Deadbolt Lock?
You’ll need a screwdriver, new deadbolt lock, tape measure, and possibly a drill. Some locks may require specific bits or a hammer.
How Long Does It Take To Replace A Deadbolt Lock?
Replacing a deadbolt usually takes 20 to 30 minutes. It depends on your experience and the lock type.
Can I Replace A Deadbolt Lock Without Removing The Door?
No, you must remove the lock components from the door. The door itself usually stays in place during replacement.
Conclusion
Replacing a broken deadbolt lock is easier than it seems. Follow each step carefully for best results. Using the right tools helps the job go smoothly. Take your time to avoid mistakes or damage. A working lock keeps your home safe and secure.
Regular checks can prevent future problems with your door. Remember, safety starts with a strong lock. You can do this yourself with patience and care. Keep your home protected by fixing locks promptly. Simple tasks like this save money and stress later.