Have you ever faced the frustration of a deadbolt stuck in your door? It can feel like your home is holding you hostage.
But don’t worry—getting that deadbolt out doesn’t have to be a mystery or a costly repair job. In this guide, you’ll discover simple, step-by-step techniques to remove a deadbolt quickly and safely. By the end, you’ll have the confidence to handle the job yourself, saving time and money.
Keep reading, because the solution is easier than you think.

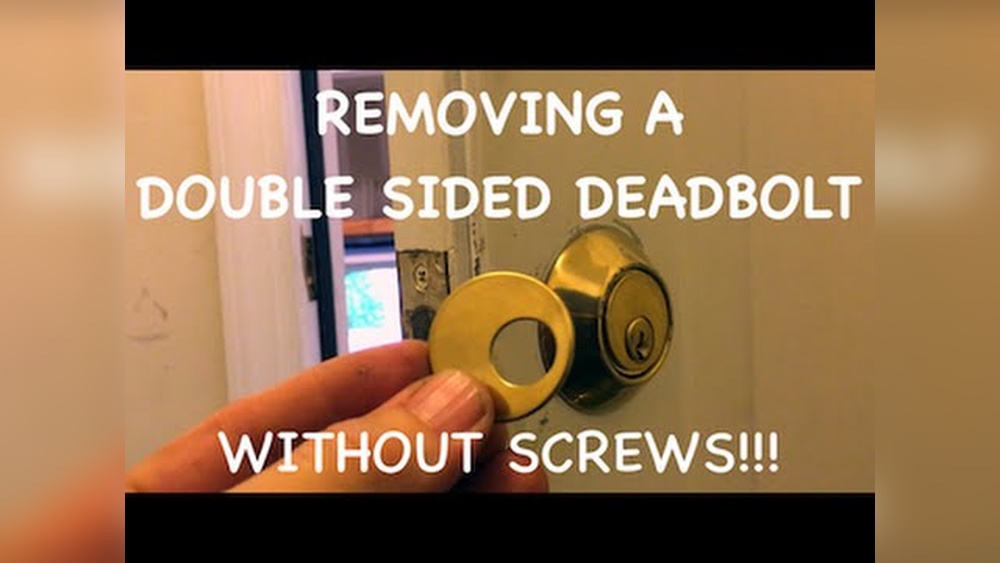
Credit: www.reddit.com
Tools Needed
Removing a deadbolt from a door requires the right tools. Using proper tools makes the job easier and safer. It helps avoid damage to the door or lock parts. Below is a list of tools you will need for the task.
Essential Tools List
Start with basic tools that work for most deadbolts. A screwdriver set is crucial. Both flathead and Phillips screwdrivers are necessary. They help remove screws holding the deadbolt in place.
A drill can speed up screw removal. Choose one with adjustable speed. A drill bit set is useful for any stuck screws. Pliers help hold or pull parts gently.
A tape measure is handy to check deadbolt size. A utility knife may be needed to cut paint or caulk around the lock. Finally, have a flashlight to see inside the lock area clearly.
Optional Tools For Stubborn Locks
Some deadbolts are harder to remove. For these, extra tools help a lot. A hammer can gently tap stuck parts loose. Use a rubber mallet to avoid door damage.
Lock lubricant spray can ease tight screws and bolts. An electric screwdriver may make the process quicker. A pry bar or putty knife helps lift trim or plates around the lock.
For very tough locks, a rotary tool with a cutting disc cuts through metal parts. Use this tool carefully to avoid damage. Having these optional tools ready can save time and frustration.
Safety Precautions
Removing a deadbolt from a door can be tricky. Safety should be the top priority. Taking simple precautions helps avoid injuries and damage. Stay careful and follow these safety tips.
Protecting Your Hands
Wear gloves to protect your hands from sharp edges. Deadbolt parts can be rough or metal. Gloves give a better grip and stop cuts. Avoid touching rusty or dirty parts directly.
Avoiding Door Damage
Use the right tools to prevent scratches and dents. Work slowly and gently on the door surface. Place a cloth or tape around the area to protect the finish. Avoid forcing the deadbolt out to keep the door intact.
Removing Interior Components
Removing the interior components of a deadbolt is the next step after accessing the lock. This part is important because it helps you reach the mechanism inside the door. You need to handle this carefully to avoid damage. Follow clear steps to make the process smooth and safe.
Unscrewing The Faceplate
Start by locating the screws on the faceplate. Use a screwdriver to turn each screw counterclockwise. Keep the screws in a safe place for later use. Gently pull the faceplate away from the door. This exposes the lock’s inner parts. Take your time to avoid bending or breaking the plate.
Taking Off The Door Knob
Next, find the screws holding the door knob. They are usually visible on the knob’s base. Unscrew them carefully and set the screws aside. Pull the knob straight off the spindle. If it feels stuck, wiggle it slightly while pulling. Removing the knob clears the way to the deadbolt mechanism inside the door.
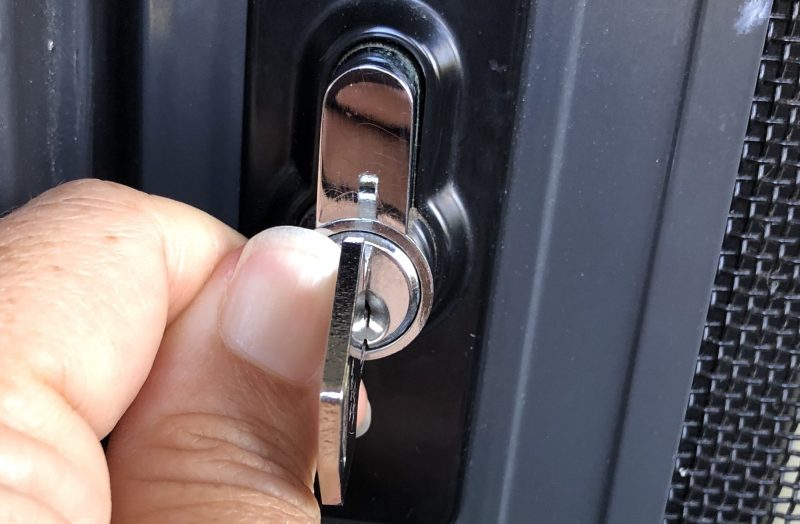
Credit: www.spscreens.com.au
Accessing The Deadbolt Mechanism
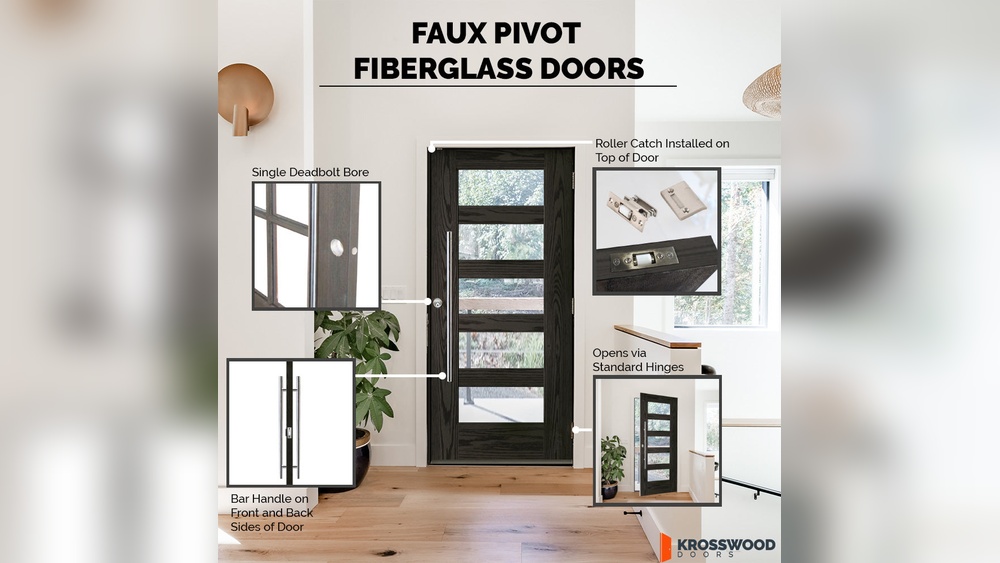
Accessing the deadbolt mechanism is the first step to remove it safely. You need to open the door panel to reach the parts inside. This process helps you see the screws and other pieces holding the lock. Knowing where to find these parts makes removal easier and faster.
Each deadbolt type may have a different setup. Understanding these differences avoids damage and frustration. Let’s explore how to find the mounting screws and handle various lock types.
Locating The Mounting Screws
Start by checking the edge of the door. The deadbolt usually has screws on the side plate. These screws hold the lock firmly in place.
Remove the screws carefully using a screwdriver. Keep them safe for reinstallation or replacement. Sometimes, screws hide under small covers or plates.
Look for tiny slots or holes near the lock faceplate. These covers can be popped off gently with a flat tool. Once exposed, the screws become easy to access.
Handling Different Lock Types
Deadbolts come in single-cylinder or double-cylinder types. Single-cylinder locks have a keyhole on one side and a thumb turn on the other. Double-cylinder locks require a key on both sides.
For single-cylinder locks, remove the interior thumb turn first. It often detaches by unscrewing or pulling off gently. Then, access the screws holding the deadbolt.
Double-cylinder deadbolts need both sides unscrewed. The key may be required to unlock the bolt before removal. Take your time to avoid breaking the lock parts.
Some locks use hidden screws or special fasteners. Use the right screwdriver or tool to avoid stripping screws. Patience and the correct tools make the job smooth.
Detaching The Deadbolt
Detaching a deadbolt from a door can be done with a few simple steps. You only need some basic tools and patience. The process involves loosening the lock cylinder and then removing the bolt itself. Each step must be done carefully to avoid damage to the door or lock parts.
Loosening The Lock Cylinder
Start by locating the screws on the inside part of the lock. These screws hold the lock cylinder in place. Use a screwdriver to remove them. Once the screws are out, gently pull the lock cylinder away from the door. Sometimes, the cylinder may stick. Wiggle it lightly until it comes free. Keep the parts safe for reassembly or replacement.
Removing The Bolt From The Door
After removing the lock cylinder, focus on the bolt. The bolt is the metal piece that slides into the door frame. Look for screws on the edge of the door, near the bolt. Unscrew these carefully. Pull the bolt straight out. If it feels stuck, use a flat tool to pry it gently. The bolt should come out without force. Check the bolt and door edge for damage before installing a new lock.
Dealing With Stuck Deadbolts
Dealing with stuck deadbolts can be frustrating and tricky. Sometimes, the bolt just won’t move, even with the key. Dirt, rust, or lack of lubrication often cause this problem. Fixing it needs patience and the right methods. Small steps can make a big difference.
Using Lubricants
Lubricants help ease the deadbolt’s movement. Choose a graphite or silicone spray. Avoid oil-based sprays as they attract dust and dirt. Spray the lubricant into the keyhole and around the bolt. Let it sit for a few minutes. Try turning the key gently to spread the lubricant inside. Repeat if the bolt still feels stuck.
Applying Gentle Force Safely
Use gentle force to move the stuck deadbolt. Do not force the key hard; it can break inside. Wiggle the key slowly while pulling or pushing the bolt. Tap the lock lightly with a small hammer to loosen parts. Avoid strong hits that can damage the lock or door. This careful approach helps free the deadbolt without causing harm.
Reinstalling Or Replacing The Lock
Reinstalling or replacing a deadbolt lock is a key step after removing the old one. It ensures your door stays secure and functions well. Taking time to prepare the door and install the new lock correctly saves effort later.
Preparing The Door For A New Lock
Start by cleaning the door surface around the lock area. Remove any debris or old paint that may block the new lock. Check the holes for size and shape. Use a drill or wood filler to adjust if needed.
Make sure the door edge is smooth. Sand rough spots to help the lock fit better. Measure the backset distance, the space from the door edge to the center of the lock hole. Match this with the new lock’s requirements for a good fit.
Tips For Proper Installation
Align the lock parts carefully before screwing them in. Tighten screws evenly to avoid misalignment. Test the lock’s turn and latch action several times. Make sure the deadbolt slides smoothly without sticking.
Install the strike plate on the door frame firmly. It holds the bolt securely when locked. Use longer screws for extra strength. Check the lock operation from both sides of the door. Adjust as needed for easy use and solid security.

Credit: www.youtube.com
Frequently Asked Questions
How Do I Remove A Deadbolt From A Door?
To remove a deadbolt, first unscrew the interior and exterior knobs. Then, pull both parts away from the door. Finally, remove the latch mechanism by unscrewing the faceplate on the door edge.
What Tools Are Needed To Remove A Deadbolt?
You typically need a screwdriver, preferably a Phillips head, and sometimes a drill. A flathead screwdriver may also help to pry the lock components gently.
Can I Remove A Deadbolt Without Damaging The Door?
Yes, by carefully unscrewing all fasteners and gently pulling the parts apart, you can avoid door damage. Avoid using excessive force or prying tools.
How Long Does It Take To Get A Deadbolt Out?
Removing a deadbolt usually takes 10 to 20 minutes. Time varies depending on your experience and the lock type.
Conclusion
Removing a deadbolt from a door does not have to be hard. Follow the steps carefully and take your time. Use the right tools for the job. Stay safe and avoid forcing any parts. With patience, the deadbolt will come out smoothly.
Now, you can replace or fix the lock easily. Keep this guide for future reference. Simple actions lead to great results.