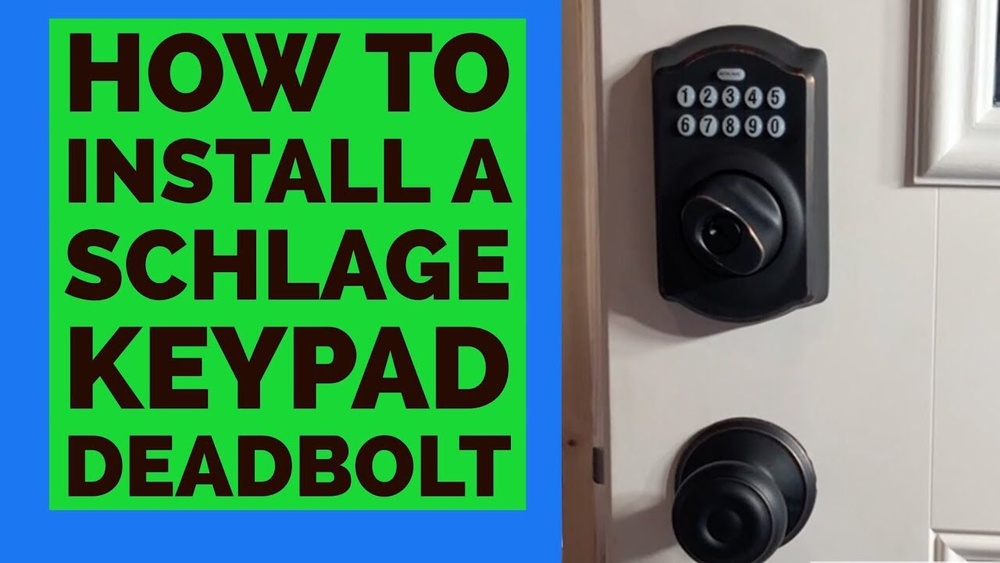
Looking to upgrade your home security without the hassle of keys? Installing a keypad deadbolt is a smart way to protect your space and enjoy easy access.
You might think it’s complicated, but with the right steps, you can do it yourself quickly and confidently. In this guide, you’ll find simple instructions that anyone can follow—even if you’ve never handled a lock before. Keep reading, and by the end, you’ll have a secure, key-free entry that gives you peace of mind every time you come home.
Choosing The Right Keypad Deadbolt
Choosing the right keypad deadbolt is key to home security and convenience. It affects how safe your home feels and how easy it is to use the lock daily. Picking the best one needs some thought about types, features, and your door’s fit.
Types Of Keypad Deadbolts
There are several keypad deadbolt types. Mechanical locks use physical buttons. They need no batteries or power.
Electronic locks run on batteries and offer advanced options. Some connect to your phone or smart home system.
Touchscreen locks let you enter codes on a glass panel. They often have backlighting for use at night.
Key Features To Consider
Look for easy code setup and change. Multiple user codes help family or guests.
Check for auto-locking features. They lock the door after closing automatically.
Battery life matters. Choose locks with long battery life or low battery alerts.
Weather resistance is important for outdoor doors. It keeps the lock working in rain or cold.
Compatibility With Your Door
Measure your door thickness before buying. Most locks fit standard doors, but some need special sizes.
Check your door’s edge to match the bolt size. Deadbolt length must fit the door frame.
Consider door material. Some locks work better on wood, metal, or fiberglass doors.

Credit: www.familyhandyman.com
Tools And Materials Needed
Installing a keypad deadbolt requires a few tools and materials. Having the right items ready makes the process easier and faster. This section lists everything needed for a smooth installation.
Essential Tools
- Power drill with drill bits
- Phillips screwdriver
- Flathead screwdriver
- Tape measure
- Pencil or marker
- Chisel
- Hammer
- Level
Additional Supplies
- Keypad deadbolt lock kit
- Wood filler (for fixing any mistakes)
- Masking tape (to mark drill spots)
- Batteries (usually AA or AAA for keypad)
- Safety glasses
- Work gloves
Preparing The Door
Preparing the door is the first step to install a keypad deadbolt. It ensures the new lock fits perfectly and works well. Proper preparation prevents problems during installation and improves security.
This stage involves removing the old deadbolt and measuring the door carefully. These tasks set a solid base for the new lock. Let’s explore how to prepare your door for the keypad deadbolt.
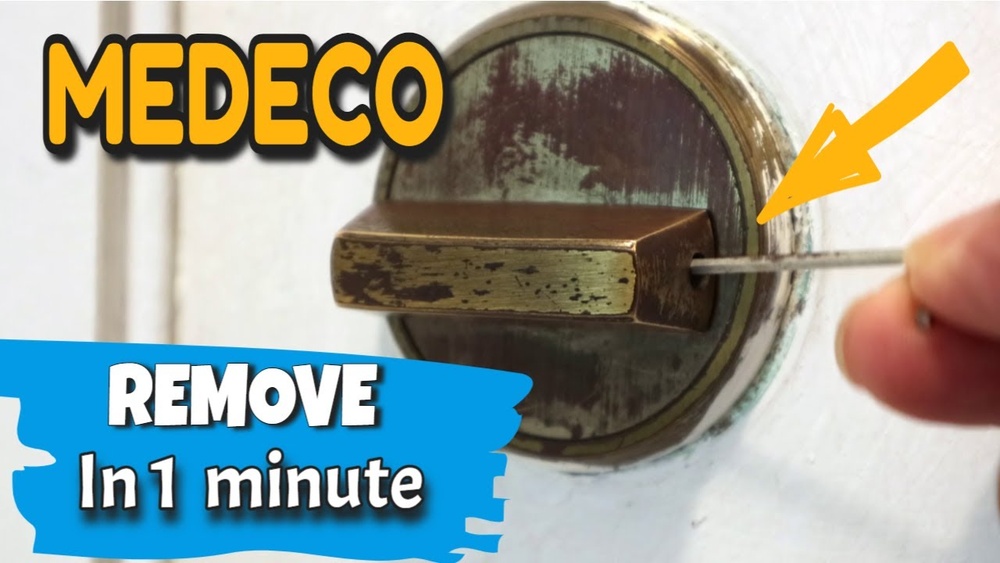
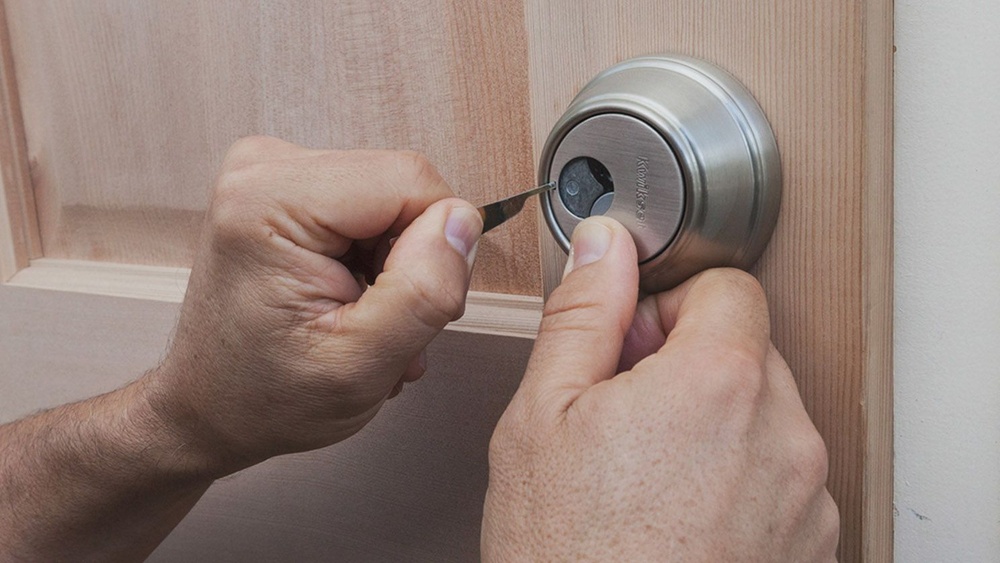
Removing The Old Deadbolt
Start by opening the door. Locate the screws on the interior side of the deadbolt. Use a screwdriver to remove them. Pull out the deadbolt parts gently.
Remove the latch from the door edge. Check the door for any damage or dirt. Clean the area well. This helps the new lock fit tightly and work smoothly.
Measuring And Marking
Measure the hole on the door where the deadbolt was. Check the size matches the new keypad lock. Use a tape measure for accuracy.
Mark the points for drilling new holes if needed. Use a pencil and a level tool to keep marks straight. Precise marks make the installation easier and secure.
Credit: fixthisbuildthat.com
Installing The Deadbolt Components
Installing the deadbolt components is the key step in securing your door. This process involves placing the exterior keypad, attaching the inside assembly, and fixing the strike plate. Each part must fit correctly for smooth operation and safety. Follow these steps carefully for a sturdy lock.
Fitting The Exterior Keypad
Start by aligning the keypad with the holes on the door. Make sure the keypad sits flush against the surface. Insert the screws through the keypad and into the door. Tighten them gently to avoid damaging the unit. Check that the keypad buttons press easily. The exterior keypad controls access, so proper fitting is essential.
Attaching The Interior Assembly
Next, place the interior assembly on the door’s inside. Connect the tailpiece from the keypad through the door hole. Align the screw holes with the exterior keypad screws. Secure the assembly with screws and tighten firmly. Attach the battery pack or cover as per the model. The interior assembly operates the deadbolt from inside.
Securing The Strike Plate
Locate the strike plate on the door frame. Position it so the bolt fits perfectly into the hole. Mark the screw holes and drill pilot holes if needed. Attach the strike plate with screws and tighten fully. This plate holds the bolt, providing extra strength. A well-secured strike plate improves lock durability and safety.
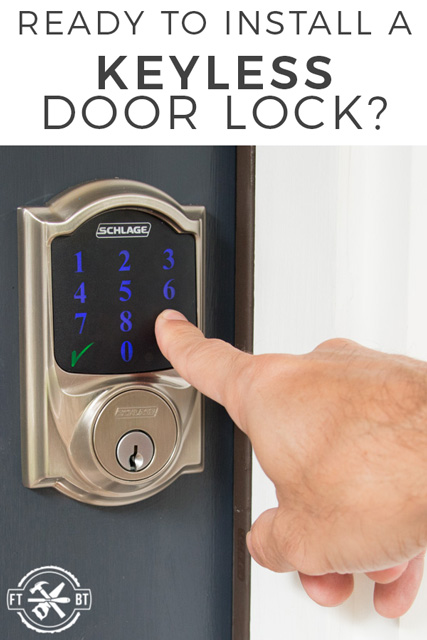
Programming The Keypad
Programming the keypad is the key step after installing your deadbolt. This step allows you to set codes for entry. You control who can access your home. Each code can be unique to a person. It keeps your home safe and secure.
Setting Up User Codes
Start by entering the master code provided in the manual. This code lets you add or delete user codes. Choose a new user code that is easy to remember. Avoid simple numbers like 1234 or 0000. Enter the new code and confirm it. Repeat this process for each person needing access. Store the master code in a safe place. Never share it freely.
Testing The Lock Functionality
Test each user code before finishing the setup. Enter the code on the keypad and check if the lock opens. Try locking the door with the keypad as well. Make sure the keypad responds quickly and correctly. If the lock does not work, reset and try again. Confirm all codes operate smoothly to avoid issues later.
Troubleshooting Common Issues
Troubleshooting common problems helps keep your keypad deadbolt working well. Small issues can stop the lock from working properly. Fixing them quickly saves time and stress.
Below are frequent problems and how to solve them. These tips help you enjoy smooth and secure door locking every day.
Keypad Not Responding
Check if the keypad has power. Dead batteries often cause no response. Press the keys firmly; dirt or dust may block signals. Try wiping the keypad with a soft cloth. Reset the lock by removing and reinserting batteries. If the problem continues, consult the user manual for reset steps.
Lock Misalignment
Misalignment stops the deadbolt from sliding smoothly. Look at the door frame and strike plate. Make sure they line up perfectly. Tighten any loose screws on the lock or door frame. Adjust the strike plate up or down to fit the bolt better. Test the lock by turning the keypad and handle slowly.
Battery Replacement Tips
Use fresh batteries to keep the lock working well. Avoid mixing old and new batteries. Always replace all batteries at the same time. Choose the battery type recommended by the manufacturer. Remove batteries if the lock will not be used for long. Check battery contacts for dirt and clean them before inserting new ones.
Maintenance Tips For Longevity
Proper maintenance keeps your keypad deadbolt working well for years. Small efforts prevent issues and ensure smooth operation. Follow these simple tips to protect your investment.
Regular Cleaning
Clean the keypad and lock regularly to remove dust and dirt. Use a soft cloth and mild soap with water. Avoid harsh chemicals that can damage the finish. Wipe gently around buttons to keep them responsive. Cleaning stops grime from blocking the keys or sensors.
Software Updates
Check for updates from the manufacturer often. Updates improve security and fix bugs. Follow the instructions to install updates quickly. Staying current reduces the risk of hacking. It also adds new features sometimes.
Battery Care
Replace batteries before they run out completely. Low batteries cause the lock to work slowly or fail. Use high-quality batteries for longer life. Keep spare batteries handy for quick swaps. Clean battery contacts if you see corrosion.

Credit: www.youtube.com
Frequently Asked Questions
How Do I Install A Keypad Deadbolt Lock?
Start by removing the old lock and marking drill holes. Attach the keypad and deadbolt components. Secure with screws. Test the lock for smooth operation. Follow manufacturer instructions carefully for best results.
What Tools Are Needed For Keypad Deadbolt Installation?
You will need a screwdriver, drill, tape measure, pencil, and level. Some models may require a chisel or additional hardware. Always check the installation manual to prepare the right tools before starting.
How Long Does It Take To Install A Keypad Deadbolt?
Installation usually takes between 30 minutes to 1 hour. Time varies based on experience and door type. Reading instructions beforehand can speed up the process and ensure correct installation.
Can I Install A Keypad Deadbolt Myself?
Yes, most keypad deadbolts are designed for DIY installation. Basic tools and following step-by-step instructions make it manageable. If unsure, consider professional help to ensure security and proper fit.
Conclusion
Installing a keypad deadbolt can improve your home’s security. Follow each step carefully to avoid mistakes. Take your time and check the lock fits well. Test the keypad and the lock before final use. This simple upgrade adds convenience and safety to your door.
You can do it yourself with basic tools and patience. Keep instructions handy for future reference or battery changes. A secure door means peace of mind every day.