Are you struggling to hang something sturdy on a hollow wall? Plastic hollow wall anchors might be the simple solution you need.
They give your screws a strong grip where drywall alone just won’t hold. In this guide, you’ll learn exactly how to install these anchors quickly and securely, even if you’ve never done it before. By the end, you’ll have the confidence to hang shelves, frames, or hooks without worrying about them falling down.
Keep reading to master this easy, reliable technique and get your walls working for you.

Credit: diy.stackexchange.com
Choosing The Right Anchors
Choosing the right plastic hollow wall anchors is key for a strong hold. Different anchors suit different walls and weights. Picking the correct one ensures your items stay secure and your walls stay safe.
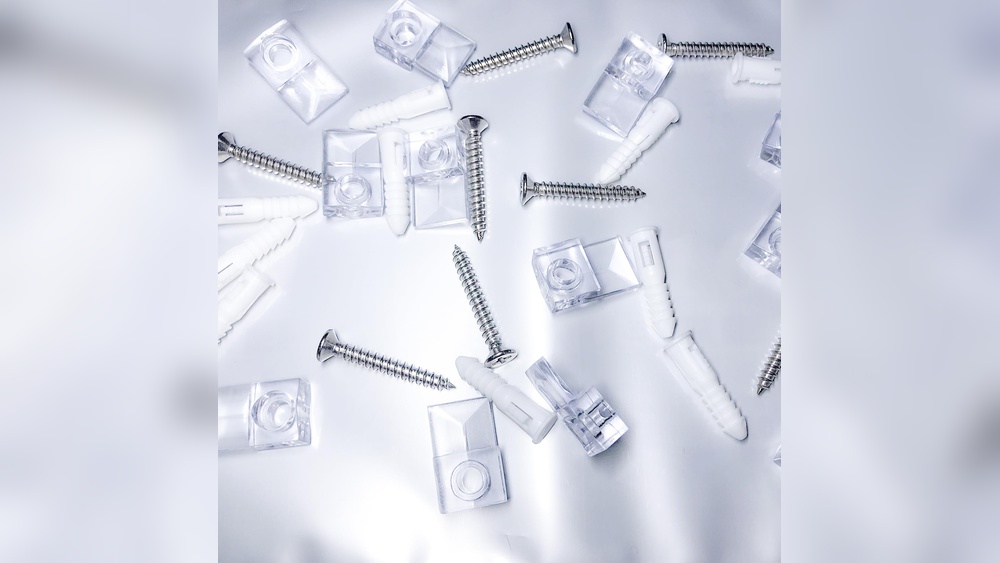
Types Of Plastic Hollow Wall Anchors
Plastic hollow wall anchors come in various shapes and sizes. Some have expanding wings for better grip inside the wall. Others have ribbed bodies to hold firmly in drywall. There are anchors designed for light loads and those for medium weight. Knowing these types helps pick the best anchor for your project.
Matching Anchors To Wall Material
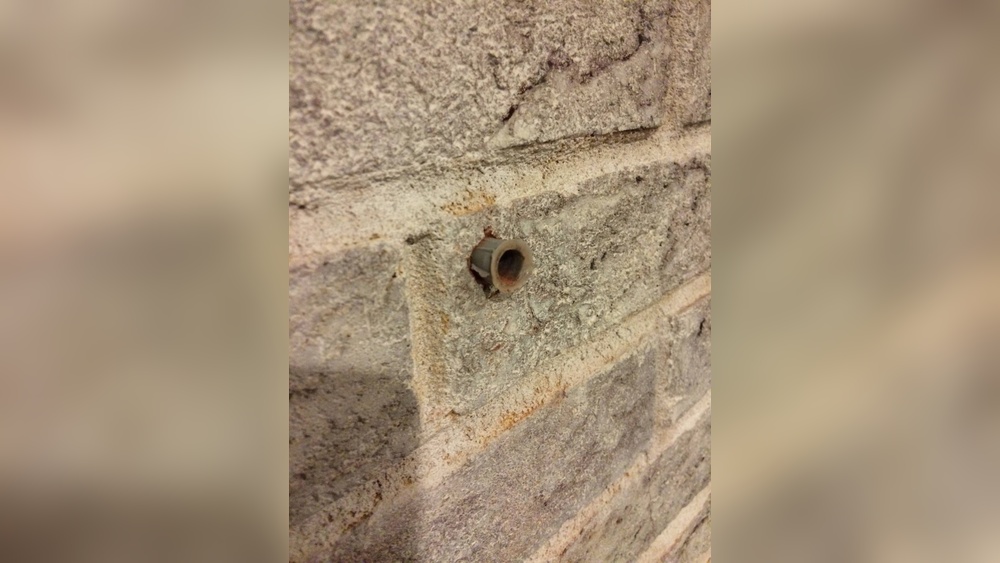
Each wall type needs a specific anchor style. Drywall walls work well with ribbed plastic anchors that spread inside the hollow space. Plaster walls require anchors that do not damage the surface. Some anchors fit well in hollow concrete blocks or brick walls. Choosing anchors made for your wall material prevents damage and ensures a strong hold.

Credit: www.reddit.com
Tools And Materials Needed
Installing plastic hollow wall anchors requires specific tools and materials. Having the right items ensures a smooth and secure installation. Prepare everything before starting to save time and avoid mistakes.
Essential Tools
You need a drill with the correct drill bit size. The bit must match the anchor diameter exactly. A screwdriver is necessary to tighten the screws into the anchors. A tape measure helps mark the exact spot on the wall. A pencil or marker is useful for marking drill points. A hammer may be needed to gently tap the anchor into the hole.
Safety Gear
Wear safety glasses to protect your eyes from dust and debris. Gloves protect your hands from sharp edges and rough surfaces. A dust mask prevents inhalation of wall dust during drilling. Use ear protection if you work with loud power tools. Safety gear keeps you safe and comfortable during installation.
Preparing The Wall
Preparing the wall is the first step for installing plastic hollow wall anchors. This step ensures the anchors fit securely and hold weight safely. Proper preparation helps avoid damage and makes the installation smooth.
Marking Anchor Locations
Start by deciding where to place the anchors. Use a pencil to mark spots on the wall. Measure carefully to keep the marks even and level. Double-check the marks before drilling. Correct marks help the anchors hold better and keep items straight.
Drilling Pilot Holes
Choose a drill bit size that matches the anchor diameter. Drill holes exactly on the marked spots. Drill straight and steady to avoid angled holes. Clean out dust from the holes to help anchors fit tightly. Proper holes make the installation strong and long-lasting.

Credit: www.fmwfasteners.com
Installing The Anchors
Installing plastic hollow wall anchors is a simple process that makes your wall strong enough to hold items. These anchors spread inside the wall, giving a firm grip. This section explains how to place and secure the anchors correctly. Follow these steps to ensure your wall holds the weight safely.
Inserting The Anchor
Start by drilling a hole in the wall that matches the anchor size. The hole should be clean without dust. Take the plastic anchor and push it gently into the hole. Use your fingers or a light tap with a hammer. The anchor must fit snugly and not move around.
Securing The Anchor In Place
After insertion, the anchor needs to lock inside the wall. Insert the screw into the anchor and start turning it slowly. As the screw goes in, the anchor expands inside the wall cavity. This expansion holds the anchor tightly. Stop when the screw feels firm but do not over-tighten.
Mounting Items On The Wall
Mounting items on the wall needs care and the right tools. Using plastic hollow wall anchors helps secure objects firmly. These anchors expand inside the wall, giving strong support. Proper use prevents damage and holds your fixtures safely. Follow these steps to ensure a strong and safe mounting.
Choosing Appropriate Screws
Select screws that fit your wall anchors well. The screw size must match the anchor size exactly. Too large screws can break the anchor. Too small screws will not hold the item firmly. Use screws made of rust-resistant materials for longer life. Check the screw length to fit the thickness of your item and wall.
Attaching Fixtures Safely
Place the item carefully against the wall. Insert the screw into the anchor slowly to avoid damage. Tighten the screw until the item feels secure. Avoid overtightening, which can crack the wall or strip the anchor. Test the fixture by gently pulling it to confirm stability. Proper installation keeps your items safe and your walls intact.
Troubleshooting Common Issues
Troubleshooting common issues with plastic hollow wall anchors helps ensure strong, lasting holds. Problems like anchor pullout or loose fittings can stop your project. Fixing these problems early saves time and frustration. Simple steps can correct most issues quickly.
Anchor Pullout Prevention
Anchor pullout happens when the wall material cannot hold the anchor. Choose the right size anchor for the hole and weight. Drill a hole just big enough for the anchor to fit snugly. Avoid drilling too large holes. Push the anchor fully into the wall until it is flush. Tighten screws carefully to avoid expanding the anchor too much. Use anchors designed for the wall type you have. For heavy items, use multiple anchors to spread the load.
Fixing Loose Anchors
Loose anchors reduce holding strength and can cause items to fall. Remove the loose anchor carefully from the wall. Fill the hole with a wall repair compound or wood glue. Let the filler dry completely before reinstalling the anchor. Use a slightly larger anchor or drill a new hole nearby. Avoid forcing screws into loose anchors. Tighten screws steadily and stop when secure. Check the anchor hold before hanging heavy objects.
Frequently Asked Questions
What Tools Do I Need To Install Plastic Hollow Wall Anchors?
You need a drill, drill bit, screwdriver, hammer, and the plastic hollow wall anchors. These tools help you securely fasten anchors in hollow walls.
How Do I Choose The Right Size Hollow Wall Anchor?
Select an anchor size based on the screw and wall thickness. Check packaging for weight limits and compatibility with your wall type.
Can I Install Plastic Hollow Wall Anchors In Drywall?
Yes, plastic hollow wall anchors work well in drywall. They expand behind the wall to provide a strong hold for lightweight fixtures.
How Deep Should I Drill For Hollow Wall Anchors?
Drill a hole slightly smaller than the anchor length. This ensures a snug fit and proper expansion of the anchor inside the wall.
Conclusion
Installing plastic hollow wall anchors is simple with the right steps. Drill the hole carefully and choose the correct anchor size. Push the anchor in until it fits snugly inside the wall. Tighten the screw slowly to hold your item firmly.
These anchors work well for light to medium loads. With practice, you can hang shelves, pictures, or mirrors securely. Remember, patience and accuracy make the job easier. Try it yourself and see how strong your walls can hold. A small effort brings big results.