Are you ready to bring your latch hook wall hanging to life on your walls? Hanging your creation the right way can make all the difference in how it looks and lasts.
Whether you’re a beginner or have some experience, this guide will help you hang your latch hook piece securely and beautifully. Keep reading, and you’ll discover simple steps that save you time and frustration, so your artwork stands out exactly the way you want it to.
Let’s get started!
Choose The Right Spot
Choosing the right spot to hang your latch hook wall hanging is important. The right place makes your art stand out and last longer. It also helps keep your space neat and beautiful. Think about the best wall space, lighting, and traffic flow. These factors make a big difference.
Consider Wall Space
Pick a wall area that fits the size of your latch hook piece. Avoid walls that are too crowded with other decorations. A clear space lets your wall hanging shine. Make sure the wall is flat and smooth for easy hanging. Measure the spot before you hang to ensure a good fit.
Check Lighting Conditions
Good lighting shows the colors and texture well. Natural light is best, but avoid direct sunlight. Sunlight can fade the yarn over time. Soft, indirect light keeps the colors bright and fresh. Use lamps or ceiling lights if the room is dark.
Avoid High Traffic Areas
Keep your latch hook away from busy paths. Areas with heavy movement can cause damage or dirt. Avoid spots near doors, stairs, or hallways. Choose a calm place where it won’t get bumped or scratched. This helps your wall hanging stay beautiful longer.
Gather Necessary Tools
Gathering the right tools makes hanging a latch hook wall hanging simple and smooth. Having everything ready helps avoid pauses and mistakes. Prepare your workspace and collect tools before starting.
Select Appropriate Hooks
Choose hooks that fit the size and weight of your wall hanging. Small, lightweight pieces need simple picture hooks. Larger, heavier hangings require stronger hooks or anchors. Match the hook type to your wall material for best hold.
Prepare Measuring Tools
Use a tape measure or ruler to find the perfect spot on the wall. Measure the distance from the top of the wall hanging to the hook point. Mark the wall lightly with a pencil to guide placement. Accurate measuring keeps your art straight and centered.
Have A Level Handy
A level ensures your latch hook wall hanging stays even. Place it above or below the hook marks to check alignment. Adjust marks as needed until the bubble centers. Hanging your piece level improves the room’s look and feel.
Prepare The Latch Hook
Preparing your latch hook wall hanging properly ensures it stays beautiful and secure on your wall. This step helps protect your artwork and makes hanging easier. Follow these simple tips to get your latch hook ready for display.
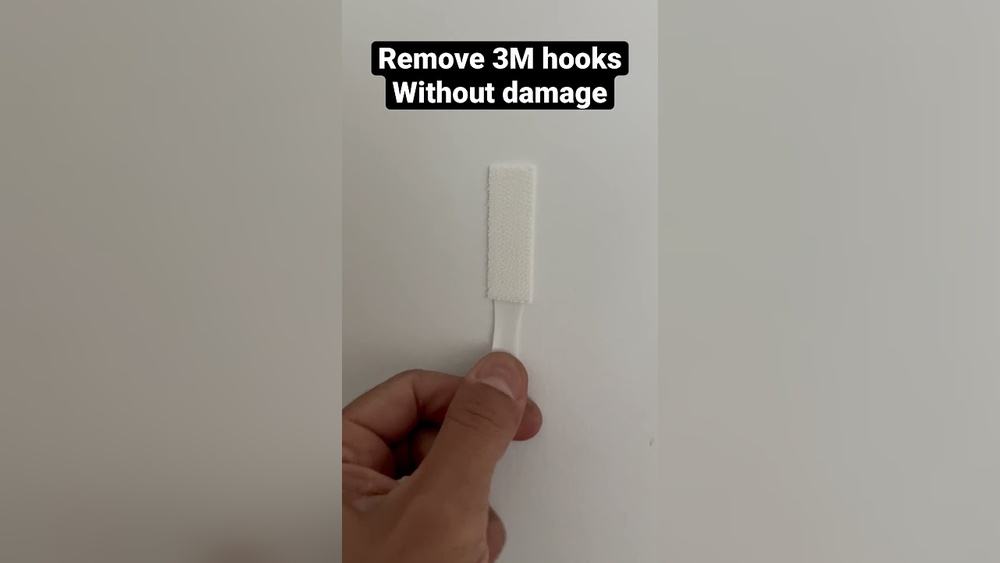
Attach Hanging Hardware
Choose the right hardware for your wall hanging. Small D-rings or sawtooth hangers work well. Attach them to the wooden frame or sturdy backing of your latch hook. Use screws or small nails to fix the hardware firmly. Make sure both sides have hardware at the same height. This keeps the hanging straight and balanced.
Secure The Backing
The backing keeps your latch hook stable and protects the yarn. Use a piece of cardboard or thin wood cut to size. Attach it to the back with strong tape or staples. Press the backing firmly to avoid gaps. This support helps the wall hanging keep its shape over time.
Check For Stability
Hold your latch hook by the hardware to test stability. It should feel solid without wobbling. Adjust the hardware if it tilts or is loose. Make sure the backing is tight and flat. A stable latch hook hangs neatly and lasts longer on your wall.
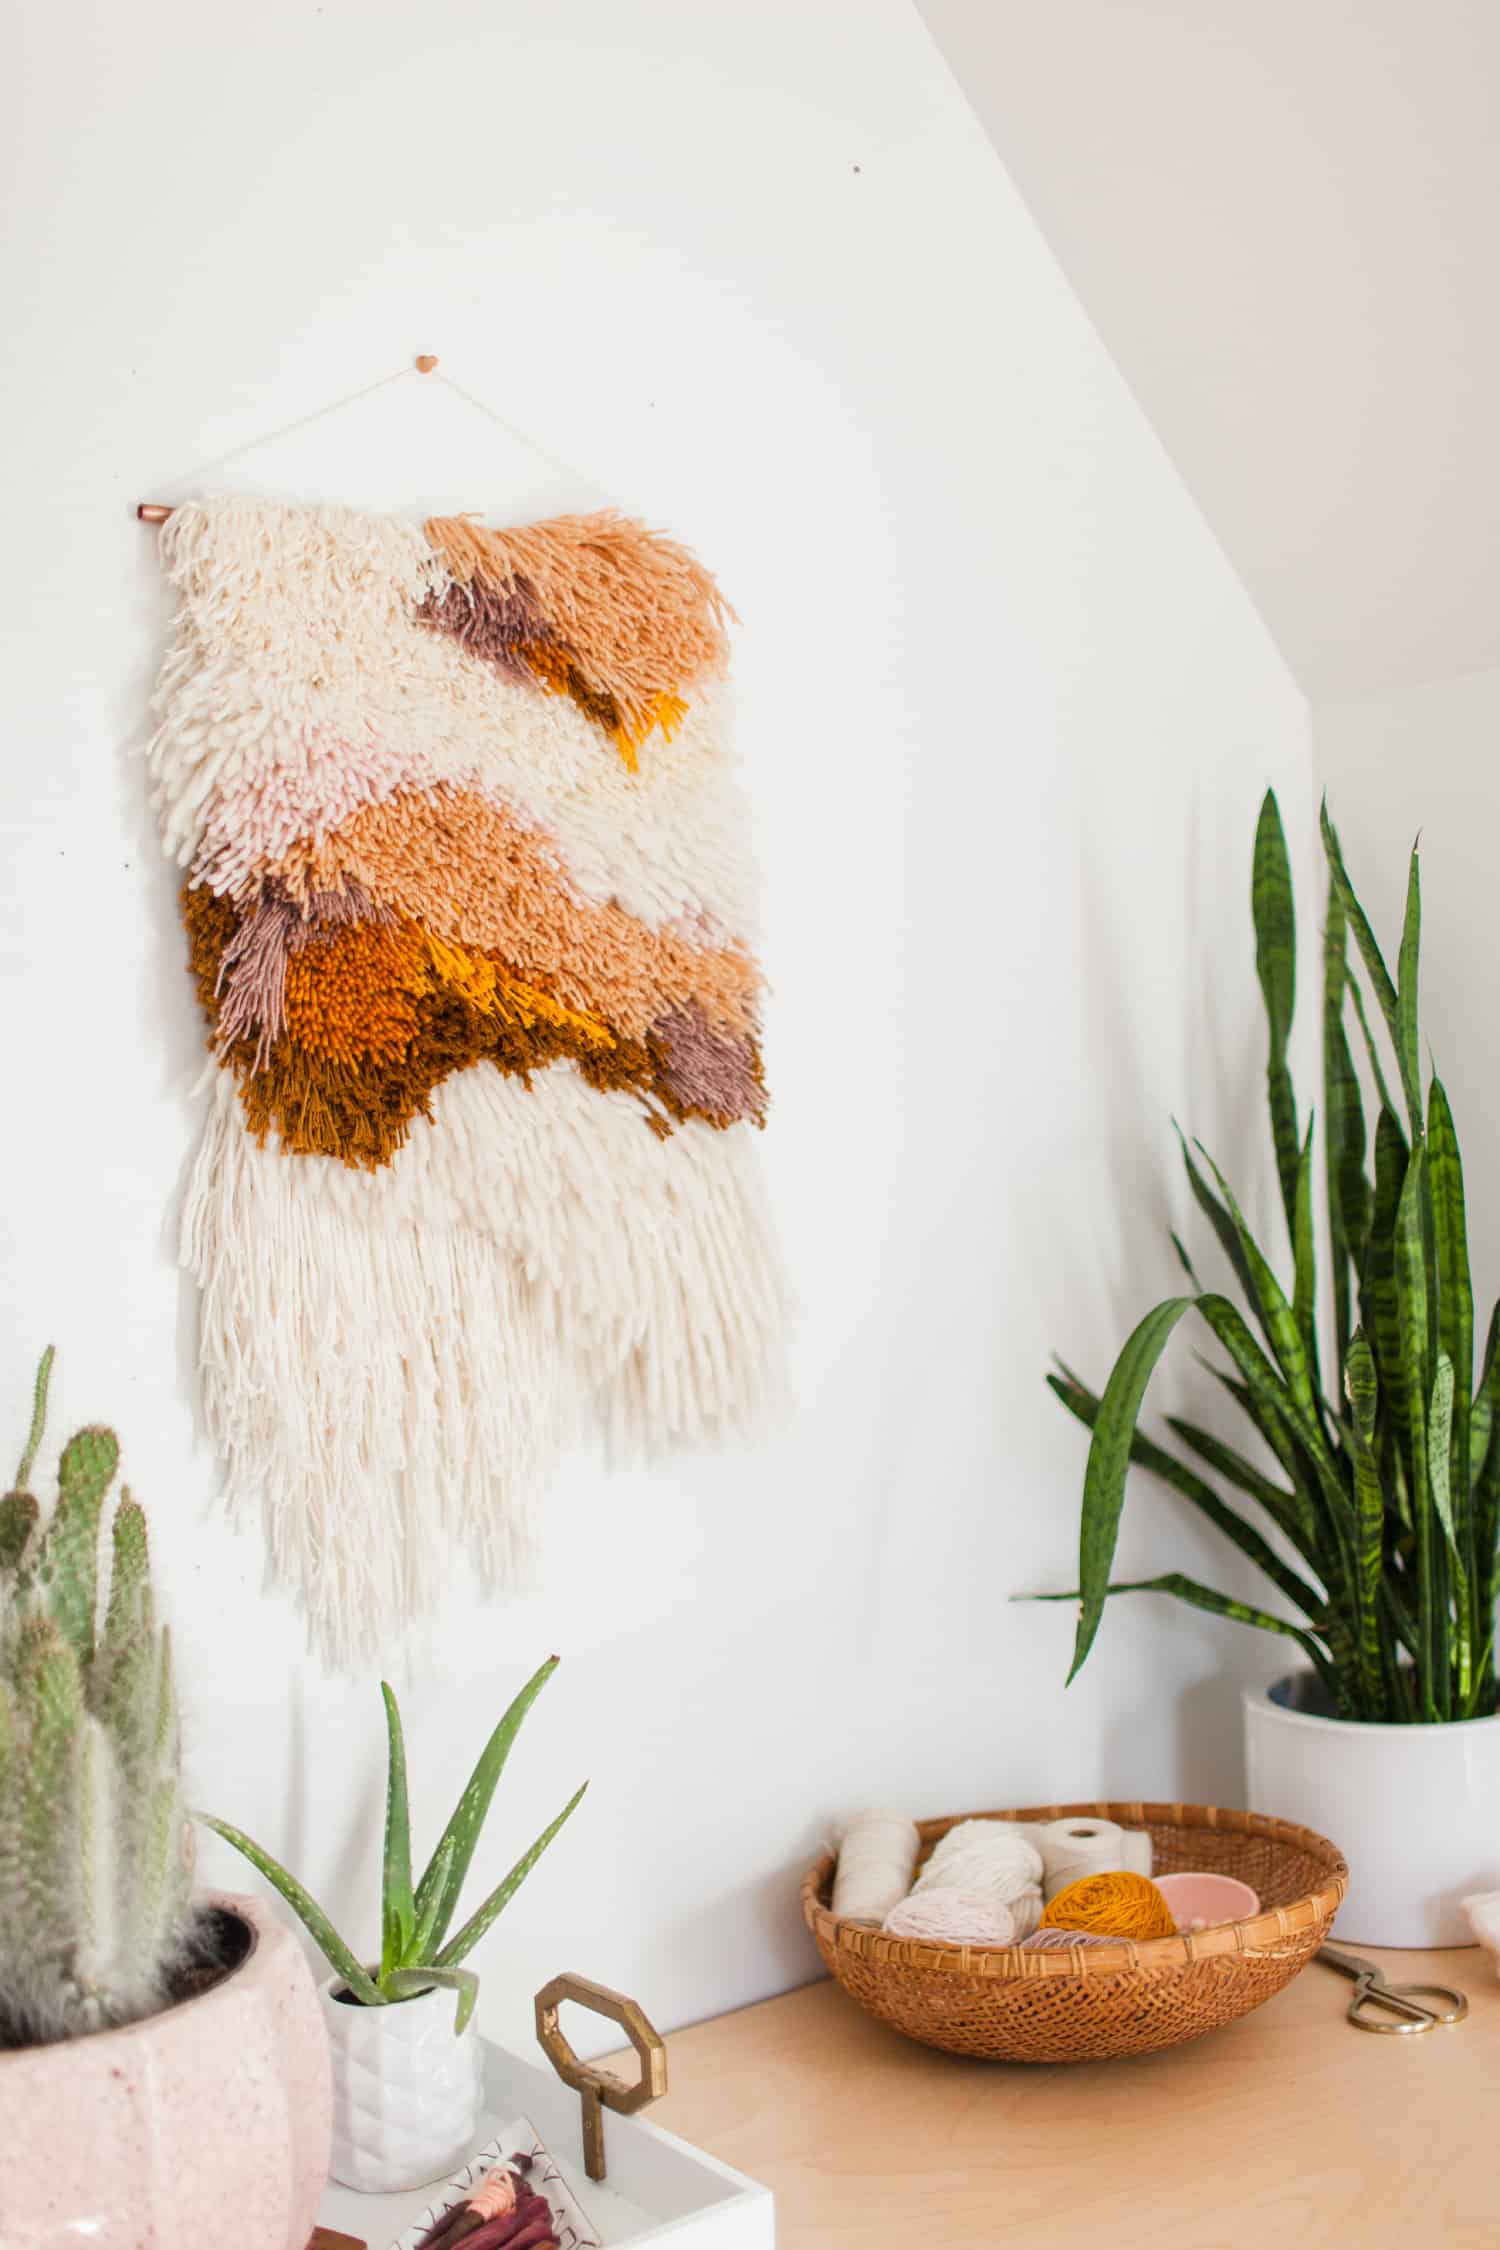
Credit: studiodiy.com
Measure And Mark
Measuring and marking is a key step before hanging your latch hook wall hanging. It helps place your art exactly where you want on the wall. Accurate marks prevent uneven or crooked hanging. Take your time here for the best results.
Use a tape measure and pencil for this process. Small marks are enough to guide you. Erase them later if needed. Let’s break down how to measure and mark properly.
Find Center Point
First, find the center point of your wall hanging. Measure the width of the latch hook piece. Divide the number by two. This gives the middle spot of your artwork.
Next, measure the wall space where the piece will hang. Find the midpoint there too. Align the center of your art with the wall’s center point. This keeps your hanging balanced.
Mark Hook Placement
Look at the back of your wall hanging. Find where the hanging hooks or loops are placed. Measure the distance between them. Mark these spots on your wall using a pencil.
Use a level to make sure marks are even. This helps your hanging stay straight. Mark lightly. You want to see the marks but erase them later.
Double Check Measurements
Double check all your measurements before you drill or hammer. Re-measure the width of your art and the wall. Confirm the hook marks line up with your hanging points.
Check if your marks are level and centered. Adjust if needed. This step saves you from mistakes and holes in the wall.
Install Hooks
Installing hooks is a key step to hang your latch hook wall hanging securely. The right hooks hold the weight and keep the piece flat against the wall. This section guides you through choosing and placing hooks properly for a neat display.
Use Wall Anchors If Needed
Wall anchors provide extra support when hooks go into drywall. They stop hooks from pulling out under weight. Choose anchors based on your wall type and hanging size. Insert anchors before screwing in hooks for a firm hold.
Drive Hooks Safely
Drive hooks into anchors or studs carefully. Use a screwdriver or drill for control. Keep hooks straight to avoid damage to the wall or hanging. Check that hooks sit flush and do not wobble.
Test Hook Strength
Gently tug on each hook after installation. Ensure the hook holds tight without shifting. Test strength supports your latch hook and prevents falls. Replace weak hooks or anchors to avoid accidents.
Hang The Wall Hanging
Hanging your latch hook wall hanging correctly makes a big difference. It shows off your work and keeps it safe. Follow simple steps to hang it nicely on your wall. This helps the design look great and stay in place longer.
Align With Hooks
Start by finding the hooks or nails on your wall. Hold the wall hanging close and line its top edge with these hooks. Make sure the hanging’s loops or hanging strings sit right on the hooks. This keeps it steady and stops it from slipping down.
Ensure Even Hanging
Check if the wall hanging is straight by stepping back. Look from side to side to see if it hangs evenly. Use a level tool if you have one for accuracy. Adjust the position on the hooks until it looks balanced and not tilted.
Adjust For Perfect Display
Make small changes to get the best look. Pull the hanging gently to smooth out wrinkles or folds. Shift it slightly left or right if the design is off-center. Keep adjusting until the latch hook wall hanging displays its full beauty.
Maintain Your Display
Maintaining your latch hook wall hanging keeps it looking fresh and vibrant. Proper care helps preserve colors and texture. Small steps protect your display from damage and wear.
Clean Gently
Use a soft brush or vacuum with a gentle setting. Avoid harsh chemicals or water that may harm fibers. Spot clean only if necessary, using mild soap and cold water. Let it air dry completely before rehanging.
Avoid Direct Sunlight
Sunlight fades colors quickly. Place your latch hook away from windows with strong sun rays. Choose spots with indirect or soft light. This keeps the design bright for a longer time.
Check Hooks Periodically
Inspect the hooks holding your wall hanging every few months. Make sure they are secure and not bending. Replace any weak hooks to avoid falls. This keeps your art safe and stable on the wall.

Credit: www.latchhookcrafts.com
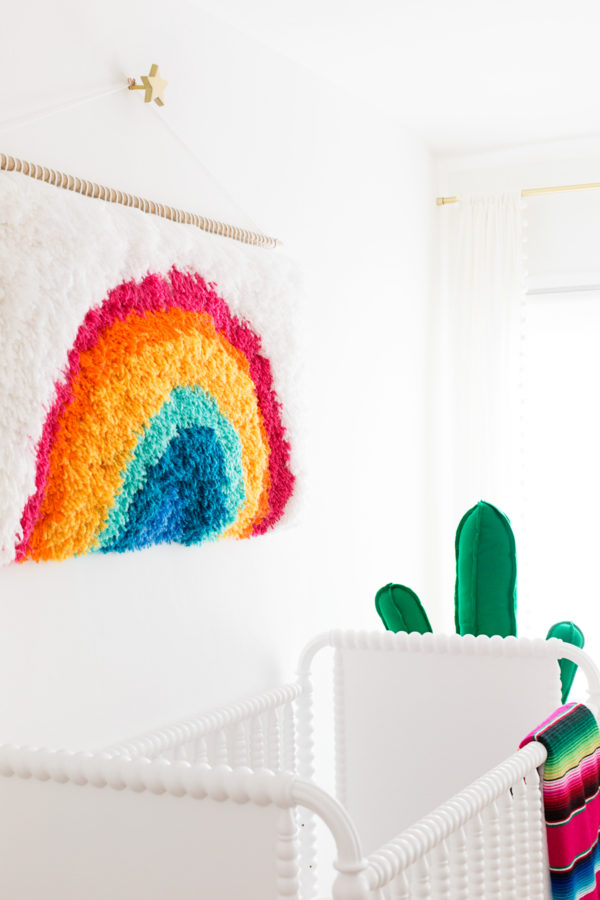
Credit: abeautifulmess.com
Frequently Asked Questions
How Do I Prepare My Wall For A Latch Hook Hanging?
Clean the wall surface and remove dust or debris. Use a level to mark where the hanging will go. Ensure the wall is dry and smooth for better adhesion or secure mounting.
What Tools Are Needed To Hang A Latch Hook Wall Hanging?
You need a hammer, nails or picture hooks, a level, and a measuring tape. Optional tools include adhesive strips or wall anchors for heavier pieces.
Can I Hang A Latch Hook On Drywall Without Studs?
Yes, use wall anchors or strong adhesive hooks. These provide extra support and prevent damage to drywall.
How High Should I Hang My Latch Hook Wall Hanging?
Hang it at eye level, typically 57 to 60 inches from the floor. This height ensures optimal viewing and aesthetic balance.
Conclusion
Hanging a latch hook wall piece is simple with clear steps. Choose the right spot and tools for best results. Take your time and follow each step carefully. Your wall will look great with this handmade art. Enjoy the satisfaction of displaying your own creation.
Try different designs to add color and charm. Keep practicing, and your skills will grow. This craft brings joy and a personal touch to any room.