Hanging a picture with just one hook can sometimes leave your artwork crooked or unstable. But what if you could make it hang perfectly straight and secure every time?
Using two hooks is the simple trick that can transform your walls and give your space a polished, professional look. In this guide, you’ll learn exactly how to hang a picture on the wall with two hooks—step by step. By the end, you’ll have the confidence to display your favorite pieces without worrying about them slipping or tilting.
Ready to make your walls look amazing? Let’s get started!
Tools And Materials Needed
Hanging a picture with two hooks needs the right tools and materials. Having these ready makes the task easier and ensures your picture hangs straight and safe. A simple list helps you prepare before you start.
Choose hooks, nails, and anchors that fit your wall and picture weight. Use measuring and leveling tools to place the hooks evenly. This prevents crooked pictures and wall damage.
Choosing The Right Hooks
Select hooks that hold your picture’s weight. Small frames need light-duty hooks. Heavy frames require strong, heavy-duty hooks. Hooks come in various shapes and sizes. Pick ones that fit your picture’s hanging style and wall type. Metal hooks are best for durability. Avoid plastic hooks for heavy pictures.
Selecting Suitable Nails And Anchors
Use nails that fit your hooks and wall material. For drywall, use anchors to keep nails from pulling out. Plastic or metal anchors work well. Match anchor size to nail size for a tight fit. If hanging on wood, nails alone may be enough. Check the weight rating on nails and anchors. This keeps your picture secure and the wall safe.
Gathering Measuring And Leveling Tools
Measure carefully to place hooks evenly. A tape measure helps find exact spots. Use a pencil to mark the wall lightly. A level ensures hooks are straight. Even a small bubble level works fine. This keeps your picture from hanging crooked. A ruler or straight edge can also help. Having these tools ready saves time and effort.
Credit: diyinspired.com
Preparing The Wall
Preparing the wall is the first step to hang a picture with two hooks. This process helps the picture stay secure and look good. Taking time to prepare the wall avoids damage and makes the hanging easier.
Finding The Ideal Spot
Choose a spot with enough space for the picture. Think about the height and how it fits with other items. Pick a place where the picture will catch attention but not block light.
Use a pencil to mark the spot lightly. Make sure the two hooks will align well for balance. Measure the distance between hooks on the back of your picture to match the wall marks.
Cleaning The Surface
Wipe the wall with a clean cloth. Remove dust, dirt, or grease that can stop hooks from sticking. Use mild soap and water for tough stains, then dry the area completely.
A clean surface helps the hooks stay fixed. It also keeps the wall safe from damage or paint peeling.
Checking Wall Material
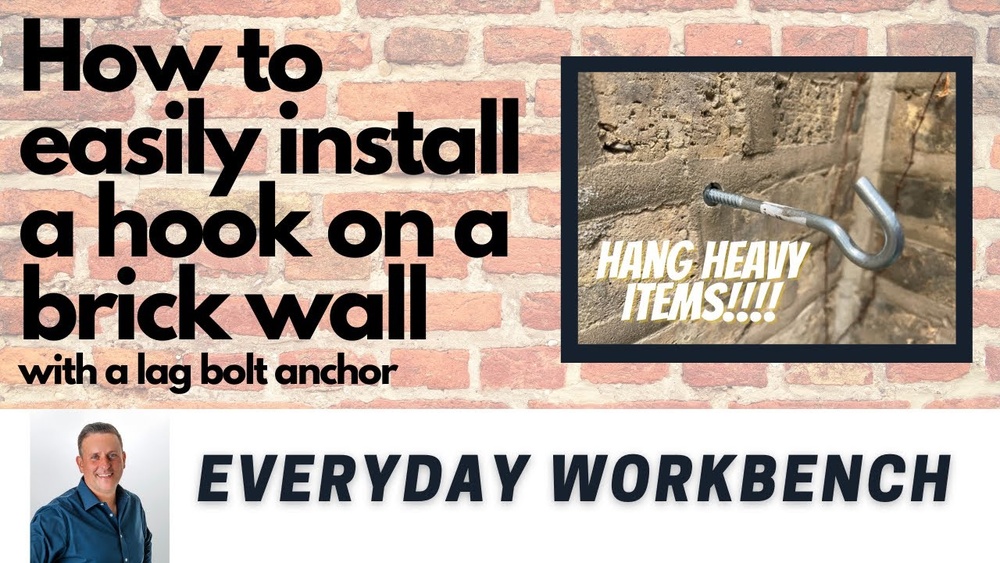
Know your wall type before hanging. Drywall, plaster, brick, or wood need different hooks and tools. Use a stud finder for drywall to locate strong spots behind the wall.
Choose hooks designed for your wall material. This step ensures your picture will hang safely without falling or causing damage.
Measuring And Marking
Measuring and marking are key steps to hang a picture with two hooks. This process ensures your picture hangs straight and looks great. Taking time here saves effort later. Accuracy is important for balance and symmetry.
Determining Hook Placement
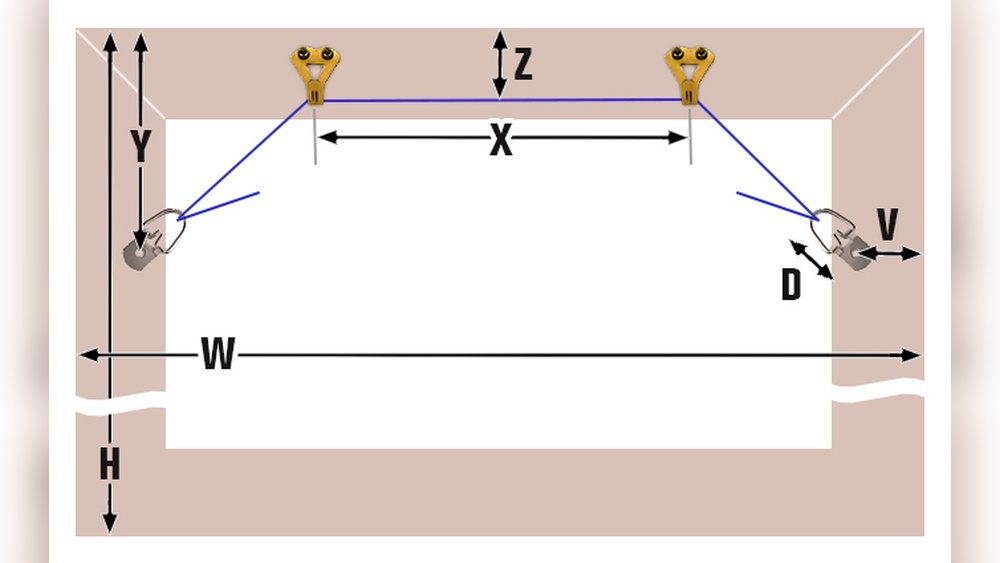
First, measure the width of the picture frame. Divide this measurement by two to find the center. Mark this point lightly on the wall. Next, decide the distance between the two hooks. Usually, hooks go about one-third from each side of the frame. Mark these spots on the wall. Correct hook placement holds the picture firmly and evenly.
Using A Level For Accuracy
Use a level tool to check your marks. Place the level horizontally between the two hook marks. Adjust the marks until the bubble is centered. This step prevents the picture from hanging crooked. A level ensures your picture stays straight and professional-looking.
Marking Drill Points
Once the hook positions are set, mark the drill points. Use a pencil to make small, clear marks. These marks guide where to drill holes or place nails. Double-check the marks with the level before drilling. Proper drill points make hanging smooth and secure.
Installing The Hooks
Installing hooks properly is key to hanging your picture securely. The right steps ensure the hooks hold the weight without damage. This part guides you through the basic process.
Drilling Pilot Holes
Start by marking where the hooks will go on the wall. Use a pencil for light marks. Choose a drill bit smaller than the wall anchors. Drill holes carefully at the marked spots. Keep the drill steady and straight. This prevents cracking the wall or making holes too big.
Inserting Wall Anchors
Push wall anchors gently into the pilot holes. They help the hooks grip the wall tightly. Tap them lightly with a hammer if needed. The anchors stop the hooks from pulling out. Choose anchors that fit your wall type and picture weight.
Securing The Hooks
Place the hooks over the wall anchors. Screw them in using a screwdriver or drill. Tighten until the hooks feel firm but do not over-tighten. Check if the hooks are straight and stable. They must hold the picture without moving.
Hanging The Picture
Hanging a picture with two hooks creates a strong hold and keeps your artwork straight. This method is great for medium to large frames. It helps avoid the picture leaning or tilting over time. Follow simple steps to hang your picture safely and evenly.
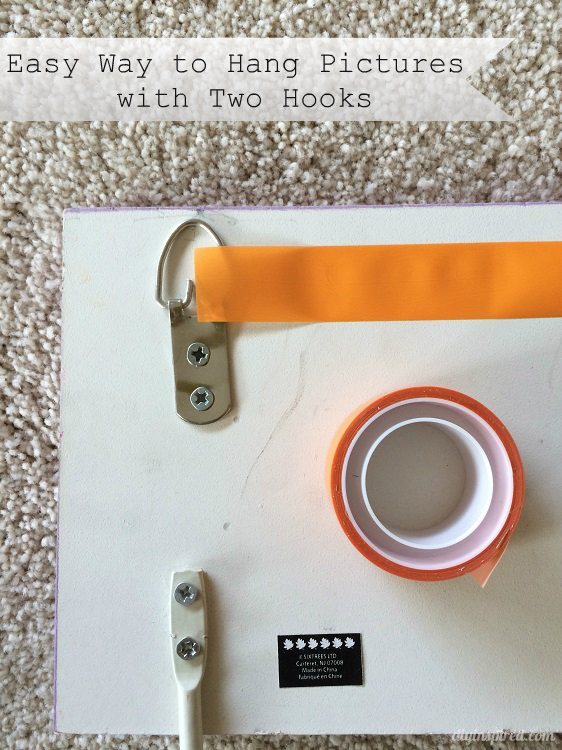
Attaching Wire Or Hanging Hardware
Start by securing a wire or hanging hardware to the back of your picture. Use D-rings or eye hooks on each side of the frame. Attach a strong wire between them, pulled tight but not too stiff. This wire will rest on the two wall hooks.
Aligning Hooks With Picture
Measure the distance between the hooks on the picture frame. Mark the same points on the wall, using a level for accuracy. Install the hooks at these marks, making sure they are even. This alignment keeps your picture balanced and straight.
Adjusting For Balance
Hang the picture by placing the wire on both hooks. Check if the frame is level. Shift the wire slightly on the hooks if needed. Adjust until the picture sits flat and does not tilt. Tighten the wire or hardware if you see any slack.

Credit: www.amazon.com
Troubleshooting And Tips
Hanging a picture with two hooks can be simple, but small issues may arise. Troubleshooting helps fix these problems fast. Tips also protect your wall and keep hooks strong.
Fixing Uneven Hanging
If your picture hangs crooked, check the hook positions. Use a level tool to measure both hooks. Adjust one hook higher or lower to balance. Small moves can make a big difference. Tighten the picture wire on the back for better support.
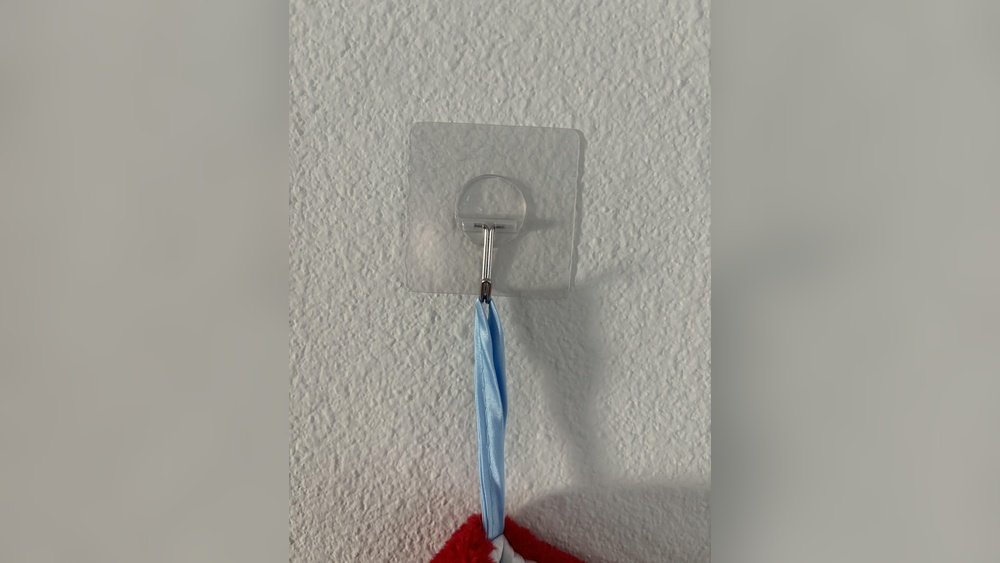
Protecting The Wall
Place felt pads behind the picture to avoid scratches. Choose hooks with rubber tips or covers. These stop paint from chipping. Avoid heavy frames on weak walls. Use wall anchors for stronger hold. Protecting the wall keeps it clean and smooth.
Maintaining Hook Stability
Ensure hooks are firmly in the wall. Push or hammer them gently but well. Check the hooks regularly for loosening. Replace any bent or damaged hooks. Use hooks rated for the picture’s weight. Stable hooks prevent falls and damage.

Credit: www.centromedicoloira.com
Frequently Asked Questions
How Do I Measure Spacing For Two Hooks?
Measure the distance between the hooks on the picture frame. Mark the same distance on the wall for accurate placement. Use a level to ensure the hooks are aligned horizontally for a balanced look.
What Tools Are Needed To Hang With Two Hooks?
You need a tape measure, pencil, level, drill or hammer, wall anchors, and screws or picture hooks. These tools help ensure secure and precise installation of the picture on the wall.
Can Two Hooks Support Heavy Pictures?
Yes, two hooks distribute weight evenly and support heavier pictures. Use strong anchors and screws suitable for your wall type to ensure stability and prevent damage.
How High Should I Hang Pictures With Two Hooks?
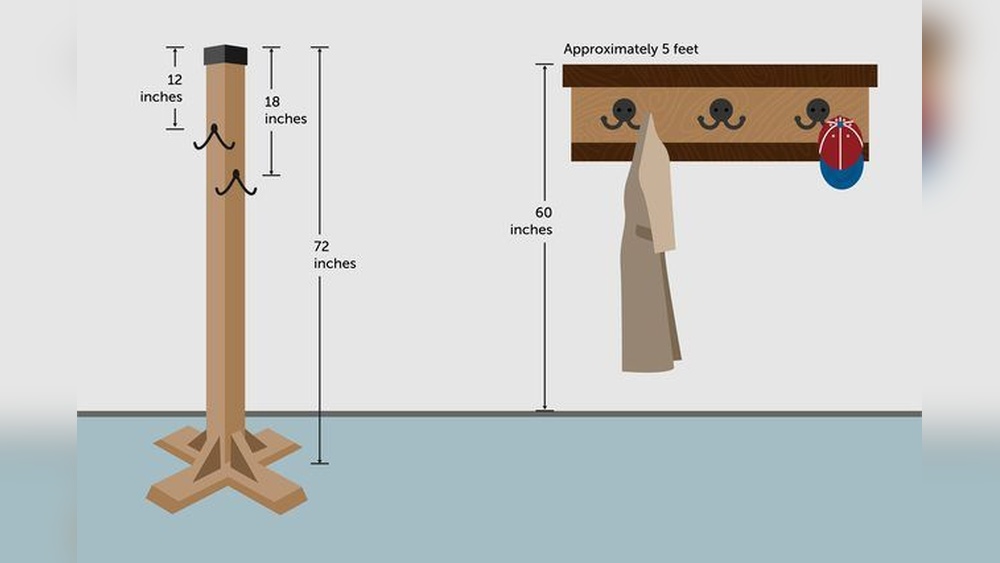
Hang the picture at eye level, usually about 57 to 60 inches from the floor. Adjust based on room height and furniture placement for the best visual appeal.
Conclusion
Hanging a picture with two hooks keeps it steady and balanced. Measure carefully and mark the spots before drilling. Use the right hooks for your wall type. Double-check the level to avoid crooked frames. This simple method makes your wall art look great.
Enjoy your beautifully hung picture every day. Easy steps lead to a neat and secure display. Try this approach to enhance your room’s look.