If you’re staring at your Lockwood deadbolt, feeling stuck and unsure how to remove it, you’re not alone. Whether you’re upgrading your security, fixing a jam, or replacing an old lock, knowing the right steps can save you time, money, and frustration.
Imagine how good it will feel to handle this task yourself, without calling a locksmith or risking damage to your door. In this guide, you’ll get clear, simple instructions that anyone can follow. Ready to take control and remove your Lockwood deadbolt with confidence?
Let’s get started.
Tools Needed
Removing a Lockwood deadbolt requires the right tools. Having the correct tools makes the job easier and faster. Some tools are essential, while others help with tough locks. Preparing your tools before starting saves time and frustration.
Basic Tools List
- Phillips screwdriver
- Flathead screwdriver
- Allen wrench (usually 4mm or 5mm)
- Tape measure
- Flashlight
These tools handle most deadbolt removal tasks. The Phillips screwdriver removes screws on the lock faceplate. The flathead screwdriver helps pry off covers gently. The Allen wrench loosens set screws. A tape measure checks lock size. The flashlight improves visibility in dark spaces.
Optional Tools For Stubborn Locks
- Power drill with screwdriver bits
- Lock lubricant spray
- Needle-nose pliers
- Utility knife
- Plastic pry tool
These tools assist if the deadbolt is stuck or damaged. A power drill speeds up screw removal. Lock lubricant frees jammed parts. Needle-nose pliers grip small pieces. A utility knife cuts paint or sealant around the lock. A plastic pry tool avoids scratching the door.
Prepare The Door
Start by closing the door and locating the screws on the lock faceplate. Remove any nearby obstacles for easy access. Make sure you have the right tools ready before beginning.
Clear The Work Area
Start by clearing the space around the door. Remove furniture or objects that block access. This gives you room to move freely. A tidy area helps avoid accidents. It also keeps your tools close at hand. Keep the floor free of clutter for easy cleanup.
Ensure Safety Precautions
Wear safety glasses to protect your eyes from dust and debris. Use gloves to avoid cuts or scrapes. Check that the door is stable and will not swing suddenly. Keep children and pets away from the work area. Have a flashlight ready if lighting is poor.
Locate Screws And Components
Removing a Lockwood deadbolt starts with locating the screws and parts. This step is important for smooth removal. Knowing where each screw and component is saves time and effort. It helps avoid damage to your door or lock.
Identify Exterior Screws
First, look at the outside of the door. Find the screws that hold the deadbolt in place. These screws are usually on the faceplate or around the lock cylinder. They may be hidden under a cover plate. Check carefully and remove any covers to see the screws.
Use a screwdriver to loosen these exterior screws. Keep the screws safe for reinstallation. These screws secure the lock to the door. Removing them frees the lock from the door exterior.
Check Interior Parts
Next, open the door and check the inside part of the lock. Look for screws on the interior faceplate or mounting plate. These screws hold the deadbolt mechanism to the door. Remove them with a screwdriver.
Also, identify the thumb turn or lever. It connects to the lock’s internal parts. Sometimes, it needs to be removed before taking off the lock. Look for small set screws or clips that hold it in place. Removing the interior parts fully releases the deadbolt from your door.

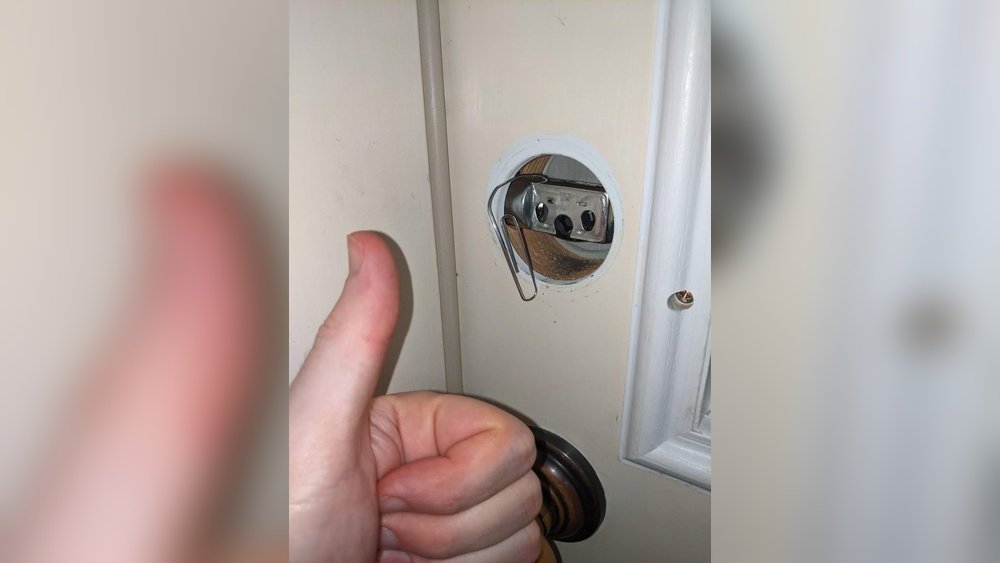
Credit: www.reddit.com
Remove Exterior Lock Cylinder
Start by removing the screws on the interior side of the deadbolt. Gently pull out the exterior lock cylinder to detach it from the door. This process is simple with basic tools and careful handling.
Unscrew And Detach Cylinder
Start by locating the screws on the exterior face of the Lockwood deadbolt. These screws hold the lock cylinder firmly in place. Use a screwdriver to carefully remove all the screws. Keep the screws safe for reassembly later.
After removing the screws, gently pull the lock cylinder away from the door. It should slide out smoothly without force. If it feels stuck, check for hidden screws or obstructions. Avoid using tools that may damage the cylinder or door surface.
Handle Lock Cylinder Carefully
The lock cylinder is a delicate part of the deadbolt. Handle it with care to avoid damage. Place it on a soft surface or cloth to prevent scratches or dents.
Do not drop or twist the cylinder forcefully. Damage to the cylinder can affect the lock’s function. Keep track of all small parts and springs inside the cylinder. These parts are easy to lose but important for reassembly.
Detach Interior Assembly
Detaching the interior assembly of a Lockwood deadbolt is the first step in removing the lock. This part includes the inside knob and the plate that sits flush against your door. Removing these parts carefully makes the rest of the process smoother. Follow the steps below to detach the interior assembly safely and efficiently.
Remove Interior Screws
Locate the screws on the interior side of the lock. These screws hold the interior plate and knob tightly to the door. Use a screwdriver that fits well to avoid stripping the screws. Turn each screw counterclockwise until it comes out completely. Keep the screws in a safe place for reassembly or replacement later.
Separate Interior Plate And Knob
After removing the screws, gently pull the interior plate away from the door. It may need a little wiggle if it feels stuck. Once the plate is off, the knob will come free easily. Set both parts aside carefully to avoid damage. This step exposes the internal mechanism for further removal steps.
Take Out Deadbolt Mechanism
Removing the deadbolt mechanism from a Lockwood lock is a key step in replacing or fixing the lock. This part controls the bolt that keeps your door secure. Taking it out carefully helps avoid damage to the door or lock parts. Follow these simple steps to remove the deadbolt mechanism safely and easily.
Unscrew Faceplate
First, find the screws on the faceplate. The faceplate is the metal piece on the door edge where the bolt moves in and out. Use a screwdriver to remove all screws holding the faceplate. Keep the screws safe for later use. Removing the faceplate gives access to the bolt inside the door.
Slide Out Deadbolt
After removing the faceplate, gently pull the deadbolt mechanism out. It should slide smoothly from the door edge. If it feels stuck, check for any hidden screws or debris blocking it. Pull the bolt straight out to avoid bending or breaking parts. Once out, you can inspect, repair, or replace the deadbolt as needed.
Troubleshooting Common Issues
Removing a Lockwood deadbolt can bring up some common problems. These issues can slow down the process or make it harder to take the lock apart. Knowing how to fix these problems helps you finish the job faster. Below are easy ways to handle the most common troubles you might face.
Dealing With Stuck Screws
Stuck screws are a frequent problem when removing deadbolts. They often get tight or rusty over time. Use a screwdriver that fits the screw head well. This helps avoid stripping the screw.
Apply some penetrating oil to the screw. Let it sit for a few minutes. This loosens the grip and makes turning easier. Try turning the screw slowly. If it still won’t budge, tap the screwdriver gently with a hammer. This can help break the rust or paint holding it tight.
Handling Rust Or Corrosion
Rust or corrosion can make the deadbolt hard to remove. It can stick parts together or weaken screws. Use a wire brush to clean off loose rust. This clears the surface and helps tools grip better.
Spray some rust remover or penetrating oil on the affected area. Wait a few minutes for it to work. Then try removing the deadbolt again. For heavy rust, repeat the process. This softens the corrosion and makes removal easier.

Credit: www.youtube.com
Tips For Reinstallation Or Replacement
Reinstalling or replacing a Lockwood deadbolt needs care and attention. Doing it right ensures your door stays secure and works smoothly. These tips help you avoid common problems and save time during the process.
Check Compatibility
Make sure the new deadbolt fits your door and lock type. Measure the door thickness and hole size. Match the lock’s backset to your door’s settings. Using the right size keeps the lock tight and safe. Confirm the lock style matches your door design. Avoid forcing parts that don’t fit well.
Test Lock Functionality
Try the lock before full installation. Turn the key or knob several times. Check if the bolt moves easily and locks firmly. Test from both sides of the door. Fix any sticking or resistance right away. Proper function means better security and less wear over time.

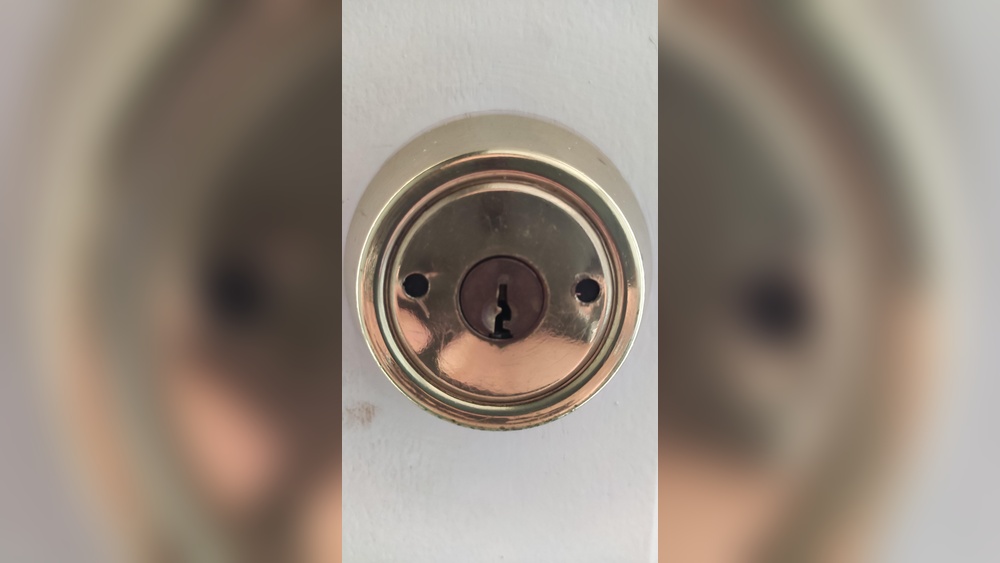
Credit: www.reddit.com
Frequently Asked Questions
How Do I Remove A Lockwood Deadbolt Easily?
To remove a Lockwood deadbolt, first unscrew the interior screws. Then, carefully pull both sides apart. Finally, extract the deadbolt from the door edge.
What Tools Are Needed To Remove A Lockwood Deadbolt?
You need a screwdriver, usually a Phillips head, and possibly a flathead. A drill may help if screws are stuck. A pair of pliers can assist with tight parts.
Can I Remove A Lockwood Deadbolt Without Damaging The Door?
Yes, by carefully unscrewing and gently pulling parts. Avoid forcing components to prevent damage. Follow manufacturer instructions for safe removal.
How Long Does It Take To Remove A Lockwood Deadbolt?
Removing a Lockwood deadbolt typically takes 10-15 minutes. Time depends on your experience and tool availability. Patience ensures a smooth process.
Conclusion
Removing a Lockwood deadbolt can be simple with the right steps. Take your time and follow each instruction carefully. Use basic tools and stay safe while working. This guide helps you handle the task without stress. Now, you can change or fix your lock easily.
Keep this method in mind for future lock jobs. Practice makes the process quicker and easier. You have the power to maintain your home security.