If you want to boost your home’s security quickly and easily, installing a deadbolt on your exterior door is one of the best steps you can take. You might think it’s complicated or expensive, but with the right guide, you can do it yourself in no time.
Imagine having the peace of mind knowing your door is locked tight against intruders. You’ll learn exactly how to install a deadbolt, step by step, using simple tools you probably already have. Keep reading, and by the end, your home will be safer—and you’ll feel proud of the work you did yourself.
Choosing The Right Deadbolt
Choosing the right deadbolt for your exterior door is very important. It helps keep your home safe. The right deadbolt fits your door and meets your security needs. You want a lock that is strong and lasts a long time. This guide explains different types of deadbolts, materials, finishes, and security ratings.
Types Of Deadbolts
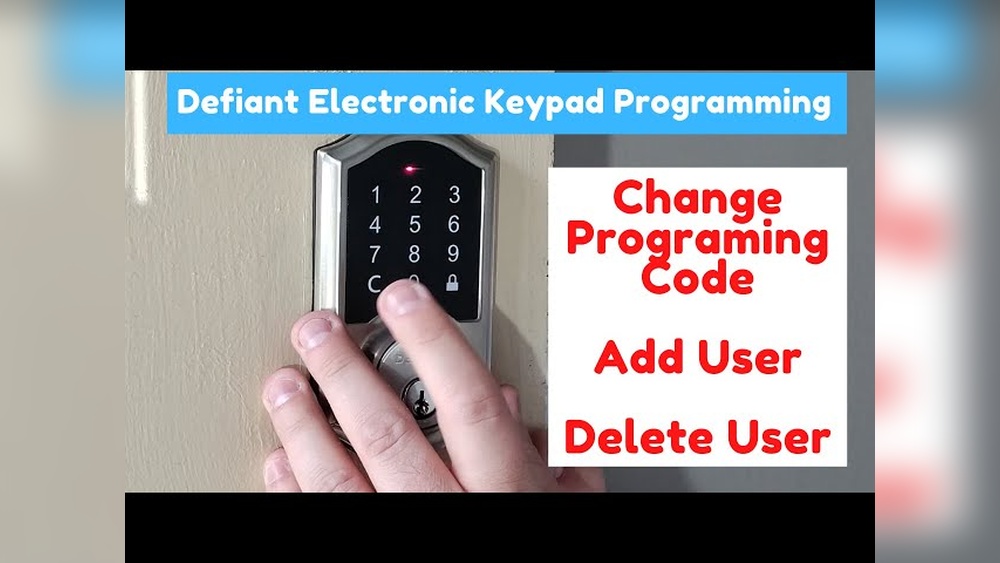
Single-cylinder deadbolts use a key outside and a thumb turn inside. They are easy to use and common. Double-cylinder deadbolts need a key on both sides. They add extra security but can be tricky in emergencies. Lockable thumb turn deadbolts let you lock the thumb turn with a key. This stops someone from turning it inside. Choose a type based on your door and safety needs.
Material And Finish Options
Deadbolts come in different materials like brass, steel, and zinc. Brass resists rust and looks nice. Steel is very strong and durable. Zinc is cost-effective and resists corrosion. Finishes include polished brass, satin nickel, and oil-rubbed bronze. Pick a finish that matches your door and home style. Also, consider weather resistance for outdoor doors.
Security Ratings To Consider
Deadbolts have ratings from the American National Standards Institute (ANSI). Grade 1 is the strongest and best for exterior doors. Grade 2 offers good security and is more affordable. Grade 3 provides basic protection. Look for locks with high ratings for better safety. Also, check if the lock has anti-pick and drill-resistant features.
Tools And Materials Needed
Installing a deadbolt on an exterior door needs the right tools and materials. Preparing these in advance makes the job easier and faster. Gather everything before starting the installation.
Essential Tools
- Power drill with drill bits
- Screwdriver (Phillips and flathead)
- Measuring tape
- Pencil for marking
- Chisel
- Hammer
- Hole saw bit (usually 2 1/8 inches)
- Spade bit (usually 1 inch)
Additional Supplies
- Deadbolt lock kit
- Wood filler (for fixing mistakes)
- Sandpaper (to smooth edges)
- Masking tape (to protect door surface)
Safety Gear
- Safety glasses to protect eyes
- Work gloves to protect hands
- Hearing protection if using loud tools
Preparing The Door
Preparing the door is the first step in installing a deadbolt. This step ensures the lock fits perfectly and works well. Proper preparation avoids mistakes and saves time later. Follow each part carefully to get the best result.
Measuring And Marking
Start by measuring the door thickness. Most deadbolts fit doors between 1 3/8 and 1 3/4 inches thick. Mark the height for the deadbolt. Usually, this is 6 to 12 inches above the door handle. Use a pencil to mark the exact spot on the door edge and face. Double-check your marks to avoid errors.
Drilling The Holes
Choose the right drill bit size for the deadbolt kit. Drill the hole on the door face where you marked. Drill straight to keep the hole clean and even. Then drill the hole on the door edge for the bolt. Work slowly to avoid splintering the wood. Clear any rough edges with sandpaper or a file.
Cleaning The Work Area
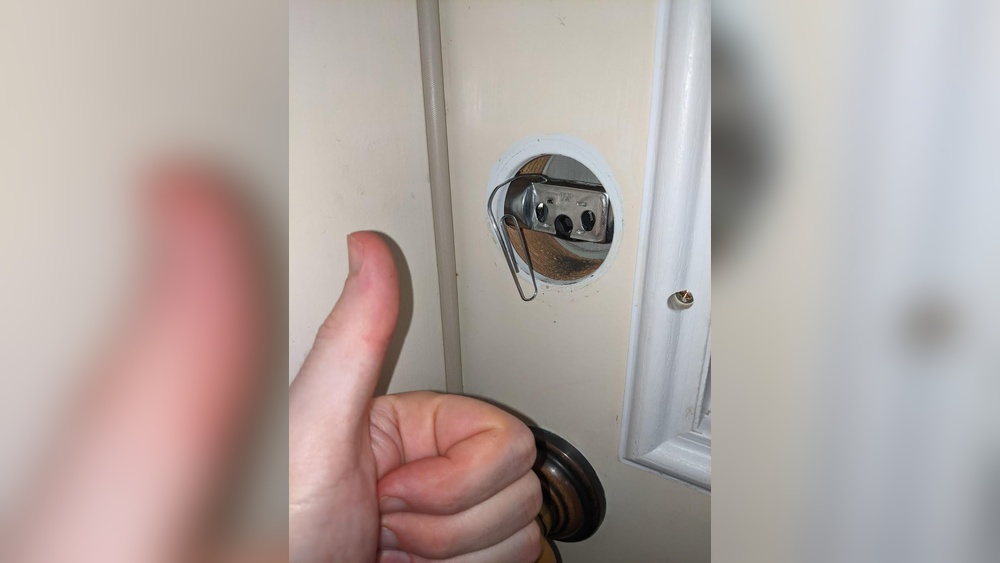
Remove all sawdust and debris from the drilled holes. Use a small brush or vacuum to clean inside the holes. Wipe the door surface with a damp cloth. A clean area helps the deadbolt parts fit well. It also prevents dirt from blocking the lock mechanism.
Credit: www.4feldco.com
Installing The Deadbolt
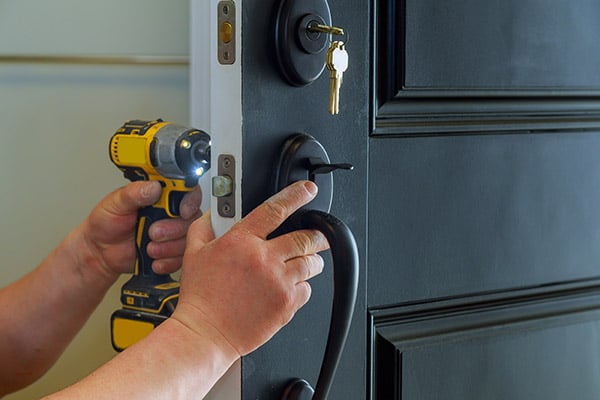
Installing the deadbolt is a key step in securing your exterior door. This process involves fitting the lock on the outside, attaching the mechanism on the inside, and securing all parts tightly. Each step must be done carefully for the lock to work well and keep your home safe.
Fitting The Exterior Lock
Start by placing the exterior lock on the door’s outside. Align it with the hole drilled for the lock cylinder. Make sure the key slot faces the right direction. Push the lock firmly into the hole so it fits snugly. Check that it sits flat and does not wobble.
Attaching The Interior Mechanism
Next, take the interior mechanism and align it with the exterior lock. The spindle or tailpiece should fit through the hole in the door. Hold the interior part in place against the door’s inside surface. Make sure the thumb turn or lever is positioned for easy use. Keep the parts steady as you prepare to attach them.
Securing The Deadbolt Components
Use screws to fasten the interior and exterior parts together. Insert screws through the interior plate and tighten them. Do not overtighten, which can damage the lock or door. Test the deadbolt by turning the thumb turn or key. It should move smoothly without sticking. Double-check all parts are secure and flush with the door.
Installing The Strike Plate
Installing the strike plate is a key step in securing your deadbolt. It holds the bolt firmly in place when locked. Proper installation ensures your door stays safe and closes smoothly.
Positioning The Strike Plate
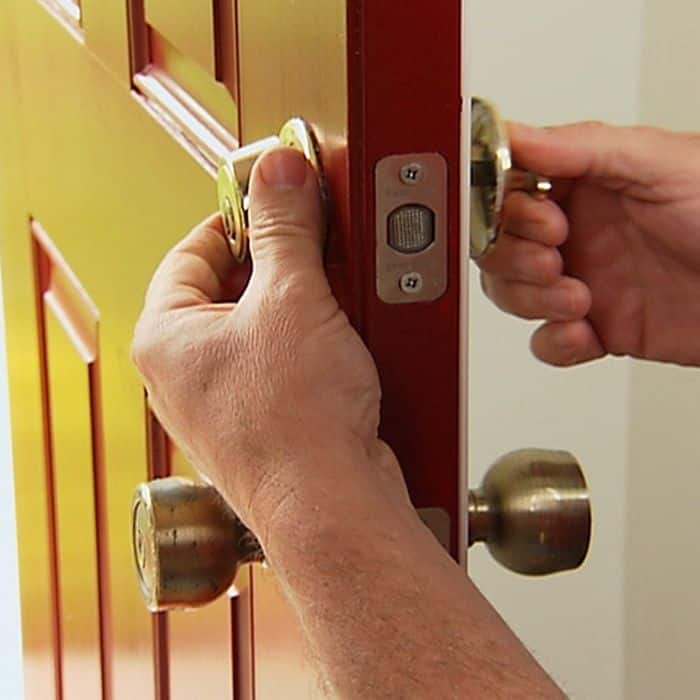
Start by aligning the strike plate on the door frame. Close the door and mark where the bolt touches the frame. Place the strike plate so its hole matches this mark. This step ensures the deadbolt fits perfectly.
Drilling And Chiseling
Drill holes for the screws on the marked spots. Use a drill bit that matches the screw size. Next, chisel a shallow recess for the strike plate. It should sit flush with the door frame. This prevents the plate from sticking out.
Securing With Screws
Attach the strike plate using the screws provided. Tighten them firmly but avoid stripping the holes. Check that the bolt slides easily into the plate. This keeps your deadbolt working well and your door secure.
Credit: www.lowes.com
Testing The Lock
Testing the lock is a key step after installing your deadbolt. It ensures the lock works well and keeps your door secure. Take time to check every part carefully.
Checking Alignment
First, check if the deadbolt aligns with the strike plate. The bolt should slide easily into the hole. If it misses or sticks, the lock will not work properly. Close the door slowly and watch the bolt’s movement.
Ensuring Smooth Operation
Turn the key or thumb turn several times. The bolt should move smoothly without resistance. Listen for any grinding or rough sounds. Smooth movement means the lock is installed correctly and will last longer.
Making Adjustments
If the lock feels stiff or misaligned, adjust the strike plate. Loosen its screws and move it slightly. Test the lock again after each change. Repeat until the bolt slides in easily and the lock works smoothly.
Maintenance Tips
Maintaining your deadbolt ensures it works smoothly and lasts longer. Simple care can prevent many problems. Regular attention keeps your door secure and easy to use.
Lubricating The Lock
Use a graphite or silicone spray to lubricate the lock. Avoid oil-based lubricants as they attract dirt. Spray inside the keyhole and on the bolt mechanism. Move the key back and forth to spread the lubricant evenly. Do this twice a year for best results.
Regular Inspections
Check your deadbolt every few months. Look for signs of rust, loose screws, or wear. Tighten any loose parts carefully. Make sure the bolt slides smoothly into the strike plate. Early detection helps avoid costly repairs later.
Troubleshooting Common Issues
If the key sticks or won’t turn, clean the keyhole first. Use compressed air to remove dust and debris. If the bolt is hard to move, check for misalignment with the strike plate. Adjust the strike plate screws slightly to fix this. Replace damaged parts to keep your lock reliable.

Credit: www.youtube.com
Frequently Asked Questions
How Do I Choose The Right Deadbolt Size?
Choose a deadbolt that fits your door’s thickness, usually 1-3/8 to 1-3/4 inches. Check the lock specifications carefully for compatibility.
What Tools Are Needed To Install A Deadbolt?
You need a drill, screwdriver, tape measure, pencil, chisel, and a hole saw. These tools help ensure precise and secure installation.
Can I Install A Deadbolt Without Drilling New Holes?
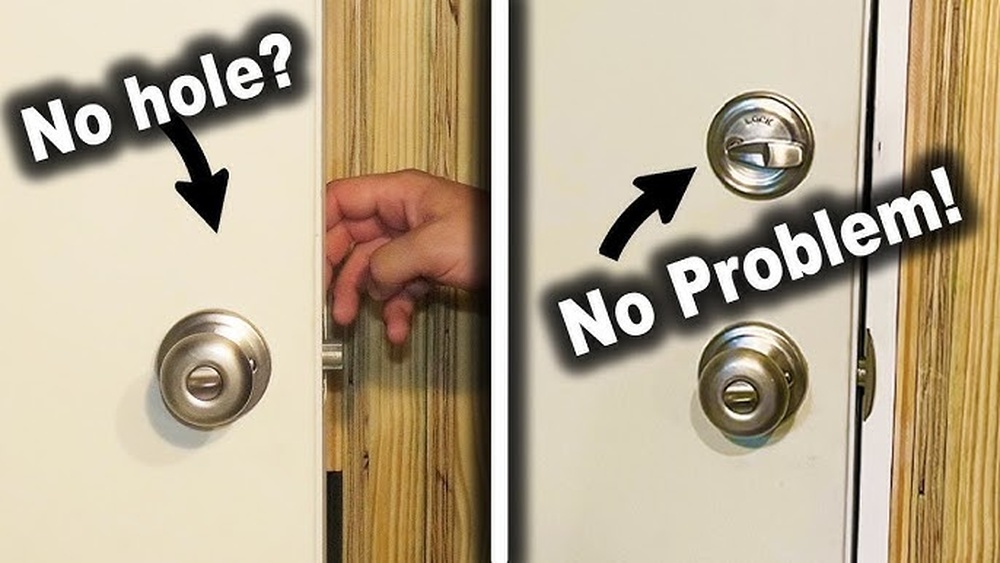
If your door already has a compatible hole, you can reuse it. Otherwise, drilling is necessary for proper deadbolt installation.
How Do I Ensure The Deadbolt Is Aligned Properly?
Mark the correct height, use a template, and drill straight holes. Test the bolt’s smooth movement before finalizing installation.
Conclusion
Installing a deadbolt on your exterior door adds strong security. Follow the steps carefully to fit it correctly. Take your time measuring and drilling for the best results. A well-installed deadbolt helps keep your home safe and secure. You can feel more confident locking your door every night.
Small effort today brings peace of mind tomorrow. Simple tools and clear instructions make the job easy. Protect your home with this smart security upgrade now.